
MISONDA Fiat 500 Android Car Stereo
MISONDA 9-inch IPS Android Car Stereo for Fiat 500 (2007-2015) User Manual
Model: Fiat 500 Android Car Stereo
1. Introduction
This manual provides detailed instructions for the installation, operation, and maintenance of your MISONDA 9-inch IPS Android Car Stereo, designed specifically for Fiat 500 models manufactured between 2007 and 2015. Please read this manual thoroughly before using the product to ensure proper function and safety.
2. Safety Information
- Always operate the device responsibly. Distracted driving can lead to accidents.
- Do not attempt to install or repair the unit if you are not qualified. Improper installation can cause damage to the vehicle or the device.
- Ensure all wiring is correctly connected to prevent short circuits or electrical hazards.
- Keep the screen clean and free from obstructions to maintain clear visibility.
- Avoid exposing the unit to extreme temperatures, direct sunlight for prolonged periods, or excessive moisture.
3. Package Contents
Verify that all items listed below are included in your package:
- MISONDA 9-inch Android Car Stereo Unit
- Power Socket Cable
- RCA Output Socket A
- RCA Output Socket B
- GPS Antenna
- USB Cable (x2)
- Owner's Manual
- External Microphone
- Rear Camera
- Radio Antenna Adapter

Image 3.1: Included components and the main unit's dimensions.
4. Specifications
| Feature | Specification |
|---|---|
| System | Android (Latest Version), 8 Core Cortex A53, 2.5 GHz |
| Screen Size | 9-inch IPS Touch Screen |
| Screen Resolution | 1080 x 680 pixels |
| Memory | 4GB RAM + 64GB ROM |
| Wireless Chip | TDA7786 |
| Output Power | 4 x 45W |
| Power Amplifier Chip | TDA7851 |
| Operating Temperature | -40℃ to 80℃ |
| Radio | FM/AM with RDS, 18 preset FM stations |
| Bluetooth | BT 5.0 (A2DP, Hands-free, Phone Book, Call Records) |
| Wi-Fi | Built-in Wi-Fi |
| Connectivity | Bluetooth, USB, Wi-Fi |
5. Installation Guide
Professional installation is recommended. Ensure the vehicle's power is disconnected before beginning installation.
5.1. Preparation
- Gather necessary tools (screwdrivers, wire strippers, electrical tape, etc.).
- Disconnect the negative terminal of the car battery.
- Carefully remove the factory radio unit and trim panels from your Fiat 500 (2007-2015). Refer to your vehicle's service manual for specific instructions.
5.2. Wiring Connections
- Power Connection: Connect the provided Power Socket Cable to the car stereo and the vehicle's wiring harness. Ensure correct positive, negative, and accessory wire connections.
- GPS Antenna: Connect the GPS antenna to the designated port on the back of the stereo. Mount the antenna in a location with a clear view of the sky, such as on the dashboard or under the windshield.
- USB Cables: Connect the USB cables to the stereo. Route them to a convenient location, such as the glove compartment, for connecting USB devices.
- External Microphone: Connect the external microphone for improved call quality. Position it near the driver for optimal voice pickup.
- Rear Camera: Connect the rear camera cable to the stereo's video input. Route the camera cable to the rear of the vehicle and mount the camera securely. Connect the camera's power to the reverse light circuit.
- RCA Output Sockets: If connecting external amplifiers or additional displays, use the provided RCA output sockets.
- Radio Antenna: Connect the vehicle's radio antenna to the stereo, using the provided adapter if necessary.
- Steering Wheel Control (SWC): Connect the SWC wires according to your vehicle's wiring diagram. This allows integration with existing steering wheel buttons.
5.3. Mounting and Testing
- Carefully slide the new MISONDA car stereo into the dashboard opening. Secure it using the vehicle's mounting brackets.
- Reconnect the car battery.
- Turn on the vehicle's ignition and power on the stereo. Test all functions: radio, GPS, Bluetooth, USB, rear camera, and steering wheel controls.
- If all functions operate correctly, reassemble the trim panels.
6. Operating Instructions

Image 6.1: Main interface of the MISONDA Android Car Stereo.
6.1. Basic Operation
- Power On/Off: Press and hold the power button on the unit or use the vehicle's ignition.
- Touch Screen: Navigate the interface by tapping, swiping, and pinching on the IPS touch screen.
- Volume Control: Adjust volume using the physical buttons on the unit, steering wheel controls, or on-screen controls.
- Home Screen: Access the main application launcher from any screen by pressing the Home button.
6.2. Wireless Carplay & Android Auto
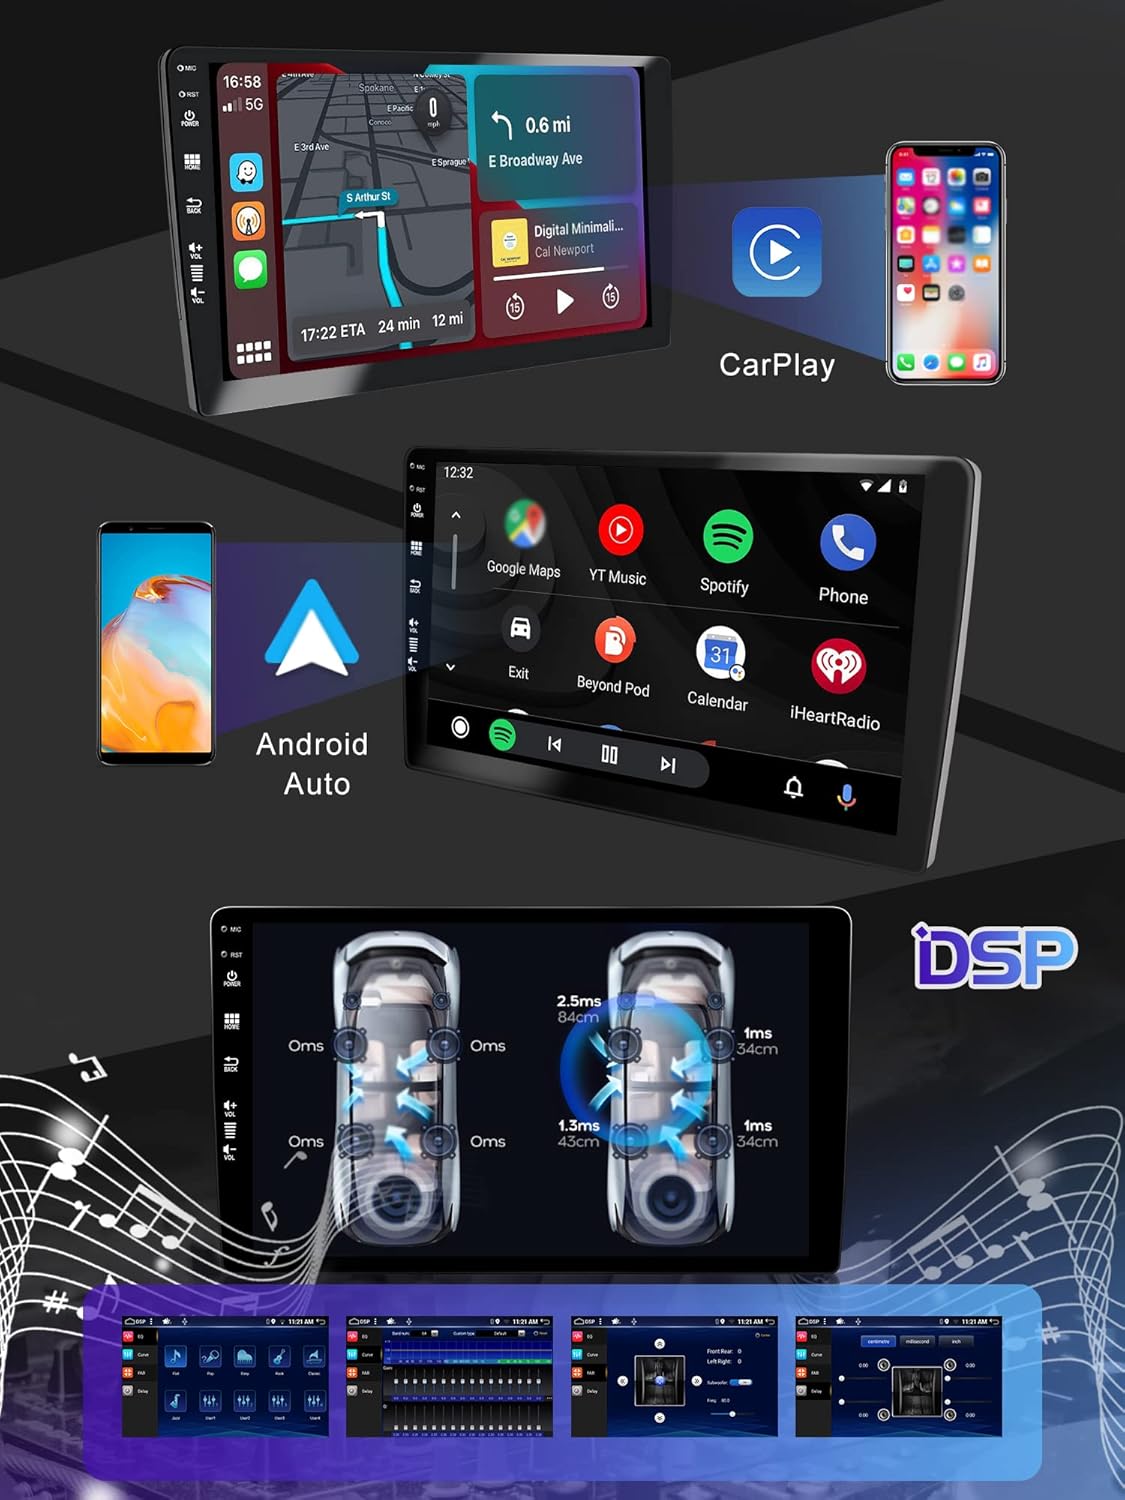
Image 6.2: Wireless Carplay and Android Auto in operation.
Connect your smartphone wirelessly via Bluetooth to access Carplay or Android Auto features. This allows you to use your phone's navigation, make calls, send messages, and enjoy music directly through the car stereo interface.
- Ensure Bluetooth is enabled on your smartphone and the car stereo.
- Pair your phone with the car stereo via Bluetooth settings.
- Once paired, select the Carplay or Android Auto icon on the stereo's home screen.
- Follow any on-screen prompts on your phone to grant permissions.
6.3. GPS Navigation
The unit comes with preloaded offline maps. For real-time traffic updates and online map features, connect to Wi-Fi.
- Tap the 'Navigation' or 'Maps' icon on the home screen.
- Enter your destination using the on-screen keyboard.
- Select your preferred route.
- Voice prompts will guide you to your destination.
6.4. Bluetooth Connectivity
Bluetooth 5.0 supports hands-free calling, audio streaming (A2DP), phone book synchronization, and call record access.
- Go to the 'Bluetooth' application.
- Enable Bluetooth and search for available devices.
- Select your phone from the list and confirm the pairing code.
- Once connected, you can make/receive calls and play music from your phone.
6.5. Wi-Fi Connectivity
Connect to a Wi-Fi hotspot (e.g., from your smartphone) to access online features, download apps, and stream content.
- Navigate to 'Settings' > 'Network & Internet' > 'Wi-Fi'.
- Turn on Wi-Fi and select your desired network.
- Enter the password if prompted.
6.6. Split Screen Function

Image 6.3: Split Screen and Mirror Link features.
The split-screen feature allows two applications to run simultaneously on the display. For example, you can use navigation while listening to music or watching a video.
- Open the first application you wish to use.
- Press and hold the 'Recent Apps' button or swipe up from the bottom of the screen (depending on Android version) to enter split-screen mode.
- Select the second application from the list of recent apps or the app drawer.
6.7. Mirror Link
Mirror Link enables two-way control between your smartphone and the car stereo, displaying your phone's screen on the stereo.
- Open the 'Mirror Link' application on the stereo.
- Follow the on-screen instructions to connect your smartphone via USB or Wi-Fi.
- Grant necessary permissions on your phone.
6.8. Steering Wheel Control (SWC)
If properly connected during installation, you can program the steering wheel buttons to control various functions of the stereo, such as volume, track skipping, and answering calls.
- Go to 'Settings' > 'Steering Wheel Control'.
- Follow the on-screen instructions to map each physical button on your steering wheel to a desired function on the stereo.
6.9. DSP Audio Settings
The built-in Digital Sound Processor (DSP) allows for advanced audio customization to optimize sound quality for various environments and personal preferences.
- Access the 'DSP' or 'Sound Settings' application.
- Adjust equalizer settings, balance, fader, and subwoofer levels.
- Experiment with different sound profiles to find your preferred audio experience.
6.10. Radio (FM/AM/RDS)
The unit supports FM and AM radio reception with RDS (Radio Data System) for displaying station information.
- Open the 'Radio' application.
- Use the scan function to find available stations or manually tune to a frequency.
- Save your favorite stations to the 18 available preset slots for quick access.
7. Optional Features
The following features require additional accessories, which are sold separately.
7.1. 360 Panorama Camera System
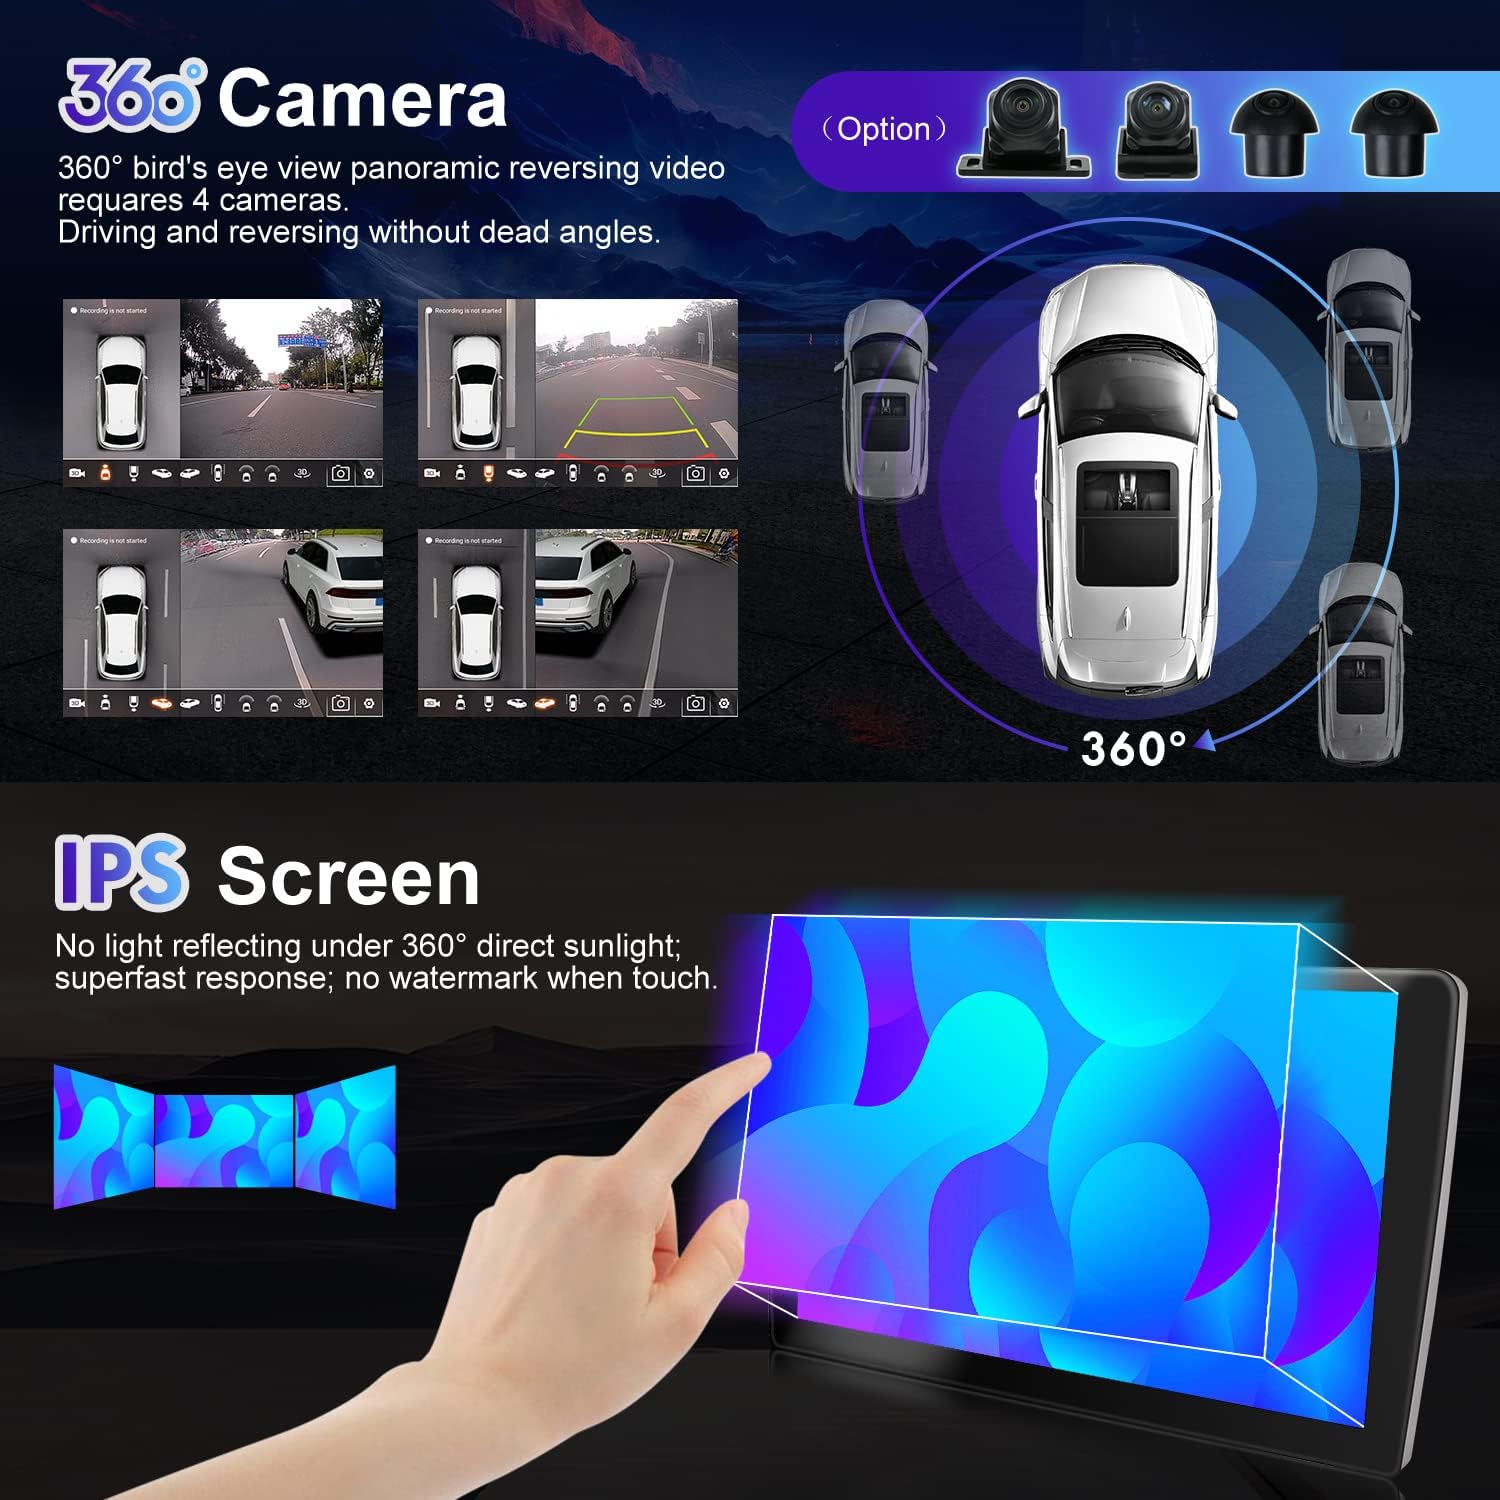
Image 7.1: 360 Panorama Camera System overview.
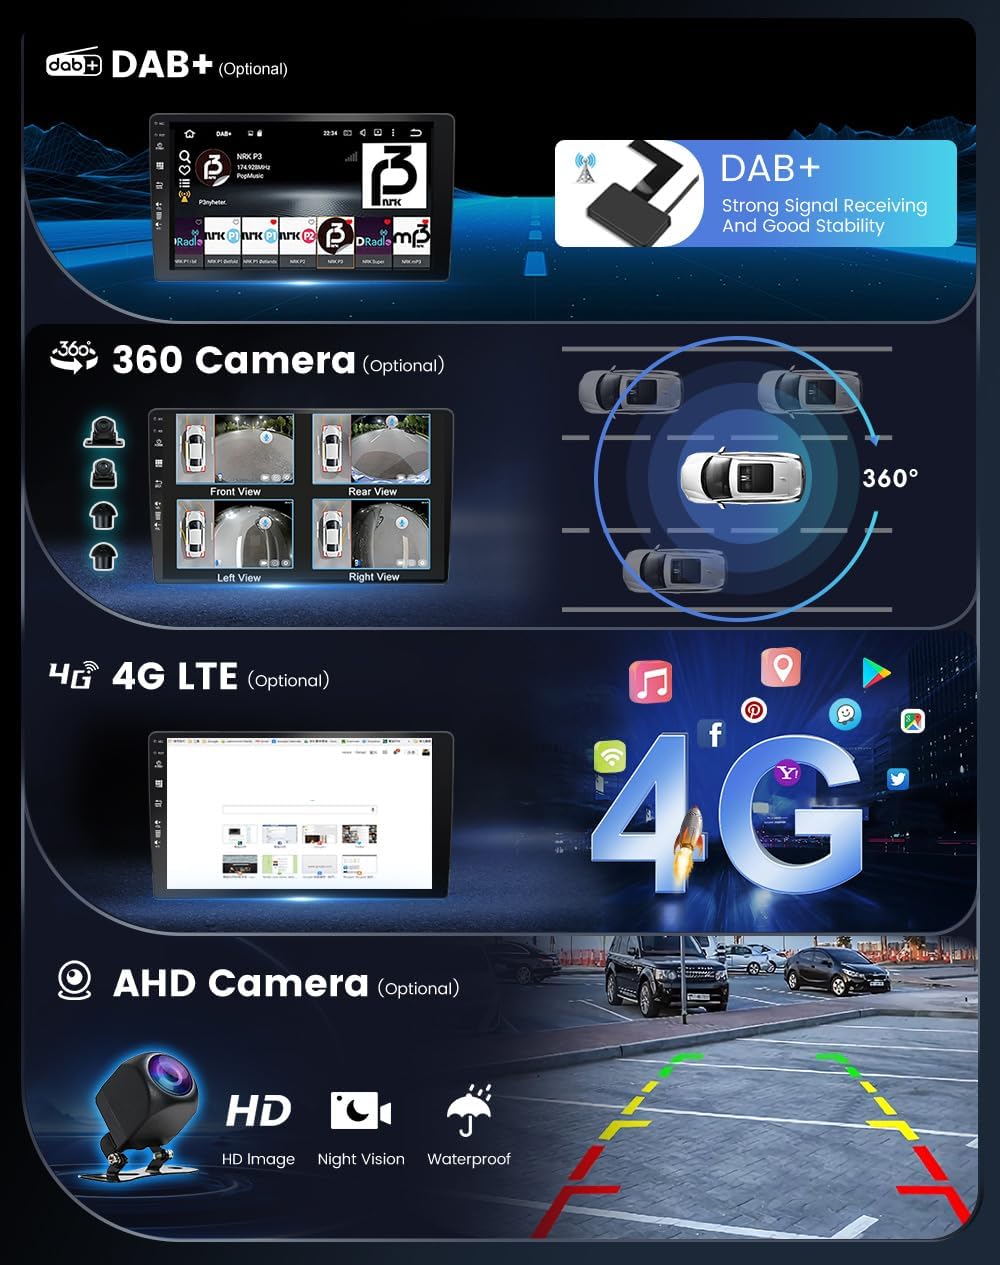
Image 7.2: Various optional features including 360 Camera and AHD Camera.
This system provides a surround view (1080P AHD) using front, rear, left, and right cameras, eliminating blind spots during driving and reversing. It offers night vision and 3D dynamic road condition display compatibility.
7.2. DAB+ (Digital Audio Broadcasting)
An external DAB+ module allows access to a wider range of radio programs with clear, high-quality digital audio broadcasting, free from interference.
7.3. DVR (Driving Video Recorder)
Connect an external DVR to record your driving footage, providing evidence in case of incidents and enhancing driving safety.
7.4. OBD (On-Board Diagnostics)
An external OBD adapter can connect to the stereo to display real-time vehicle data, engine codes, and performance metrics.
7.5. 4G LTE Connectivity
For enhanced internet connectivity on the go, an optional 4G LTE module can be integrated, allowing for faster data speeds and a more stable connection.
8. Maintenance
- Screen Cleaning: Use a soft, lint-free cloth slightly dampened with water or a screen cleaner. Do not use harsh chemicals or abrasive materials.
- Software Updates: Periodically check for software updates to ensure optimal performance and access to new features. Updates can usually be found on the manufacturer's website or through the device's settings when connected to Wi-Fi.
- General Care: Keep the unit free from dust and debris. Avoid spilling liquids on the device.
9. Troubleshooting
| Problem | Possible Solution |
|---|---|
| Unit does not power on | Check power connections and vehicle's fuse box. Ensure battery is connected. |
| No sound | Check volume levels, speaker connections, and audio settings (DSP). |
| GPS signal lost or inaccurate | Ensure GPS antenna is properly connected and has a clear view of the sky. Update map data if necessary. |
| Bluetooth not connecting | Ensure Bluetooth is enabled on both devices. Delete previous pairings and try pairing again. Restart both devices. |
| Touch screen unresponsive | Restart the unit. If problem persists, contact support. |
| Steering wheel controls not working | Verify SWC wiring connections. Reconfigure SWC settings in the unit's menu. |
10. Warranty and Support
For warranty information, please refer to the documentation provided with your purchase or contact your retailer. If you encounter any issues not covered in this manual, please contact MISONDA customer support for assistance.
Ask a question about this manual
Ask about setup, troubleshooting, compatibility, parts, safety, or missing instructions. Manuals+ will review the question and use this page’s manual context to help answer it.