
Masterbuilt MB20041124
Masterbuilt AutoIgnite 545 Digital Charcoal Grill and Smoker Combo User Manual
Model: AutoIgnite 545 (MB20041124)
Brand: Masterbuilt
Product Overview
The Masterbuilt AutoIgnite 545 Digital Charcoal Grill and Smoker offers the rich, smoky flavor of charcoal grilling with the convenience of automatic ignition. Designed for ease of use, this unit features a QuickStart™ auto-ignition system, a DigitalFan™ for precise temperature control, and a MiniHopper™ for extended cooking times. It also includes a QuickSear™ cast iron hopper sear plate for versatile cooking options, from low-and-slow smoking to high-heat searing.

Setup and Assembly
Before first use, ensure all components are present and assembled according to the included assembly guide. Proper assembly is crucial for safe and efficient operation.
Initial Setup Steps:
- Unpack and Inspect: Carefully remove all parts from the packaging. Verify that all components listed in the assembly manual are present and undamaged.
- Assemble the Grill: Follow the step-by-step instructions provided in the separate assembly manual. Ensure all screws and fasteners are securely tightened.
- Placement: Position the grill on a stable, level, non-combustible surface outdoors, away from any flammable materials, structures, or overhead obstructions. Ensure adequate ventilation.
- Power Connection: Connect the grill to a grounded electrical outlet.

Operating Instructions
QuickStart™ Auto-Ignition:
The QuickStart™ system simplifies charcoal ignition, making it as easy as lighting a gas grill.
- Plug in and Power On: Plug the grill into a grounded outlet and press the power button on the digital control panel to turn on the controller.
- Preheat Ignitor: Press the QuickStart™ auto-ignition button to begin preheating the ignitor.
- Set Temperature: Use the digital control panel to set your desired cooking temperature. The DigitalFan™ will work to maintain this temperature.
- Load Charcoal: Fill the MiniHopper™ with up to 5 lbs of lump charcoal or 7 lbs of briquettes. This provides up to 8 hours of cooking time.
- Insert Firestarter: Once the QuickStart™ button stops flashing, place a Masterbuilt firestarter into the side firestarter holder and slide it into position. The ignitor will light the firestarter.
- Monitor Cooking: Allow the grill and DigitalFan™ to reach and maintain your desired cooking temperature.


Masterbuilt App Control:
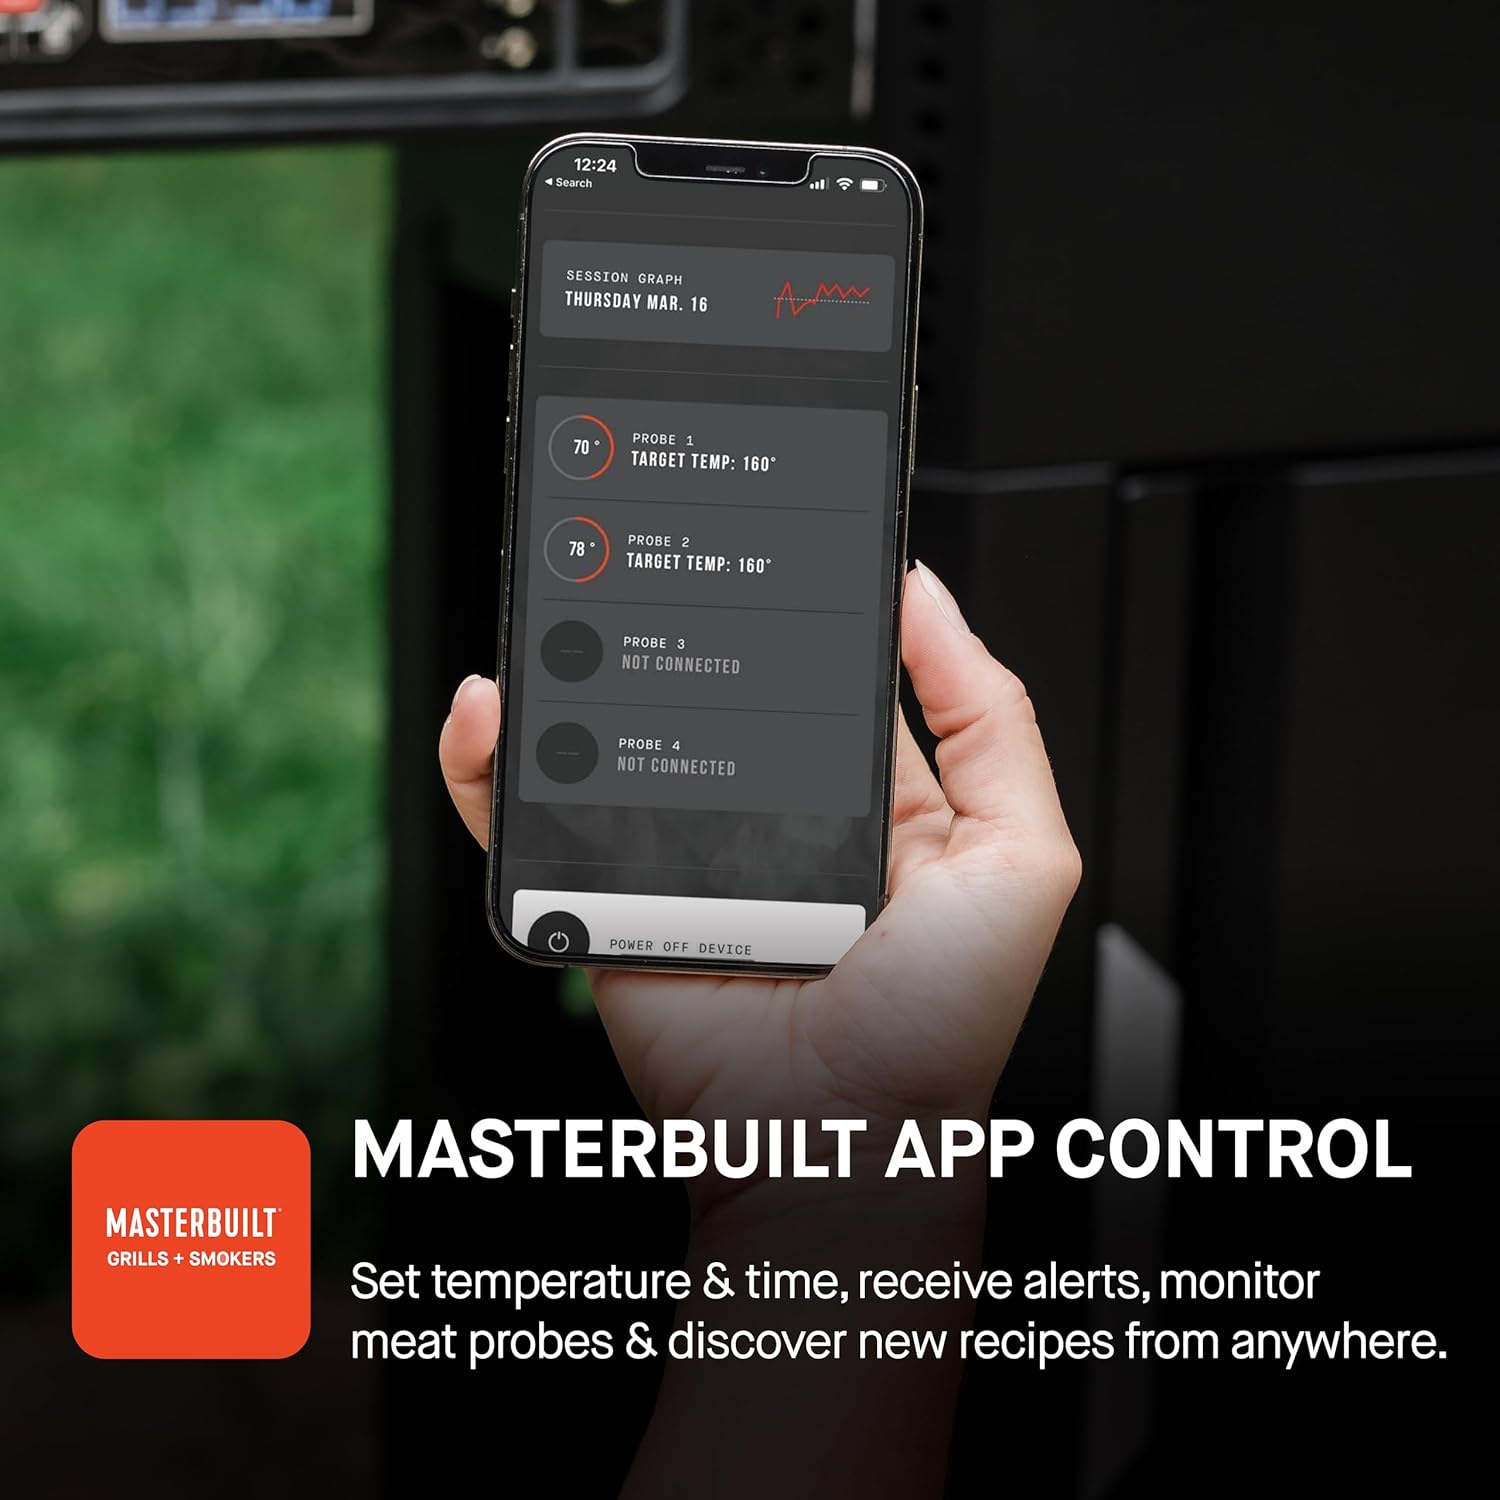
Enhance your grilling experience by connecting your grill to the Masterbuilt app.
- Download App: Download the Masterbuilt app from your device's app store.
- Add Device: Open the app and select "Add Device" from the home screen.
- Pairing: Hold the "Connect" button on your grill's control board to initiate pairing.
- Name Device: Name your grill within the app for easy identification.
- Connect to Wi-Fi: Follow the in-app prompts to connect your grill to your home Wi-Fi network.
Once connected, you can set temperature and time, receive alerts, monitor meat probes, and discover new recipes directly from your smartphone.
Versatile Cooking:
The AutoIgnite 545 is designed for both low-and-slow smoking and high-heat searing, with a temperature range of 250°F to 650°F.
- QuickSear™ Cast Iron Plate: Use the integrated cast iron plate for searing or sautéing foods, adding a delicious crust.
- Cast Iron Cooking Grates: The durable cast iron grates are ideal for searing in food flavors.
- Foldaway Warming Racks: Utilize the warming racks to keep food warm during cooking or fold them away when not in use.


Maintenance and Care
Regular maintenance ensures the longevity and optimal performance of your Masterbuilt AutoIgnite 545.
- Cleaning Grates: After each use, allow the grates to cool slightly, then clean them with a grill brush. For stubborn residue, use warm soapy water.
- Ash Removal: Regularly empty the ash tray and MiniHopper™ to prevent buildup, which can affect airflow and performance. Ensure the grill is completely cool before handling ash.
- Exterior Cleaning: Wipe down the exterior surfaces with a damp cloth and mild detergent. Avoid abrasive cleaners.
- Storage: When not in use, store the grill in a dry, protected area. Consider using a Masterbuilt grill cover to protect it from the elements.


Troubleshooting
| Problem | Possible Cause | Solution |
|---|---|---|
| Grill not powering on. | Not plugged in, power outlet issue, or power button not pressed. | Ensure the grill is securely plugged into a working, grounded outlet. Press the power button firmly. |
| QuickStart™ ignitor not lighting. | Firestarter not positioned correctly, ignitor malfunction, or no power to ignitor. | Verify the firestarter is correctly placed in the holder. Check power connection. Contact customer support if issue persists. |
| Temperature not reaching desired level. | Insufficient charcoal, ash buildup, or lid not properly closed. | Add more charcoal to the MiniHopper™. Clean out any ash buildup. Ensure the grill lid is fully closed. |
| App not connecting to grill. | Wi-Fi connectivity issues, incorrect pairing, or app outdated. | Ensure your grill and smartphone are within Wi-Fi range. Re-attempt pairing process. Update the Masterbuilt app to the latest version. |
Specifications
- Brand: Masterbuilt
- Model Name: AutoIgnite 545
- Model Number: MB20041124
- Power Source: Charcoal
- Color: Black
- Outer Material: Stainless Steel
- Product Dimensions: 24"D x 56.5"W x 43.8"H
- Inner Material: Stainless Steel
- Fuel Type: Charcoal
- Item Weight: 90.2 pounds
- Country of Origin: China
- Temperature Range: 250°F - 650°F
- Cooking Area: 545 square inches
- Charcoal Capacity: Up to 5 lbs lump charcoal or 7 lbs briquettes
Warranty and Support
For warranty information, product registration, or technical support, please refer to the official Masterbuilt website or contact their customer service department. Keep your purchase receipt as proof of purchase for warranty claims.
Customer Support: For assistance, visit the Masterbuilt Store on Amazon or refer to the contact information provided in your product packaging.
Related documentsMB20041124


Ask a question about this manual
Ask about setup, troubleshooting, compatibility, parts, safety, or missing instructions. Manuals+ will review the question and use this page’s manual context to help answer it.