1. Introduction
This manual provides detailed instructions for the operation and maintenance of your Andoer L9 4K UHD Mini Body Camera. Please read this manual thoroughly before using the device to ensure proper functionality and to maximize its performance. The Andoer L9 is a compact and versatile body camera designed for various recording needs, featuring 4K video resolution, a 180° rotatable lens, night vision, and motion detection capabilities.
2. Package Contents
Verify that all items listed below are present in your package:
- 1 x Andoer L9 Body Camera
- 1 x Type-C Cable
- 1 x Lanyard
- 1 x User Manual

Figure 2.1: Contents of the Andoer L9 Body Camera package. This image displays the camera unit, a Type-C charging cable, a lanyard for carrying, and the user manual.
3. Product Overview
The Andoer L9 Mini Body Camera is designed for discreet and portable recording. Familiarize yourself with its components:

Figure 3.1: Front view of the Andoer L9 Body Camera. This image shows the camera's 1.3-inch TFT display, the rotatable lens at the top, and control buttons on the side.
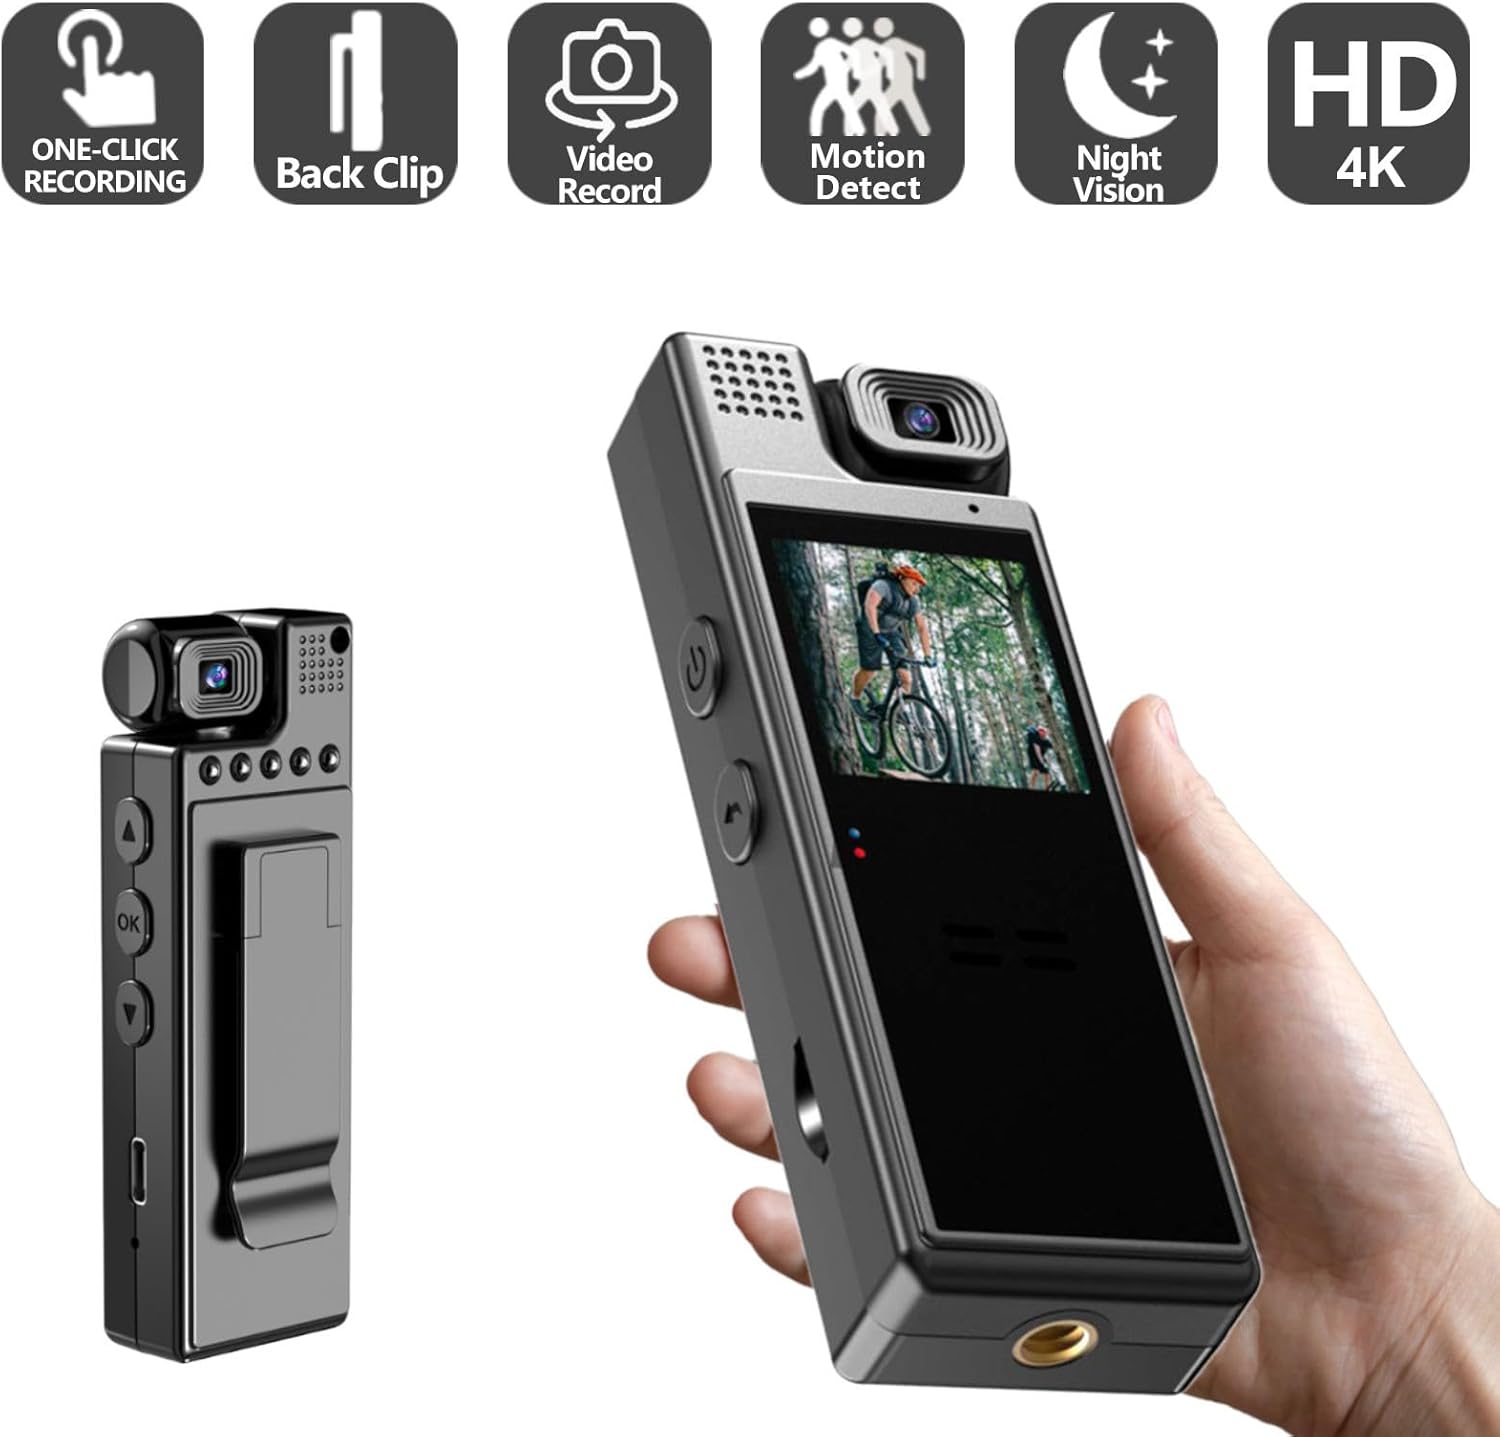
Figure 3.2: Back view of the Andoer L9 Body Camera. This image highlights the integrated clip for attaching the camera to clothing or other surfaces.
- 180° Rotatable Lens: Allows for flexible recording angles.
- 1.3-inch TFT Screen: For live view, playback, and menu navigation.
- Control Buttons: Power, Record, Menu, Up/Down navigation.
- Microphone: For audio recording.
- Speaker: For audio playback.
- Type-C Port: For charging and data transfer.
- TF Card Slot: For memory card insertion.
- Clip-On Design: For easy attachment to clothing or objects.
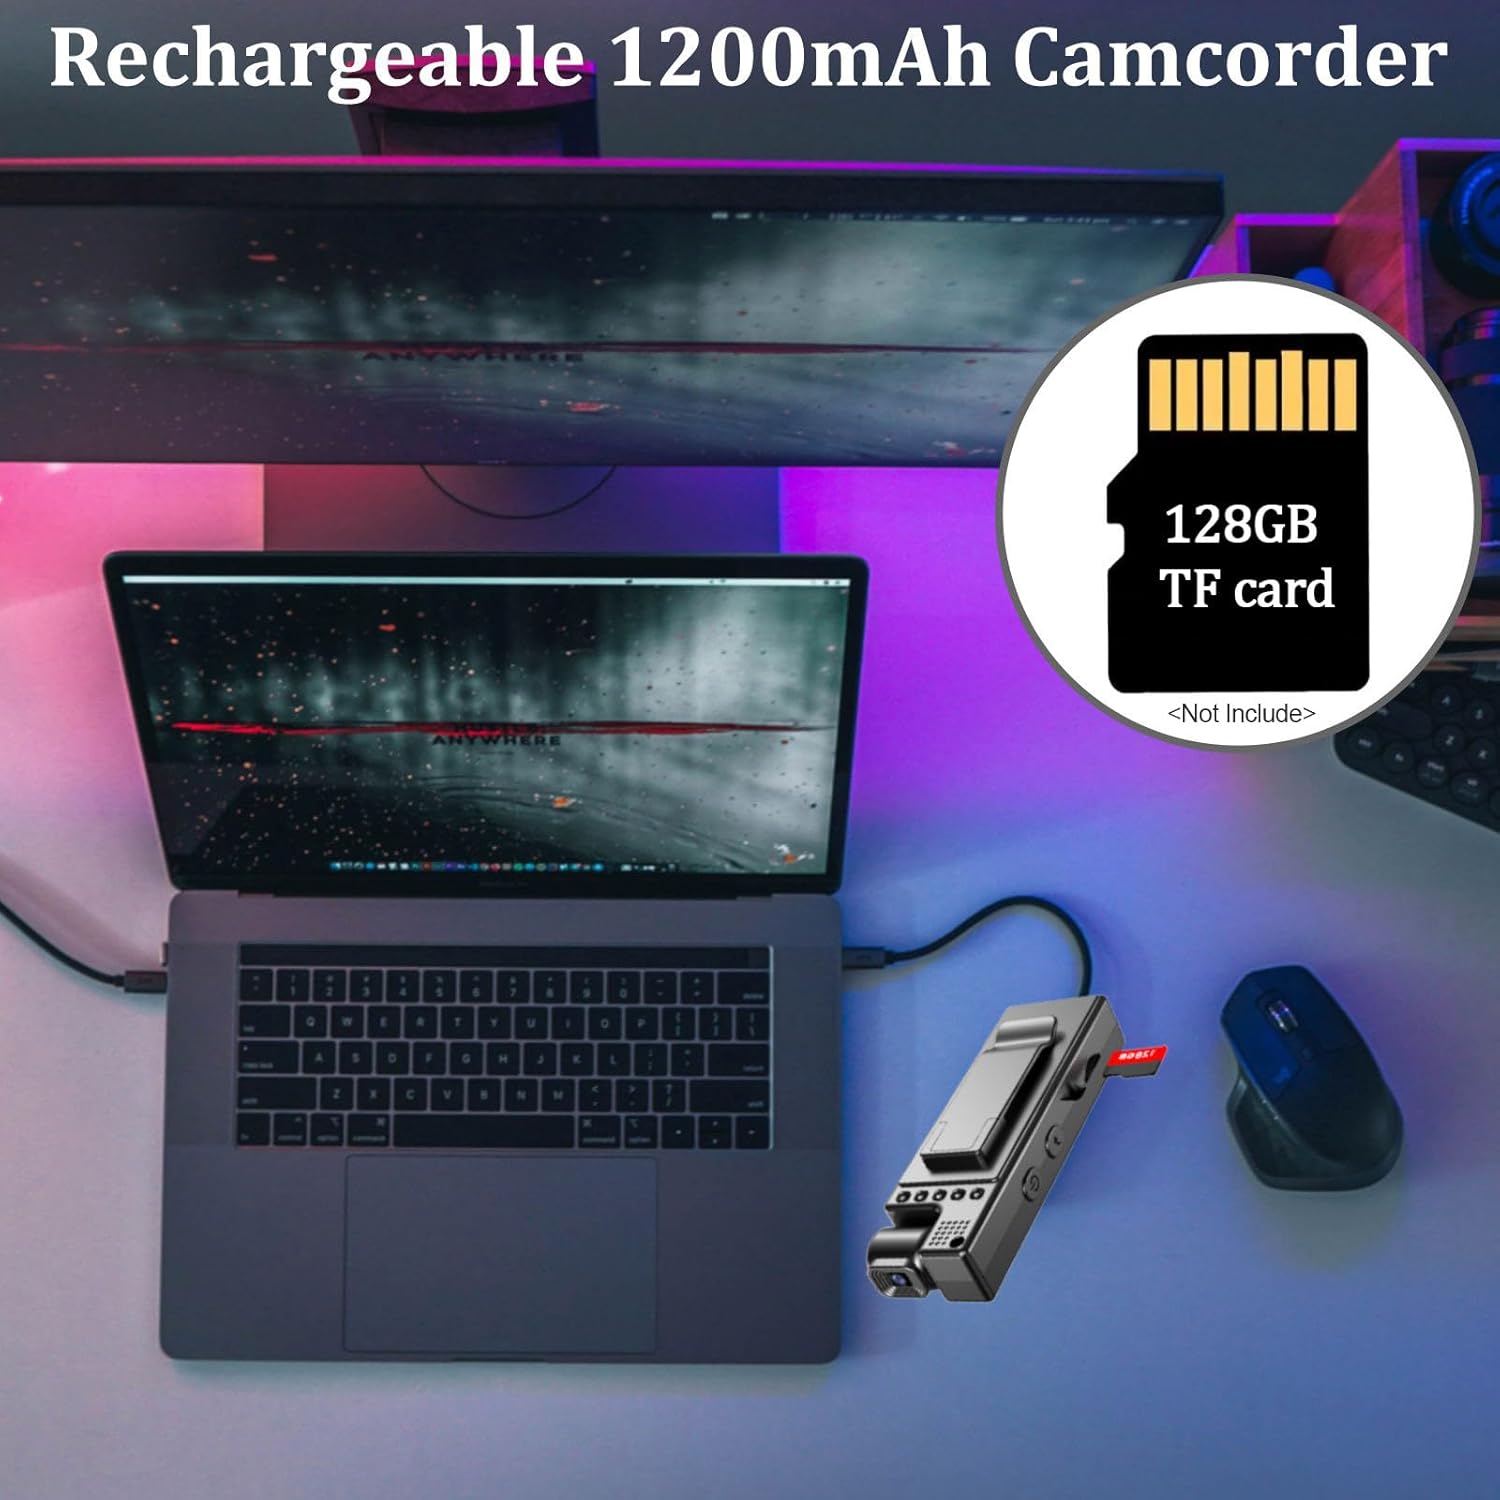
Figure 3.3: Detail of the 180° rotatable lens. This image illustrates how the camera lens can be adjusted to various angles for versatile recording.

Figure 3.4: Front and back views of the Andoer L9 Body Camera. This image highlights key features such as the 180° rotating lens, 1.3-inch HD display, dark night vision, and video download capability.
4. Setup
4.1. Charging the Battery
Before first use, fully charge the camera's internal 1200mAh battery. Connect the camera to a USB power source (5V, ≥1A) using the provided Type-C cable. The charging indicator light will typically show charging status and turn off or change color when fully charged. A full charge provides up to 6 hours of recording time.

Figure 4.1: Charging the camera and inserting a TF card. This image shows the camera connected to a laptop via its Type-C cable, indicating charging and data transfer, alongside an icon for a 128GB TF card (not included).
4.2. Inserting a Memory Card
The camera supports a TF (microSD) card up to 128GB (not included). Locate the TF card slot on the side of the camera. Gently insert the TF card with the gold contacts facing the correct direction until it clicks into place. To remove, press the card gently until it springs out.
Note: It is recommended to format the memory card using the camera's menu settings before initial use to ensure compatibility and optimal performance.
5. Operating Instructions
5.1. Power On/Off
- Power On: Press and hold the Power button (⏻) for a few seconds until the screen illuminates.
- Power Off: Press and hold the Power button (⏻) again until the screen turns off.
5.2. Video Recording
- Ensure a formatted TF card is inserted.
- Power on the camera. The camera will typically enter standby mode or start recording automatically based on settings.
- To start recording, press the Record button. A recording indicator (e.g., a red dot or flashing icon) will appear on the screen.
- To stop recording, press the Record button again. The video file will be saved to the TF card.
Note: Video resolution can be set in the menu (4K, 2K, 1920*1080P, 1280*720P). The video file format is AVI.
5.3. Taking Photos
While in standby mode, press the Photo button (if available, or switch mode via menu) to take a still image. The image file format is JPG. Image resolution can be set in the menu (1M/ 2M/ 3M).
5.4. Motion Detection
When Motion Detection is enabled in the settings, the camera will automatically begin recording when motion is detected. Recording will stop automatically if no motion is detected for approximately 20 seconds. This feature helps conserve battery life and storage space.
5.5. Night Vision
The camera features an automatic night vision function. It activates in low-light conditions and deactivates in sufficient light, ensuring clear video recording even in darkness.
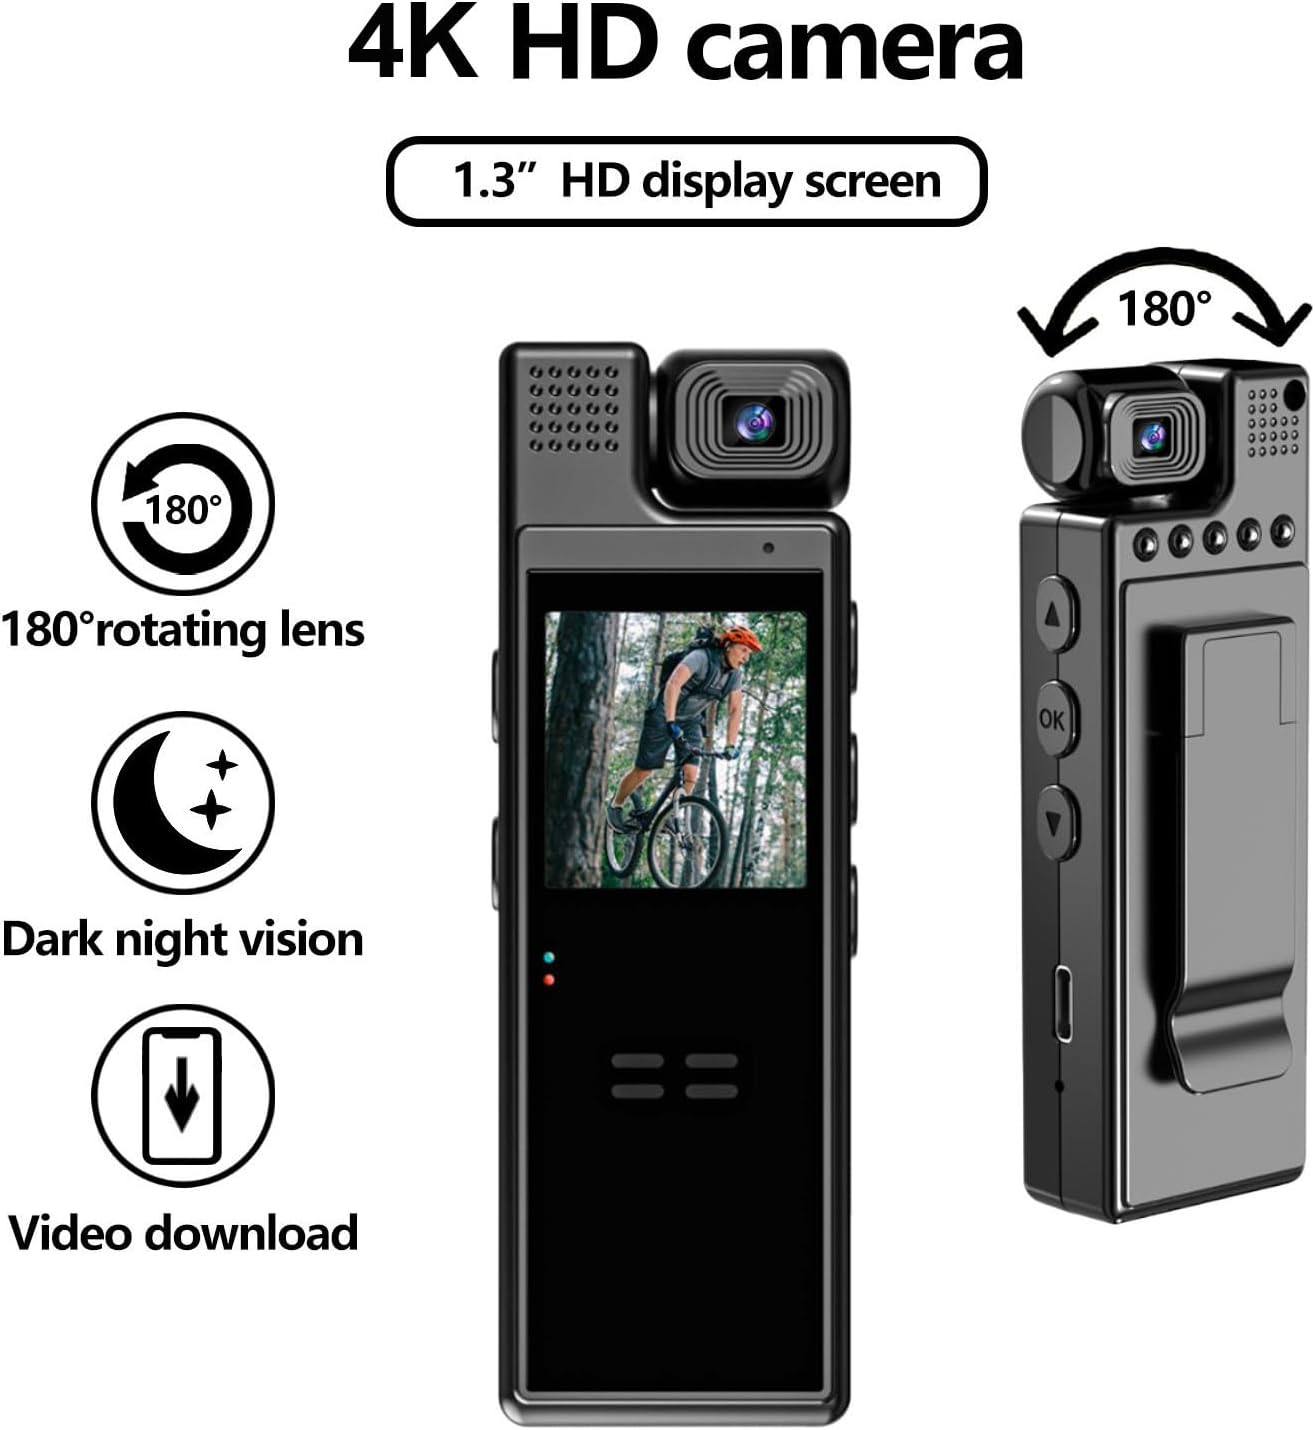
Figure 5.1: Day and Night Vision comparison. This image demonstrates the camera's ability to record clearly in both bright daylight and low-light conditions using its HD IR Night Vision feature.
5.6. Loop Recording
When loop recording is enabled, the camera will continuously record. Once the memory card is full, the oldest files will be overwritten by new recordings. You can set the loop duration in the settings menu (Off/3 minutes/5 minutes/10 minutes/15 minutes).
6. Settings Menu
To access the settings menu, press the Menu button (if available) or navigate using the designated buttons. Use the Up/Down buttons to scroll through options and the OK/Record button to select. The available settings include:
- Video Resolution: 4K, 2K, 1920*1080P, 1280*720P
- Image Resolution: 1M, 2M, 3M
- Loop Video: Off, 3 minutes, 5 minutes, 10 minutes, 15 minutes
- White Balance: Automatic, Daylight, Cloudy, Tungsten, Fluorescent
- Exposure Compensation: -2, -1, 0, 1, 2
- Motion Detection: Off, On
- Recording Function: Off, On (refers to audio recording)
- Time Stamp: Off, On
- Key Tone: Off, On (button press sounds)
- Auto Power Off: Off, 1 minute, 3 minutes
- AC Frequency: 50Hz, 60Hz (for flicker reduction)
- Auto Screen: Off, 3 minutes, 5 minutes, 10 minutes (screen saver)
- Volume: 0ff, 0-7
- Recording File Format: WAV (for audio)
- Formatting: Confirmation, Cancellation (to format TF card)
- Reset System: Confirmation, Cancellation (to restore factory settings)
- Language Setting: English, Simplified Chinese, Traditional Chinese, Japanese, Korean, Russian, French, German, Czech, Portuguese, Polish, Dutch, Turkish, Thai
7. Maintenance
- Cleaning: Use a soft, dry cloth to clean the camera body. For the lens, use a specialized lens cleaning cloth and solution. Avoid harsh chemicals.
- Storage: Store the camera in a cool, dry place away from direct sunlight and extreme temperatures.
- Battery Care: To prolong battery life, avoid fully discharging the battery frequently. If storing for extended periods, charge the battery to about 50% every few months.
- Firmware: Check the manufacturer's website periodically for firmware updates that may improve performance or add features.
8. Troubleshooting
| Problem | Possible Cause | Solution |
|---|---|---|
| Camera does not power on. | Low battery; device malfunction. | Charge the battery fully. If problem persists, contact support. |
| Cannot record video/take photos. | No TF card; TF card full; TF card error; low battery. | Insert a TF card. Delete old files or replace card. Format TF card. Charge battery. |
| Video quality is poor. | Incorrect resolution setting; dirty lens; insufficient lighting. | Check video resolution settings. Clean the lens. Ensure adequate lighting or use night vision. |
| Motion detection not working. | Motion detection is off in settings. | Enable Motion Detection in the settings menu. |
| Camera freezes or becomes unresponsive. | Software glitch; memory card issue. | Press and hold the Power button to force a shutdown, then restart. If issue persists, try formatting the TF card or resetting the system. |
9. Specifications
| Feature | Detail |
|---|---|
| Model | L9 |
| Lens | Rotatable lens, 180 degrees |
| TFT Display | 1.3-inch Color Display (240*240) |
| Video Resolution | 4K, 2K, 1920*1080P, 1280*720P |
| Video File Format | AVI |
| Image Resolution | 1M/ 2M/ 3M |
| Photo Format | JPG |
| Loop Video Options | Off/3 minutes/5 minutes/10 minutes/15 minutes |
| White Balance | Automatic/ Daylight/ Cloudy/ Tungsten/ Fluorescent |
| Exposure Compensation | -2/ -1/ 0/ 1/ 2 |
| Motion Detection | Off, On |
| Recording Function (Audio) | Off, On (WAV format) |
| Time Stamp | Off, On |
| Auto Power Off | Off/ 1 minute/ 3 minutes |
| AC Frequency | 50Hz, 60Hz |
| Auto Screen Off | Off/ 3 minutes/ 5 minutes/ 10 minutes |
| Volume | 0ff, 0-7 |
| Memory Card Support | Up to 128GB TF card |
| Battery | 3.7V, 1200mAh (non-removable) |
| Power Supply | USB voltage 5V, current ≥1A |
| Operating Temperature | -25°C to +75°C (-13°F to +167°F) |
| Working Humidity | 30% |
| Item Weight | 5.3 ounces (approx. 150g) |
| Package Dimensions | 5.12 x 3.54 x 1.97 inches |
| Special Features | Low Light, Night Vision, Time Lapse |
| Connectivity Technology | USB |
10. Warranty and Support
Specific warranty details are not provided in this manual. Please refer to the product packaging or the retailer's website for warranty information. For technical support, product inquiries, or assistance with troubleshooting, please contact Andoer customer service or visit the official Andoer store online:


