
Introduction
This manual provides essential information for the safe and efficient operation of your Kenmore 30-inch 18.2 cu. ft. Top-Freezer Refrigerator. Please read all instructions carefully before installation and use to ensure optimal performance and longevity of your appliance. Keep this manual for future reference.
Important Safety Information
WARNING: To reduce the risk of fire, electric shock, or injury, follow these basic precautions:
- Read all instructions before using the appliance.
- Connect to a properly grounded outlet only.
- Do not repair or replace any part of the refrigerator or attempt any servicing unless specifically recommended in this manual.
- Keep flammable materials and vapors away from the refrigerator.
- Unplug the refrigerator before cleaning or making repairs.
- Ensure proper ventilation around the appliance.
Parts and Features
Your Kenmore refrigerator is designed with convenience and efficiency in mind. Familiarize yourself with its key components:
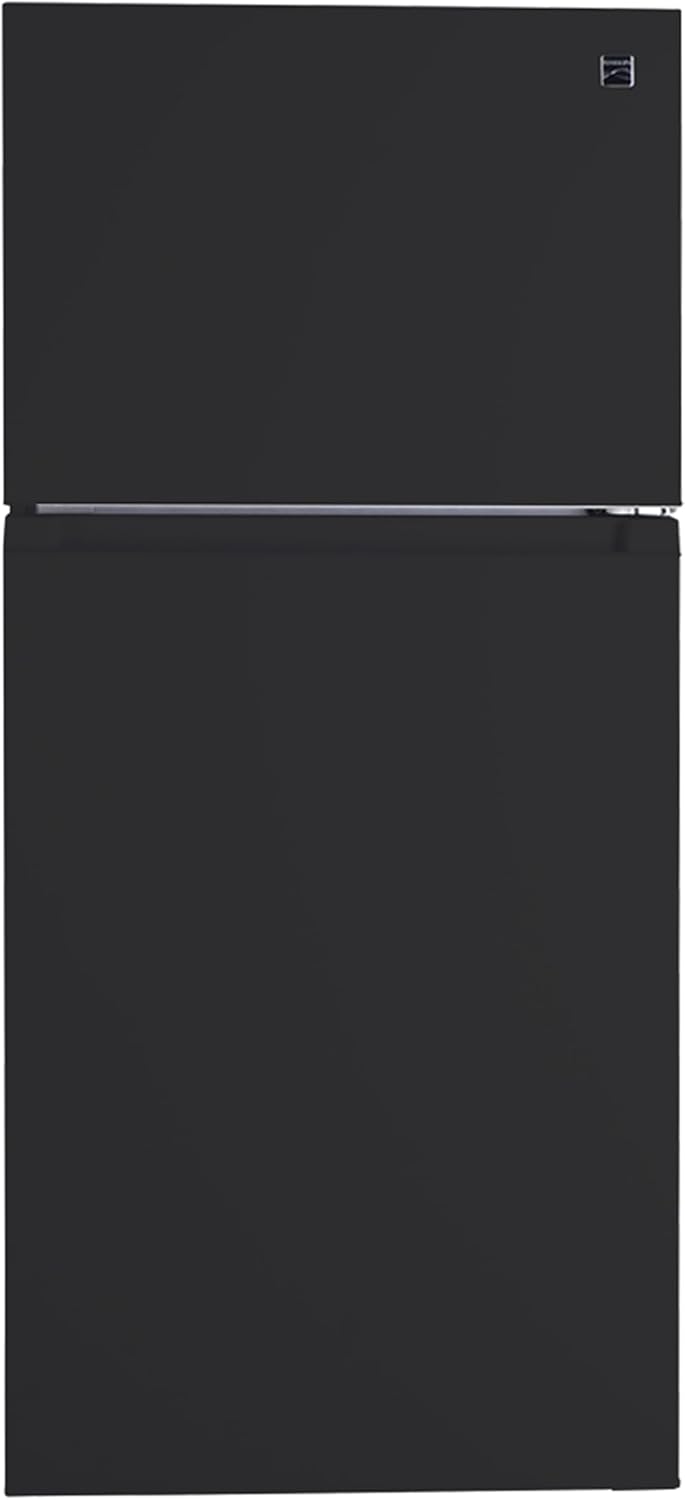

Key Components:
- Adjustable Full-Width Glass Shelves: Tempered glass shelves in the fresh food compartment can be repositioned to accommodate items of various sizes.
- Humidity-Controlled Crispers: Two clear drawers designed to maintain optimal humidity levels for fruits and vegetables.
- Gallon Door Bins: Three clear bins located on the refrigerator door, capable of holding gallon-sized containers.
- Freezer Door Bins: Two full-width bins in the freezer door for organizing smaller frozen items.
- Dedicated Dairy Compartment: A covered section for storing dairy products at an ideal temperature.
- LED Lighting: Energy-efficient lighting illuminates the interior of the fresh food compartment.
- Reversible Door: The refrigerator door hinges can be reversed to open from either the left or right side.
Installation Guide
Location Requirements:
- Place the refrigerator on a level surface strong enough to support its weight when fully loaded.
- Allow adequate clearance around the refrigerator for proper air circulation and door opening. Refer to Figure 2 for dimensions.
- Avoid direct sunlight or proximity to heat sources (e.g., oven, radiator).
Electrical Connection:
Plug the refrigerator into an exclusive 115 Volt, 60 Hz, AC only, 15-amp or 20-amp grounded electrical outlet. Do not use an extension cord.
Leveling the Refrigerator:
Adjust the leveling legs located at the bottom front of the refrigerator to ensure it is stable and level. This helps the doors close properly.
Reversing the Doors (Optional):
The refrigerator doors are reversible. If you need to change the door swing direction, consult a qualified technician or refer to the detailed instructions provided in the full service manual. This process typically involves removing hinges and reattaching them on the opposite side.

Operating Your Refrigerator
Temperature Control:
The temperature control dial is located inside the fresh food compartment. Turn the dial to adjust the cooling level. A setting of 'Normal' or 'Mid' is typically recommended for general use. Allow 24 hours for the refrigerator to reach the set temperature after initial plug-in or adjustment.
Adjustable Shelves:
The glass shelves can be moved to different positions to accommodate items of varying heights. To adjust, carefully lift the shelf, pull it out, and reinsert it into the desired shelf supports. Ensure shelves are securely seated before placing items on them.

Humidity-Controlled Crispers:
Use the humidity control sliders on the crisper drawers to adjust the moisture level. A higher humidity setting is ideal for leafy greens, while a lower setting is better for fruits.
Door Bins:
The gallon-sized door bins provide convenient storage for beverages and condiments. The freezer door bins help organize smaller frozen items for easy access.

Optional Icemaker:
This model is compatible with an optional icemaker kit (sold separately). If installed, the icemaker will automatically produce crescent-shaped ice. Refer to the icemaker kit's instructions for installation and operation details.
Care and Maintenance
Cleaning:
- Interior: Clean the interior surfaces, shelves, and bins regularly with a mild soap and water solution. Rinse and dry thoroughly.
- Exterior: Wipe the exterior with a soft cloth and mild detergent. For the black finish, avoid abrasive cleaners.
- Condenser Coils: Periodically clean the condenser coils located at the back or bottom of the refrigerator to maintain efficiency. Unplug the unit before cleaning.
Defrosting:
This refrigerator features an automatic defrost system, eliminating the need for manual defrosting of the freezer compartment.
Energy Efficiency:
Your Kenmore refrigerator is ENERGY STAR certified, designed to help conserve energy. To maximize efficiency, ensure the doors are closed tightly, avoid frequent or prolonged door openings, and keep the condenser coils clean.

Troubleshooting
Before calling for service, check the following common issues and solutions:
| Problem | Possible Cause | Solution |
|---|---|---|
| Refrigerator does not operate | Not plugged in; circuit breaker tripped; power outage. | Ensure plug is secure; reset circuit breaker; check household power. |
| Temperature is too warm | Temperature control set too high; door left open; warm food added; poor air circulation. | Adjust control to a colder setting; ensure door is closed; allow warm food to cool before storing; ensure proper spacing for air flow. |
| Excessive noise | Refrigerator not level; items vibrating against each other; normal operating sounds. | Level the refrigerator; rearrange items; some sounds (e.g., compressor, defrost) are normal. |
| Water on floor | Drain pan overflowing; clogged defrost drain. | Check and empty drain pan; clear defrost drain with warm water. |
Specifications
| Feature | Specification |
|---|---|
| Brand | Kenmore |
| Model Number | 4662319 |
| Capacity (Total) | 18.2 Cubic Feet |
| Refrigerator Fresh Food Capacity | 13.88 Cubic Feet |
| Freezer Capacity | 4.27 Cubic Feet |
| Dimensions (D x W x H) | 30.75 x 29.53 x 66.38 inches |
| Item Weight | 163 Pounds |
| Installation Type | Freestanding |
| Form Factor | Freezer Top |
| Color | Black |
| Voltage | 115 Volts |
| Annual Energy Consumption | 365 Kilowatt Hours Per Year |
| Defrost System | Automatic |
| Certification | ENERGY STAR |
| Shelf Type | Glass |
| Number of Doors | 2 |
| Crispers/Drawers | 2 |
| Door Hinges | Reversible |
Warranty and Customer Support
For warranty information and customer support, please refer to the warranty card included with your purchase or visit the official Kenmore website. You may also contact Kenmore customer service directly for assistance with product registration, service requests, or technical inquiries.
Online Support: www.kenmore.com/support
Phone Support: Refer to your warranty documentation for the appropriate contact number.


