
ATTACK SHARK X2 Pro
ATTACK SHARK X2 Pro Wireless Gaming Mouse User Manual
Comprehensive guide for setup, operation, and maintenance of your X2 Pro Wireless Gaming Mouse.
1. Product Overview
The ATTACK SHARK X2 Pro is a versatile tri-mode wireless gaming mouse designed for high performance and user convenience. It features 2.4G wireless, Bluetooth, and wired connectivity options, a transparent shell with vibrant RGB lighting, a magnetic charging dock, and adjustable DPI settings. The integrated display shows the battery level, ensuring you are always aware of your mouse's power status.

Image: The ATTACK SHARK X2 Pro mouse and its charging dock, illustrating key features such as tri-mode connection, charging dock, silent clicks, 3D RGB lighting, visible battery level, and 4000 DPI max.
Key Features:
- Tri-Mode Connectivity: Seamlessly switch between 2.4G wireless, Bluetooth, and wired USB-C connections.
- Magnetic RGB Charging Dock: Provides convenient and rapid charging, with adjustable RGB lighting.
- Visible Battery Level: An integrated screen on the mouse displays the current power level.
- Transparent Shell & 3D RGB Lighting: Unique design showcasing internal components with customizable RGB effects.
- Silent Click Buttons: Reduces click noise by up to 90% for a quieter user experience.
- Adjustable DPI: Five customizable DPI levels (1200/1600/2000/2400/4000) for precise control.
- Smart Auto-sleep: Power-saving feature to extend battery life.
2. Package Contents
Please verify that all items are present in your package:
- ATTACK SHARK X2 Pro Wireless Gaming Mouse
- Magnetic RGB Charging Dock
- USB-C Charging Cable
- 2.4G USB Receiver
- User Manual (this document)
3. Setup
3.1. Parts of the Mouse

Image: A diagram illustrating the key components of the ATTACK SHARK X2 Pro mouse, including the USB-C charging cable port, RGB switch button, mode switch button, and USB receiver storage slot.
- USB-C Charging Port: Located at the front of the mouse for wired connection and charging.
- RGB Switch Button: On the bottom of the mouse, used to cycle through RGB lighting effects.
- Mode Switch Button: On the bottom of the mouse, used to select 2.4G, Bluetooth, or OFF mode.
- USB Receiver Storage: A compartment on the bottom of the mouse to store the 2.4G USB receiver when not in use.
- Battery Level Display: A small screen at the rear of the mouse showing the current battery percentage.
3.2. Charging the Mouse
The X2 Pro mouse can be charged using the included magnetic RGB charging dock or directly via the USB-C cable.
- Connect the USB-C charging cable to the magnetic RGB charging dock and a power source (e.g., computer USB port, USB wall adapter).
- Place the mouse onto the charging dock. The magnetic connection will secure it, and the dock's RGB lights will illuminate.
- Alternatively, connect the USB-C cable directly from a power source to the mouse's USB-C port for wired charging and use.
A 10-minute charge provides approximately 5 hours of playtime. The battery level is visible on the mouse's integrated display.
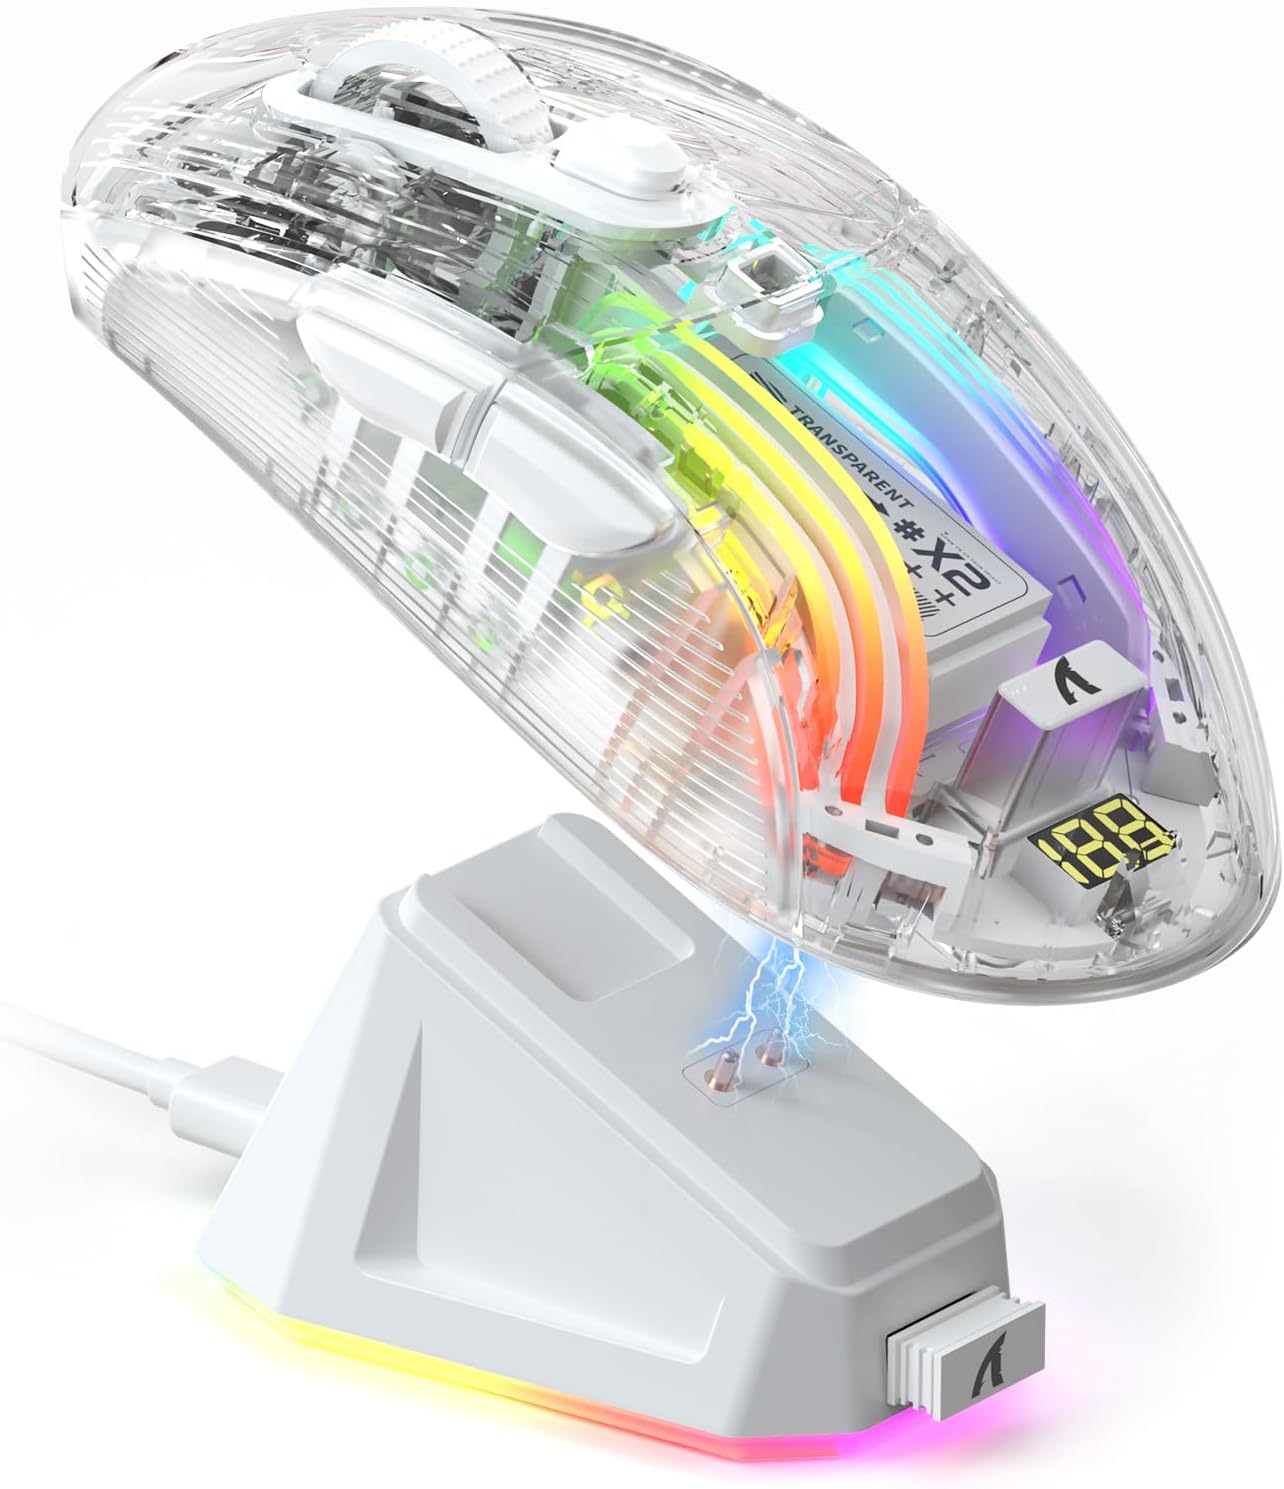
Image: The ATTACK SHARK X2 Pro mouse being charged wirelessly on its magnetic RGB charging dock, with a visible lightning bolt icon indicating charging status.

Image: Two ATTACK SHARK X2 Pro mice, one white and one black, on their respective charging docks, with their integrated displays showing battery levels.
3.3. Connecting the Mouse (Tri-Mode)
The X2 Pro offers three connection modes: 2.4G Wireless, Bluetooth, and Wired.
Video: An overview demonstrating the features of the ATTACK SHARK X2 Pro Wireless Gaming Mouse, including its tri-mode connectivity, magnetic charging dock, visible battery level, and RGB lighting effects.
3.3.1. 2.4G Wireless Mode
- Locate the 2.4G USB receiver stored in the compartment on the bottom of the mouse.
- Plug the 2.4G USB receiver into an available USB port on your computer.
- Slide the mode switch button on the bottom of the mouse to the "2.4G" position.
- The mouse will automatically connect to your device.
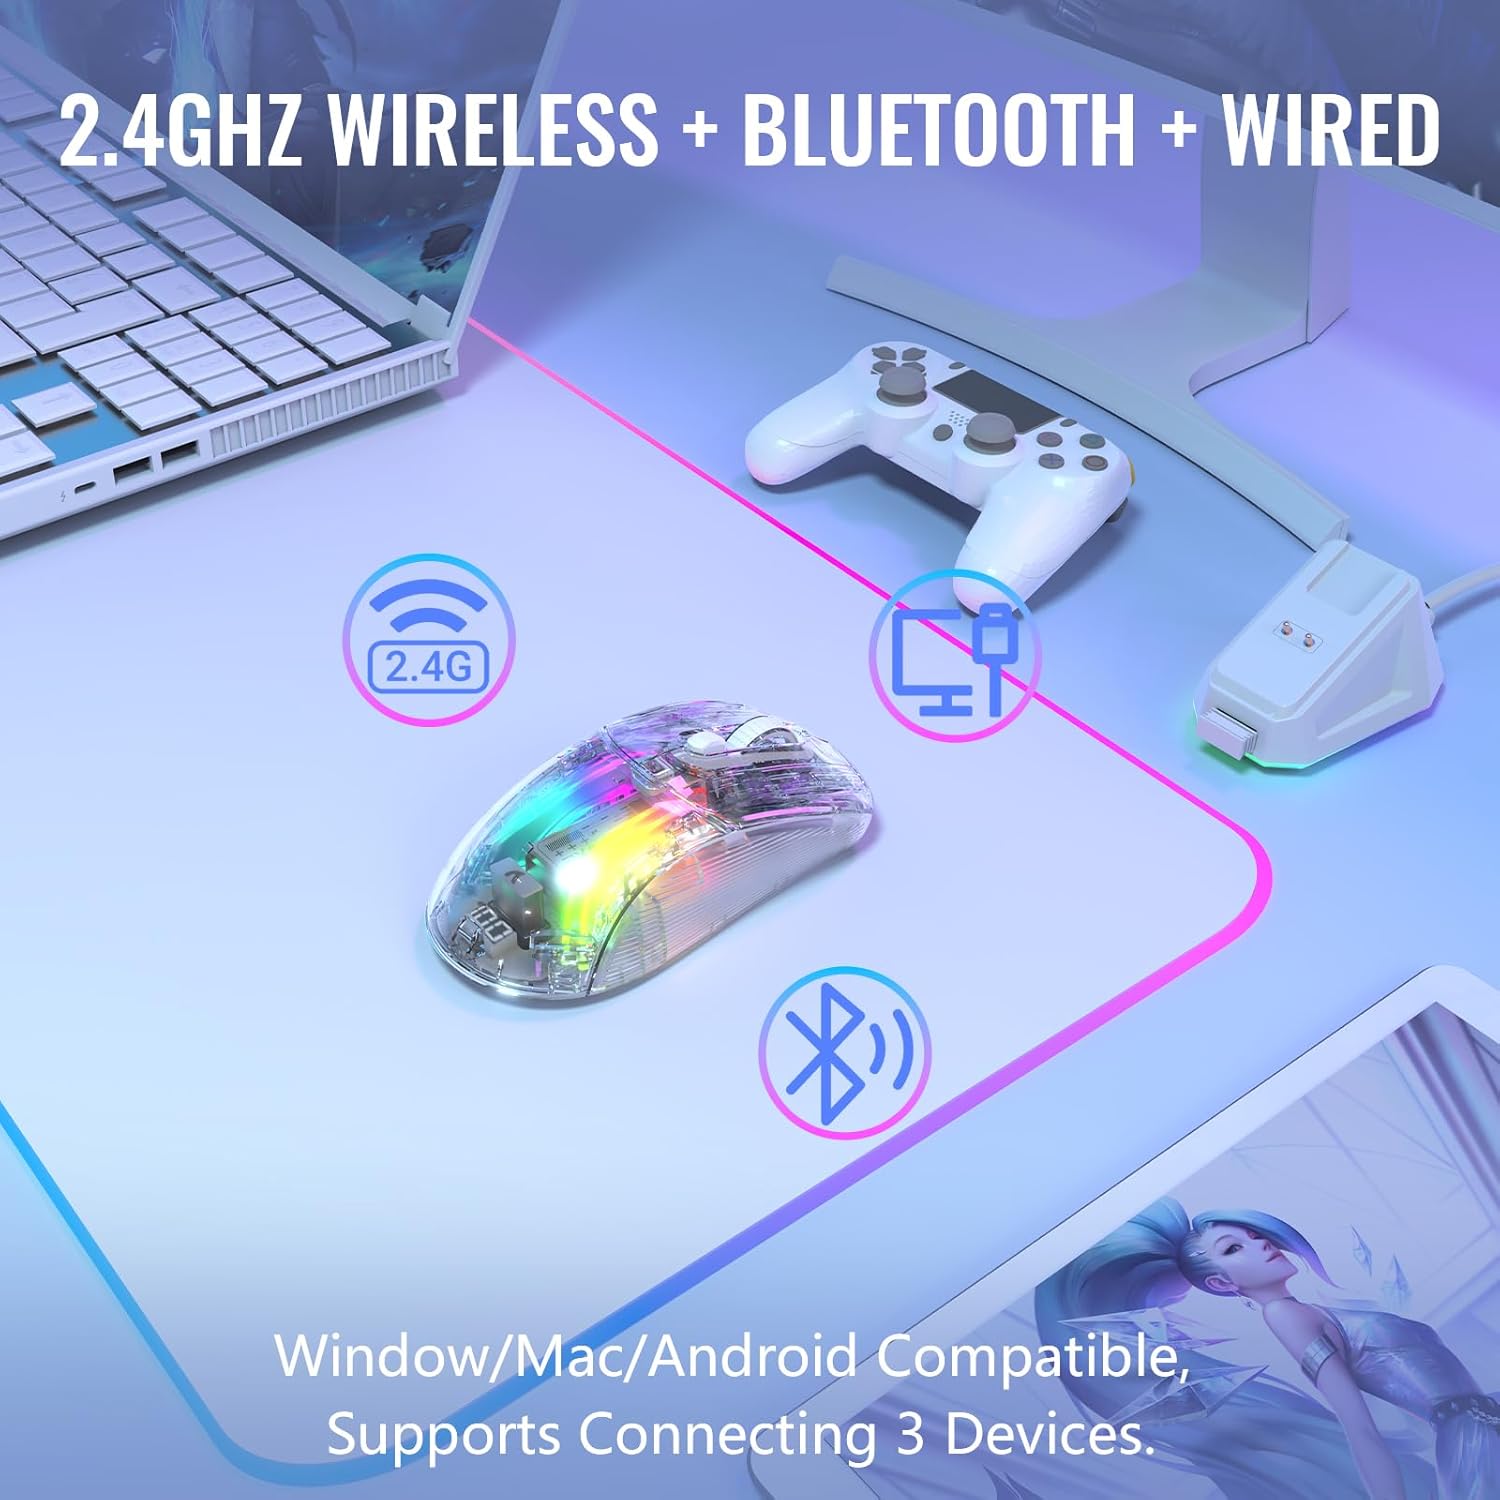
Image: The ATTACK SHARK X2 Pro mouse demonstrating its 2.4GHz wireless, Bluetooth, and wired connectivity options, compatible with Windows, Mac, and Android devices, supporting connection to three devices simultaneously.
3.3.2. Bluetooth Mode
- Slide the mode switch button on the bottom of the mouse to the "BT" (Bluetooth) position.
- The mouse's RGB lighting will flash, indicating it is in pairing mode.
- On your device (computer, tablet, smartphone), go to Bluetooth settings and search for new devices.
- Select "ATTACK SHARK X2 Pro" from the list of available devices to pair.
- Once paired, the mouse's RGB lighting will become steady.
3.3.3. Wired Mode
- Connect the USB-C charging cable directly to the mouse's USB-C port and the other end to your computer's USB port.
- The mouse will automatically switch to wired mode and begin charging.
- You can also slide the mode switch button to "OFF" when using wired mode to conserve battery if desired.
4. Operating the Mouse
4.1. DPI Adjustment
The X2 Pro mouse features 5 adjustable DPI levels to suit your precision needs for gaming or productivity. The default DPI is 1200.
- DPI Levels: 1200 / 1600 / 2000 / 2400 / 4000
- To cycle through DPI settings, press the DPI button located behind the scroll wheel. Each press will switch to the next DPI level.

Image: A visual representation of the five adjustable DPI levels (1200, 1600, 2000, 2400, 4000) available on the ATTACK SHARK X2 Pro mouse, with 1200 DPI as the default setting.
4.2. RGB Lighting Control
The transparent shell of the X2 Pro mouse enhances its 3D RGB lighting effects. You can customize the lighting to match your setup or mood.
- To change the RGB lighting effect, press the RGB switch button on the bottom of the mouse.
- The mouse supports 16.8 million color lighting and 11 different lighting effects.

Image: The ATTACK SHARK X2 Pro mouse displaying its vibrant 3D RGB lighting, highlighting the transparent shell design.
The magnetic charging dock also features adjustable RGB lights. Use the lighting mode switch on the dock to cycle through its lighting effects.
4.3. Battery Level Visibility
The X2 Pro mouse is equipped with a small screen at its rear that displays the current battery percentage, allowing you to monitor power levels at a glance.
4.4. Silent Click Feature
The left and right mouse buttons are designed for silent clicks, reducing noise by up to 90%. This feature is ideal for quiet environments or late-night use.

Image: A hand gripping the ATTACK SHARK X2 Pro mouse, emphasizing its ergonomic design and silent click capability, indicated by a speaker icon with a mute symbol and a keystroke count.
5. Maintenance
Proper maintenance ensures the longevity and optimal performance of your ATTACK SHARK X2 Pro mouse.
5.1. Cleaning
- Use a soft, dry, lint-free cloth to wipe the surface of the mouse and charging dock.
- For stubborn smudges, slightly dampen the cloth with water or a mild, non-abrasive cleaner. Avoid excessive moisture.
- Do not use harsh chemicals, abrasive pads, or solvents, as these can damage the transparent shell and oleophobic coating.
- Clean the optical sensor on the bottom of the mouse periodically with a cotton swab to ensure accurate tracking.
5.2. Battery Care
- The mouse features a Smart Auto-sleep function to conserve power. It will enter sleep mode after 2 minutes of inactivity and can be woken by clicking any button or moving the mouse.
- Avoid fully discharging the battery frequently to prolong its lifespan.
- Store the mouse in a cool, dry place when not in use for extended periods.
6. Troubleshooting
If you encounter issues with your ATTACK SHARK X2 Pro mouse, please refer to the following common solutions:
| Problem | Possible Cause | Solution |
|---|---|---|
| Mouse not responding in 2.4G mode. | USB receiver not properly connected or mouse not in 2.4G mode. | Ensure the USB receiver is securely plugged into a working USB port. Slide the mode switch on the mouse to "2.4G". Try a different USB port. |
| Cannot pair via Bluetooth. | Mouse not in Bluetooth pairing mode or device's Bluetooth is off. | Slide the mode switch to "BT". Ensure your device's Bluetooth is enabled and visible. Remove previous pairings and try again. |
| Mouse not charging. | Charging dock/cable not connected, or mouse not properly seated on dock. | Verify the USB-C cable is connected to the dock and a power source. Ensure the mouse is correctly placed on the magnetic dock. Try charging directly with the USB-C cable. |
| RGB lighting not working or stuck. | Lighting effect frozen or turned off. | Press the RGB switch button on the bottom of the mouse to cycle through effects. Ensure the mouse has sufficient battery. |
| Inaccurate tracking or cursor lag. | Dirty optical sensor or low battery. | Clean the optical sensor. Charge the mouse fully. Ensure you are using the mouse on a suitable surface. |
If the problem persists after trying these solutions, please contact customer support.
7. Specifications
| Feature | Detail |
|---|---|
| Model | X2 Pro |
| Connectivity | 2.4G Wireless, Bluetooth, Wired (USB-C) |
| DPI Levels | 1200 / 1600 / 2000 / 2400 / 4000 (Adjustable) |
| Buttons | Silent Click Left/Right, Scroll Wheel, DPI Button, Mode Switch, RGB Switch |
| Lighting | 3D RGB Backlit, 16.8 Million Colors, 11 Lighting Effects |
| Charging | Magnetic RGB Charging Dock, USB-C Cable |
| Battery Life | Approx. 5 hours playtime with 10 minutes charge |
| Special Features | Transparent Shell, Oleophobic Coating, Visible Battery Level, Smart Auto-sleep, Ergonomic Design |
| Item Weight | 9.1 ounces |
| Package Dimensions | 7.01 x 4.61 x 2.13 inches |
| Manufacturer | ATTACK SHARK |
| Country of Origin | China |
8. Warranty and Support
8.1. Warranty Information
The ATTACK SHARK X2 Pro Wireless Gaming Mouse comes with a standard manufacturer's warranty. Please refer to the warranty card included in your package or visit the official ATTACK SHARK website for detailed warranty terms and conditions.
8.2. Customer Support
For technical assistance, troubleshooting beyond this manual, or warranty claims, please contact ATTACK SHARK customer support. Contact information can typically be found on the product packaging, the official ATTACK SHARK website, or through your retailer.
You can visit the official ATTACK SHARK Store on Amazon for more information: ATTACK SHARK Store
Related documentsX2 Pro


Ask a question about this manual
Ask about setup, troubleshooting, compatibility, parts, safety, or missing instructions. Manuals+ will review the question and use this page’s manual context to help answer it.