
1. Introduction
This manual provides essential information for the proper installation, operation, and maintenance of your MoVols Charge Dock CH1833. This charging dock is designed as a replacement part for specific ECOVACS Deebot robotic vacuum cleaner models.
1.1 Compatibility
The MoVols Charge Dock CH1833 is compatible with the following ECOVACS Deebot robotic vacuum cleaner models:
- ECOVACS Deebot OZMO T8
- ECOVACS Deebot OZMO T8 AIVI
- ECOVACS Deebot OZMO T8+
- ECOVACS Deebot OZMO T9+
- ECOVACS Deebot N8+
- ECOVACS Deebot N8 Pro
1.2 Package Contents
- 1 x MoVols Charge Dock CH1833
- 1 x AU Power Adapter (specific to this variant)
2. Setup
Follow these steps to set up your new MoVols Charge Dock CH1833.
2.1 Unpacking
Carefully remove the charging dock and power adapter from its packaging. Inspect for any visible damage. If any damage is found, do not proceed with installation and contact support.
2.2 Dock Placement
Place the charging dock on a hard, level surface against a wall. Ensure there is at least 0.5 meters (1.6 feet) of clear space on either side of the dock and 1.5 meters (4.9 feet) in front of it. This clear space allows the robotic vacuum cleaner to easily locate and return to the dock for charging.
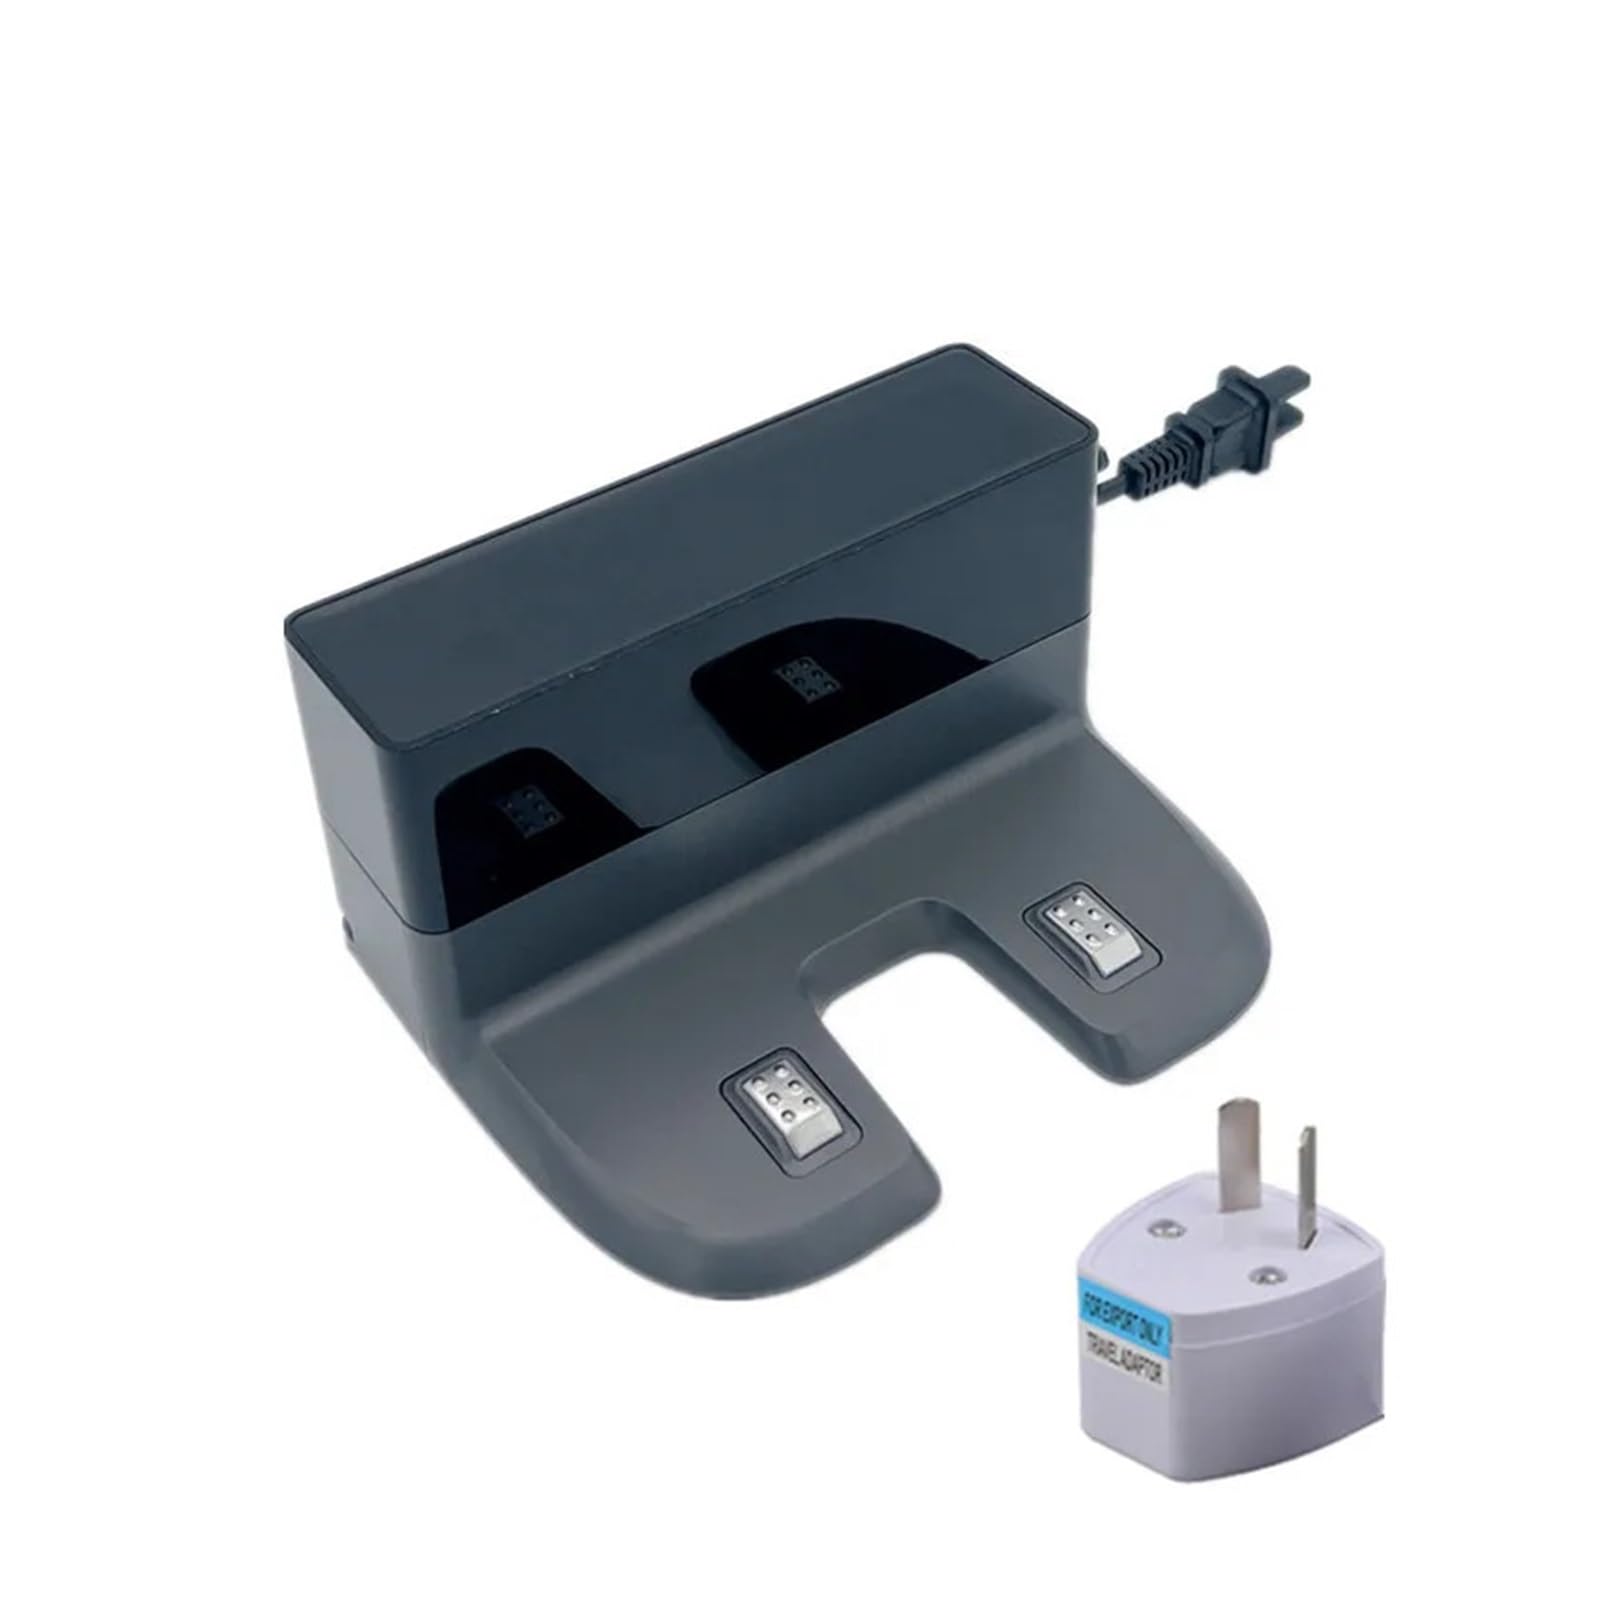
Image: MoVols Charge Dock CH1833 with the included AU power adapter. This image shows the overall design of the charging station.
2.3 Connecting Power
Connect the AU power adapter cable to the power input port on the back of the charging dock. Plug the other end of the power adapter into a standard wall outlet. Ensure the power cable is not obstructed or tangled to prevent tripping hazards or damage.
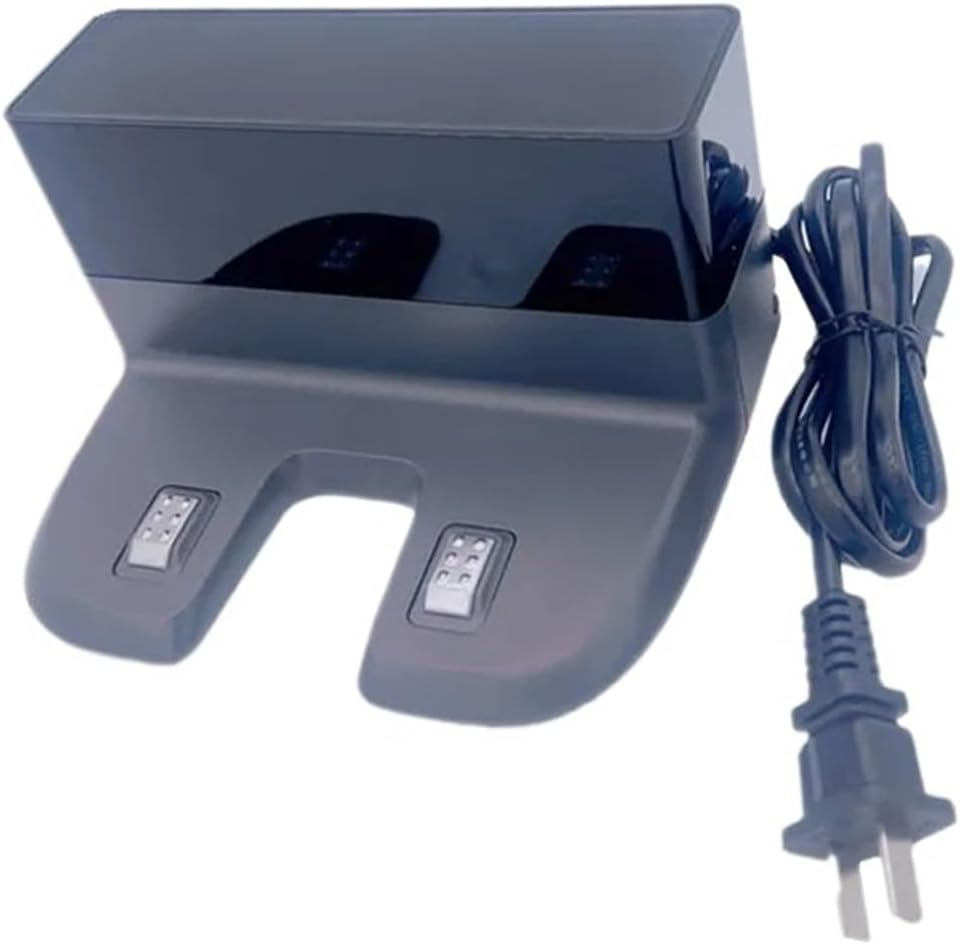
Image: The MoVols Charge Dock CH1833 with its power cord connected, ready for use. This view highlights the connection point for the power supply.
3. Operating Instructions
Once the charging dock is set up, your ECOVACS Deebot robotic vacuum cleaner will automatically return to it for charging when its battery is low or when a cleaning cycle is complete.
3.1 Automatic Charging
Ensure the charging contacts on the robotic vacuum cleaner align with the contacts on the charging dock. The robot will typically emit an audible confirmation or display an indicator light when it successfully docks and begins charging.

Image: An elevated view of the MoVols Charge Dock CH1833, showing the charging pads where the robot makes contact.
4. Maintenance
Regular maintenance of your charging dock ensures optimal performance and extends its lifespan.
4.1 Cleaning Charging Contacts
Periodically inspect the metal charging contacts on the dock for dust or debris. Use a clean, dry cloth to gently wipe the contacts. Do not use water or cleaning solutions directly on the contacts.

Image: A close-up view of the charging contacts on the MoVols Charge Dock CH1833. These contacts must be kept clean for efficient charging.

Image: Another detailed close-up of the charging contacts, emphasizing their design and location on the dock.
4.2 General Care
Keep the charging dock in a dry environment, away from direct sunlight and heat sources. Avoid placing heavy objects on the dock or its power cable.
5. Troubleshooting
If you encounter issues with your charging dock, refer to the following common problems and solutions.
5.1 Robot Not Charging
- Check Power Connection: Ensure the power adapter is securely plugged into both the dock and the wall outlet.
- Verify Power Outlet: Test the wall outlet with another device to confirm it is functional.
- Clean Contacts: Clean the charging contacts on both the dock and the robotic vacuum cleaner as described in Section 4.1.
- Proper Docking: Manually place the robot onto the dock to ensure the contacts align correctly.
5.2 Dock Not Powering On
- Check Power Connection: Re-verify all power connections.
- Inspect Cable: Check the power cable for any visible damage or kinks.
If the issue persists after performing these steps, please contact customer support.
6. Specifications
Technical specifications for the MoVols Charge Dock CH1833:
| Feature | Specification |
|---|---|
| Model | CH1833 |
| Input Voltage | 100-240V~ |
| Input Frequency | 50-60Hz |
| Output Voltage | 24V--- |
| Output Current | 1A |
| Power | 25W |
| Item Weight | 0.035 ounces (approx. 1 gram) |

Image: The bottom of the MoVols Charge Dock CH1833, showing the product label with model number and electrical specifications.
7. Support
For any questions, concerns, or further assistance regarding your MoVols Charge Dock CH1833, please contact the seller directly through the platform where the purchase was made. The seller is committed to providing support and will respond to inquiries as soon as possible.