
1. Product Overview
This PANMILED LED Backlight Strip Replacement Kit is designed for various LG 60-inch TV models. Each kit contains 5 LED backlight strips, each measuring 26.38 inches in length. Each strip features 8 LED beads, with each bead operating at 6V. The strips are equipped with double-sided adhesive for secure installation.
Compatible TV Models: 60UM6950, 60UM7100, 60UM6900, 60UM7100PLB, 60UM6950DUB, 60UM6900DUB, 60UM7100PVB.
Compatible LED Strip Models: LGIT_Y19_60UM71, EAV64732901.
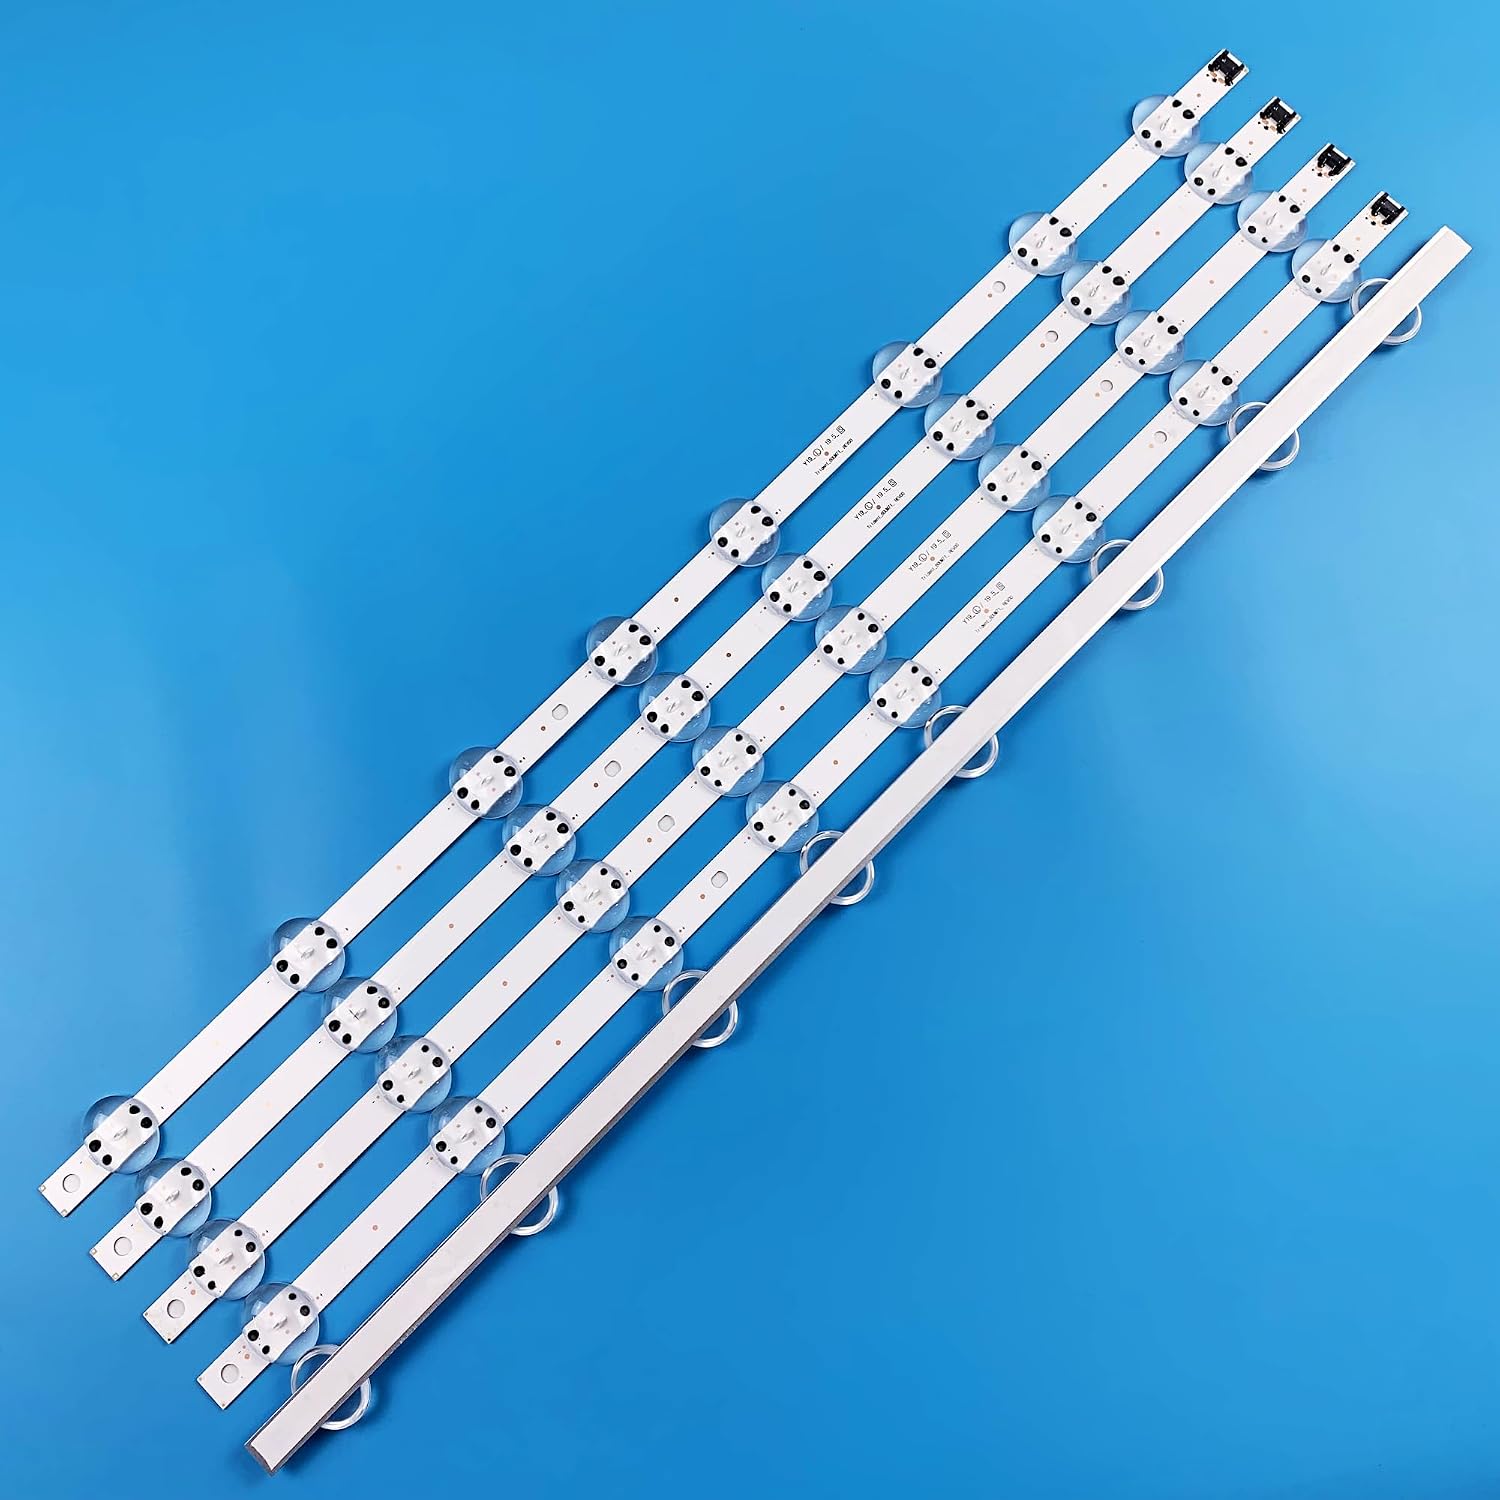
Image 1.1: Overview of the five LED backlight strips included in the kit.
2. Installation and Setup
Before proceeding with installation, it is crucial to verify compatibility and prepare your television. Incorrect installation can damage your TV or the new backlight strips.
2.1 Pre-Installation Checks
- Verify Compatibility: Before ordering, compare the LED light strips shown in the product photos with the original strips inside your TV. If unsure, open the TV and visually compare the original strips with the product images provided.
- Document Original Setup: Before removing any components, take clear photos of the original LED light strip panel and its arrangement within the TV. This will serve as a reference for correct reassembly.
- Power Disconnection: Ensure the television is completely unplugged from the power source before beginning any disassembly.

Image 2.1: Detail of the LED strip model number for compatibility verification.
2.2 Installation Sequence
- Disassemble TV: Carefully disassemble the TV casing and screen layers to access the existing backlight strips. Refer to your TV's specific service manual for detailed disassembly instructions.
- Remove Old Strips: Gently detach the old LED backlight strips. Note their orientation and connection points.
- Prepare New Strips: The new strips come with double-sided adhesive paper on the back. Remove the protective film from the adhesive.
- Install New Strips: Install the new LED light strips strictly following the original direction and arrangement. Use the photos taken during pre-installation as a guide. Ensure all connectors are securely seated.
- Test Functionality: Before fully reassembling the TV, temporarily connect the power and test the new backlight strips to ensure they illuminate correctly.
- Reassemble TV: Once functionality is confirmed, carefully reassemble the TV, ensuring all cables are properly connected and no components are pinched.

Image 2.2: View of the connectors on the LED backlight strips.
Video 2.1: Demonstration of LED backlight strip testing and connection. This video shows how to test individual LED beads and the overall strip functionality before final installation.
3. Operation
Once correctly installed, the LED backlight strips operate automatically as part of your television's display system. There are no user-adjustable settings or controls for the backlight strips themselves. They will illuminate when the TV is powered on and adjust brightness according to the TV's internal settings or external signals.
4. Maintenance
The PANMILED LED backlight strips are designed for long-term, maintenance-free operation. No routine maintenance is required for the strips themselves. For general TV maintenance, ensure the TV is kept in a clean, dry environment and avoid exposing it to extreme temperatures or humidity.
5. Troubleshooting
If you experience issues after installing the new LED backlight strips, consider the following troubleshooting steps:
- No Backlight/Dim Screen:
- Ensure all connectors are firmly seated on the LED strips and the TV's power board.
- Verify that the strips are installed in the correct orientation as per your pre-installation photos.
- Check for any visible damage to the strips or connectors.
- Confirm the TV's power supply unit is functioning correctly.
- Uneven Brightness/Dark Spots:
- This may indicate a faulty LED bead or strip. Re-check connections.
- Ensure the strips are properly aligned and secured with the adhesive.
- Flickering Backlight:
- Check all connections for looseness.
- This could indicate an issue with the TV's power supply or LED driver board.
If troubleshooting steps do not resolve the issue, please contact customer support.
6. Specifications
| Feature | Detail |
|---|---|
| Product Name | LGIT_Y19_60UM71 LED Backlight Strip Replacement Kit |
| Brand | PANMILED |
| Quantity per Set | 5 pieces |
| Strip Length | 26.38 inches (67 cm) |
| LED Beads per Strip | 8 beads |
| LED Bead Voltage | 6V per bead |
| Adhesive | Double-sided adhesive paper on the back |
| Material | Aluminum |
| Light Color | Cool White |
| Wattage | 3 watts (per strip, estimated) |
| Indoor/Outdoor Usage | Indoor |
| ASIN | B0CKVDR7KZ |
| GTIN/UPC | 749771296648 |
7. Warranty Information
This product comes with a 90-day after-sales service guarantee provided by PANMILED. This warranty covers manufacturing defects and ensures product functionality under normal use.
Extended protection plans may be available for purchase separately:
- 3-Year Protection Plan
- 4-Year Protection Plan
- Complete Protect (monthly subscription)
Please refer to the terms and conditions of any purchased protection plan for full coverage details.
8. Customer Support
For any questions, concerns, or assistance with installation or troubleshooting, please do not hesitate to contact PANMILED customer service. We aim to reply to all inquiries within 24 hours to resolve your concerns.
You can typically find contact information through the retailer where you purchased the product or by visiting the official PANMILED store page.