
1. Introduction
This manual provides essential information for the safe and efficient operation, maintenance, and troubleshooting of your Briggs & Stratton 104M02-0254-F1 Exi Series 7.25 GT 163cc Vertical Shaft Engine. This genuine single-cylinder engine is designed to deliver dependable power for various equipment needs. Please read this manual thoroughly before operating the engine to ensure proper use and longevity.
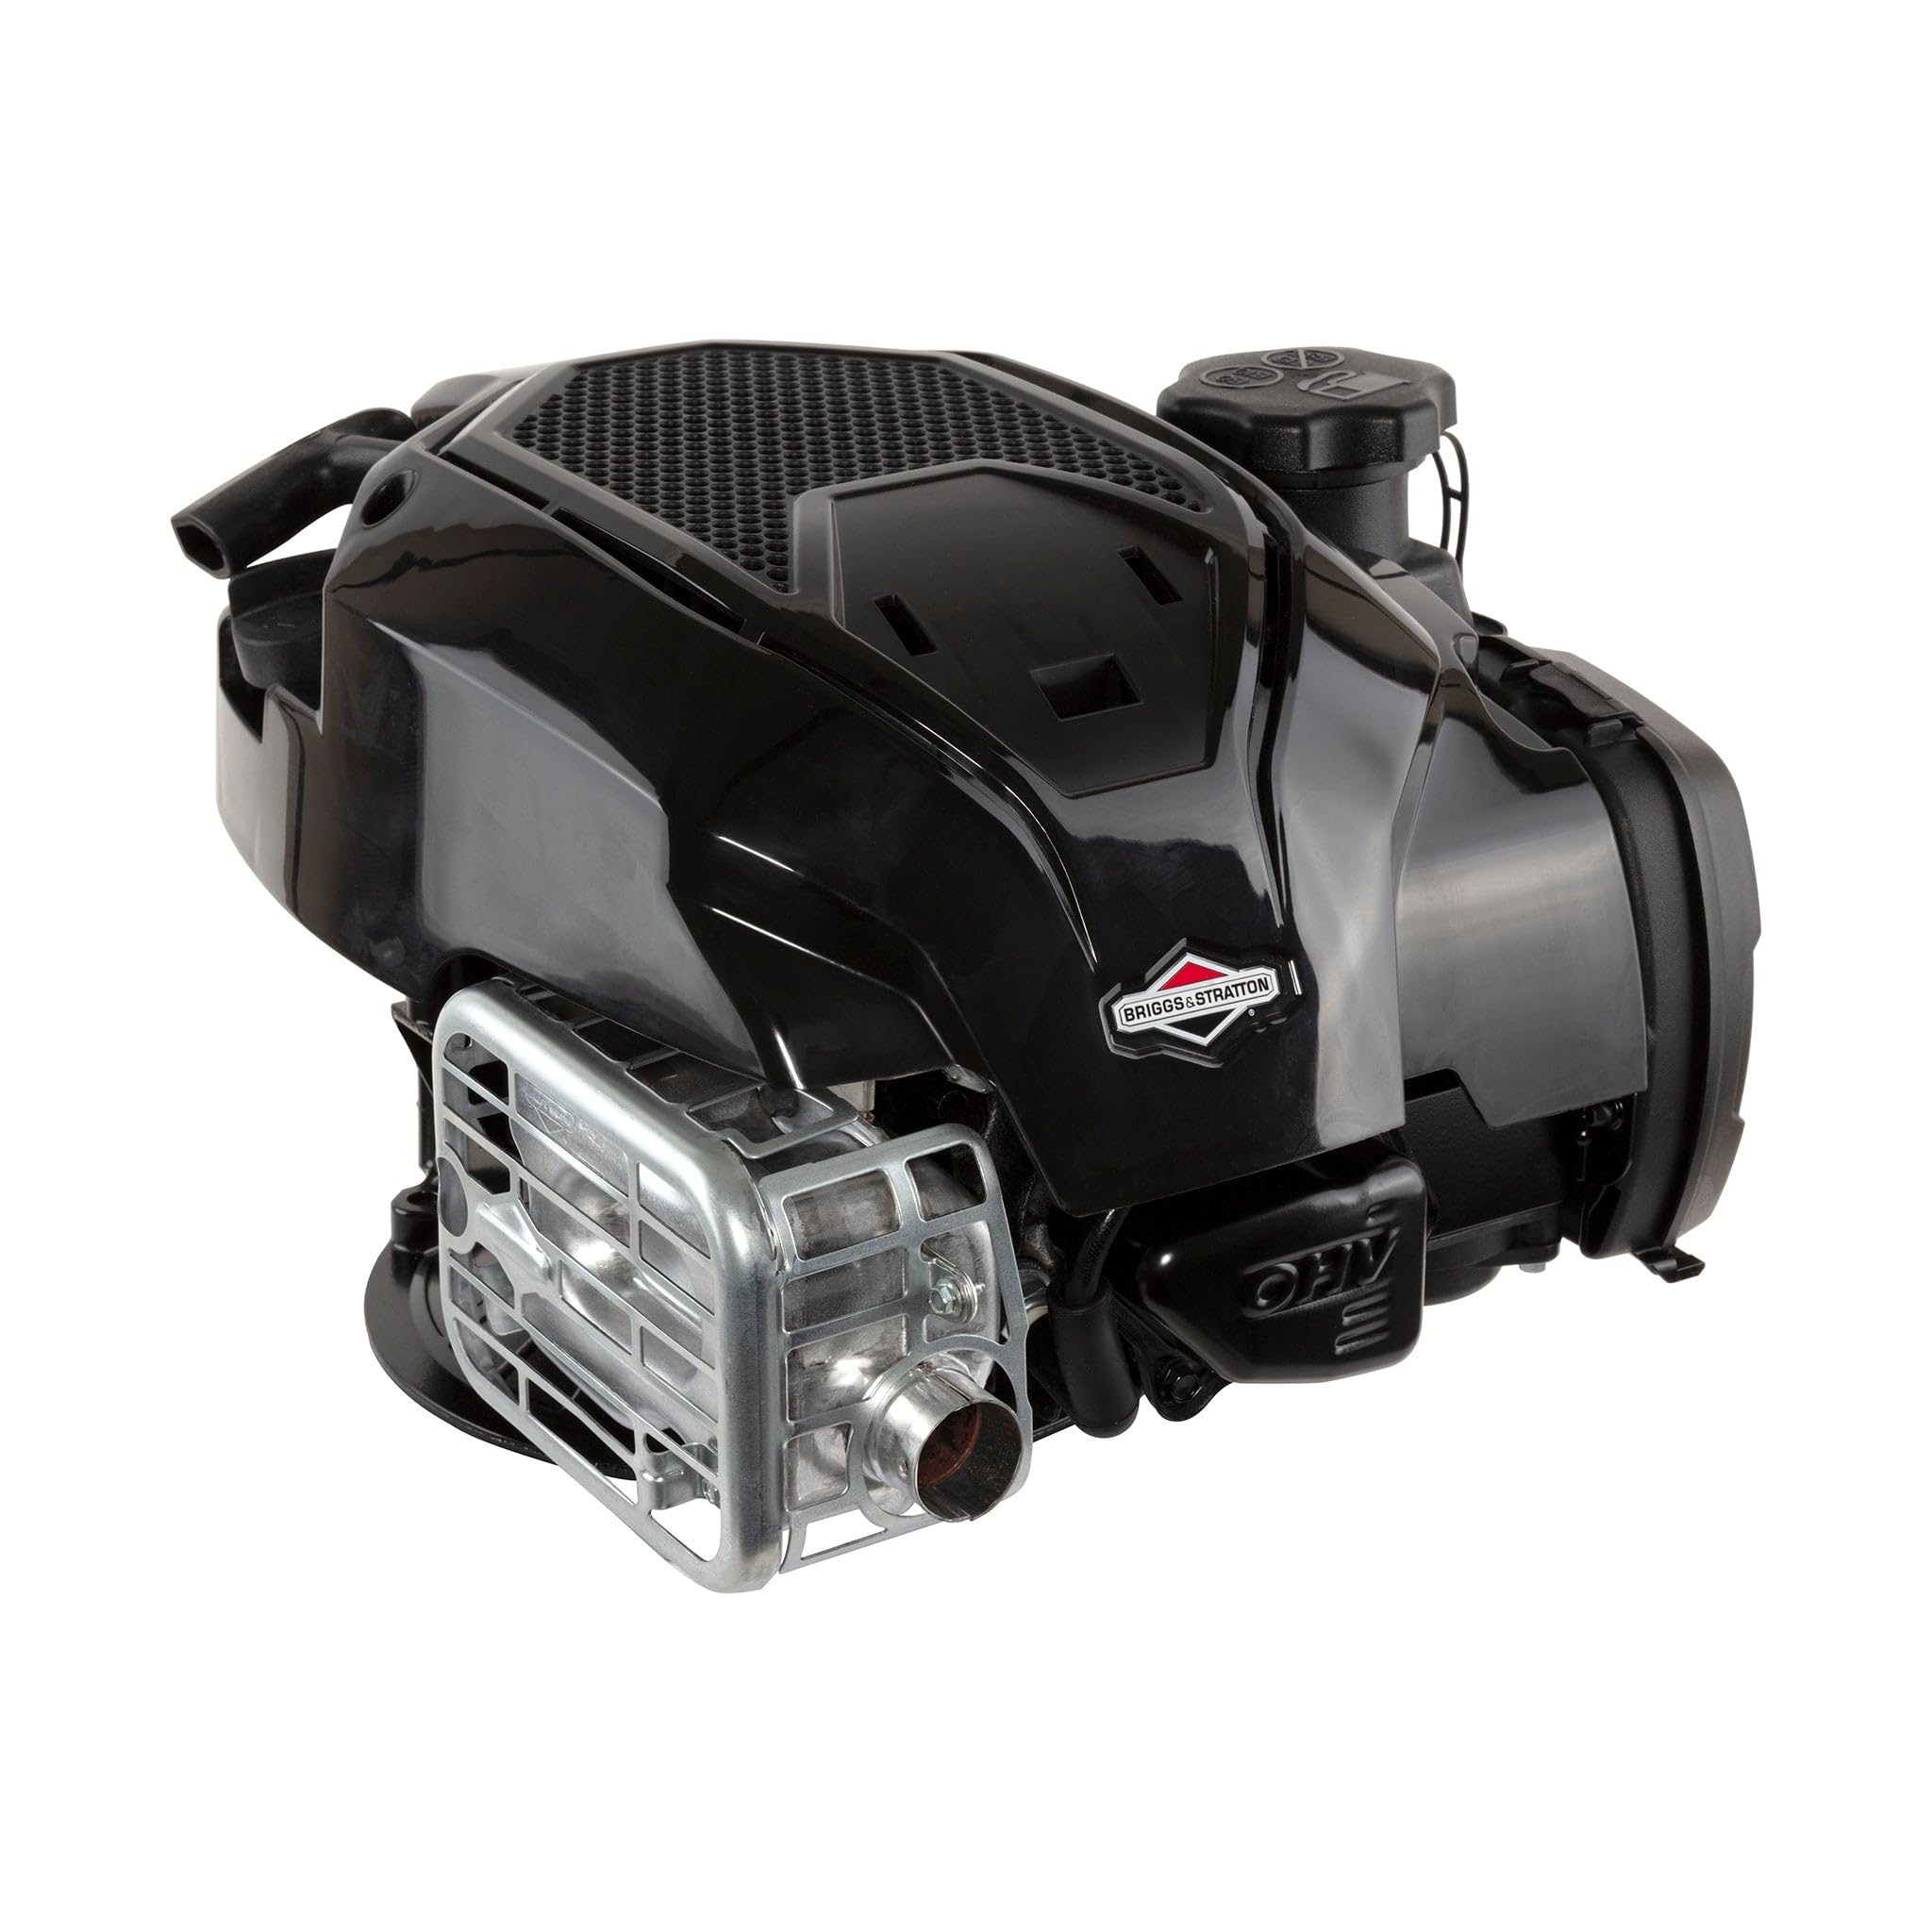
Figure 1: Briggs & Stratton 104M02-0254-F1 Exi Series Engine, top-front view.
Key Features:
- Just Check & Add Technology: Eliminates the need for oil changes. Simply check oil levels and add as needed.
- ReadyStart Starting System: Provides easy starting without priming or choking.
- Mow N' Stow Technology: Allows compatible lawn mowers to be stored upright without fuel or oil leaks.
- Lightweight Design: Approximately 30% lighter than comparable engines for improved maneuverability.
- Acoustically-Engineered Muffler: Designed for quiet operation.
- EPA Compliant: Meets stringent environmental standards for reduced emissions.
2. Safety Information
Always prioritize safety when operating or maintaining the engine. Failure to follow safety instructions can result in serious injury or property damage.
General Safety Precautions:
- Read and understand all instructions in this manual and any equipment manuals before operation.
- Wear appropriate personal protective equipment (PPE), including eye protection, hearing protection, and sturdy footwear.
- Keep children and bystanders away from the engine and equipment during operation.
- Ensure adequate ventilation when operating the engine, as exhaust fumes contain carbon monoxide, which is a colorless, odorless, and deadly gas.
- Never operate the engine indoors or in poorly ventilated areas.
Fuel Safety:
- Fuel is highly flammable. Handle with extreme care.
- Store fuel in approved containers in a well-ventilated area, away from ignition sources.
- Never refuel a hot or running engine. Allow the engine to cool before adding fuel.
- Do not overfill the fuel tank. Leave space for fuel expansion.
- Clean up any spilled fuel immediately.
Moving Parts and Hot Surfaces:
- Keep hands, feet, and clothing away from rotating parts such as the crankshaft and flywheel.
- The engine and muffler become very hot during operation and remain hot for some time after shutdown. Avoid contact to prevent burns.
Proposition 65 Warning: This product can expose you to chemicals including carbon monoxide, which is known to the State of California to cause birth defects or other reproductive harm. For more information go to www.P65Warnings.ca.gov.

Figure 2: Emission control information label on the engine.
3. Setup and Installation
3.1 Unpacking
Carefully remove the engine from its packaging. Inspect for any shipping damage. Retain all packaging materials until you are satisfied with the product.
3.2 Engine Mounting
This engine is designed for vertical shaft applications. Ensure the mounting surface is flat and secure. The crankshaft dimensions are critical for proper fitment with your equipment.
- Crankshaft Diameter: 25mm
- Crankshaft Length: 3-5/32 inches
- Drilled & Tapped: 7/16-20
- Keyway: 3/16 inch
It is crucial to verify these specifications against your equipment's requirements. If you are replacing an existing engine, confirm that the new engine's specifications match the original. Consult your equipment's manual or a qualified technician if unsure.

Figure 3: Diagram illustrating crankshaft dimensions (25mm diameter, 3-5/32" length).
3.3 Adding Engine Oil
This engine features Just Check & Add Technology, meaning oil changes are not typically required. However, you must ensure the engine has the correct oil level before initial startup.
- Place the engine on a level surface.
- Remove the oil fill cap/dipstick.
- Slowly add the recommended engine oil (refer to the engine label or a Briggs & Stratton service manual for oil type) until the oil level reaches the "FULL" mark on the dipstick. The oil capacity is approximately 16 oz (0.47 liters).
- Do not overfill.
- Replace the oil fill cap/dipstick securely.
3.4 Adding Fuel
Use fresh, clean, unleaded gasoline with an octane rating of 87 or higher. Do not use E85 fuel or fuel containing more than 10% ethanol.
- Ensure the engine is off and cool.
- Remove the fuel cap.
- Fill the fuel tank slowly, leaving space for expansion. Do not fill to the very top.
- Replace the fuel cap securely.
WARNING: Do not store the fuel tank filled above the bottom of the fuel tank deck. Fuel leakage and fire hazard.

Figure 4: Side view of the engine showing the fuel tank and warning label.
4. Operating Instructions
4.1 Pre-Start Checklist
- Check engine oil level.
- Ensure fuel tank is adequately filled.
- Inspect air filter for cleanliness.
- Verify all connections are secure.
- Clear the area around the equipment of any obstructions.
4.2 Starting the Engine (ReadyStart System)
The ReadyStart system simplifies engine starting by eliminating the need for manual priming or choking.
- Ensure the equipment's safety controls are engaged (e.g., blade brake handle on a lawn mower).
- Move the throttle control (if equipped) to the "FAST" or "START" position.
- Firmly pull the starter rope until the engine starts. Do not allow the rope to snap back; guide it gently.
- Allow the engine to warm up for a few moments before engaging the equipment.
4.3 Stopping the Engine
To stop the engine:
- Disengage any equipment attachments.
- Move the throttle control (if equipped) to the "STOP" or "OFF" position.
- If the engine does not stop, refer to your equipment's manual for emergency shutdown procedures.
5. Maintenance
Regular maintenance is crucial for the performance and longevity of your engine. Always refer to the detailed maintenance schedule in your engine's official owner's manual for specific intervals.
5.1 Engine Oil (Just Check & Add)
With Just Check & Add Technology, you do not need to change the oil. Instead, regularly check the oil level and add oil as needed to maintain the proper level. Check the oil before each use.
- Ensure the engine is off and cool, and on a level surface.
- Remove the oil fill cap/dipstick, wipe it clean, reinsert it without threading, then remove to check the level.
- If the oil level is below the "FULL" mark, add recommended oil slowly until it reaches the mark.
- Replace the oil fill cap/dipstick securely.
5.2 Air Filter
A clean air filter is essential for proper engine operation and to prevent dirt from entering the engine. Inspect and clean/replace the air filter regularly, especially in dusty conditions.
- Refer to your engine's official manual for specific air filter cleaning or replacement procedures.
- Never run the engine without an air filter.
5.3 Spark Plug
Inspect the spark plug periodically for wear, carbon buildup, or damage. Replace if necessary, ensuring the correct gap and type as specified in the official engine manual.
5.4 Fuel System
To prevent fuel system issues, especially during storage, use a fuel stabilizer. For long-term storage, it is recommended to run the engine until it runs out of fuel or drain the fuel tank and carburetor.
5.5 Engine Cleaning
Keep the engine clean, especially cooling fins and air intake areas, to prevent overheating. Use a brush or compressed air. Avoid spraying water directly onto the engine, especially electrical components.
6. Troubleshooting
This section provides basic troubleshooting steps for common engine issues. For more complex problems, consult a qualified service technician or the official Briggs & Stratton service manual.
| Problem | Possible Cause | Solution |
|---|---|---|
| Engine will not start |
|
|
| Engine runs rough or stalls |
|
|
| Engine smokes |
|
|
7. Specifications
| Feature | Detail |
|---|---|
| Model Number | 104M02-0254-F1 |
| Engine Series | Exi Series 7.25 GT |
| Displacement | 163cc |
| Maximum RPM | 3000 |
| Oil Capacity | 16 oz (0.47 liters) |
| Crankshaft Diameter | 25mm |
| Crankshaft Length | 3-5/32 inches |
| Crankshaft Drilled & Tapped | 7/16-20 |
| Crankshaft Keyway | 3/16 inch |
| Starting System | ReadyStart |
| Product Dimensions (L x W x H) | 17.5 x 14.75 x 14.75 inches |
| Item Weight | 22.5 pounds |
| Manufacturer | Briggs and Stratton |
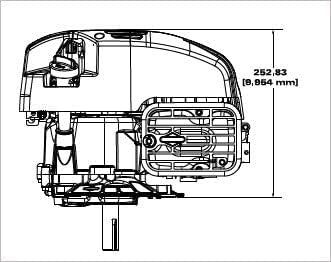
Figure 5: Technical drawing, side view with height (252.83mm).

Figure 6: Technical drawing, top view with width (202mm) and depth (138.25mm).
8. Warranty and Support
8.1 Limited Warranty
This Briggs & Stratton engine comes with a 2-year limited consumer engine warranty. This warranty covers defects in materials and workmanship under normal use. Please refer to the official Briggs & Stratton warranty statement included with your engine or available on their website for full terms and conditions, including exclusions and limitations.
8.2 Customer Support
For technical assistance, parts inquiries, or warranty claims, please contact Briggs & Stratton customer support directly. You can typically find contact information on the official Briggs & Stratton website or in the documentation provided with your engine.
When contacting support, please have your engine model number (104M02-0254-F1) and serial number readily available. The serial number is usually located on a label affixed to the engine block.


