Introduction
This manual provides detailed instructions for setting up, operating, maintaining, and troubleshooting your EPOMAKER CIDOO Nebula 65% VIA-programmable mechanical keyboard DIY kit. The CIDOO Nebula is a compact, versatile keyboard kit featuring a 65% layout, triple connectivity modes (Bluetooth 5.0, 2.4GHz wireless, and Type-C wired), hot-swappable PCB with south-facing RGB LEDs, gasket-mounted design, and a rotary knob. It is compatible with both Windows and MacOS operating systems.
Package Contents
Before you begin, please ensure all items are present in your package:
- CIDOO Nebula Keyboard Barebones Kit
- USB Type-C Cable
- Keycap Puller / Switch Puller Tool
- User Manual
- Decorative Stickers
- Wrist Rest (optional, may be included depending on kit version)

Image: Contents of the EPOMAKER CIDOO Nebula keyboard kit, showing the barebones keyboard, USB-C cable, keycap/switch puller, user manual, and decorative stickers.
Video: An unboxing and overview of the CIDOO Nebula keyboard kit, demonstrating the components and initial setup steps.
Setup
1. Installing Switches and Keycaps
The CIDOO Nebula features a hot-swappable PCB, allowing for easy installation and removal of 3-pin or 5-pin mechanical switches without soldering. Carefully align the pins of your chosen switches with the sockets on the PCB and press down gently until they click into place. Ensure the pins are straight to avoid bending. After installing switches, attach your desired keycaps.

Image: Demonstration of installing/removing switches on the hot-swappable PCB, showing the south-facing LED design.
2. Connecting the Keyboard
The CIDOO Nebula supports three connectivity modes:
- USB Type-C Wired: Connect the keyboard directly to your computer using the provided USB-C cable. This mode offers low-latency input and charges the keyboard battery.
- 2.4GHz Wireless: Locate the 2.4G USB dongle stored in the compartment on the back of the keyboard. Plug the dongle into an available USB port on your computer. Switch the keyboard to 2.4G mode using the switch on the back.
- Bluetooth 5.0: Switch the keyboard to Bluetooth mode using the switch on the back. On your device, search for Bluetooth devices and select "CIDOO Nebula" to pair.

Image: Detailed view of the keyboard's rear, showing the adjustable angles, connectivity switch (2.4G/USB/BT), USB-C port, and the hidden 2.4G dongle compartment.
Video: A quick demonstration of the CIDOO Nebula keyboard's physical features, including its adjustable feet and connectivity options.
3. Adjusting Keyboard Angle
The keyboard features adjustable feet on the underside. Flip them out to achieve a more ergonomic typing angle.
Operating Instructions
1. Switching Connectivity Modes
Use the switch located on the back of the keyboard to toggle between USB (wired), 2.4G (wireless), and BT (Bluetooth) modes.
2. RGB Backlight Settings
Control the keyboard's RGB backlighting using the following key combinations:
- FN + ↑ (Up Arrow): Increase Backlight Brightness
- FN + ↓ (Down Arrow): Decrease Backlight Brightness
- FN + Enter: Turn On/Off Backlight
- FN + \|: Toggle LED Backlight Mode

Image: Visual guide for adjusting backlight settings using FN key combinations.
3. Special Key Combinations
Utilize these FN key combinations for additional functions:
- Fn + Backspace: Reset keyboard to factory settings.
- Fn + WIN: Lock/unlock Windows key.
- Fn + PGUP: Home function.
- Fn + PGDN: End function.

Image: Guide to various key combinations for advanced keyboard functions.
4. Multifunction Knob
The rotary knob provides quick access to media controls:
- Rotate Clockwise: Volume Up
- Rotate Counter-Clockwise: Volume Down
- Press: Play/Pause media
- Press and Hold: Custom Functions (programmable via VIA)

Image: Functions of the multifunction knob for volume control and media playback.
5. Battery Check
To check the battery level in wireless mode, press FN + Space. The RGB lighting will indicate the current battery status.

Image: Instructions for performing a battery check using FN + Space.
6. VIA Programming
The CIDOO Nebula is VIA-programmable, allowing you to remap keys, assign macros, and customize RGB lighting. Download the VIA software from the official EPOMAKER website. Connect the keyboard via USB-C to access full programming capabilities. Wireless VIA configuration is also supported.
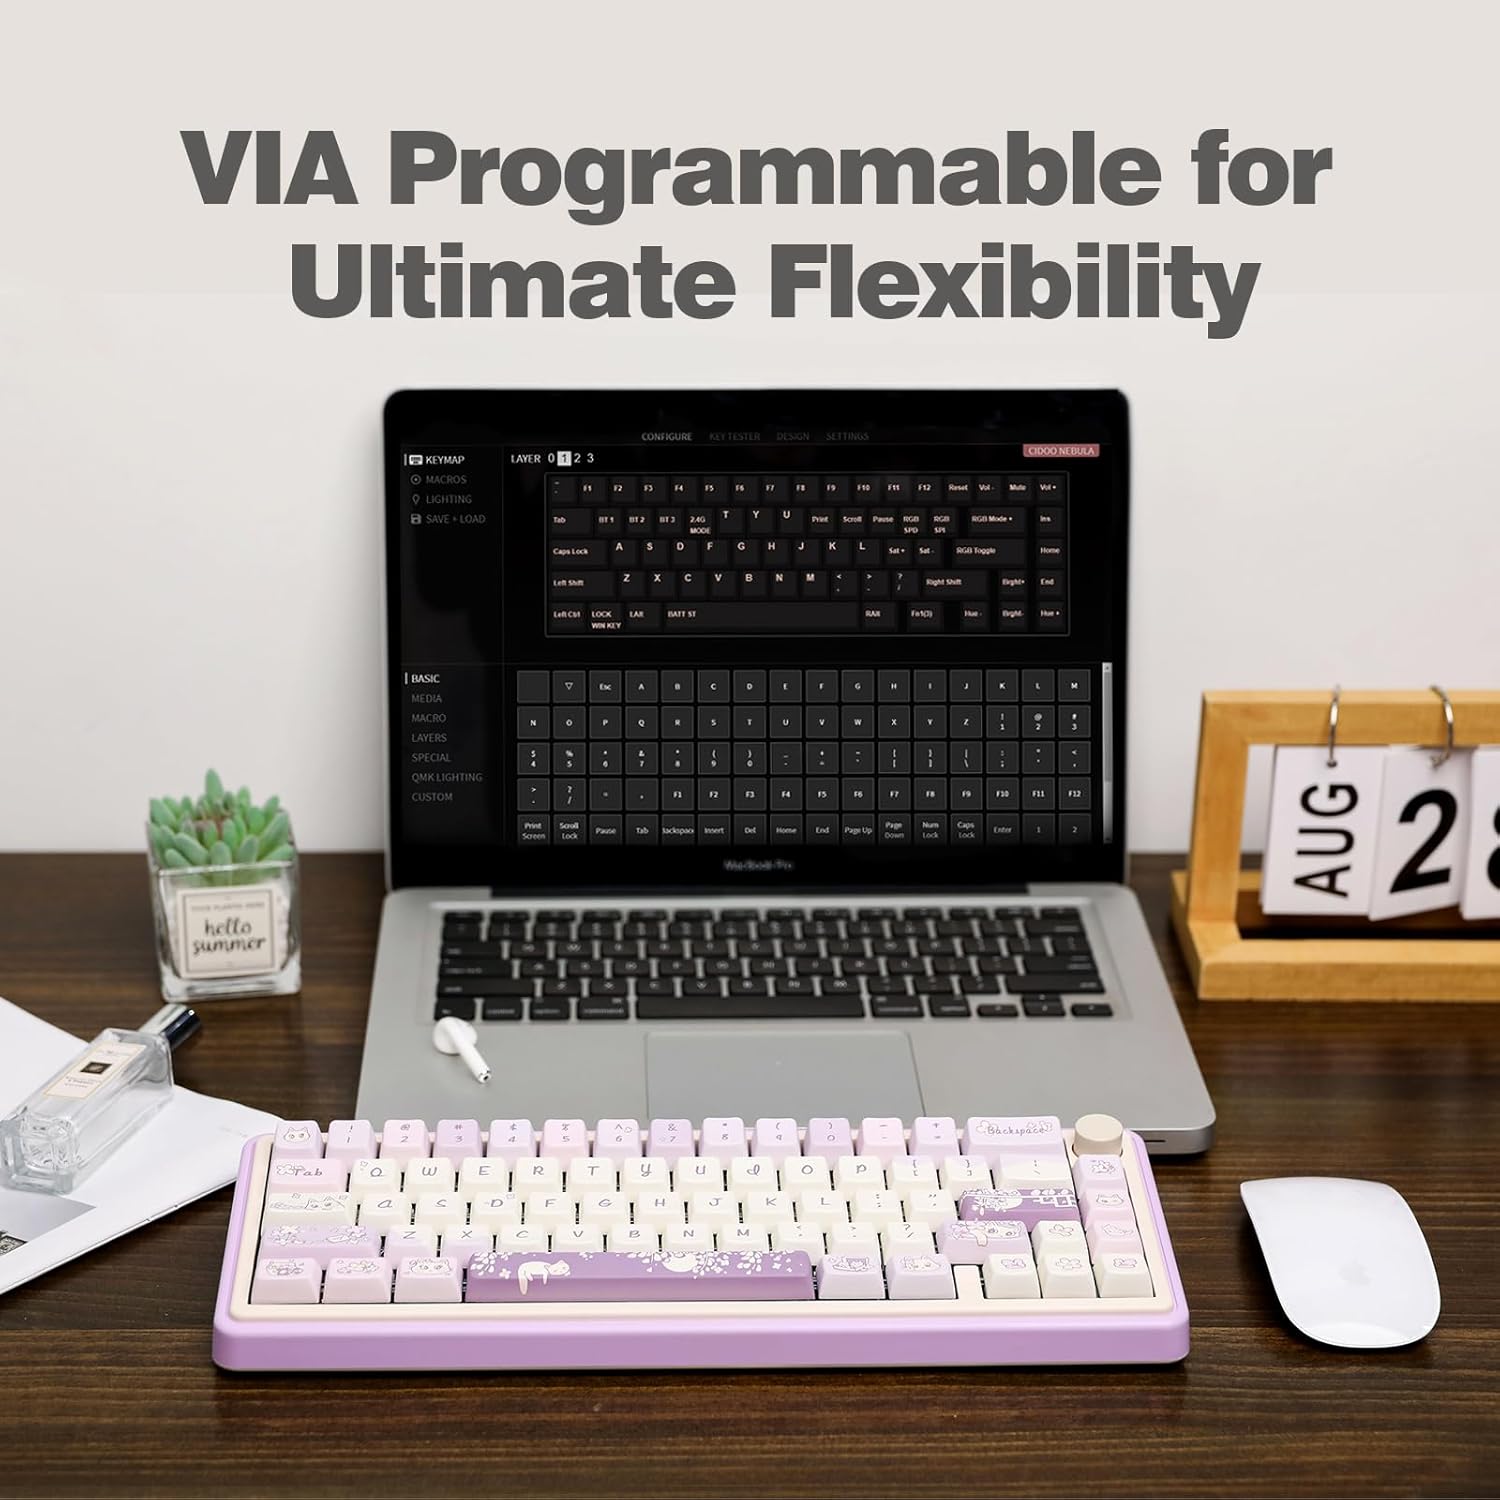
Image: The CIDOO Nebula keyboard connected to a laptop running the VIA software for customization.
7. Windows/MacOS Compatibility
The keyboard is designed for seamless integration with both Windows and MacOS operating systems. Use the VIA software to switch between Win/Mac modes for a customized user experience.
Maintenance
1. Cleaning
To clean your keyboard, first disconnect it from your computer. Use a keycap puller to remove keycaps. Use a soft brush or compressed air to remove dust and debris from between the switches. Wipe keycaps and the keyboard case with a damp, lint-free cloth. Avoid using harsh chemicals.
2. Switch Replacement
When replacing switches, use the provided switch puller tool. Gently grip the switch from the top and bottom clips and pull upwards. When inserting new switches, ensure the pins are perfectly straight and align them carefully with the PCB sockets. Press down firmly but gently. Some users have reported a thin plastic film over the switch pin holes; ensure the switch pins properly penetrate this film to make contact with the PCB. If a key is not registering, remove the switch, straighten any bent pins, and reinsert it.
Troubleshooting
- Keys Not Registering: This is often due to bent switch pins or improper insertion. Remove the affected switch, carefully straighten the pins, and reinsert it ensuring it fully seats into the hot-swap socket. Verify that the switch pins penetrate any protective film on the PCB.
- Connectivity Issues (Wireless/Bluetooth): Ensure the keyboard is in the correct mode (2.4G or BT) using the switch on the back. For 2.4G, ensure the dongle is securely plugged in. For Bluetooth, ensure the keyboard is discoverable and paired correctly with your device. Try resetting the keyboard (Fn + Backspace) and re-pairing.
- Macros Not Working Correctly (VIA): Some users have reported issues with spaces and special characters in VIA macros, leading to incorrect typing. Ensure your VIA software is up to date. If issues persist, try simpler macros or alternative methods for complex sequences.
- Keyboard Not Charging: Ensure the USB-C cable is securely connected to both the keyboard and a power source. Try a different USB-C cable or port.
- RGB Lights Not Working: Check backlight settings using FN key combinations (FN + Enter to toggle, FN + \| to change mode). Ensure the keyboard is not in a low-power state.
Specifications
| Brand | EPOMAKER |
| Model Name | CIDOO Nebula |
| Layout | 65% ANSI (66 Keys) |
| Connectivity | Bluetooth 5.0, 2.4GHz Wireless, USB Type-C Wired |
| Battery Capacity | 3000mAh |
| Backlight | South-facing RGB |
| Special Features | VIA-programmable, Hot-Swappable, Gasket Mounted, Rotary Knob, N-key Rollover, Adjustable Angles |
| Compatible Devices | PC (Windows, MacOS) |
| Dimensions | 36.2 x 15.7 x 5.8 cm; 1.12 kg (Product Dimensions) |
Warranty and Support
EPOMAKER products typically come with a standard manufacturer's warranty. For specific warranty details, including coverage period and terms, please refer to the warranty card included in your product packaging or visit the official EPOMAKER website. For technical support, troubleshooting assistance, or to inquire about replacement parts, please contact EPOMAKER customer service through their official website or the retailer where you purchased the product.
You can find more information and support resources on the EPOMAKER Store Page.


