
Introduction
This manual provides comprehensive instructions for the installation, operation, and maintenance of your FASDUNT Bathroom Exhaust Fan with LED Light, Model EF3. This unit is designed to effectively remove moisture and odors from your bathroom, contributing to a healthier indoor environment. Please read this manual thoroughly before installation and use, and retain it for future reference.
Important Safety Instructions
To reduce the risk of fire, electric shock, or injury to persons, observe the following:
- Read all instructions before installing or servicing this fan.
- Always disconnect power at the service panel before wiring or servicing the unit.
- All wiring must be performed by a qualified electrician in accordance with all applicable codes and standards, including fire-rated construction codes and standards.
- This unit is intended for general ventilating use only. Do not use to exhaust hazardous or explosive materials and vapors.
- To avoid motor bearing damage and noisy and/or unbalanced impellers, keep drywall spray, construction dust, etc., off power unit.
- Never place a switch where it can be reached from a tub or shower.
- This product is designed for ceiling installation only.
- Ensure the power supply is 110 Volts, 60 Hz.
Package Contents
Verify that all components are present before beginning installation:
- FASDUNT Bathroom Exhaust Fan with LED Light (Main Unit)
- Mounting Hardware (screws, wire connectors)
- Installation Manual (this document)
Specifications
| Brand | FASDUNT |
| Model Number | EF3 |
| Airflow (CFM) | 110 CFM |
| Noise Level | 1.0 Sones |
| Power Consumption | 46 Watts |
| Voltage | 110 Volts |
| Light Type | LED, 5000K (Daylight White) |
| Material | Metal or Plastic |
| Product Dimensions (L x W x H) | 27.43 x 27.43 x 20.19 cm (10.8 x 10.8 x 7.95 inches) |
| Item Weight | 1.5 Kilograms (3.3 lbs) |
Installation Instructions
Proper installation is crucial for the optimal performance and safety of your exhaust fan. It is recommended that installation be performed by a qualified professional.
1. Pre-Installation Considerations
- Location: Choose a ceiling location that allows for proper ducting to the outside. Avoid installing directly over a shower or tub unless specifically rated for such use and protected by a GFCI circuit.
- Ducting: Ensure you have appropriate ductwork (typically 4-inch round) available to connect the fan to an exterior vent cap.
- Wiring: Confirm that a 110V AC power supply is available at the installation site.
2. Mounting the Fan Housing
- Turn off power at the circuit breaker before starting any work.
- Cut an opening in the ceiling according to the fan's rough-in dimensions (refer to product specifications for exact measurements).
- Secure the fan housing to the ceiling joists using appropriate mounting hardware. Ensure the housing is level and securely fastened.
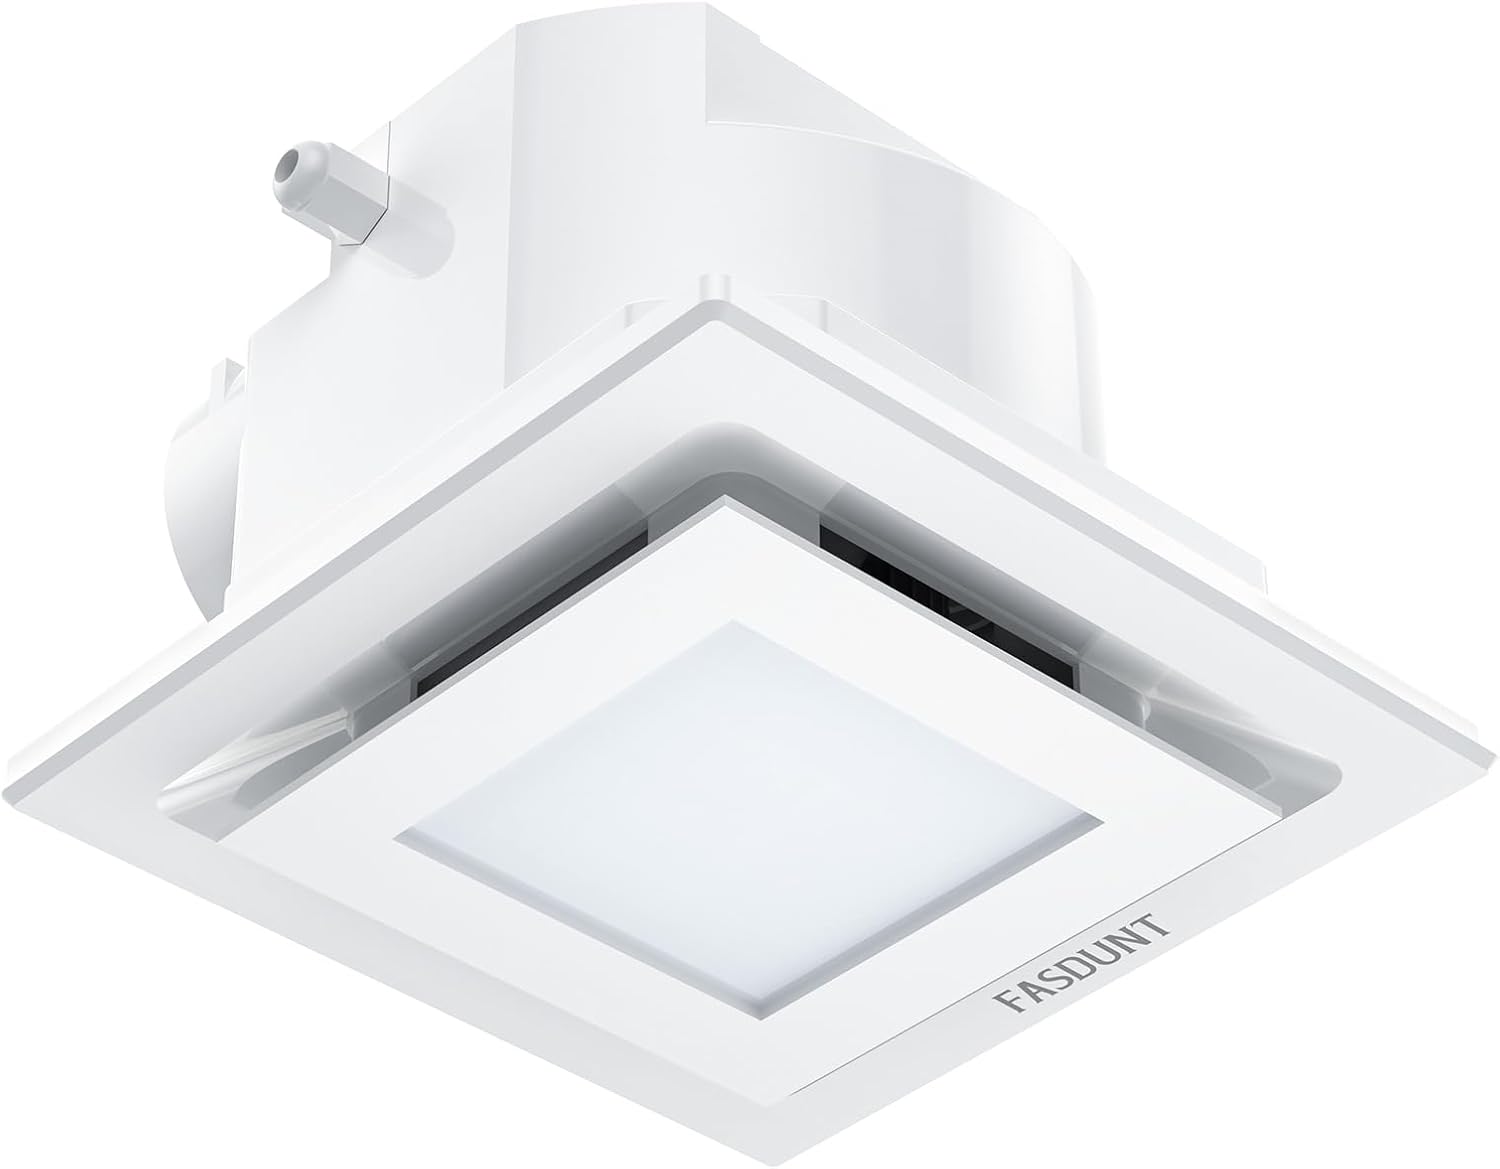
Figure 1: Main unit of the FASDUNT Bathroom Exhaust Fan with LED light, showing its compact design for ceiling installation.
3. Duct Connection
- Connect the appropriate size ductwork (typically 4-inch round) to the fan's exhaust collar.
- Secure the ductwork with duct tape or clamps to ensure an airtight seal.
- Route the ductwork to the exterior vent cap, ensuring minimal bends for optimal airflow.
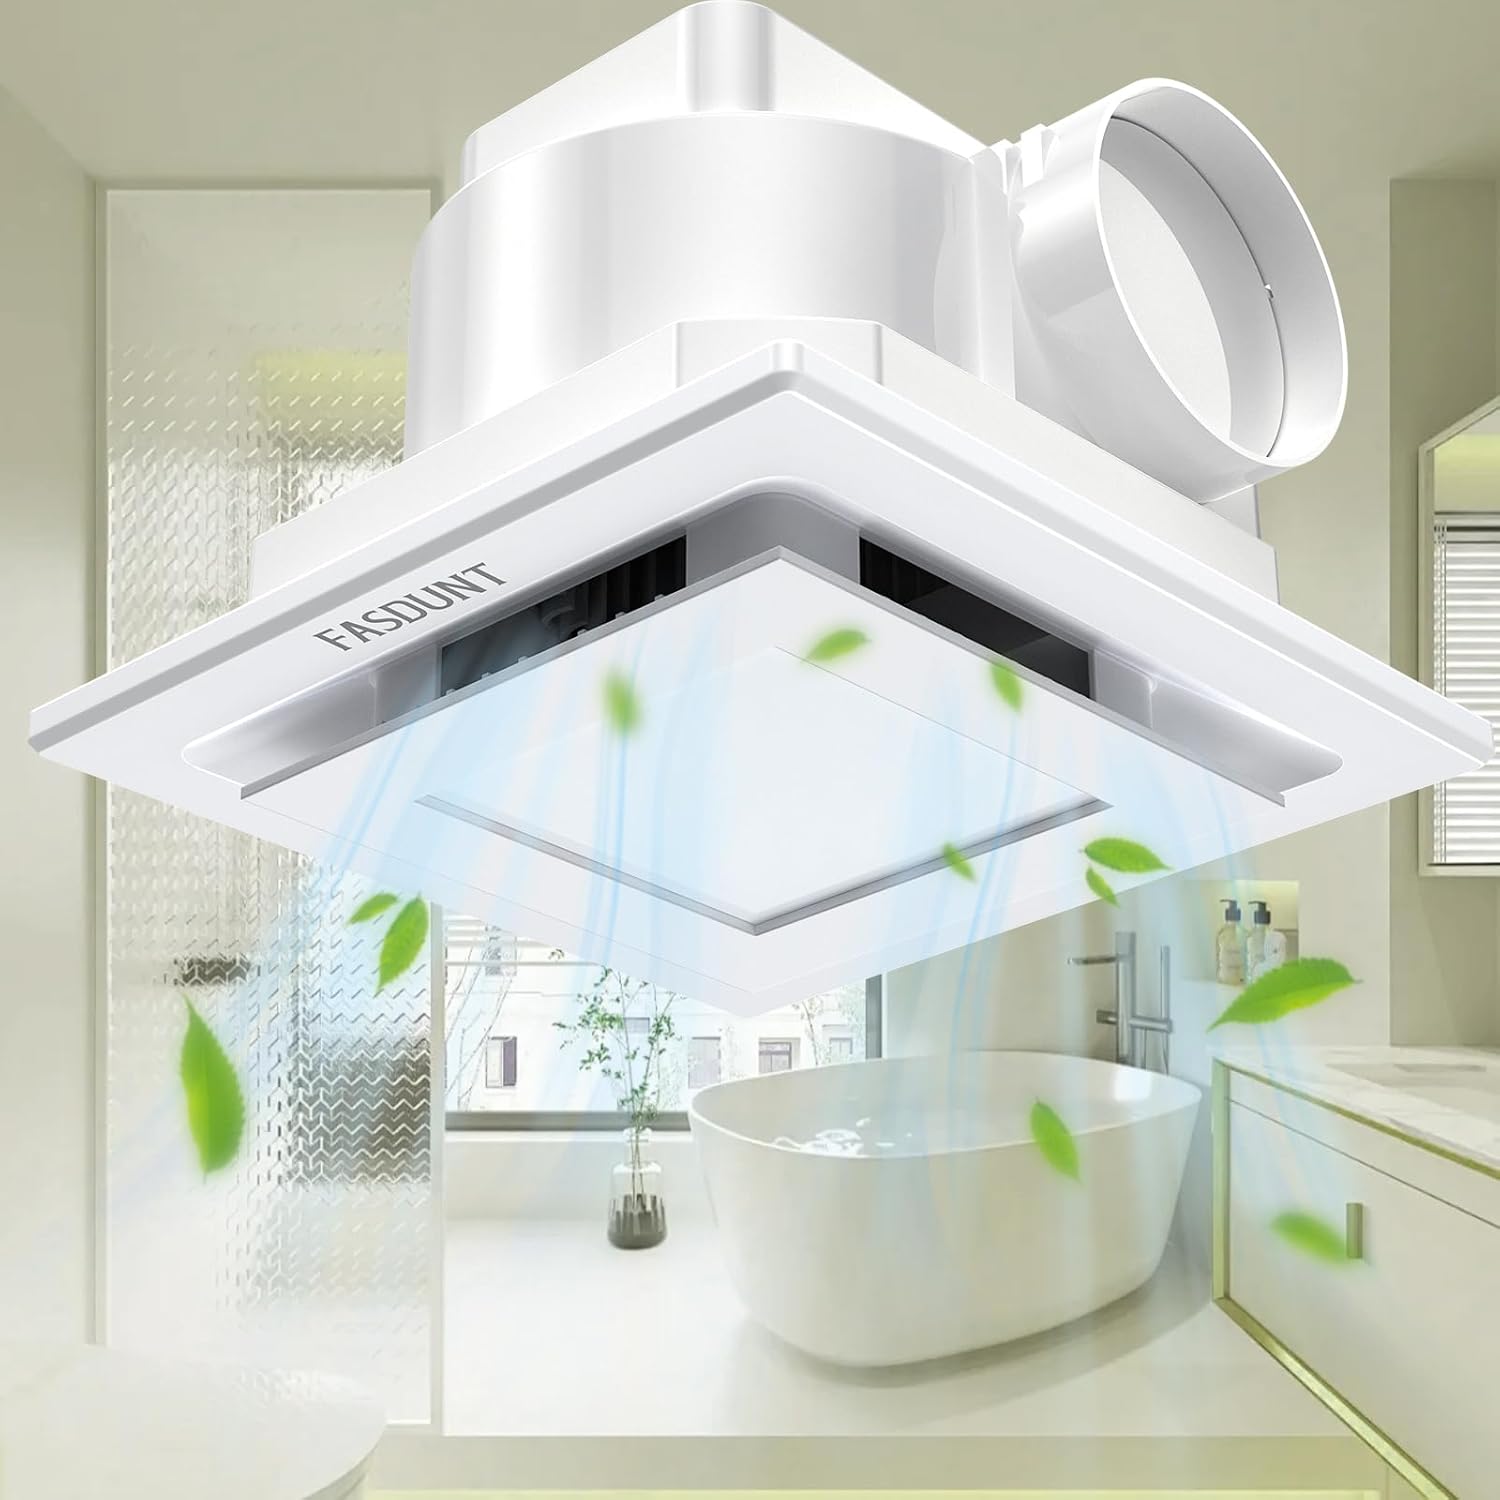
Figure 2: The exhaust fan installed in a bathroom ceiling, illustrating the direction of air extraction and ventilation.
4. Electrical Wiring
- Remove the wiring compartment cover.
- Connect the household wiring to the fan's wiring according to the wiring diagram provided inside the fan's junction box. Typically, this involves connecting:
- Black (Live) to Black (Fan/Light Live)
- White (Neutral) to White (Fan/Light Neutral)
- Green/Bare (Ground) to Green (Fan/Light Ground)
- Secure all wire connections with approved wire connectors.
- Replace the wiring compartment cover.
5. Grille Installation
- Once the ceiling is finished, insert the grille mounting springs into the slots in the fan housing.
- Push the grille firmly against the ceiling until it is flush.
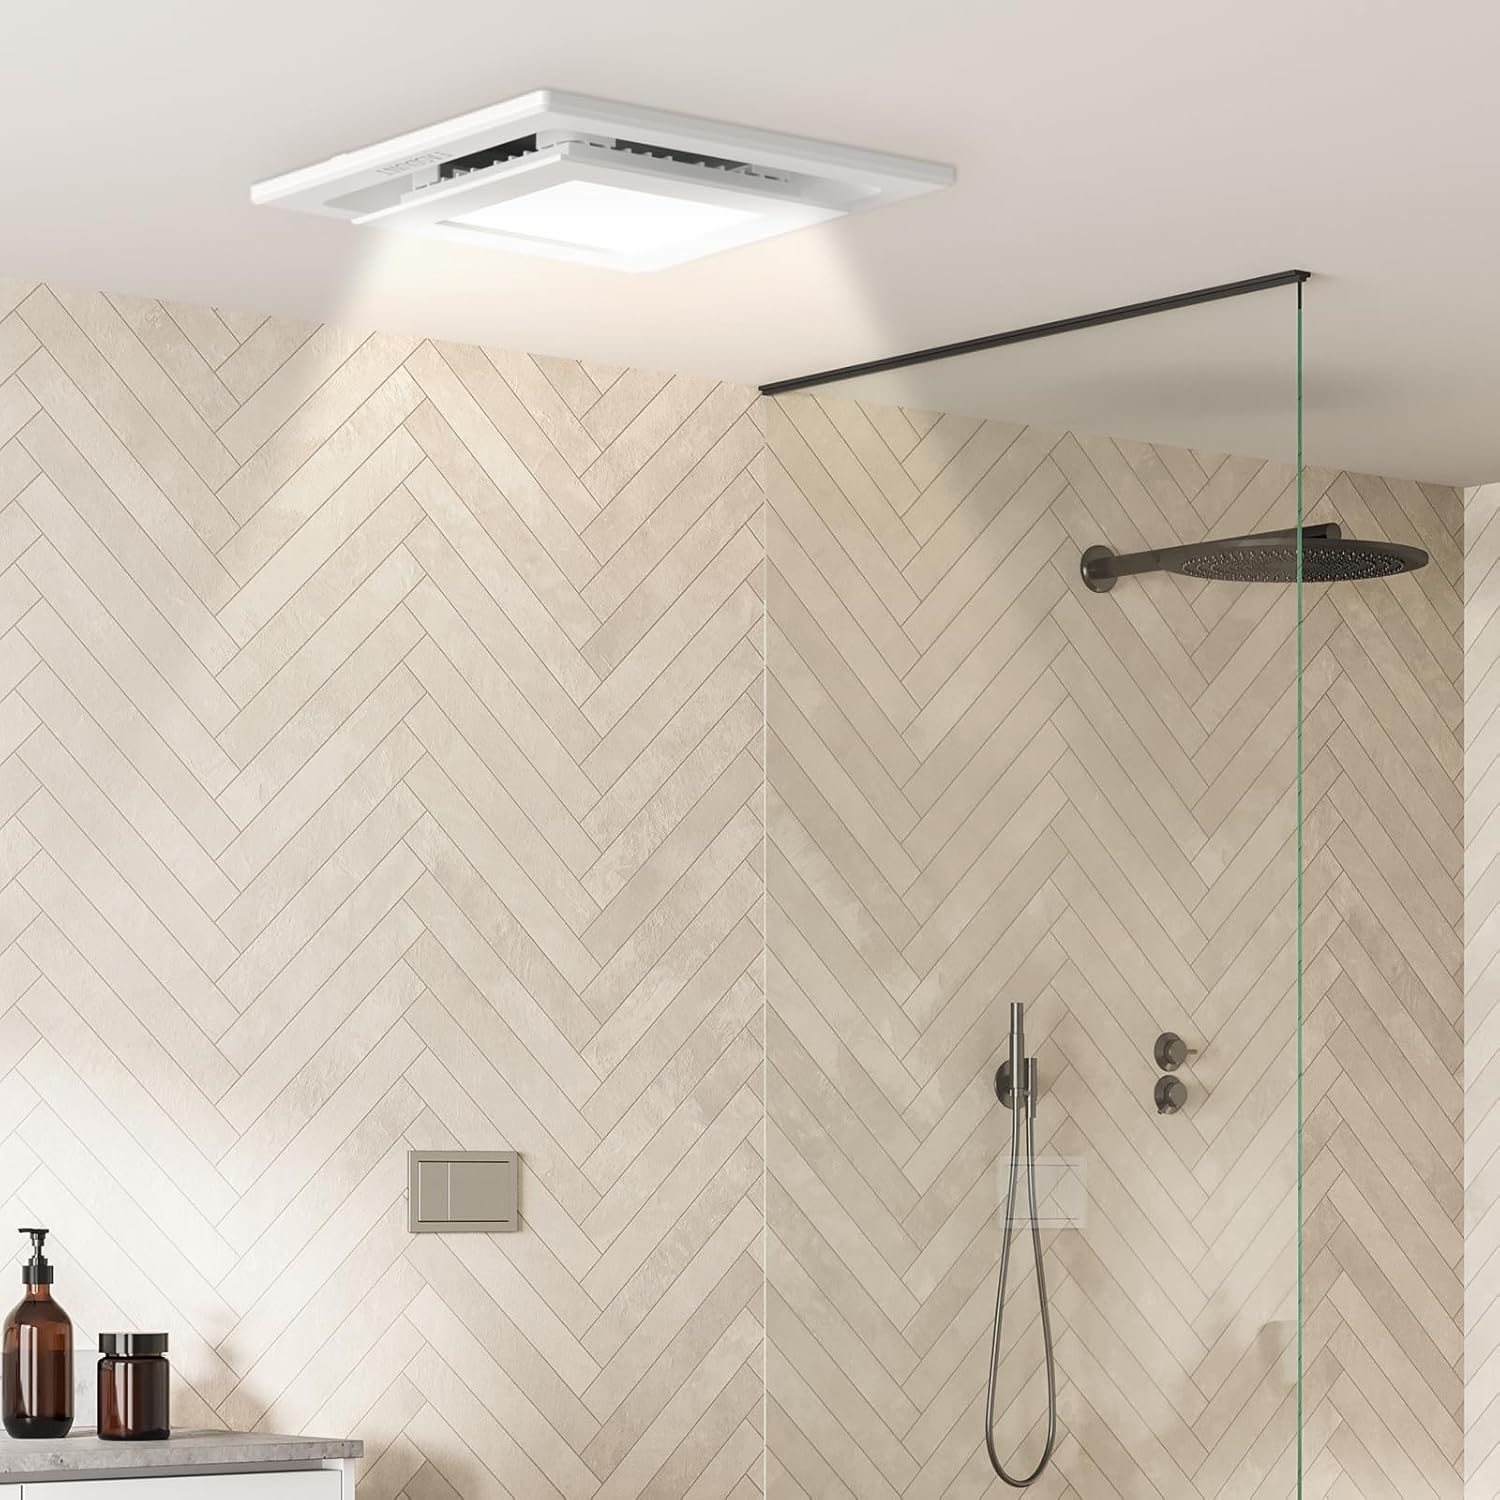
Figure 3: The exhaust fan with integrated LED light seamlessly installed in a contemporary shower room ceiling, providing both ventilation and illumination.
Operation
The FASDUNT Bathroom Exhaust Fan with LED Light operates via standard wall switches. Depending on your wiring configuration, you may have separate switches for the fan and the light, or a single switch controlling both.
- Fan Operation: Flip the designated wall switch to turn the exhaust fan ON or OFF. For effective moisture and odor removal, operate the fan during and after showering or bathing for at least 15-20 minutes.
- Light Operation: Flip the designated wall switch to turn the LED light ON or OFF. The 5000K LED provides bright, daylight-like illumination.

Figure 4: Visual representation of the fan's effectiveness in reducing humidity and fogging on a bathroom mirror, demonstrating improved air quality.
Maintenance
Regular cleaning and maintenance will ensure your exhaust fan operates efficiently and extends its lifespan.
Cleaning the Grille and Light Cover
- Turn off power at the circuit breaker before cleaning.
- Gently pull down the grille to disengage the mounting springs from the housing.
- Wash the grille and light cover in warm, soapy water. Rinse thoroughly and dry completely before reinstallation.
- Wipe the LED light surface with a soft, damp cloth. Do not use abrasive cleaners.
- Reinstall the grille by pushing the mounting springs back into the housing slots until it is flush with the ceiling.
Cleaning the Fan Motor and Impeller
This procedure should only be performed by a qualified technician if necessary. Do not attempt to lubricate the motor as it is permanently lubricated.
- Turn off power at the circuit breaker.
- Remove the grille as described above.
- Carefully disconnect the fan motor assembly from the housing (refer to installation diagrams if available).
- Use a vacuum cleaner with a brush attachment or a soft cloth to remove dust and debris from the motor and impeller blades.
- Reassemble the fan motor and grille. Restore power.
Troubleshooting
Before contacting customer support, please review the following common issues and their solutions:
| Problem | Possible Cause | Solution |
|---|---|---|
| Fan does not operate. | No power supply. Loose wiring connection. Defective switch. | Check circuit breaker and wall switch. Verify all wire connections are secure (ensure power is off). Test or replace the wall switch. |
| Light does not turn on. | No power supply to light. Loose wiring connection. Defective LED module. | Check circuit breaker and wall switch. Verify light wiring connections (ensure power is off). Contact customer support for replacement if LED module is defective. |
| Fan is noisy. | Loose mounting. Ductwork obstruction or improper installation. Dust/debris on impeller. | Ensure fan housing is securely mounted. Check ductwork for kinks, obstructions, or loose connections. Clean impeller blades (refer to Maintenance section). |
| Poor ventilation. | Ductwork obstruction. Improper duct size. Fan motor issues. | Check ductwork for obstructions. Ensure duct size matches fan outlet (typically 4-inch). Clean fan impeller. If issue persists, contact customer support. |
Warranty and Customer Support
FASDUNT products are manufactured to high-quality standards. For warranty information, technical assistance, or to report any issues with your product, please contact FASDUNT customer support directly. Please have your model number (EF3) and purchase date available when contacting support.
Contact information can typically be found on the FASDUNT official website or on your product packaging.