
1. Product Overview
The Pitsco Education True 1:16 Scale House Framing Kit offers a realistic, hands-on experience in architectural framing and construction. This kit is designed to help users aged 14 and above understand stud framing, scale lumber, and structural design by building a detailed balsa wood model home.
Key learning objectives include blueprint interpretation, scale measurement, and practical application of construction methods. The kit supports both individual and collaborative learning environments.

Image 1.1: An example of the fully assembled 1:16 scale balsa wood house frame model, showcasing the detailed framing structure.
2. Kit Contents and Setup
Before beginning assembly, ensure all components listed below are present. Organize your workspace to allow for easy access to materials and tools.

Image 2.1: All included components of the kit laid out, featuring balsa wood pieces, house plans, glue, sandpaper, pins, and an architect scale ruler.
2.1 Included Components:
- House plans (12 sheets)
- Balsa wood lumber (various sizes for framing)
- Architect scale ruler
- Pins
- Foam base
- Glue
- Sandpaper
- Instructions (covering both truss and hip roof builds)
2.2 Initial Setup Steps:
- Review Plans: Carefully read through all 12 sheets of house plans to familiarize yourself with the design and construction sequence.
- Prepare Workspace: Set up a clean, flat, and well-lit work area. Protect surfaces from glue.
- Organize Materials: Sort the balsa wood lumber by size and type. Keep pins, glue, and sandpaper readily accessible.
- Understand Scale: Use the architect scale ruler to understand the 1:16 scale and how it applies to the blueprints.
3. Operating Instructions (Building the Model)
The construction process involves interpreting blueprints, measuring, cutting, and assembling the balsa wood pieces to form the house frame. Follow the detailed instructions provided in your kit for specific steps.
3.1 Blueprint Reading and Measurement:
- Begin by studying the blueprints to identify wall layouts, window and door openings, and structural elements.
- Use the architect scale ruler to accurately measure the required lengths for each balsa wood piece according to the plans. Precision is crucial for a stable and accurate model.

Image 3.1: Two students engaged in the assembly process, demonstrating collaborative work on the model.
3.2 Cutting and Assembly:
- Carefully cut the balsa wood pieces to the measured lengths. A hobby knife or small saw is recommended (not included).
- Apply glue sparingly to the joints and use pins to hold pieces in place while the glue dries. The foam base can be used for pinning.
- Follow the framing sequence outlined in the instructions, typically starting with the foundation, then walls, and finally the roof structure.

Image 3.2: A student carefully applying glue to balsa wood components during the construction of the model.
3.3 Roof System Selection:
The kit allows for the construction of two realistic roof systems: truss or hip. Refer to the specific instructions for each option to understand the structural differences and assembly methods.
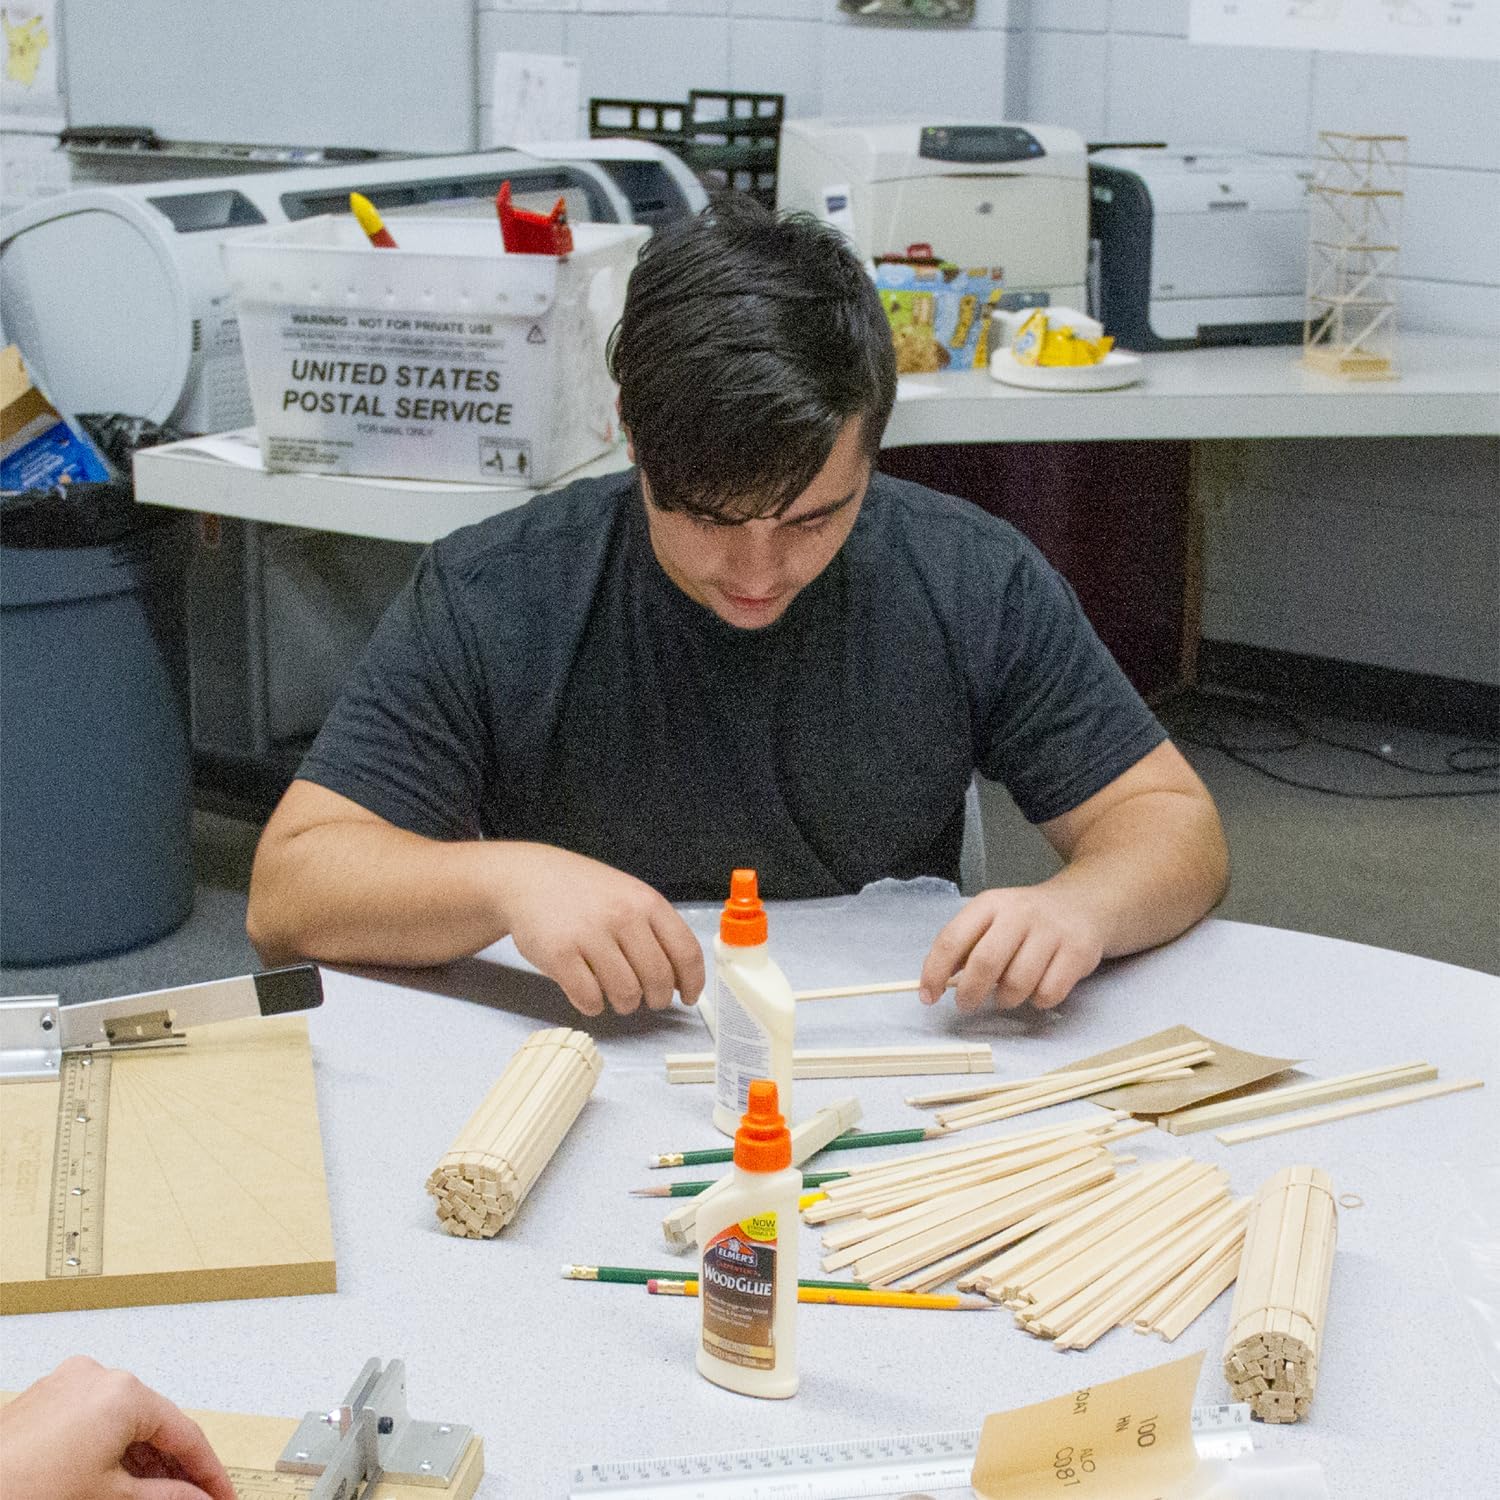
Image 3.3: A student meticulously working with balsa wood pieces and various tools, demonstrating the detailed nature of the construction.
4. Maintenance
Proper care of your model and tools will ensure longevity and continued educational value.
- Storage: Store the completed model in a dry, cool place away from direct sunlight to prevent warping or damage to the balsa wood.
- Cleaning: Dust the model gently with a soft brush or cloth. Avoid using water or chemical cleaners.
- Tool Care: Keep your architect scale ruler clean. Store pins safely. Ensure any cutting tools (if used) are handled and stored properly.
5. Troubleshooting
Encountering challenges is part of the learning process. Here are some common issues and solutions:
- Pieces not fitting correctly: Double-check your measurements against the blueprints. Ensure cuts are straight and precise. Sand edges gently if needed for a snug fit.
- Glue not holding: Ensure surfaces are clean and dry before applying glue. Use pins to hold pieces firmly in place until the glue is fully cured. Avoid excessive glue, which can weaken joints.
- Model is wobbly or unstable: This often indicates inaccurate measurements or insufficient drying time for glue. Review previous steps, reinforce joints, and ensure all connections are secure.
- Difficulty interpreting blueprints: Refer to the introductory sections of the instruction manual and any provided guides on blueprint reading. Seek assistance from an educator or experienced builder if available.
6. Specifications
| Feature | Detail |
|---|---|
| Brand Name | Pitsco Education |
| Model Number | 36803 |
| Scale | 1:16 True Scale |
| Material Type | Balsa Wood |
| Assembly Required | Yes |
| Recommended Age | 14+ years |
| Unit Count | 485.0 Count (pieces) |
| Item Dimensions (L x W x H) | 23.5 x 6.8 x 28.3 inches (packaging/kit size) |
| Included Components | House plans (12 sheets), Balsa wood lumber, Architect scale ruler, Pins, Foam base, Glue, Sandpaper, Instructions |
| UPC / GTIN | 818975016076 |
7. Warranty Information
Specific warranty details for the Pitsco Education True 1:16 Scale House Framing Kit are not provided in this document. For information regarding product warranties, returns, or replacements, please refer to the purchase documentation or contact Pitsco Education directly.
8. Support and Contact Information
For further assistance, technical support, or inquiries regarding the Pitsco Education True 1:16 Scale House Framing Kit, please contact Pitsco Education through their official website or customer service channels. Contact information can typically be found on the product packaging or the Pitsco Education website.
Pitsco Education Official Website: www.pitsco.com