1. Introduction
Welcome to the user manual for your Lenovo ThinkPad P17 Gen 2 Workstation. This document provides essential information for setting up, operating, maintaining, and troubleshooting your new device. The ThinkPad P17 Gen 2 is a high-performance mobile workstation designed for demanding professional tasks, featuring an Intel i7-11850H vPro processor, NVIDIA RTX A2000 graphics, a 17.3-inch 4K UHD IPS display, and Windows 11 Pro.
Please read this manual thoroughly to ensure optimal performance and longevity of your workstation.
2. Product Overview
The Lenovo ThinkPad P17 Gen 2 is engineered for power and reliability. Familiarize yourself with its components and features.
2.1. Front View

Image: The Lenovo ThinkPad P17 Gen 2 Workstation open, showcasing its 17.3-inch display and full-sized keyboard. The screen displays a complex data analysis application, highlighting its capability for demanding tasks.

Image: A top-down view of the Lenovo ThinkPad P17 Gen 2, showing the keyboard with a numeric keypad, the TrackPoint pointing device, and the large display.
2.2. Side and Rear Views (Ports and Connectors)

Image: A side view of the ThinkPad P17 Gen 2, illustrating various ports such as USB, HDMI, and the SD Card Reader, essential for connectivity.

Image: The rear view of the ThinkPad P17 Gen 2, highlighting additional ports and cooling vents, designed for efficient heat dissipation during intensive use.
Key ports include:
- 2 x Thunderbolt 4 (Type-C)
- 1 x HDMI 2.1
- USB 3.2 Type-C
- SD Card Reader
- Ethernet LAN (RJ-45)
- Headphone/Microphone Combo Jack
2.3. Dockztorm Portable USB Hub

Image: The compact blue Dockztorm Portable USB Hub, designed for expanding connectivity options.
Your workstation includes a Dockztorm Portable USB Hub for additional connectivity. This hub provides super speedy data sync rates up to 5Gbps, allowing you to connect more peripherals.
3. Setup
Follow these steps to set up your Lenovo ThinkPad P17 Gen 2 Workstation.
3.1. Unpacking
- Carefully remove the workstation and all accessories from the packaging.
- Verify that all components are present: laptop, power adapter, power cord, and the Dockztorm Portable USB Hub.
3.2. Connecting Power
- Connect the power cord to the power adapter.
- Plug the power adapter into the workstation's power input port.
- Plug the power cord into a grounded electrical outlet.
- Allow the battery to charge fully before initial use, though you can begin using the laptop while it charges.
3.3. Initial Boot-Up and Windows 11 Pro Setup
- Open the laptop lid and press the power button.
- Follow the on-screen instructions to complete the Windows 11 Pro initial setup, including language selection, network connection, user account creation, and privacy settings.
3.4. Connecting Peripherals
- Dockztorm Hub: Connect the Dockztorm Portable USB Hub to an available USB port on your workstation to expand your connectivity options for additional USB devices.
- External Display: Use the HDMI 2.1 or Thunderbolt 4 (Type-C) ports to connect an external monitor.
- Network: For wired network access, connect an Ethernet cable to the RJ-45 port.
4. Operating
This section covers basic operation and key features of your ThinkPad P17 Gen 2 Workstation.
4.1. Keyboard and Trackpad
- The workstation features a full-sized backlit keyboard with a numeric keypad for enhanced productivity.
- Utilize the Trackpad for precise cursor control. The TrackPoint pointing device in the center of the keyboard offers an alternative navigation method.
- The integrated Fingerprint Security System allows for secure and quick login.
4.2. Display Settings
Your workstation features a 17.3-inch 4K Ultra HD (3840x2160) IPS display. To adjust display settings:
- Right-click on the desktop and select "Display settings."
- Adjust resolution, scaling, and multiple display configurations as needed.
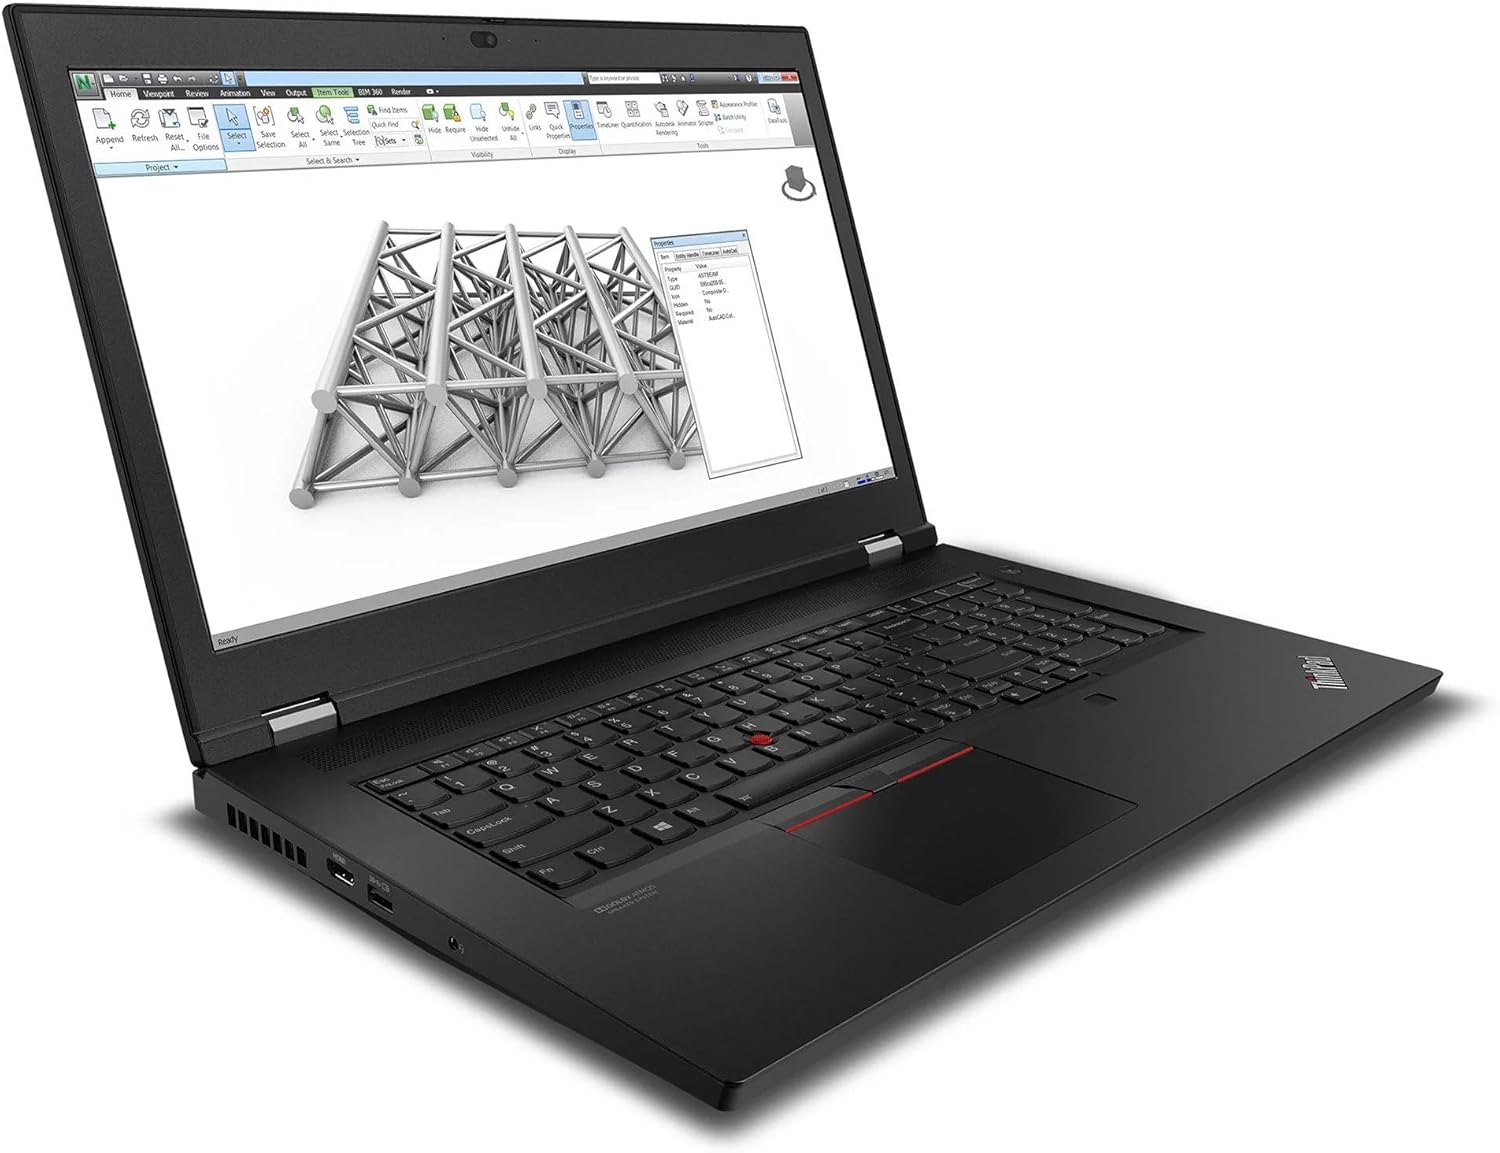
Image: The ThinkPad P17 Gen 2 displaying a detailed 3D model, demonstrating its high-resolution screen and graphics capabilities for design and engineering applications.
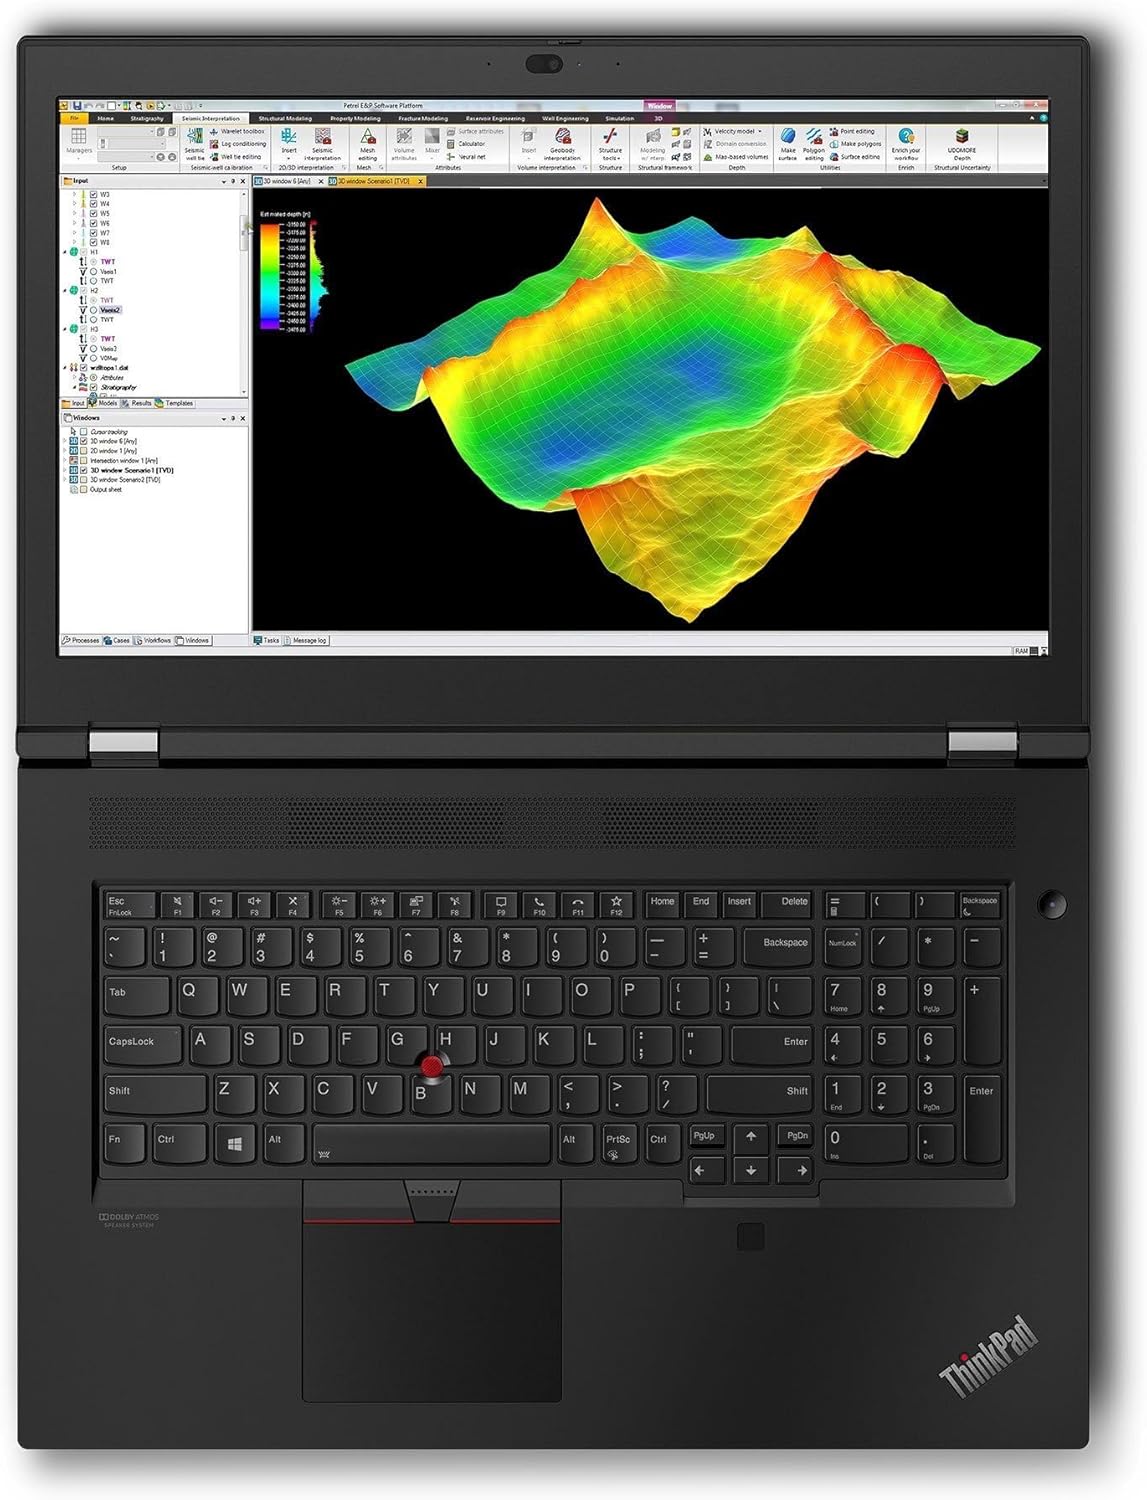
Image: The workstation screen showing complex geological data, illustrating its suitability for scientific visualization and analysis.
4.3. Connectivity
- Wi-Fi 6E: Connect to high-speed wireless networks. Access Wi-Fi settings via the Windows taskbar.
- Bluetooth 5.3: Pair with Bluetooth devices such as headphones, mice, or keyboards. Manage Bluetooth devices in Windows Settings > Bluetooth & devices.
- Thunderbolt 4: These versatile ports support high-speed data transfer, video output, and power delivery.
5. Maintenance
Proper maintenance ensures the longevity and optimal performance of your workstation.
5.1. Cleaning
- Screen: Use a soft, lint-free cloth lightly dampened with water or a screen-cleaning solution. Do not spray liquid directly onto the screen.
- Chassis and Keyboard: Use a soft cloth. For stubborn dirt, a slightly damp cloth with mild soap can be used, ensuring no liquid enters openings.
- Vents: Periodically clean the cooling vents with compressed air to prevent dust buildup, which can affect performance.
5.2. Battery Care
- Avoid fully discharging the battery frequently.
- Store the laptop in a cool, dry place if not used for extended periods.
- For optimal battery health, avoid exposing the laptop to extreme temperatures.
5.3. Software Updates
- Regularly update Windows 11 Pro through Windows Update to ensure security and performance.
- Check for driver updates for your NVIDIA RTX A2000 graphics card and other components from the Lenovo support website or NVIDIA's official site.
6. Troubleshooting
This section provides solutions for common issues you might encounter.
6.1. No Power / Does Not Turn On
- Ensure the power adapter is securely connected to both the laptop and a working electrical outlet.
- Check if the power outlet is functional by plugging in another device.
- If the battery is completely drained, it may take a few minutes of charging before the laptop can power on.
6.2. Display Issues
- No image on screen: Ensure the laptop is powered on. If an external monitor is connected, try disconnecting it or pressing Fn + F7 (or the appropriate function key) to cycle display outputs.
- Flickering or distorted image: Update your graphics drivers. Try adjusting the display resolution in Windows settings.
6.3. Connectivity Problems (Wi-Fi / Bluetooth)
- Wi-Fi: Ensure Wi-Fi is enabled in Windows settings. Restart your router and modem. Run the Windows Network Troubleshooter.
- Bluetooth: Ensure Bluetooth is enabled. Try unpairing and re-pairing the device. Update Bluetooth drivers.
6.4. System Performance Issues
- Slow performance: Check Task Manager for processes consuming high CPU or RAM. Ensure Windows and drivers are up to date. Clear temporary files.
- Overheating: Ensure cooling vents are clear. Consider using a cooling pad for extended heavy workloads.
7. Specifications
Detailed technical specifications for the Lenovo ThinkPad P17 Gen 2 Workstation (B0CKD2N4PJ configuration):
| Feature | Specification |
|---|---|
| Processor | Intel i7-11850H vPro (11th Gen, 2.50GHz, up to 4.8 GHz, 8-Cores, 16-Threads) |
| Operating System | Windows 11 Pro-64 |
| Display | 17.3-inch IPS 4K Ultra HD (3840x2160) 60Hz 16:9 |
| Graphics | NVIDIA RTX A2000 4GB GDDR6 (Dedicated) |
| RAM | 64GB DDR4 SO-DIMM |
| Storage | 2TB PCIe NVMe SSD |
| Connectivity | Wi-Fi 6E AX210, Bluetooth 5.3, Ethernet LAN (RJ-45) |
| Ports | 2x Thunderbolt 4 (Type-C), 1x HDMI 2.1, USB 3.2 Type-C, SD Card Reader, Headphone/Microphone Combo Jack |
| Security | Fingerprint Security System |
| Battery | 6-Cell 94 WHr Battery |
| Power Supply | 170W |
| Dimensions (WxLxH) | 16.3 x 11 x 1.3 inches |
| Weight | 7.8 pounds |
8. Warranty and Support
Your Lenovo ThinkPad P17 Gen 2 Workstation comes with a 1-Year Manufacturer warranty from GreatPriceTech. This warranty covers defects in materials and workmanship under normal use.
For warranty claims, technical assistance, or support inquiries, please contact GreatPriceTech directly. Refer to the documentation provided with your purchase for specific contact information.
For general information and driver downloads, you may also visit the official Lenovo support website.


