
1. Introduction
The Cryfokt IR Radio Frequency Tester is a versatile handheld digital meter designed for accurate frequency testing and infrared signal detection of various remote control devices. This device helps identify issues or faults in remote controls for applications such as car keys, truck doors, electric door controllers, car burglar alarms, electric locks, and garage doors. It features a clear digital display, LED indicators, and a built-in light for convenience.
2. Product Overview
The Cryfokt IR Radio Frequency Tester is designed for ease of use and portability. Below are the key components and features of the device.

Figure 2.1: Front view of the Cryfokt IR Radio Frequency Tester.
Key Components:
- Digital Display: Shows the measured frequency in MHz.
- INPUT LED: Indicates infrared signal detection.
- IR Sensor: Detects infrared signals from remote controls.
- Lighting Button: Activates the built-in LED light.
- ON/OFF Button: Powers the device on or off.
- TX Zone: Designated area for placing remote controls during testing.
- Battery Compartment: Located on the back for 9V battery installation.
- Fall Proof Rope Attachment: For securing the device.

Figure 2.2: Back view of the Cryfokt IR Radio Frequency Tester.
Features:
- Accurate and reliable frequency testing (100MHz to 1GHz).
- Infrared signal detection with INPUT indicator.
- Easy-to-read 4-bit digital display.
- Built-in LED light for use in low-light conditions.
- Compact and handheld design.
Video 2.1: Product demonstration of the Cryfokt IR Radio Frequency Tester, showing its features and operation.
3. Setup
- Battery Installation:
- Locate the battery compartment on the back of the device.
- Open the compartment cover.
- Insert a 9V battery, ensuring correct polarity.
- Close the battery compartment cover securely.
- Power On: Press the ON/OFF button to power on the device. The digital display should illuminate.
4. Operating Instructions
4.1 Frequency Testing
- Ensure the tester is powered on.
- Place the remote control device within the TX Zone on the tester. The effective testing range is within 5cm; closer proximity yields more accurate measurements.
- Press any button on the remote control.
- The digital display on the tester will show the frequency value in MHz. Common car key frequencies include 320MHz, 434MHz, and 868MHz.

Figure 4.1: Digital display showing a frequency reading.
4.2 Infrared (IR) Signal Detection
- Ensure the tester is powered on.
- Point the infrared emitter of the remote control towards the IR Sensor on the tester.
- Press any button on the remote control.
- If the infrared output is functioning correctly, the INPUT LED will flash red. If the LED does not illuminate, it indicates a potential malfunction or damage to the infrared transmitter of the remote control.
4.3 Using the LED Light
- Press the Lighting button to activate the built-in LED light.
- This feature is useful for working in low-light conditions, ensuring visibility and accuracy during testing.
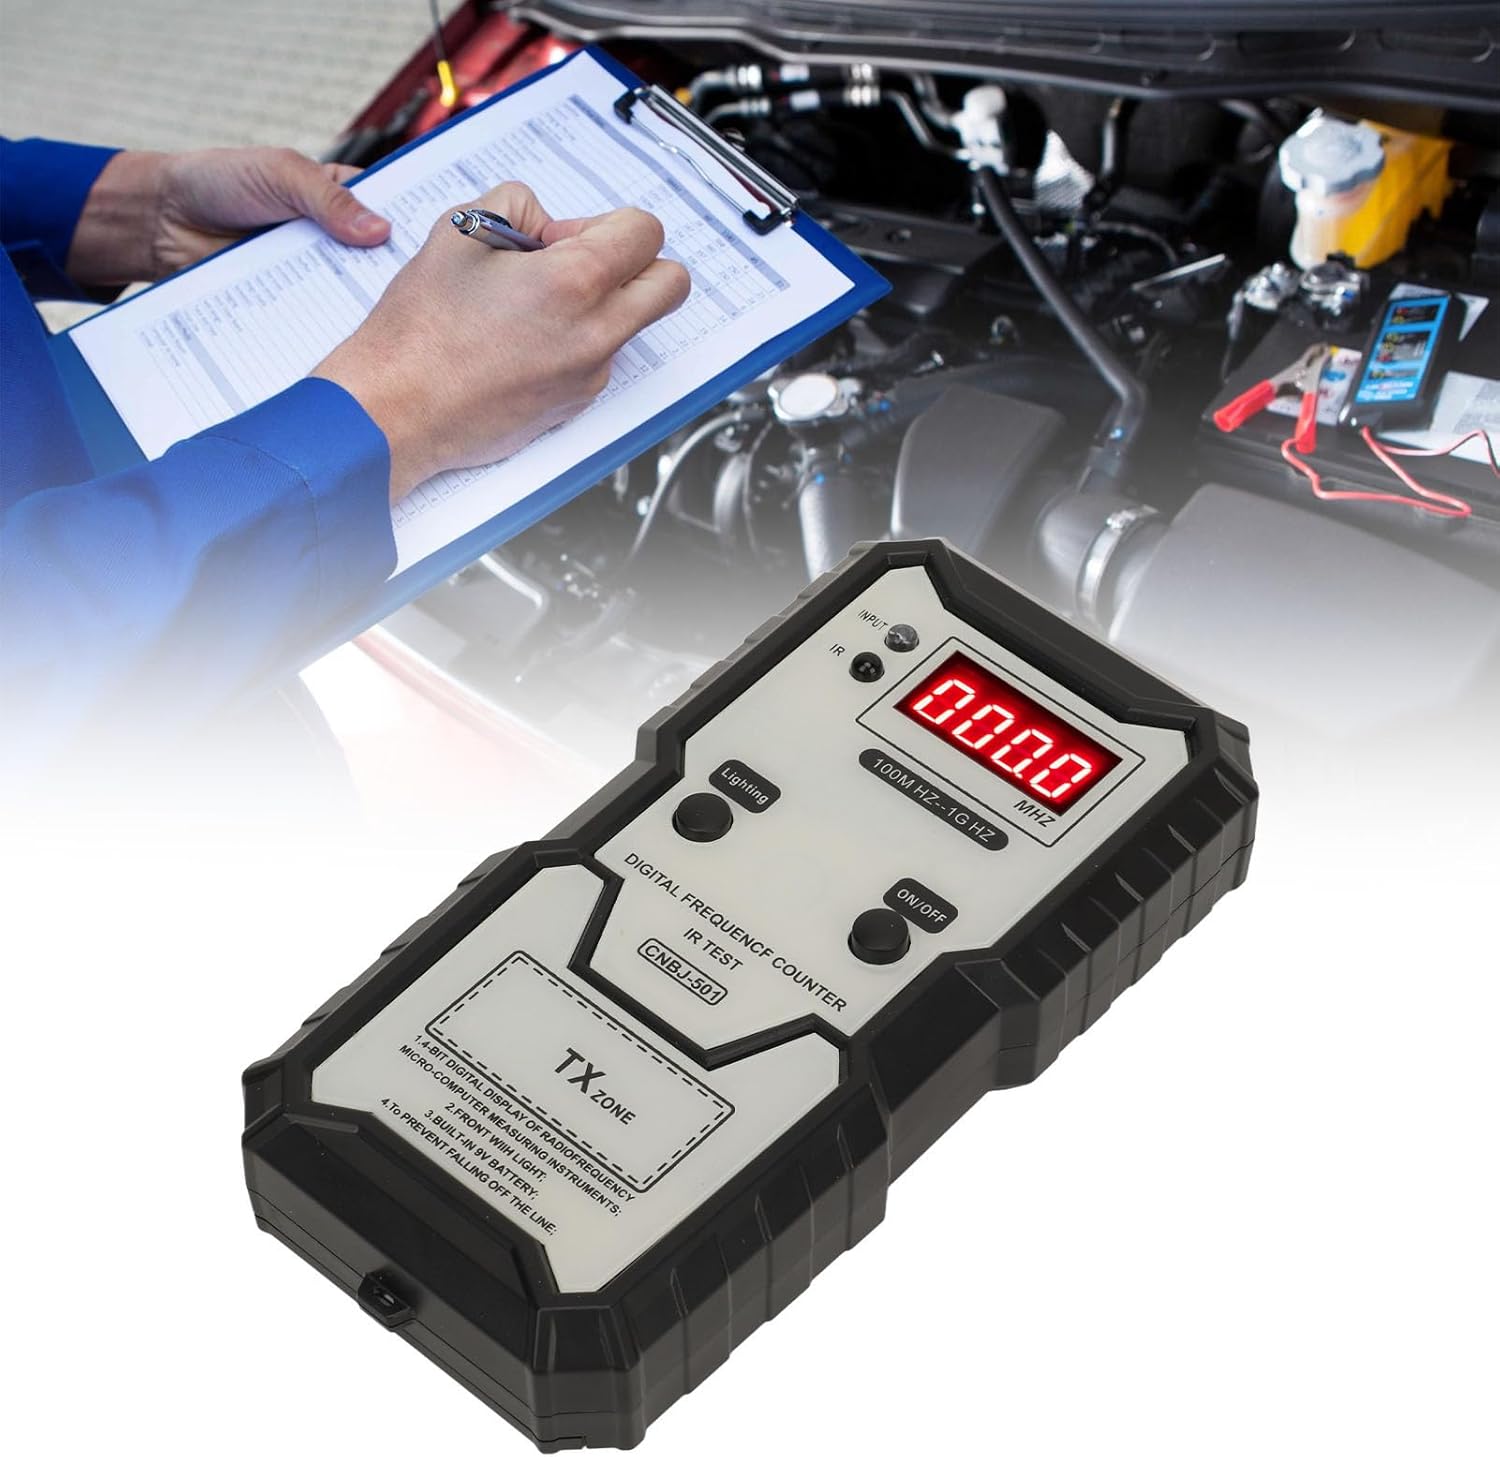
Figure 4.2: Tester in use, demonstrating its application in automotive diagnostics.
5. Maintenance
- Cleaning: Wipe the device with a soft, dry cloth. Avoid using abrasive cleaners or solvents.
- Battery Replacement: Replace the 9V battery when the display dims or the device fails to power on. Refer to Section 3.1 for battery installation instructions.
- Storage: Store the device in a dry place, away from direct sunlight and extreme temperatures.
6. Troubleshooting
| Problem | Possible Cause | Solution |
|---|---|---|
| Device does not power on or display is dim. | Low or dead battery. | Replace the 9V battery. |
| No frequency reading on display. | Remote control not within TX Zone or not transmitting. | Ensure remote is close to the TX Zone (within 5cm) and a button is pressed. Check remote control battery. |
| INPUT LED does not flash during IR test. | Remote control IR emitter faulty or not pointed correctly. | Ensure remote IR emitter is pointed directly at the IR sensor. Check remote control battery. Remote control IR emitter may be damaged. |
7. Specifications
- Model Number: Cryfoktowbt9gghu3
- Material: ABS
- Test Frequency Range: 100MHz - 1GHz
- Effective Testing Range: Within 5cm
- Power Source: 9V Battery (not included)
- Minimum Operating Voltage: 6 Volts
- Working Conditions Temperature: -10 ℃ - 40 ℃
- Working Relative Humidity: ≤ 80%
- Storage Conditions Temperature: -20 ℃ - 50 ℃
- Storage Relative Humidity: ≤ 85%
- Parcel Dimensions: 30.8 x 23.9 x 3.5 cm
- Item Weight: 230 g
- Country of Origin: China
8. Warranty and Support
For warranty information or technical support, please refer to the documentation provided with your purchase or contact the Cryfokt customer service department. Keep your purchase receipt as proof of purchase for any warranty claims.