
Amio 5903293032640
AMiO LED Light Bar Instruction Manual
Model: 5903293032640
Introduction
Thank you for purchasing the AMiO 96 cm (38 Inch) LED Light Bar. This high-quality LED bar is designed for offroad applications, providing powerful spot and combo beam illumination. It operates within a wide voltage range of 9-36V, making it suitable for various vehicles. This manual provides essential information for the safe and effective installation, operation, and maintenance of your new LED light bar.
Safety Information
- Always disconnect power before installation or maintenance.
- Ensure proper wiring and insulation to prevent short circuits.
- Do not look directly into the light beam when illuminated, as it can cause eye damage.
- Install the light bar securely to prevent vibration or detachment during vehicle operation.
- Keep out of reach of children.
- Consult a professional if you are unsure about any installation steps.
Package Contents
Please check the package contents to ensure all items are present and undamaged:
- 1 x AMiO 96 cm LED Light Bar
- 2 x Mounting Brackets
- Mounting Hardware (bolts, nuts, washers, Allen key)

Image: Included mounting hardware for the AMiO LED Light Bar.
Setup and Installation
Follow these steps for proper installation of your AMiO LED Light Bar:
- Choose Mounting Location: Select a suitable and secure location on your vehicle for the light bar. Ensure it does not obstruct vision or airflow to critical components.
- Attach Brackets: Secure the mounting brackets to the light bar using the provided bolts and nuts. The brackets can be adjusted to achieve the desired angle.

Image: Detail of the light bar's mounting point.
- Mount Light Bar: Position the light bar with attached brackets onto your vehicle and mark the drilling points. Drill pilot holes if necessary, then securely fasten the light bar using appropriate hardware (not always included, depending on vehicle type).
- Wiring Connection: Connect the light bar's wiring harness to your vehicle's electrical system.
- The red wire is for the positive (+) connection.
- The black wire is for the negative (-) or ground connection.
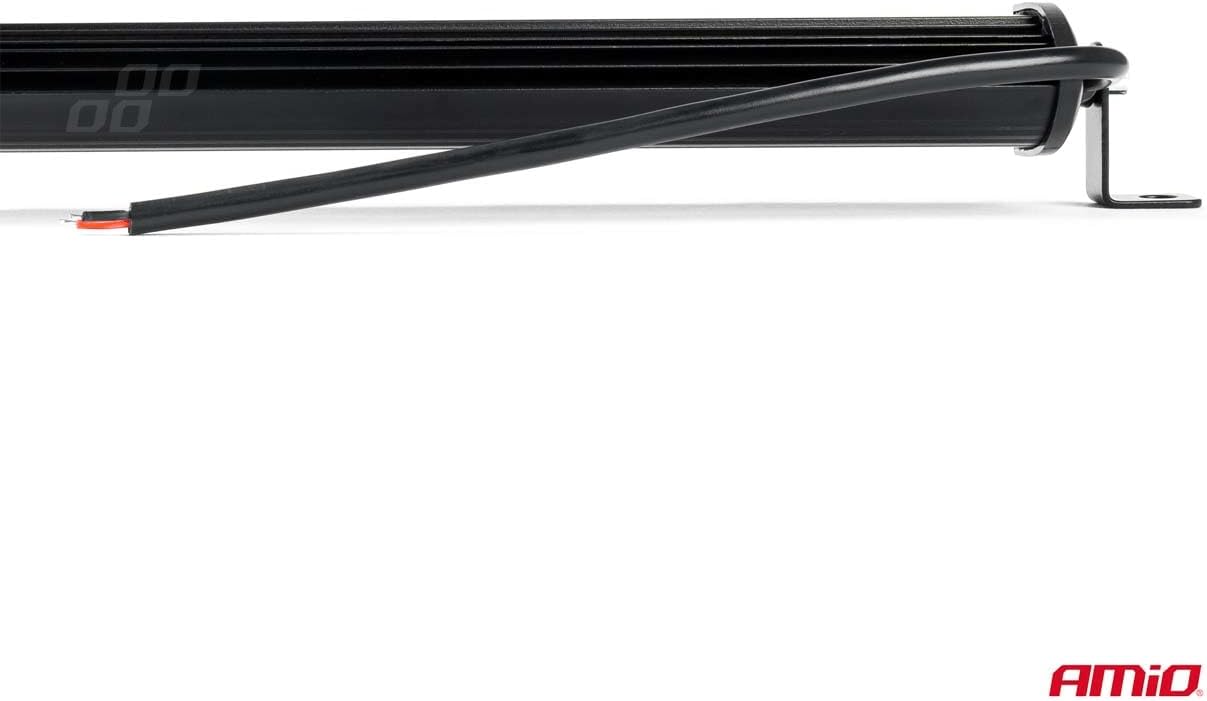
Image: Wiring connection detail.
- Test Functionality: After installation, turn on your vehicle's power and test the light bar to ensure it functions correctly.
Operating Instructions
The AMiO LED Light Bar is designed for straightforward operation:
- Once properly wired to a switch (not included) in your vehicle's electrical system, simply toggle the switch to turn the light bar ON or OFF.
- The light bar provides a combination of spot and flood beams for optimal illumination over various distances.

Image: The AMiO LED Light Bar with its illuminated LED array.

Image: Detailed view of the LED chips and optics.
Maintenance
To ensure the longevity and optimal performance of your LED light bar:
- Cleaning: Regularly clean the lens with a soft cloth and mild soap and water. Avoid abrasive cleaners that could scratch the lens.
- Inspections: Periodically check all mounting hardware for tightness and ensure wiring connections are secure and free from corrosion.
- Storage: If storing the vehicle for an extended period, ensure the light bar is clean and dry.
Troubleshooting
| Problem | Possible Cause | Solution |
|---|---|---|
| Light bar does not turn on. | No power, loose connection, blown fuse, faulty switch. | Check power source, inspect all wiring connections, check and replace fuse if necessary, test switch. |
| Light output is dim or flickers. | Low voltage, poor ground connection, loose wiring. | Verify voltage supply (9-36V), ensure ground connection is clean and secure, tighten all wiring connections. |
| Moisture inside the lens. | Seal compromised, extreme temperature changes. | Allow to dry out in a warm, dry place. If persistent, inspect seals for damage. Contact support if issue persists. |
Specifications
| Feature | Detail |
|---|---|
| Brand | AMiO |
| Model Number | 5903293032640 |
| Part Number (Manufacturer) | 03264 |
| Dimensions (L x W x H) | 0.1 x 150 x 10 cm (Note: Product title specifies 96 cm / 38 Inch length) |
| Voltage Range | 9-36V DC |
| Beam Type | Spot Combo Beam |
| Position | Outdoor |
| Assembly Required | No (referring to the light bar itself, mounting assembly is required) |
| First Available Date | September 25, 2023 |
Warranty and Support
For warranty information or technical support, please refer to the documentation provided at the time of purchase or contact your retailer. Keep your proof of purchase for any warranty claims.
Manufacturer: AMiO
Model: 5903293032640
Ask a question about this manual
Ask about setup, troubleshooting, compatibility, parts, safety, or missing instructions. Manuals+ will review the question and use this page’s manual context to help answer it.