1. Introduction
Thank you for choosing the YESPER 12V/24V Car Jump Starter, Model JS-381 (MONSTER START N1). This device is designed to provide a powerful and reliable solution for jump-starting vehicles with dead batteries, offering both 12V and 24V capabilities. It also functions as a portable power bank and an emergency LED light. Please read this manual thoroughly before use to ensure safe and optimal performance.
2. Important Safety Information
Always observe the following safety precautions to prevent injury or damage to the device and vehicle.
- Read all instructions before using the product.
- Do not operate the unit if it has been damaged.
- Keep out of reach of children.
- Do not immerse the unit in water.
- Do not use the unit in explosive atmospheres, such as in the presence of flammable liquids, gases, or dust.
- Ensure proper ventilation during use.
- Connect the jump starter clamps to the correct battery terminals (positive to positive, negative to negative).
- Avoid short-circuiting the clamps.
- Disconnect the clamps from the vehicle battery within 30 seconds after the vehicle starts.
- Store the unit in a cool, dry place when not in use.

Image: The YESPER jump starter features 10 safety protections including overcharge, over-discharge, over-voltage, over-temperature, reverse charge, AI software, short circuit, low self-consumption, reverse polarity, and over-current protection.

Image: Illustration of the spark-proof design of the YESPER jump starter, highlighting its DSLI IV Intelligent Safe Tech for enhanced safety during connection.
3. Package Contents
Verify that all items are present in your package:
- YESPER 6000A Jump Starter (36400mAh) with 27.5-inch Jumper Cable
- USB-A to USB-C Cable
- 29V AC Adapter
- User Manual

Image: Visual representation of the items included in the box: the jump starter, AC charge adapter, USB-A to USB-C cable, and the user manual.
4. Product Overview
Familiarize yourself with the components of your YESPER Jump Starter.

Image: The main unit of the YESPER jump starter, displaying the power indicator, 12V/24V selection buttons, USB output ports, USB-C input, and DC input.

Image: Detailed diagram labeling the various parts of the jump starter, including the handle, battery clamps, LED switch, LCD display, DC input, USB-C input, 12V/24V buttons, warning light, and USB output ports.
Key Features:
- 6000A Peak Current: Capable of starting all gas and diesel engines.
- 12V/24V Automatic Identification: Automatically detects vehicle voltage or allows manual selection.
- 36400mAh Battery Capacity: Provides multiple jump starts and serves as a power bank.
- 145W Fast Charging: Recharges the unit in approximately 1 hour.
- DSLI IV Intelligent Safe Tech: Advanced safety protections including spark-proof and reverse polarity.
- Pre-heating Technology: Ensures reliable starting in extreme cold (-40°F).
- Multi-mode LED Light: Stable, Strobe, and SOS modes for emergency lighting.
5. Charging the Jump Starter
Before first use, fully charge the jump starter. It is recommended to recharge the unit after each use and every 3-6 months to maintain battery health.
- Connect the included 29V AC adapter to the DC IN port on the jump starter.
- Plug the AC adapter into a standard wall outlet.
- The LED display will indicate charging progress. The unit is fully charged when all battery indicator lights are solid.
A full charge takes approximately 1 hour with the 145W AC adapter. Even 5 minutes of charging can provide enough power for a single jump start.

Image: The jump starter being charged via its 145W AC adapter plugged into a wall socket, illustrating the fast charging capability.
6. Operating Instructions: Jump Starting a Vehicle
Ensure the jump starter is sufficiently charged before attempting to start a vehicle.
- Connect Clamps: Attach the red positive (+) clamp to the positive (+) terminal of the vehicle's battery. Attach the black negative (-) clamp to the negative (-) terminal of the vehicle's battery.
- Verify Voltage: The jump starter will automatically detect the vehicle's voltage (12V or 24V). The corresponding 12V or 24V indicator light will illuminate. If starting a completely dead battery, you may need to manually select the voltage using the 12V or 24V buttons.
- Start Vehicle: Once connected and the voltage is confirmed, start your vehicle.
- Remove Clamps: After the vehicle starts, immediately remove the clamps from the vehicle battery, first the negative (-) clamp, then the positive (+) clamp.
The pre-heating technology allows for reliable starting even in cold temperatures down to -40°F.
Image: Step-by-step visual guide for jump starting a vehicle: 1) Attach clamps correctly, 2) 12V/24V lights up, 3) Start vehicle, 4) Remove clamps.

Image: The jump starter is shown in a winter environment, highlighting its capability to operate and start vehicles in extreme cold temperatures ranging from -40°F to 140°F.
7. Other Functions
7.1. Portable Power Bank
The jump starter can also function as a portable power bank to charge your electronic devices.
- Connect your device's USB charging cable to one of the USB-A output ports (5V/2A) or the USB-C input/output port.
- The 36400mAh capacity allows for simultaneous charging of two devices.

Image: The jump starter acting as a power bank, connected to and charging a tablet and a smartphone simultaneously using its USB output ports.
7.2. LED Emergency Light
The built-in LED light provides illumination for various situations.
- Press the LED switch button to cycle through the modes: Stable light, Strobe light, and SOS signal.
- The light can provide up to 160 hours of continuous illumination.

Image: The jump starter's integrated LED light demonstrating its three modes (Stable, Strobe, SOS) and various applications such as rescue, camping, night walking, and general household lighting.
8. Specifications
| Feature | Specification |
|---|---|
| Model | JS-381 (MONSTER START N1) |
| Peak Current | 6000 Amps |
| Battery Capacity | 36400mAh |
| Input (DC) | 29V/5A (145W) |
| Output (USB-A) | 5V/2A (x2) |
| Output (USB-C) | Quick Charge (Input/Output) |
| Dimensions | 7.44"D x 10.63"W x 6.29"H |
| Weight | 5.1 Pounds |
| Operating Temperature | -40°F to 140°F (-40°C to 60°C) |
| Engine Compatibility | All Gas/Diesel Engines |
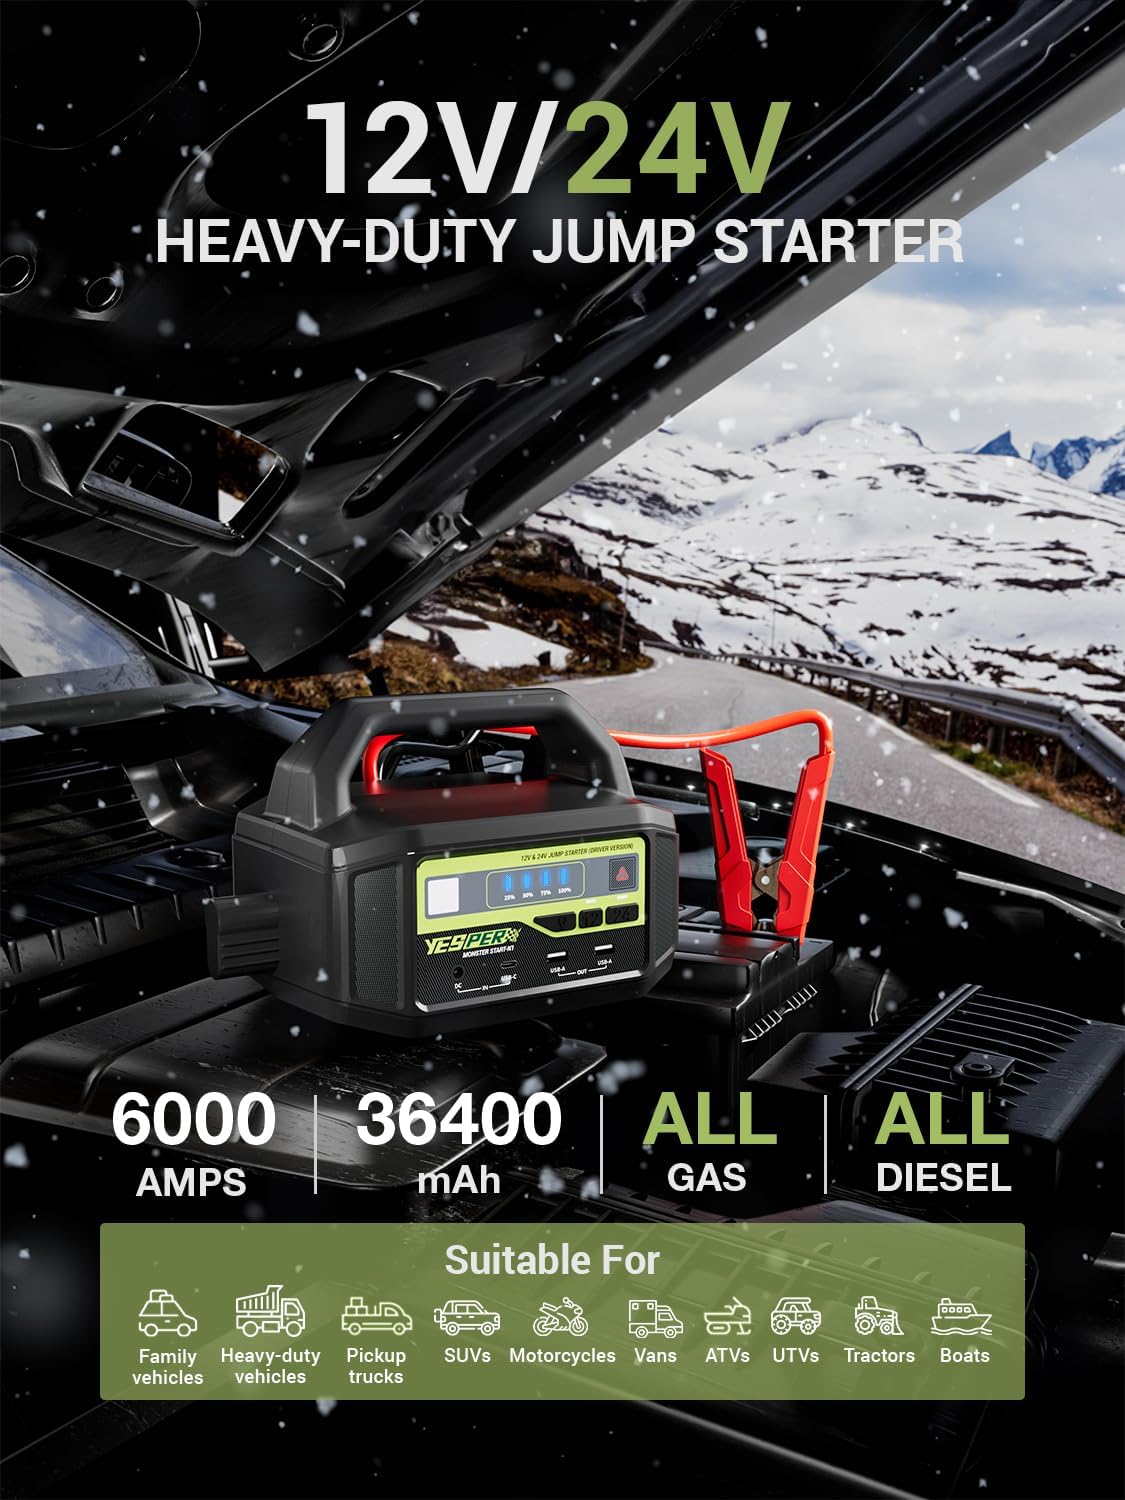
Image: Overview of the jump starter's capabilities, including 6000 Amps peak current, 36400mAh capacity, and compatibility with all gas and diesel engines across various vehicle types.

Image: Demonstrates the portability of the jump starter, highlighting its light weight of 5.7 pounds compared to other 24V jump starters.
9. Troubleshooting
| Problem | Possible Cause | Solution |
|---|---|---|
| Vehicle does not start. | Low charge on jump starter; incorrect clamp connection; vehicle battery severely damaged. | Ensure jump starter is fully charged. Check clamp connections for correct polarity and secure contact. If vehicle battery is completely dead, manually select 12V or 24V. Consult a mechanic if the issue persists. |
| Warning light illuminates. | Safety protection activated (e.g., reverse polarity, short circuit, over-temperature). | Disconnect clamps immediately. Review safety information and ensure correct connection. Allow unit to cool if over-temperature is suspected. |
| Jump starter not charging. | AC adapter not properly connected; faulty adapter or cable. | Ensure AC adapter is securely plugged into both the unit and the wall outlet. Try a different outlet. Contact support if the issue persists. |
10. Maintenance and Storage
- Clean the unit with a dry, soft cloth. Do not use harsh chemicals or abrasives.
- Store the jump starter in a cool, dry place, away from direct sunlight and moisture.
- Recharge the unit every 3-6 months, even if not used, to maintain optimal battery life. The unit can maintain standby for up to 12 months on a single charge.
- Keep the battery clamps clean and free of corrosion.

Image: The jump starter is shown in a clean, minimalist setting, emphasizing its long standby time of 12 months on a single charge, reducing the need for frequent recharging.
11. Warranty and Support
YESPER products come with a warranty. Please refer to the warranty card included in your package or visit the official YESPER website for detailed warranty terms and conditions.
For technical support, troubleshooting assistance, or any questions regarding your product, please contact YESPER customer service. Contact information can typically be found on the product packaging, the official website, or within this manual's "What You Will Get" section (if applicable).
The product includes a 365-day replacement service and lifetime after-sales support.


