
1. Introduction
Thank you for choosing the Sobo AQ-903F Ultra-Quiet External Canister Filter. This manual provides essential information for the safe and efficient operation, installation, and maintenance of your new aquarium filter. Please read these instructions thoroughly before use to ensure proper function and longevity of the product.
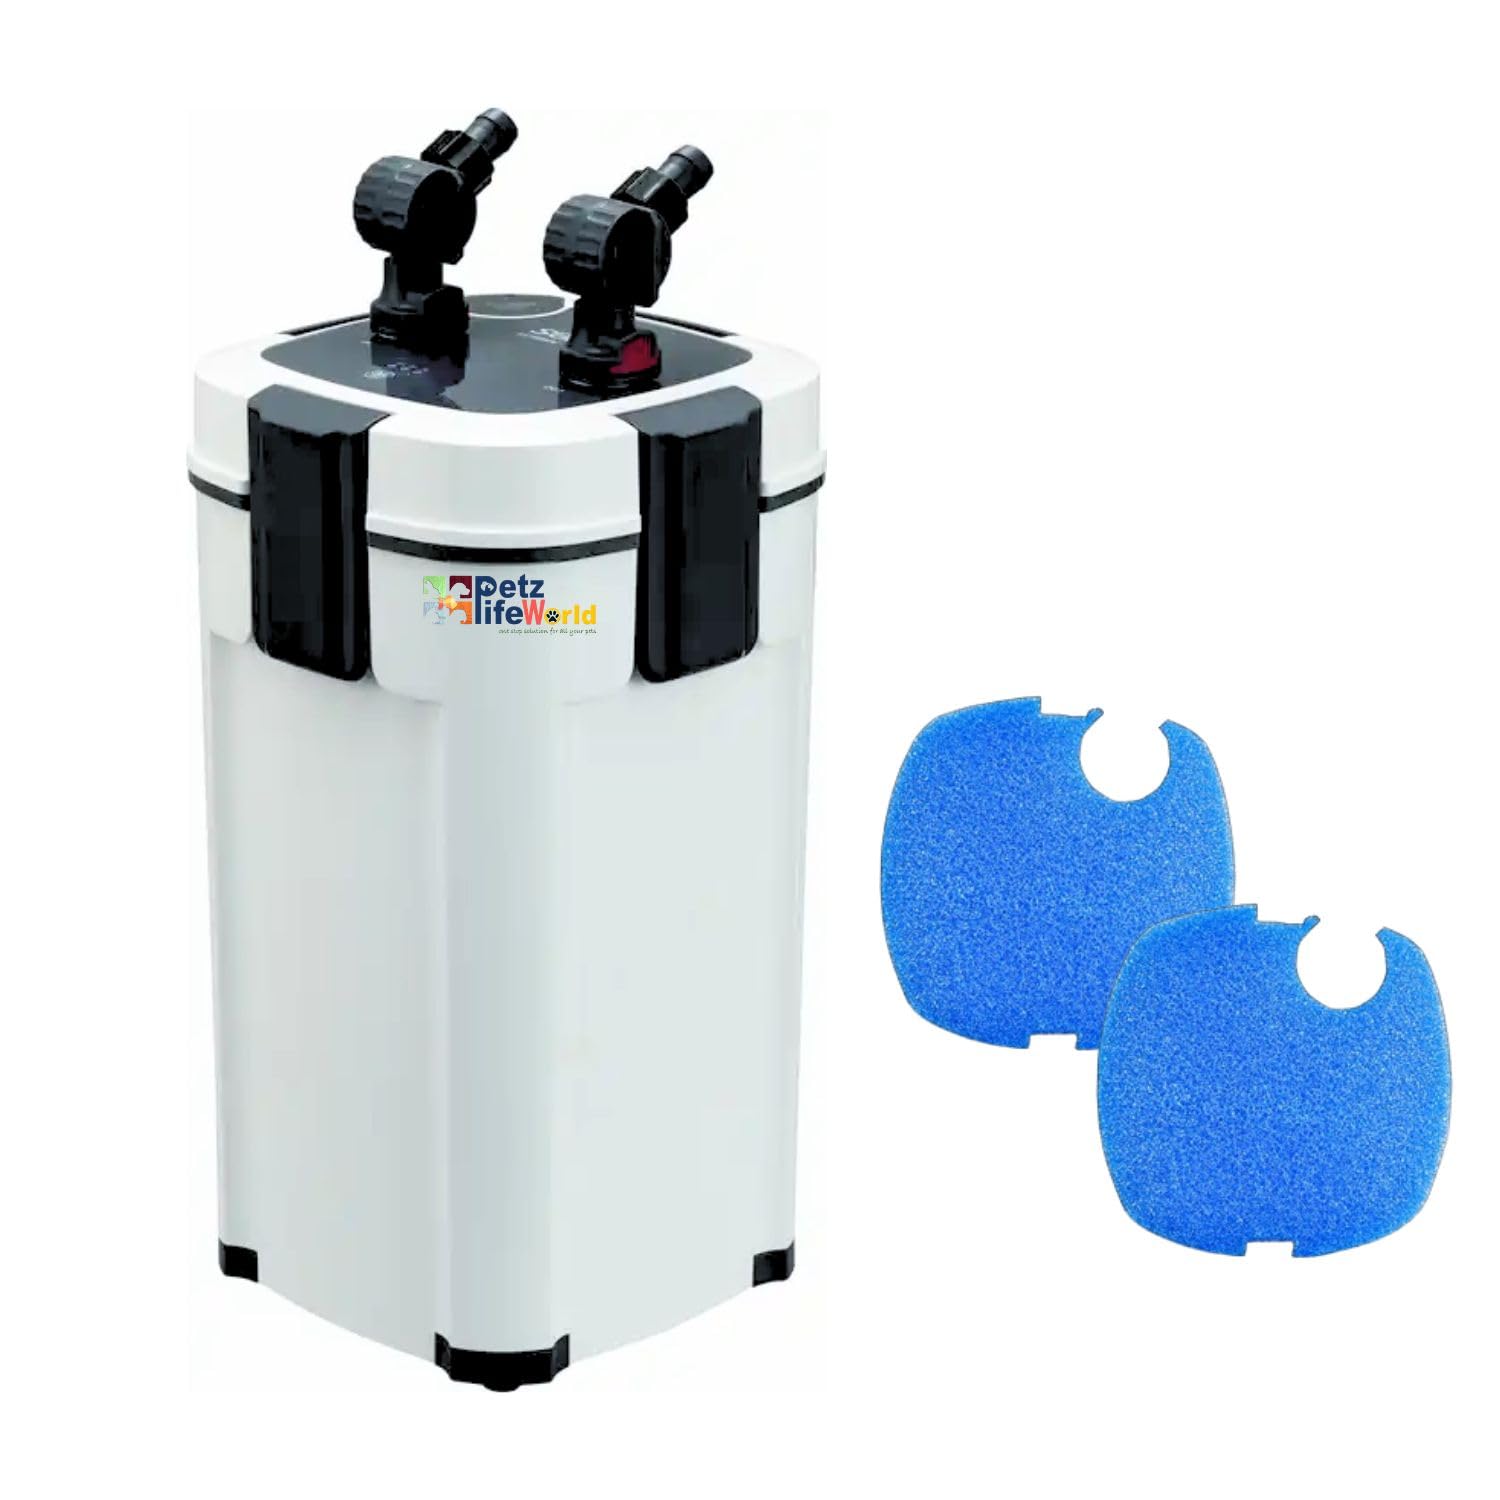
Image 1.1: The Sobo AQ-903F External Canister Filter, shown with two blue filter sponges. This image displays the main unit of the filter, highlighting its compact design and the included initial filter media.
2. Product Overview
2.1 Key Features
- Ultra Strong Filtration: Utilizes biological and chemical double-layer filtration to effectively remove odors, discoloration, and impurities, maintaining a clean and healthy aquatic environment.
- Adjustable Flow Rate: Features a flow rate of 1000 L/H, which can be adjusted to suit various aquarium sizes, recommended for tanks up to 55 gallons.
- Super Mute Operation: Equipped with a copper brushless motor, designed for quiet operation with noise levels at or below 30dB, ensuring minimal disturbance.
- Quick Disassembly and Cleaning: Engineered for easy installation, disassembly, maintenance, and water changes.
- Oil Film Remover: Integrated feature for removing surface oil film from the water.
- Multiple Water Outlet Modes: Offers various water outlet options for different aquarium needs.
2.2 Components and Package Contents
The Sobo AQ-903F filter comes with all necessary components for installation and operation. Please verify all parts are present upon unboxing.

Image 2.1: Diagram illustrating the dimensions of the Sobo AQ-903F filter (approximately 8" x 8" x 11") and a visual representation of the included package contents, such as inlet/outlet pipes, elbow joints, and various filter media.
The package typically includes the main filter unit, inlet and outlet pipes (1.8m length), power cord (1.2m length), elbow joints (17.5mm diameter), and initial filter media.
3. Specifications
| Specification | Value |
|---|---|
| Model | AQ-903F |
| Power Consumption | 11W |
| Max Flow Rate | 1000 L/H (264 GPH) |
| Suitable Aquarium Capacity | 200-320 L (55-85 gallons) |
| Stages of Filtration | 3 (Mechanical, Biological, Chemical) |
| Power Cord Length | 1.2 m |
| Inlet and Outlet Pipe Length | 1.8 m |
| Noise Level | ≤ 30dB |
| Elbow Joint Diameter | 17.5 mm |
| Dimensions (approx.) | 8" x 8" x 11" |
| Item Weight | 1 kg |
4. Setup and Installation
Proper installation is crucial for the filter's performance and safety. Follow these steps carefully.
4.1 Placement
- The canister filter must be placed on a flat, stable surface.
- Position the filter 27-39 inches (70-110 cm) below the water level of the aquarium.
- Ensure the interior of the filter is filled with water by pulling the level pumping handle during initial setup.

Image 4.1: This diagram illustrates key installation and operational features, including the adjustable flow rate mechanism, the air evacuation valve, the oil film remover, and the recommended placement of the filter relative to the aquarium water level.
4.2 Connecting Hoses and Power
- Connect the inlet and outlet pipes to the designated ports on the filter head. Ensure all connections are secure to prevent leaks.
- Position the inlet strainer and outlet nozzle within the aquarium according to your desired water circulation.
- Once all hoses are connected and the filter is in its final position, connect the power cord to a suitable electrical outlet.
4.3 Priming the Filter (Air Evacuation)
Before starting the filter, it is essential to remove air from the system.
- After connecting the pipes and placing the filter, ensure the filter is below the water level.
- Lift and pull the exhaust valve (priming pump) 2-4 times. This action will draw water into the filter through the siphon principle, expelling air.
- Once water fills the filter and air is discharged, the filter will enter normal working condition. No additional water needs to be added manually.
5. Operating Instructions
5.1 Powering On
After successful installation and priming, plug the filter into a power outlet. The filter will begin operating.
5.2 Adjusting Flow Rate
The filter's flow rate can be adjusted to match your aquarium's specific needs.
- Locate the flow rate adjustment mechanism on the filter head (refer to Image 4.1).
- Turn the button or lever to increase or decrease the water flow as desired.
5.3 Utilizing Water Outlet Modes
The filter offers various water outlet options to customize water movement and aeration in your aquarium.

Image 5.1: This image displays four different water outlet modes: Platypus out of water mode (surface skimming), Micro-oxygenation mode (aeration), Rain shower mode (gentle water return), and Multi-directional infusion mode (adjustable flow direction).
- Platypus Out of Water Mode: Ideal for surface skimming and removing oil film.
- Micro-Oxygenation Mode: Provides additional aeration to the water.
- Rain Shower Mode: Creates a gentle, dispersed water return, suitable for planted tanks or fish sensitive to strong currents.
- Multi-Directional Infusion Mode: Allows for directing water flow in multiple directions.
Select and configure the appropriate outlet attachment based on your aquarium's requirements.
6. Maintenance
Regular maintenance ensures optimal performance and extends the lifespan of your filter.
6.1 Cleaning the Filter
- Disconnect Power: Always unplug the filter from the power outlet before performing any maintenance.
- Disconnect Hoses: Carefully disconnect the inlet and outlet hoses from the filter head.
- Open Filter: Unclip or unlatch the filter head to access the filter media baskets.
- Clean Media: Rinse mechanical filter media (sponges, pads) in old aquarium water to preserve beneficial bacteria. Replace heavily soiled mechanical media.
- Inspect Biological/Chemical Media: Biological media (e.g., ceramic rings) should only be rinsed gently if clogged. Chemical media (e.g., activated carbon) should be replaced according to manufacturer recommendations, typically every 2-4 weeks.
- Clean Impeller: Remove and clean the impeller and its housing to ensure smooth operation.
- Reassemble: Reassemble the filter in reverse order, ensuring all seals are properly seated to prevent leaks.
- Restart: Reconnect hoses, prime the filter as described in Section 4.3, and plug it back in.

Image 6.1: Cross-section view of the Sobo AQ-903F filter, showing the multiple layers of filtration media. This illustrates how different types of media (sponges, carbon, bio-balls) are stacked for comprehensive water purification.
Different filter materials can be freely changed according to the needs of the aquarium. Ensure to use appropriate media for mechanical, biological, and chemical filtration.
7. Troubleshooting
This section addresses common issues you might encounter with your filter.
| Problem | Possible Cause | Solution |
|---|---|---|
| Filter not starting / No flow |
|
|
| Reduced flow rate |
|
|
| Leaking |
|
|
| Excessive noise |
|
|
8. Warranty and Support
For warranty information and customer support, please refer to the documentation provided at the point of purchase or contact your retailer. Keep your proof of purchase for warranty claims.


