
Introduction
This manual provides detailed instructions for the installation, operation, and maintenance of your Hiecetec Silver Fingerprint Lock Door Knob. Please read this manual thoroughly before installation and use to ensure proper function and longevity of your smart lock. This keyless entry system offers multiple unlocking methods including fingerprint, passcode, and traditional backup keys, designed for enhanced security and convenience in various settings such as bedrooms, apartments, and offices.
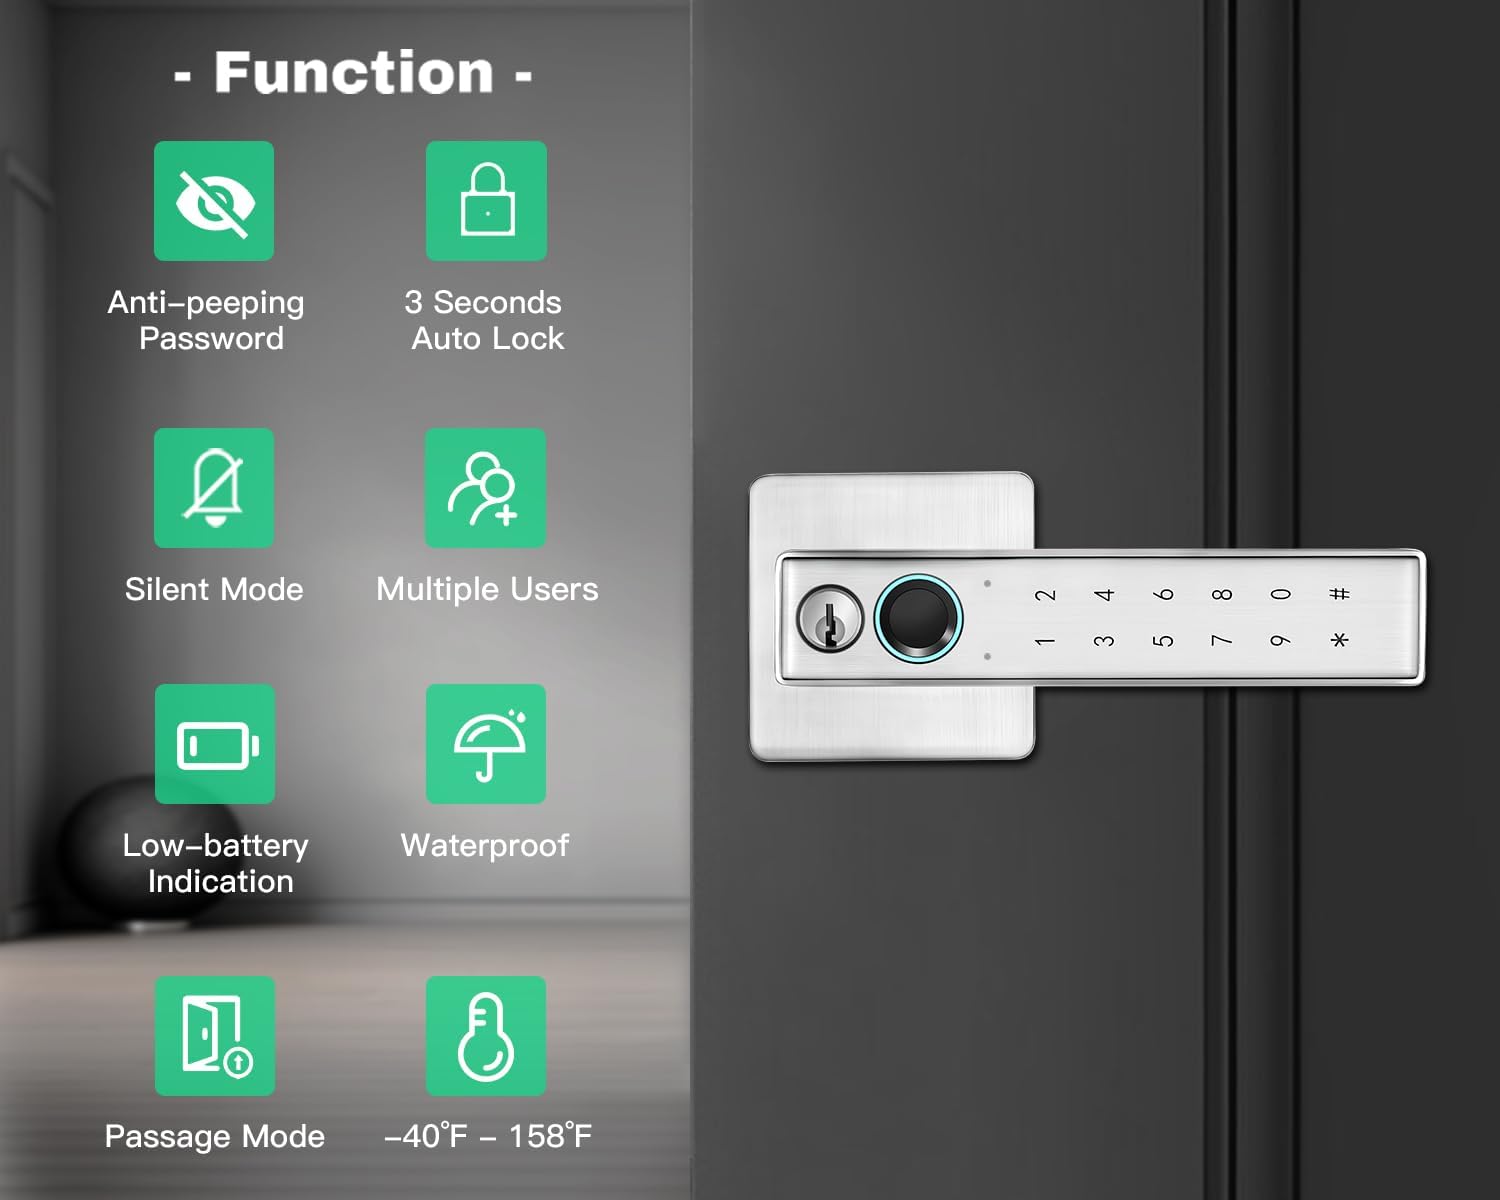
Image: Hiecetec Silver Fingerprint Lock Door Knob, showing the exterior handle with keypad and fingerprint sensor.
Product Features
- Multiple Unlocking Methods: Fingerprint, Passcode, and Mechanical Key.
- Anti-Peeping Password: Enter random digits before or after your actual passcode to protect your entry code from onlookers.
- Automatic Locking: The lock can be configured to automatically lock after 3 seconds.
- Silent Mode: Option to disable sound alerts for quiet operation.
- Multi-User Support: Accommodates multiple registered users for fingerprints and passcodes.
- Low Battery Indication: Visual alert when battery power is low.
- Weather Resistance: Designed to withstand temperatures from -4°F to 158°F (-20°C to 70°C).
- Passage Mode: Allows the door to remain unlocked for free entry and exit without authentication.
- Durable Construction: Made from stainless steel and zinc alloy for sturdy and long-lasting performance.

Image: Overview of smart lock functions including anti-peeping password, auto-lock, silent mode, multiple users, low-battery indication, waterproof design, passage mode, and temperature range.
Setup and Installation
The Hiecetec Fingerprint Lock Door Knob is designed for straightforward installation, typically replacing existing door knobs without requiring additional drilling. Ensure your door is compatible with standard door knob dimensions.
Package Contents:
- Exterior Knob Assembly
- Interior Knob Assembly
- Latch Mechanism
- Strike Plate
- Mounting Screws
- Mechanical Keys (2)
- Installation Guide (this manual)
Tools Required:
- Phillips Head Screwdriver
- Measuring Tape (optional, for verification)
Installation Steps:
- Prepare the Door: Remove your existing door knob. Ensure the door bore hole and backset are standard.
- Install the Latch: Insert the latch mechanism into the door edge. Secure it with screws. Ensure the latch bolt faces the correct direction for your door swing.
- Install Exterior Assembly: Place the exterior knob assembly through the door, ensuring the spindle aligns with the latch mechanism.
- Install Interior Assembly: Attach the interior knob assembly, connecting the wires and aligning the mounting posts. Secure with screws.
- Test Operation: Before closing the door, test the handle operation from both sides. Ensure the latch retracts smoothly.
- Insert Batteries: Open the battery cover on the interior assembly and insert 4 AAA alkaline batteries (not included).
- Activate Keypad: Slide the keypad cover to activate the keypad light.


Image: Left: Diagram showing the smart lock fitting standard right-handed and left-handed doors with dimensions. Right: Close-up of the smart lock showing the location of the reset key.

Image: Illustration of the three unlocking methods: keypad code, mechanical key, and fingerprint.
Operating Instructions
Initial Setup and Programming:
It is crucial to follow these steps carefully for correct programming. Many issues arise from incorrect initial setup.
- Enter Programming Mode: Press *0#. The lock will beep, and the keypad will illuminate.
- Set Administrator Passcode: Follow the voice prompts to set your first administrator passcode. This passcode is essential for adding other users and changing settings.
- Add Fingerprints: After setting the admin passcode, you can add fingerprints. Place your finger on the sensor multiple times as prompted until successfully registered.
- Add User Passcodes: Follow the prompts to add additional user passcodes.
Important Note: If the lock is not programmed after installation, it may unlock with any fingerprint. Ensure you complete the programming steps to secure your door.
Unlocking the Door:
- Fingerprint: Place your registered finger on the fingerprint sensor. The lock will unlock if the fingerprint is recognized.
- Passcode: Enter your 4-8 digit passcode followed by #.
- Mechanical Key: Insert the backup key into the keyhole and turn to unlock.
Advanced Features:
- Anti-Peeping Password: To use this feature, enter any random digits before or after your actual passcode (e.g., 23510 + 123456 + 13089 + #). The lock will recognize the correct passcode within the sequence.
- Passage Mode: To activate Passage Mode, press *6# followed by your password and #, or *6# followed by a registered fingerprint. To deactivate, press *6#. In Passage Mode, the door remains unlocked for free access.
- Silent Mode: Refer to the detailed programming instructions in the full manual for activating/deactivating silent mode.

Image: Demonstration of the Anti-Peeping Mode, showing how to enter random digits before and after the actual password to obscure it.

Image: Visual guide for activating and deactivating Passage Mode, allowing free movement without authentication.
Maintenance
- Battery Replacement: The lock will provide a low battery indication when power is running low. Replace all four AAA alkaline batteries promptly to ensure continuous operation. Do not mix old and new batteries.
- Cleaning: Wipe the lock's surface with a soft, dry cloth. Avoid using abrasive cleaners or solvents that could damage the finish or electronic components.
- Fingerprint Sensor Care: Keep the fingerprint sensor clean and dry for optimal performance. Avoid touching it with oily or dirty fingers.
- Keyhole Maintenance: Ensure the keyhole remains free of debris. Use the mechanical key periodically to ensure it functions correctly.

Image: Visual representation of the low battery warning indicator on the smart lock.
Troubleshooting
- Lock does not respond: Check battery levels. Replace batteries if low. Ensure the keypad is activated by sliding the cover.
- Fingerprint not recognized: Ensure your finger is clean and dry. Try different angles or re-register your fingerprint if issues persist. The sensor requires proper contact for accurate reading.
- Passcode not working: Double-check the passcode entry. Ensure you are pressing # after the passcode. If using anti-peeping mode, ensure the correct passcode is embedded within the random digits.
- Lock unlocks with any fingerprint: This indicates the lock has not been properly programmed. Perform a factory reset and follow the initial setup and programming steps carefully, starting with *0# to enter programming mode and set an administrator passcode.
- Difficulty programming: Refer to the "Initial Setup and Programming" section. Ensure you press *0# to initiate programming. If issues persist, perform a factory reset.
- Factory Reset: Locate the reset button (often a small pinhole) on the interior assembly. Use a thin object (like a paperclip) to press and hold the reset button for several seconds until the lock indicates a reset. This will erase all programmed data, requiring you to re-program the lock from scratch.
Image: Close-up view highlighting the reset key location on the smart lock for easily resetting settings.
Specifications
| Brand | hiencetec |
| Model Number | hiencetec-unknown |
| Material | Stainless Steel, Zinc Alloy, Brass |
| Color | Silver |
| Lock Type | Biometric (Fingerprint), Keypad, Mechanical Key |
| Power Source | 4 x AAA Alkaline Batteries (Not Included) |
| Operating Temperature | -4°F to 158°F (-20°C to 70°C) |
| Included Components | Knob, Knob Key, Lock |
| UPC | 780669096285 |
Warranty and Support
Hiecetec is committed to providing quality products and customer satisfaction. While specific warranty details are not provided in this manual, please retain your proof of purchase for any warranty claims.
For technical assistance, troubleshooting, or warranty inquiries, please contact Hiecetec customer support through the platform where you purchased the product or refer to the contact information provided with your purchase. When contacting support, please have your product model number and purchase date available.
Many common issues can be resolved by carefully reviewing the "Troubleshooting" section of this manual and ensuring all programming steps are followed precisely.