
1. Introduction
Thank you for purchasing the ReHisk 24 Inch FHD IPS Gaming Monitor. This manual provides essential information for setting up, operating, and maintaining your monitor. Please read it thoroughly before use to ensure proper functionality and safety.
Safety Information
- Always disconnect the power cable from the electrical outlet before cleaning the monitor.
- Do not expose the monitor to rain or moisture to prevent fire or electric shock.
- Do not open the monitor casing. There are no user-serviceable parts inside. Refer all servicing to qualified service personnel.
- Place the monitor on a stable, flat surface to prevent it from falling.
- Ensure proper ventilation around the monitor. Do not block ventilation openings.
- Use only the power adapter and cables provided by the manufacturer.
2. Package Contents
Verify that all items are present in your package:
- ReHisk 24 Inch FHD IPS Gaming Monitor
- Monitor Stand (Base and Neck)
- HDMI Cable
- Power Adapter and Cable
- Mounting Screws and Tools
- User Manual (this document)
Video: Unboxing and initial overview of the ReHisk 24 Inch Gaming Monitor, showing included accessories and the monitor itself.
3. Setup
3.1 Assembling the Stand
- Carefully remove the monitor from its packaging, keeping it protected on a soft surface.
- Attach the stand neck to the monitor's rear panel.
- Attach the stand base to the stand neck and secure it with the provided screws.
- Ensure all screws are tightened securely.
3.2 VESA Mounting
The monitor supports VESA 75 x 75 mm mounting for wall mounts or monitor arms. Remove the stand if it is already attached, then secure the VESA mount using appropriate screws (not always included).

Image: Monitor dimensions and VESA 75x75mm mounting compatibility.
3.3 Connecting Devices
The monitor features various input ports for connectivity:
- HDMI Port: Connect to a computer, game console, or other HDMI-enabled device using the provided HDMI cable.
- DisplayPort (DP): Connect to a computer or graphics card with a DisplayPort output for high-resolution and high-refresh-rate signals.
- Earphone Jack: Connect headphones or external speakers.
- USB-A Port: For service or specific accessories.
- Power Input: Connect the power adapter to this port, then plug the adapter into a power outlet.

Image: Rear view of the monitor displaying available connectivity ports.
Video: Demonstrates connecting a portable monitor to a Nintendo Switch, illustrating general monitor connectivity principles.
Video: Shows how to connect a portable monitor to a MacBook, demonstrating USB-C connectivity.
4. Operating Instructions
4.1 Power On/Off
Press the power button located on the monitor to turn it on or off. The power indicator light will illuminate when the monitor is on.
4.2 On-Screen Display (OSD) Menu
Use the buttons on the monitor (usually on the back or bottom right) to navigate and adjust settings in the OSD menu. Common settings include:
- Brightness/Contrast: Adjust the display's luminance and contrast levels.
- Color Settings: Modify color temperature, gamma, and individual RGB values.
- Input Selection: Manually switch between HDMI and DisplayPort inputs.
- Audio: Adjust volume for built-in speakers or connected earphones.
- Gaming Features: Access settings for FreeSync/G-Sync, response time, and other gaming enhancements.
4.3 Key Features
- Ultra-Fast 180Hz Refresh Rate: Provides smooth motion for gaming. Ensure your graphics card and connection cable support 180Hz.
- 1ms Response Time: Reduces motion blur and ghosting in fast-paced games.
- FHD IPS Display: Offers Full High Definition (1920x1080) resolution with wide 178° viewing angles and accurate colors.
- Vivid Colors with HDR10 & sRGB 91%: Experience enhanced color depth and contrast.
- AMD FreeSync Premium & NVIDIA G-SYNC Compatible: Synchronizes the monitor's refresh rate with your GPU's frame rate to eliminate screen tearing and stuttering. Enable this feature in your graphics card settings.
- Eye-Care Technology: Features flicker-free display and blue light reduction to minimize eye strain during extended use.
- Built-in Speakers: Integrated 8Ω/2Wx2 speakers provide audio output.
- Power Gaming Assistance: Includes features like Black Level Adjustment (Shadow Booster), Pinpoint, and Timer to enhance gaming performance.

Image: Visual representation of the monitor's 180Hz refresh rate and 1ms response time.

Image: Highlighting the IPS panel's wide viewing angles and eye-care features.
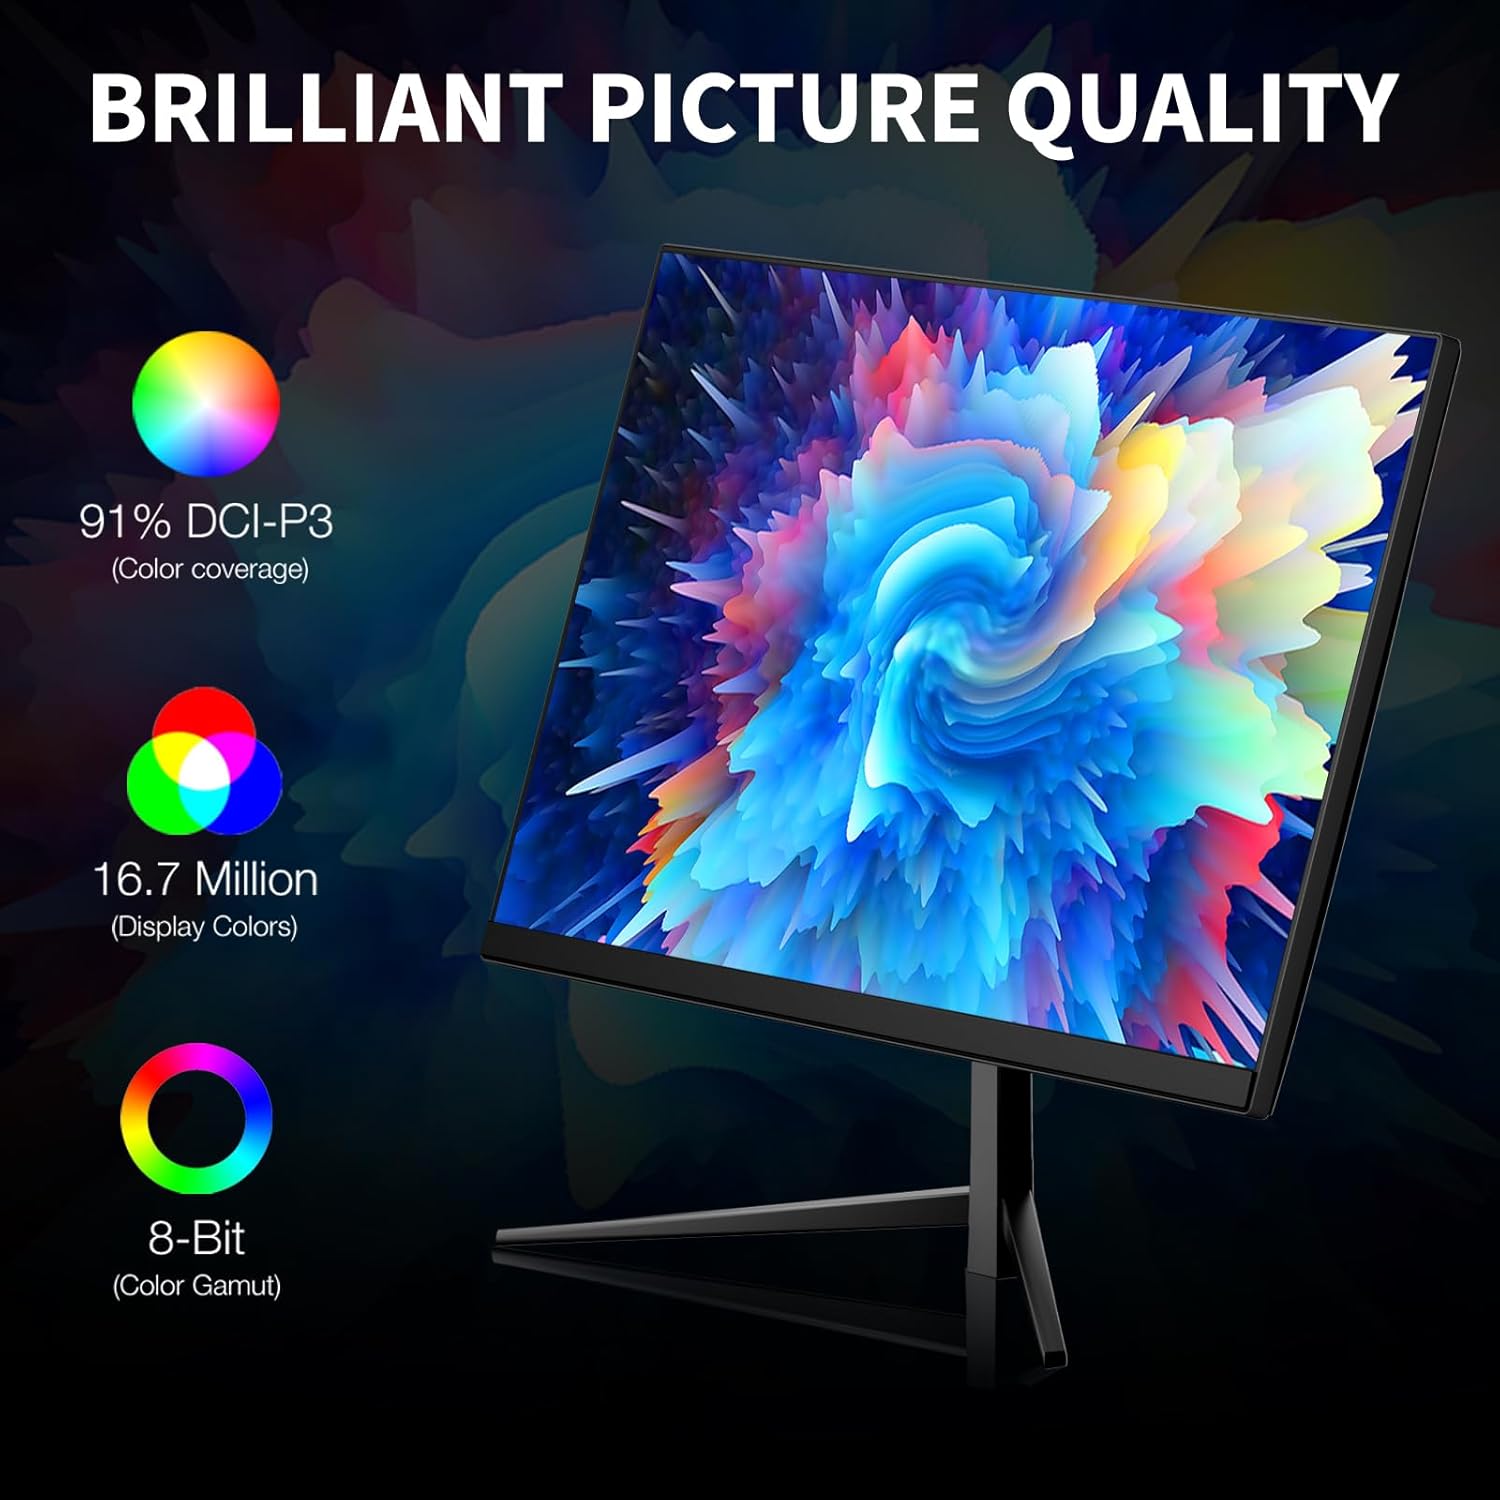
Image: Details on color quality, including HDR10 and sRGB coverage.
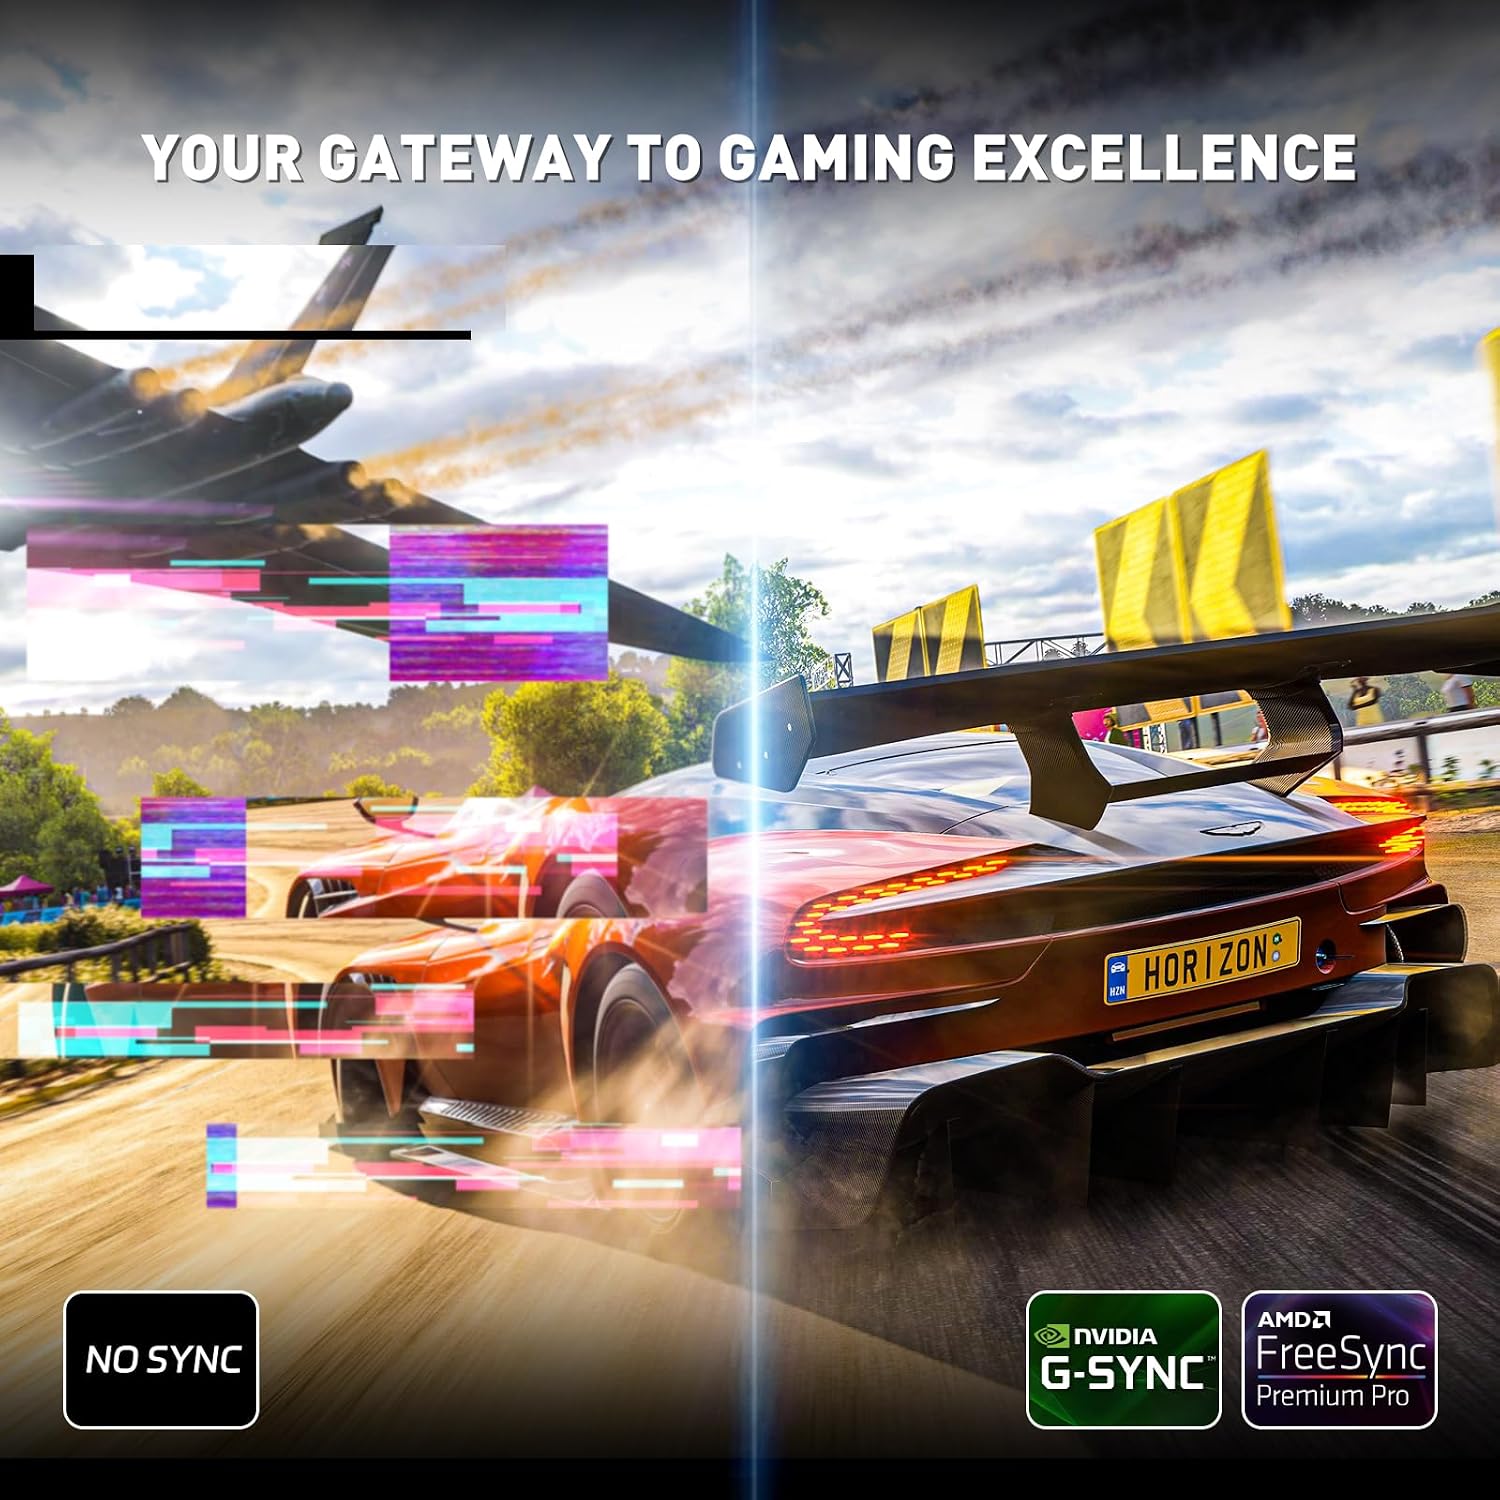
Image: Comparison of gaming with and without G-Sync/FreeSync, demonstrating tear-free visuals.

Image: Illustration of the monitor's built-in speakers.

Image: Display of gaming assistance features like Pinpoint and Shadow Booster.
Video: Demonstrates smooth game effects on the monitor, highlighting its performance during gameplay.
5. Maintenance
5.1 Cleaning the Monitor
- Always unplug the monitor before cleaning.
- Use a soft, lint-free cloth to gently wipe the screen. Avoid using abrasive cleaners, waxes, or solvents.
- For stubborn marks, lightly dampen the cloth with water or a mild, non-abrasive screen cleaner.
- Wipe the monitor casing with a soft, dry cloth.
5.2 General Care
- Avoid placing heavy objects on the monitor or its cables.
- Do not expose the monitor to direct sunlight or extreme temperatures.
- Keep the monitor away from sources of strong electromagnetic fields.
6. Troubleshooting
If you encounter issues with your monitor, refer to the following common problems and solutions:
| Problem | Possible Solution |
|---|---|
| No image on screen | Ensure the power cable is securely connected and the monitor is turned on. Check the video cable connection (HDMI/DP) to both the monitor and your device. Select the correct input source via the OSD menu. |
| Image is flickering or unstable | Check the video cable for damage or loose connections. Ensure your graphics card drivers are up to date. Adjust the refresh rate in your computer's display settings. Disable/enable FreeSync/G-Sync. |
| No sound from speakers/earphone jack | Check the volume settings on the monitor and your connected device. Ensure the audio output is correctly configured on your computer. Verify the earphone/speaker cable is fully inserted. |
| Colors appear incorrect | Adjust color settings (color temperature, gamma) in the OSD menu. Ensure your graphics card color settings are default or calibrated. |
| Monitor does not turn on | Verify the power adapter is working and connected correctly. Try a different power outlet. |
7. Specifications
| Feature | Specification |
|---|---|
| Model Number | 241KV2 |
| Screen Size | 24 Inches |
| Panel Type | IPS |
| Resolution | 1920 x 1080 Pixels (FHD 1080p) |
| Refresh Rate | 180Hz |
| Response Time | 1ms |
| Aspect Ratio | 16:9 |
| Image Brightness | 250 Candela |
| Color Coverage | 91% sRGB, HDR10 |
| Connectivity | HDMI, DisplayPort, USB-A, Earphone Jack |
| VESA Compatibility | 75 x 75 mm |
| Built-in Speakers | Yes (8Ω/2Wx2) |
| Product Dimensions | 23.46 x 4.69 x 15.35 inches |
| Item Weight | 7.48 pounds |
8. Warranty and Support
8.1 Warranty Information
ReHisk monitors come with a standard manufacturer's warranty. Please refer to the warranty card included in your package or visit the official ReHisk website for detailed warranty terms and conditions. Keep your proof of purchase for warranty claims.
8.2 Customer Support
If you have any questions, require technical assistance, or need to report an issue, please contact ReHisk customer support:
- Email: info@ganymedebos.com
- Phone: 508-434-7740
- Website: ReHisk Amazon Store

