
1. Introduction
This manual provides essential instructions for the setup, operation, and maintenance of your iFamily Additional Camera, model 43Ev2-TX. This camera is designed to expand your existing iFamily Split Monitor system, specifically compatible with models SM43E and SM43Ev2. Please read this manual thoroughly before use to ensure proper functionality and safety.
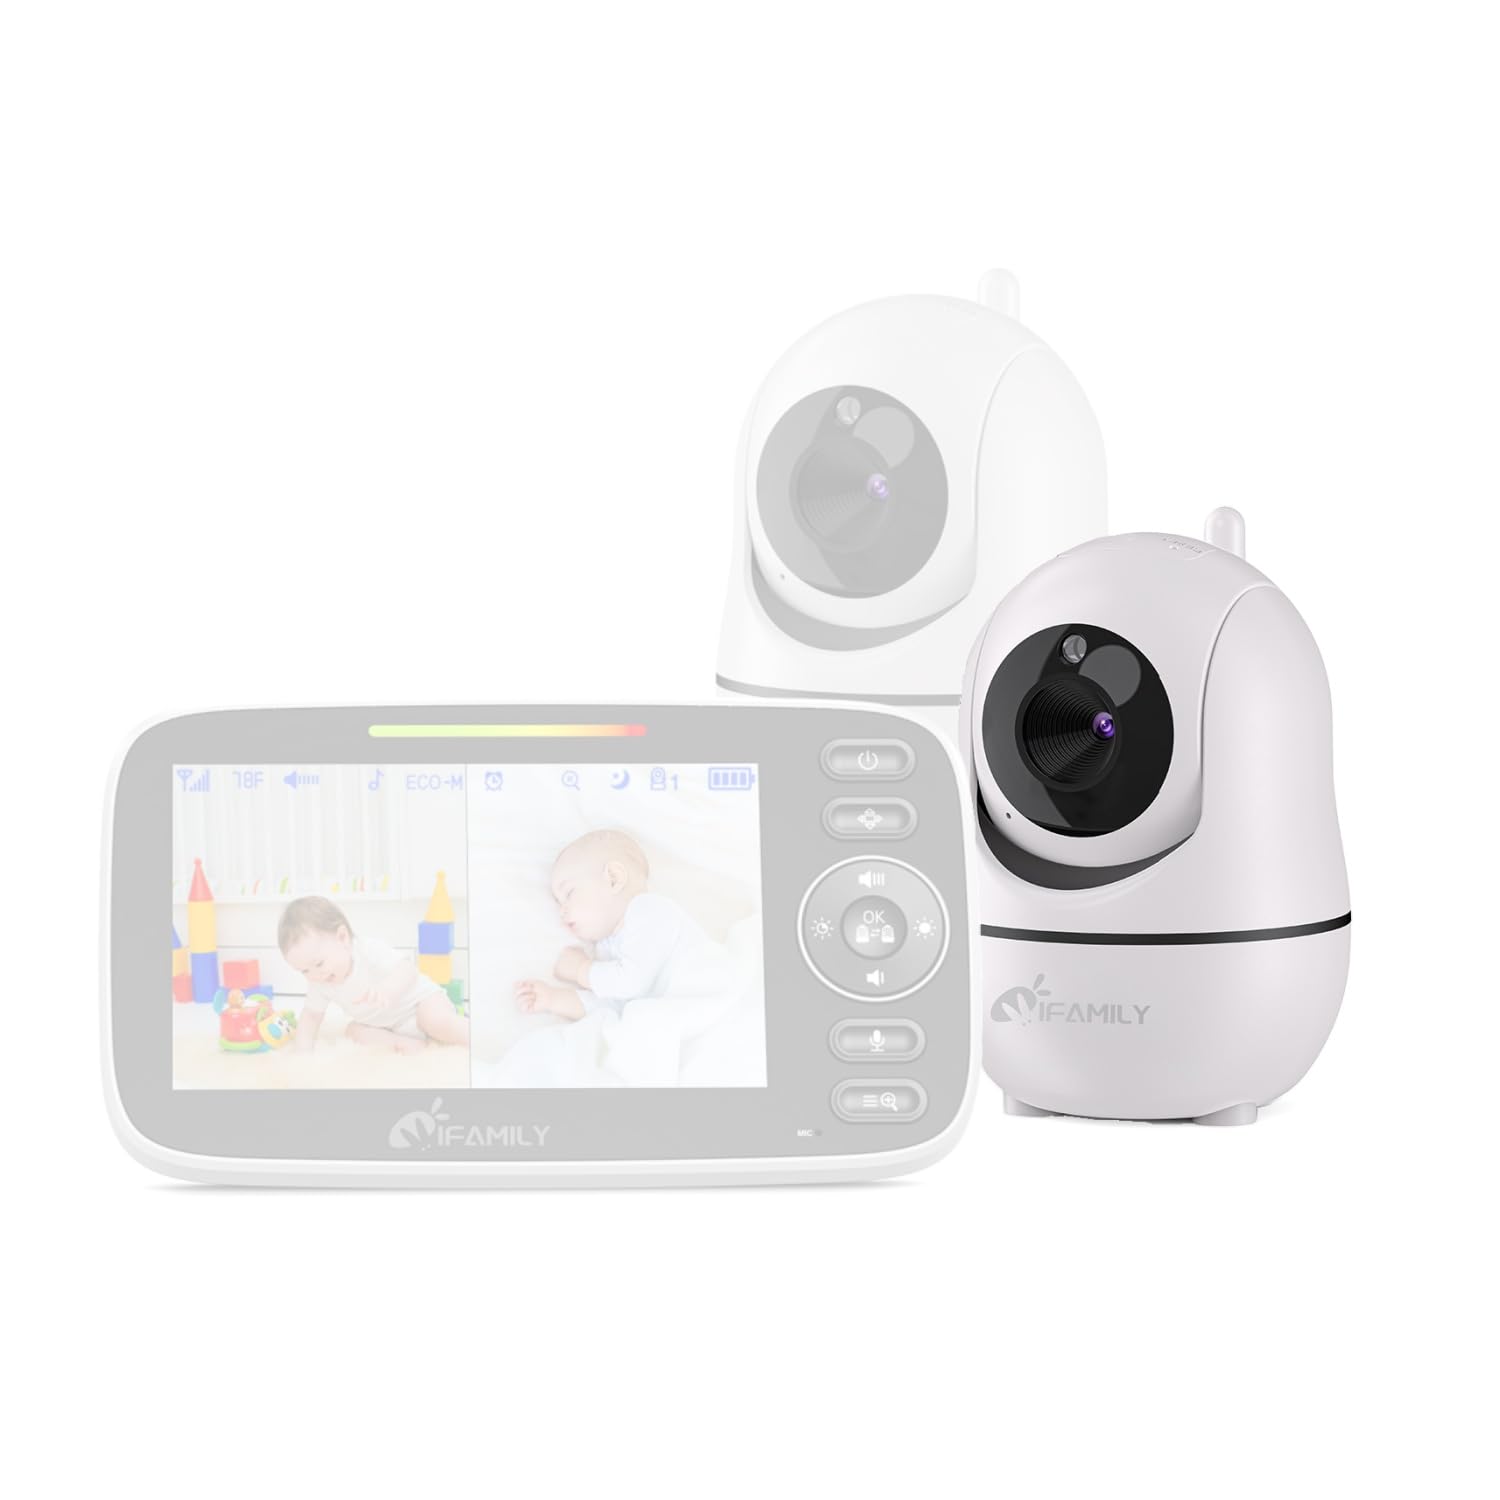
Image 1.1: iFamily Additional Camera (Model 43Ev2-TX)
2. Important Compatibility Information
This additional camera is ONLY compatible with iFamily Split Monitor models SM43E and SM43Ev2. It is crucial to verify your monitor model before attempting to pair this camera.
This camera is NOT compatible with the following iFamily monitor models:
- SM650
- SM650-2
- SM651
- SM653
- SM70C
- SM936E

Image 2.1: Visual representation of incompatible monitor models.

Image 2.2: This camera is not compatible with the monitor shown.
3. Setup
3.1 Package Contents
Ensure your package contains the following:
- iFamily Additional Camera (Model 43Ev2-TX)
- Power Adapter for Camera
3.2 Camera Placement
Place the camera on a flat, stable surface or mount it to a wall using appropriate hardware (not included). Ensure the camera has a clear line of sight to the area you wish to monitor. Avoid placing the camera near heat sources, direct sunlight, or objects that may obstruct its view or signal.

Image 3.1: Example of camera placement in a room, showing pan and tilt capabilities.
3.3 Powering On the Camera
- Connect the camera's power adapter to the camera's power input port.
- Plug the power adapter into a standard electrical outlet.
- The camera will power on automatically. An indicator light may illuminate to confirm it is active.
3.4 Pairing the Additional Camera with Your Monitor
Refer to your iFamily SM43E or SM43Ev2 monitor's instruction manual for specific pairing procedures. Generally, the steps involve:
- Ensure both the monitor and the new camera are powered on.
- Access the 'Camera Management' or 'Pairing' menu on your monitor.
- Select an available camera channel to add the new camera.
- Press the 'Pair' button (usually located on the back or bottom) of the additional camera within the specified time frame (e.g., 10-30 seconds).
- The monitor should display a confirmation message once pairing is successful.
4. Operating the Camera
Once paired, the additional camera operates in conjunction with your iFamily SM43E/SM43Ev2 monitor. All camera controls, such as pan, tilt, zoom, and night vision activation, are managed directly from the monitor unit.
4.1 Viewing Multiple Cameras (Split Screen / Scan Mode)
Your iFamily Split Monitor supports viewing multiple cameras simultaneously or cycling through them. Consult your monitor's manual for detailed instructions on activating split-screen mode or scan mode to view feeds from all paired cameras.

Image 4.1: Example of a monitor displaying a split-screen view from multiple cameras.
5. Maintenance
5.1 Cleaning the Camera
To clean the camera, gently wipe the lens and body with a soft, dry, lint-free cloth. Do not use abrasive cleaners, solvents, or chemical sprays, as these can damage the camera's surface or internal components.
5.2 Storage
When not in use for extended periods, store the camera in a cool, dry place, away from direct sunlight and extreme temperatures. Disconnect the power adapter before storage.
6. Troubleshooting
- No Signal on Monitor:
Ensure the camera is powered on and within range of the monitor. Try repositioning the camera or monitor. Re-attempt the pairing process as described in Section 3.4. - Camera Not Pairing:
Confirm that your monitor is an iFamily SM43E or SM43Ev2 model. Ensure the camera's 'Pair' button is pressed within the monitor's pairing window. Power cycle both the camera and monitor, then try pairing again. - Poor Image Quality:
Check the camera lens for dirt or smudges and clean if necessary (refer to Section 5.1). Ensure there are no obstructions between the camera and the monitored area. Verify the camera is placed in an area with adequate lighting, or that night vision is functioning correctly in low light. - Camera Not Responding to Pan/Tilt:
Ensure the camera is properly paired and receiving power. Check your monitor's controls for responsiveness. If the issue persists, power cycle the camera and monitor.
7. Specifications
| Feature | Specification |
|---|---|
| Model Number | 43Ev2-TX |
| Brand | iFamily |
| Connectivity Technology | Wireless (2.4GHZ) |
| Compatible Devices | SM43E MONITOR, SM43Ev2 MONITOR |
| Power Source | Corded Electric |
| Wattage | 4 watts |
| Item Dimensions (LxWxH) | 5.51 x 4.92 x 3.27 inches |
| Item Weight | 0.32 Kilograms |
| Material | Metal |
| Color | White |
| Mount Type | Wall Mount |
| Light Source | Infrared (for Night Vision) |
| Water Resistance Level | Water Resistant (IP66) |
| Frame Rate | 30 frames per second |
8. Warranty Information
Specific warranty details for the iFamily Additional Camera (Model 43Ev2-TX) are typically provided with your purchase documentation or can be found on the official iFamily website. Please retain your proof of purchase for warranty claims.
9. Support
For further assistance, technical support, or inquiries regarding your iFamily Additional Camera, please visit the official iFamily website or contact their customer service department. Contact information is usually available on the product packaging or the brand's website.
You can find more information and support at the iFamily Store on Amazon.