
First Alert SMI100-AC
First Alert SMI100-AC Hardwire Interconnect Smoke Alarm with Battery Backup User Manual
1. Introduction
This manual provides essential information for the proper installation, operation, and maintenance of your First Alert SMI100-AC Hardwire Interconnect Smoke Alarm with Battery Backup. This device is designed to provide early warning of smoke and fire hazards, utilizing Precision Detection advanced sensing technology to minimize nuisance alarms while ensuring timely alerts. For optimal safety, please read these instructions thoroughly before installation and retain this manual for future reference.

Image: Three First Alert SMI100-AC smoke alarms, illustrating the product in a multi-pack configuration.
2. Important Safety Information
Adherence to these safety guidelines is crucial for effective smoke alarm operation and personal safety.
- Never ignore a smoke alarm. Responding promptly to an alarm can save lives.
- Test alarms regularly. Perform weekly tests to ensure proper function.
- Replace batteries annually. Even with hardwire power, the battery backup is vital.
- Replace the entire alarm unit every 10 years. Smoke alarms have a limited lifespan.
- Do not paint the alarm. Paint can interfere with the sensor's ability to detect smoke.
- Ensure proper placement. Follow recommended guidelines for installation locations.
3. Setup and Installation
The First Alert SMI100-AC smoke alarm is designed for hardwire installation with a battery backup. Professional installation is recommended if you are not familiar with electrical wiring.
3.1 Components Included
- SMI100-AC Smoke Alarm Unit
- Mounting Bracket
- Quick Connect Power Cable
- 9V Alkaline Battery
- Mounting Screws and Anchors

Image: Individual components of the First Alert SMI100-AC smoke alarm, including the alarm unit, mounting bracket, wiring harness, and 9V battery.
3.2 Powering the Unit
- Install Battery Backup: Open the battery compartment and connect the included 9V alkaline battery, ensuring correct polarity. Close the compartment securely. The battery provides continuous protection during power outages.
- Hardwire Connection: Connect the Quick Connect Power Cable to your household electrical wiring (120V AC, 60Hz). Ensure power is turned off at the circuit breaker before beginning any wiring. The Quick Connect Plug simplifies installation and allows for easy replacement without rewiring.

Image: Close-up of the Quick Connect Plug, highlighting its design for easy installation and replacement.
3.3 Mounting the Alarm
- Secure the mounting bracket to the ceiling or wall using the provided screws and anchors.
- Connect the Quick Connect Power Cable to the smoke alarm unit.
- Align the alarm with the mounting bracket and twist clockwise until it locks into place.
- Restore power at the circuit breaker. The green power indicator light on the alarm should illuminate, confirming AC power.
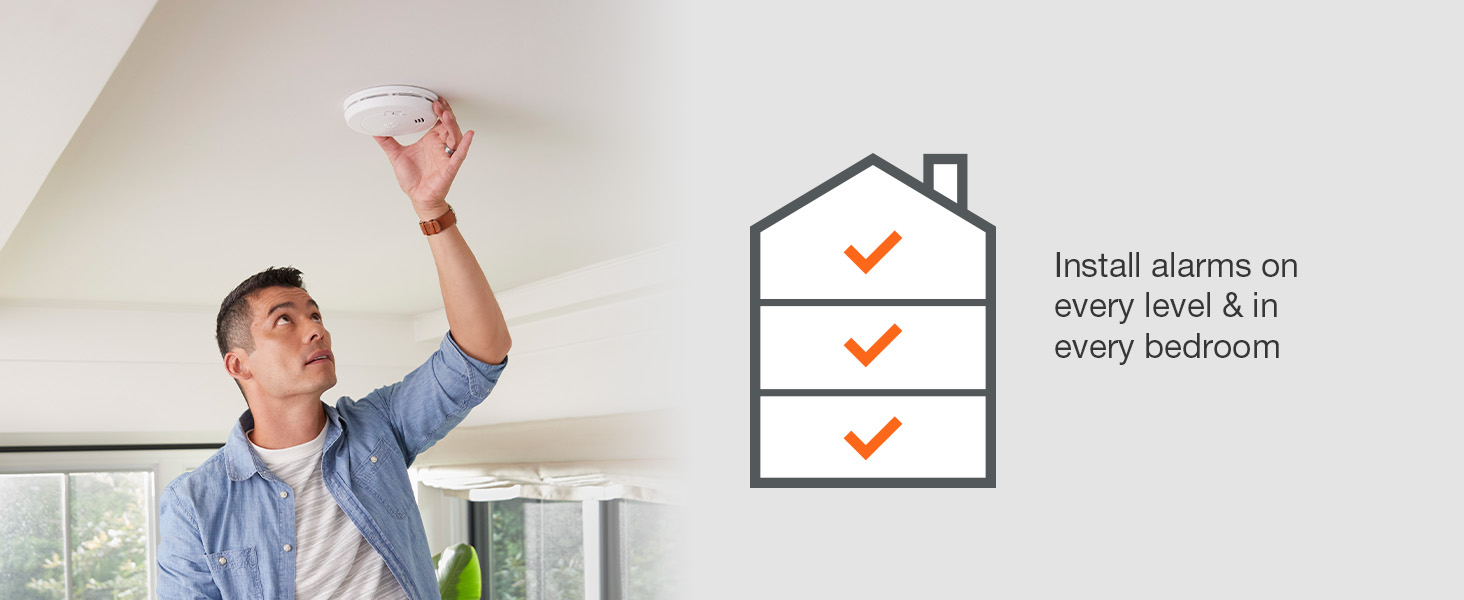
Image: A person installing a smoke alarm on a ceiling, demonstrating the recommended practice of installing alarms on every level and in every bedroom.
3.4 Interconnection Feature
This smoke alarm features an interconnect capability. When one compatible First Alert interconnect alarm sounds, all other interconnected alarms will also sound, providing an early warning throughout your home.
3.5 Recommended Placement
For optimal protection, install smoke alarms on every level of your home, including basements and attics, and inside every bedroom. Additionally, place alarms in hallways and living areas. Avoid placing alarms near windows, doors, or air vents where drafts might interfere with smoke detection.

Image: A diagram illustrating recommended placement of smoke alarms, carbon monoxide alarms, and fire extinguishers throughout a multi-level home, including bedrooms, hallways, living rooms, kitchens, basements, and garages.
4. Operation
4.1 Testing the Alarm
Test your smoke alarm weekly to ensure it is functioning correctly. Press and hold the Test/Silence button on the alarm cover until the alarm sounds. The alarm will emit a loud, pulsating sound. Release the button. If the alarm does not sound, refer to the Troubleshooting section.
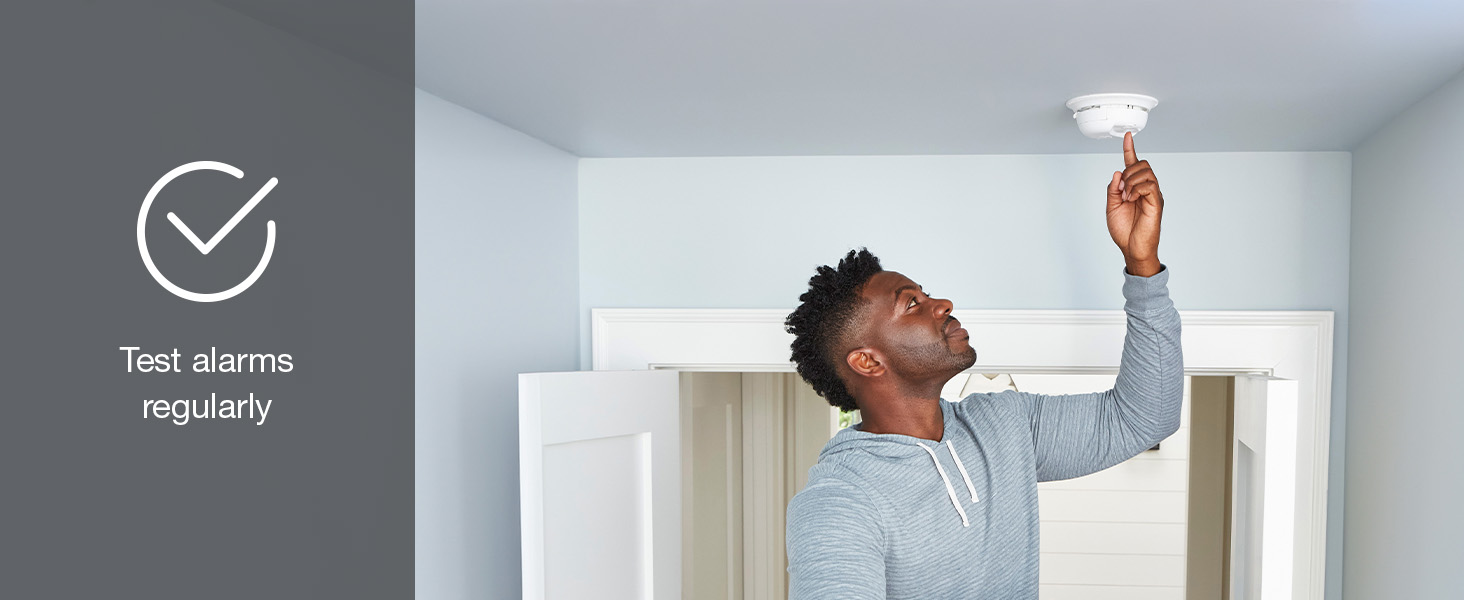
Image: A person testing a smoke alarm by pressing the test button, emphasizing the importance of regular testing.
4.2 Silence Feature
In case of a nuisance alarm (e.g., from cooking smoke), you can temporarily silence the alarm by pressing the Test/Silence button. The alarm will enter a temporary silence mode for approximately 10 minutes. If the smoke condition persists, the alarm will reactivate.
4.3 Indicator Lights
- Green LED: Indicates the alarm is receiving AC power.
- Red LED: Flashes during an alarm condition or when the Test/Silence button is pressed.
4.4 What to Do When the Alarm Sounds
If the smoke alarm sounds, immediately implement your family's escape plan. Do not re-enter the building until authorities have declared it safe. If it is a nuisance alarm, use the silence feature and ventilate the area.
5. Maintenance
5.1 Battery Replacement
The 9V alkaline battery should be replaced at least once a year, or immediately when the alarm chirps approximately once a minute, indicating a low battery. Use only a 9V alkaline battery (e.g., Duracell, Energizer, or Eveready brands).
5.2 Cleaning Your Alarm
Clean your smoke alarm at least once a month. Use a soft brush or vacuum cleaner attachment to remove dust and debris from the alarm's cover and vents. Do not use water, cleaners, or solvents, as these can damage the unit.
5.3 Alarm Replacement
Smoke alarms have a limited operational life. The First Alert SMI100-AC should be replaced at least every 10 years from the date of manufacture. Refer to the date printed on the back of the alarm.

Image: A person holding a smoke alarm, with text indicating the recommendation to replace alarms at least every 10 years.
6. Troubleshooting
| Problem | Possible Cause | Solution |
|---|---|---|
| Alarm chirps once a minute | Low battery | Replace the 9V alkaline battery. |
| Alarm sounds frequently without smoke | Nuisance alarms (cooking smoke, steam), dust buildup, improper placement | Use silence feature, ventilate area, clean alarm, relocate if necessary. |
| Alarm does not sound during test | No power (AC or battery), faulty unit | Check circuit breaker, replace battery, ensure proper connection. If problem persists, replace unit. |
| Green LED is off | No AC power | Check circuit breaker, ensure proper hardwire connection. |
7. Specifications
- Model: SMI100-AC
- Power Source: 120V AC, 60Hz hardwire with 9V Alkaline Battery Backup
- Sensor Type: Ionization
- Alarm Type: Audible Alarm
- Interconnect: Yes, with compatible First Alert alarms
- Dimensions: 5"D x 5"W x 5"H (approximate)
- Weight: Approximately 9.8 ounces
- Operating Temperature: 40°F (4.4°C) to 100°F (37.8°C)
- Operating Humidity: 10% to 95% relative humidity, non-condensing
8. Warranty and Support
For detailed warranty information, technical support, or to register your product, please visit the official First Alert website or contact their customer service. Keep your purchase receipt as proof of purchase for warranty claims.
First Alert Website: www.firstalert.com
Related documentsSMI100-AC


Ask a question about this manual
Ask about setup, troubleshooting, compatibility, parts, safety, or missing instructions. Manuals+ will review the question and use this page’s manual context to help answer it.