
1. Introduction
This manual provides detailed instructions for the IINE Wireless Switch Pro Controller. It is designed to enhance your gaming experience on compatible devices by offering advanced features such as adjustable RGB lighting, precise gyro motion control, customizable vibration, and a convenient wake-up function.

Image of the IINE Wireless Switch Pro Controller, showcasing its transparent design and internal RGB lighting.
1.1. Compatibility
- Nintendo Switch
- Nintendo Switch Lite
- Nintendo Switch OLED
- PC Steam (wired connection only)
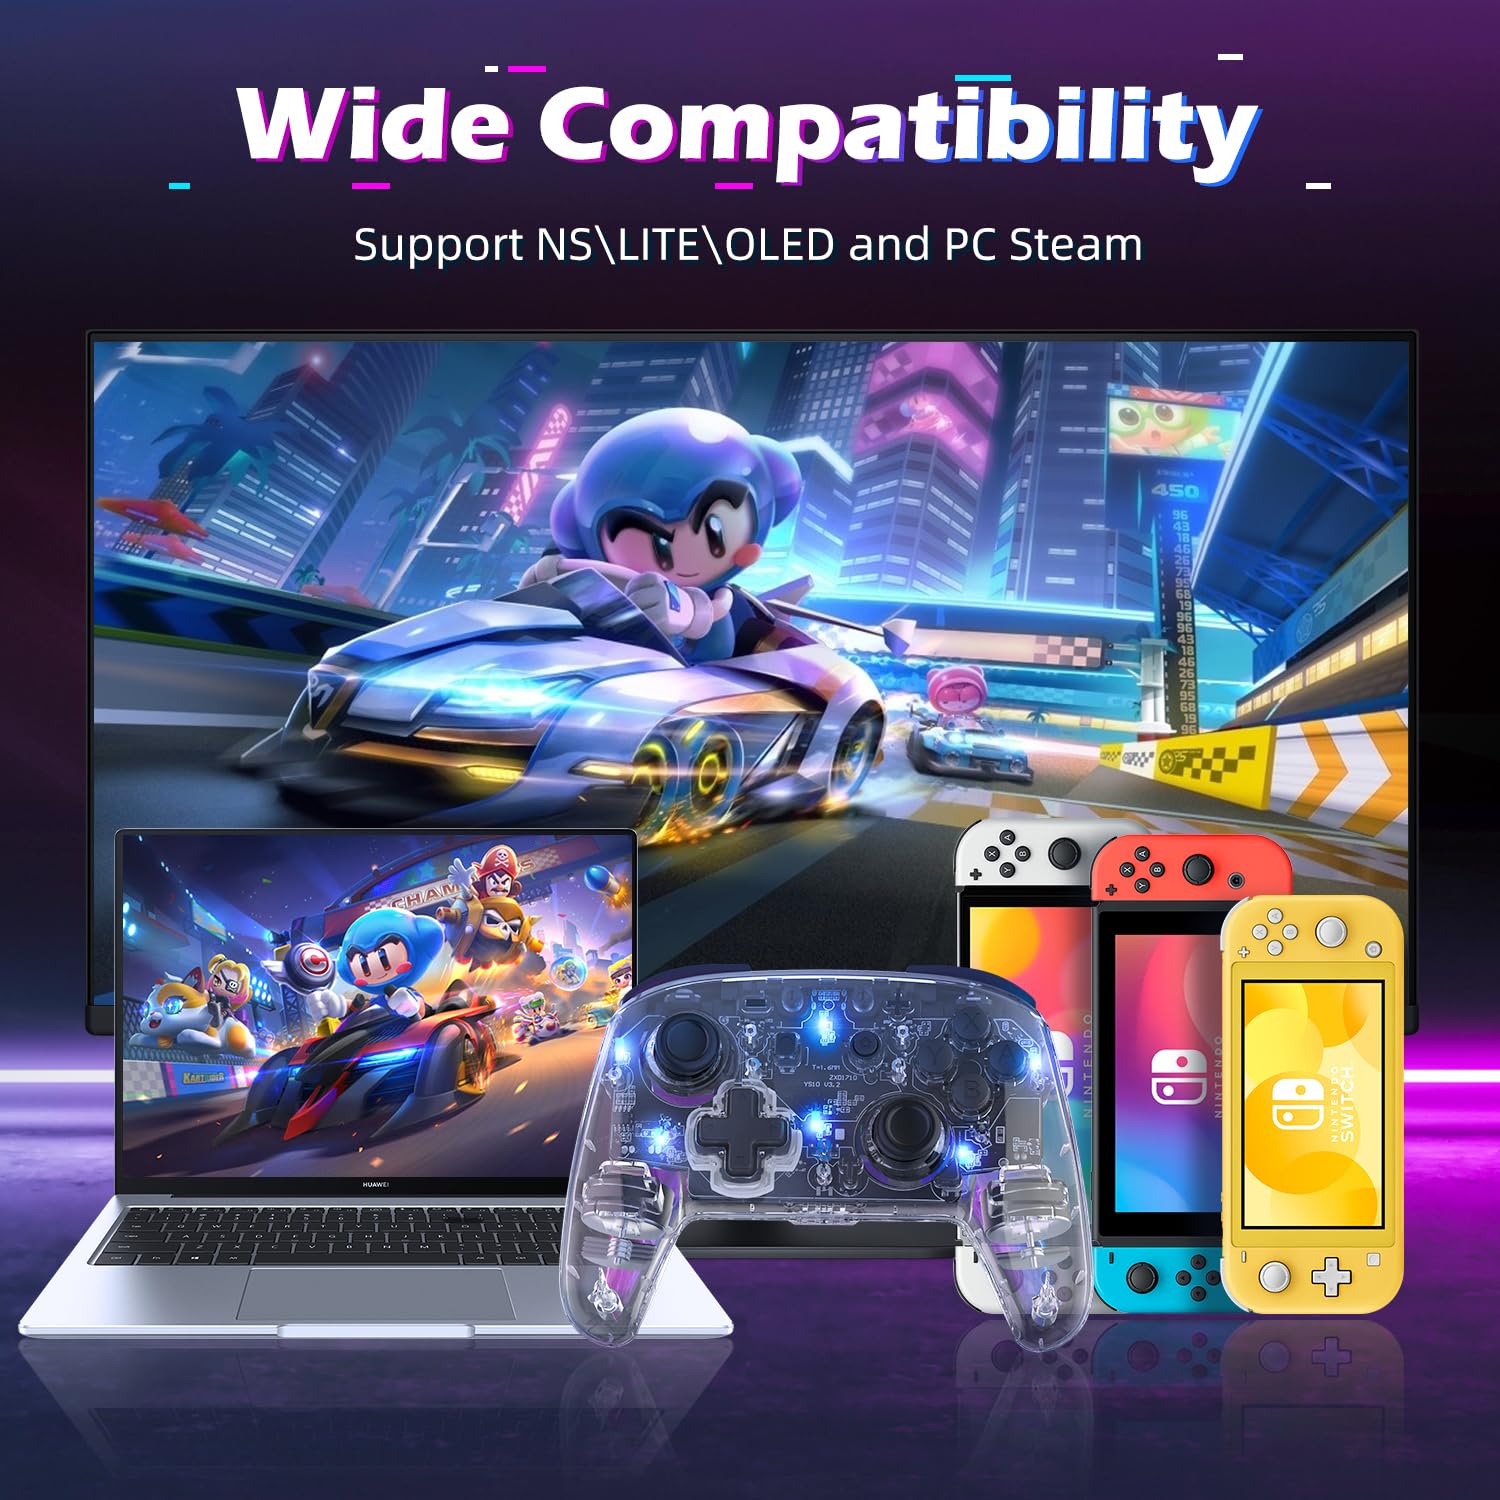
Image showcasing the controller's wide compatibility with various devices including Nintendo Switch, Switch Lite, Switch OLED, and PC Steam.
2. Setup
2.1. Initial Wireless Pairing with Nintendo Switch
- On your Nintendo Switch console, navigate to the HOME Menu.
- Select 'Controllers' > 'Change Grip/Order'.
- Press and hold the 'Pairing Button' on the IINE controller for 3-5 seconds until the indicator lights begin to flash rapidly.
- Once the controller is successfully paired, the corresponding player indicator light(s) on the controller will remain solid.
2.2. Wired Connection for PC Steam
- Connect the controller to your PC using a USB-C cable.
- The controller will be recognized as a gamepad. Ensure your PC Steam settings are configured to accept generic gamepads or Pro Controllers.
2.3. Wake-up Function
To wake up your Nintendo Switch console from sleep mode, simply press the 'Home' button on the controller for 3-5 seconds. The console will power on and connect to the controller automatically.

Instructional image showing how to use the 'Home' button to wake up the Nintendo Switch console from sleep mode.
3. Operating Instructions
3.1. Adjustable RGB Lighting
The controller features 9 different LED light colors and 4 light modes. You can customize the lighting to your preference.
- Changing Light Modes:
Press the 'Light Button' (located near the right joystick) in combination with other buttons to cycle through modes:- Light Button + A = Breathing Light Mode
- Light Button + B = Vibration Light Mode
- Light Button + X = Joystick Light Mode
- Adjusting Brightness:
- Click the 'Light Button' once to turn lights ON.
- Double-click the 'Light Button' to turn lights OFF.
- Press the 'Light Button' + '+' or '-' buttons to enhance or reduce lighting strength.

Illustration demonstrating the adjustable RGB lighting feature of the controller, highlighting 9 different colors, adjustable brightness, and 4 light modes.

Detailed guide on adjusting RGB light modes using the light button combined with A, B, or X buttons for breathing, vibration, and joystick light modes.

Instructions on how to adjust the brightness of the controller's RGB lights by clicking or double-clicking the light button and pressing the plus/minus buttons.
3.2. Adjustable Vibration Function
The controller features 5-level adjustable dual vibration motors, providing immersive feedback during gameplay.
- To adjust vibration intensity, refer to the controller's specific button combinations (usually a combination of a function button and the D-pad or joystick). Consult the quick start guide included with your controller for precise instructions.

Visual representation of the 5-level adjustable dual vibration feature, indicating different intensity levels from 0% to 100%.

Visual explanation of the 5-level vibration intensity, showing how different game scenarios like collision, take-off, and fighting can trigger varied vibration feedback.
3.3. Six-axis Gyro Motion Control
The built-in six-axis gyro sensor allows for precise motion control, enhancing gameplay in titles that support somatosensory actions, shooting, and aiming.
- Simply tilt and move the controller to control in-game actions where motion control is enabled.

Diagram illustrating the 6-axis gyro motion control in action, showing how the controller can be used for precise in-game movements like steering and aiming.
3.4. Turbo Function (Manual/Auto)
The turbo function allows for rapid, continuous input of a button press, useful for arcade or action games.
- Setting Turbo: Press the 'Turbo' button (often labeled 'T') and then the button you wish to apply turbo to.
- Auto Turbo: Press the 'Turbo' button and the desired action button a second time to activate auto-turbo.
- Clearing Turbo: Press the 'Turbo' button and the action button a third time to clear the turbo setting.

Image depicting the manual and auto turbo function, showing a character in a game utilizing rapid fire with the controller.
3.5. Screenshot Function
The controller includes a dedicated button for taking screenshots during gameplay. Locate the 'Screenshot' button (usually a square icon) and press it to capture your screen.
4. Maintenance
- Cleaning: Use a soft, dry cloth to clean the controller. Avoid using harsh chemicals or abrasive materials.
- Storage: Store the controller in a cool, dry place away from direct sunlight and extreme temperatures.
- Battery Care: To prolong battery life, avoid fully discharging the controller frequently. Charge the controller using the provided USB-C cable when the battery is low.

Infographic detailing the controller's 600mAh battery, indicating 8 hours of playing time and 2 hours of charging time.
5. Troubleshooting
- Controller Not Connecting:
- Ensure the controller is charged.
- Verify the Switch console is updated to the latest firmware.
- Try re-pairing the controller by following the 'Initial Wireless Pairing' steps.
- If connecting to PC, ensure the USB-C cable is securely connected and try a different USB port.
- Input Lag or Disconnections:
- Ensure there are no strong wireless interference sources nearby (e.g., Wi-Fi routers, other wireless devices).
- Move closer to the console/PC.
- Recharge the controller if the battery is low.
- Buttons Not Responding:
- Check if the controller is properly connected.
- Restart the controller and the console/PC.
- Ensure no debris is lodged under the buttons.
- Vibration Not Working:
- Check in-game settings to ensure vibration is enabled.
- Adjust the vibration intensity using the controller's functions.
6. Specifications
| Feature | Specification |
|---|---|
| Model Number | B0CJDZ1LV2 |
| Compatibility | Nintendo Switch, Switch Lite, Switch OLED, PC Steam (wired) |
| Battery Capacity | 600mAh Lithium Ion |
| Playing Time | 8-10 hours (approx.) |
| Charging Time | 2 hours (approx.) |
| Connectivity | Wireless, USB-C (for PC) |
| Gyro Sensor | Six-axis Gyro |
| Vibration | 5-level Adjustable Dual Vibration |
| Lighting | 9 Colors LED Lights, 4 Light Modes, Adjustable Brightness |
| Item Weight | 10.5 ounces |
| Package Dimensions | 6.61 x 6.18 x 2.72 inches |
7. Warranty and Support
For warranty information or technical support, please contact IINE customer service through the retailer where you purchased the product or visit the official IINE website. Please retain your proof of purchase for any warranty claims.