
Sunseeker RMA1202L20VU
SUNSEEKER L22 Robotic Lawn Mower User Manual
Model: RMA1202L20VU
Introduction
This manual provides detailed instructions for the setup, operation, maintenance, and troubleshooting of your SUNSEEKER L22 Robotic Lawn Mower. Designed for efficiency and ease of use, the L22 features intelligent navigation, quiet operation, and smart app control to maintain your lawn with minimal effort. Please read this manual thoroughly before operating the device to ensure safe and optimal performance.
1. Safety Instructions
Always prioritize safety when operating the robotic lawn mower. Failure to follow these instructions may result in injury or damage to the product.
- Keep hands and feet away from the cutting blades.
- Ensure the boundary wire is correctly installed to prevent the mower from leaving the designated area.
- Do not operate the mower in wet conditions or during heavy rain, unless specifically designed for it (L22 has a rain sensor).
- Turn off the mower and remove the safety key before performing any maintenance or cleaning.
- Keep children and pets away from the working area of the mower.
- The mower is equipped with ultrasonic obstacle avoidance and lift/tilt sensors for safety. Do not attempt to bypass these features.
2. Package Contents
Verify that all components are present in the package:
- SUNSEEKER L22 Robotic Lawn Mower
- Charging Station
- Power Adapter
- Boundary Wire
- Wire Pegs
- Replacement Blades
- User Manual (this document)
- Battery (included and pre-installed)
3. Setup
3.1. Choosing a Location for the Charging Station
Select a flat, level area with access to a power outlet. Ensure there is sufficient clear space around the charging station for the mower to dock easily.
3.2. Installing the Boundary Wire
The boundary wire defines the mowing area. It can be laid on top of the ground and secured with pegs, or buried a few centimeters deep. Ensure the wire forms a continuous loop around the entire mowing area, including around obstacles like trees or flowerbeds that you do not want the mower to enter.
Important: Maintain a minimum distance from edges and obstacles as specified in the detailed installation guide (refer to the quick start guide for specific measurements). The mower uses intelligent navigation and mapping, but the boundary wire is crucial for defining the operational perimeter.
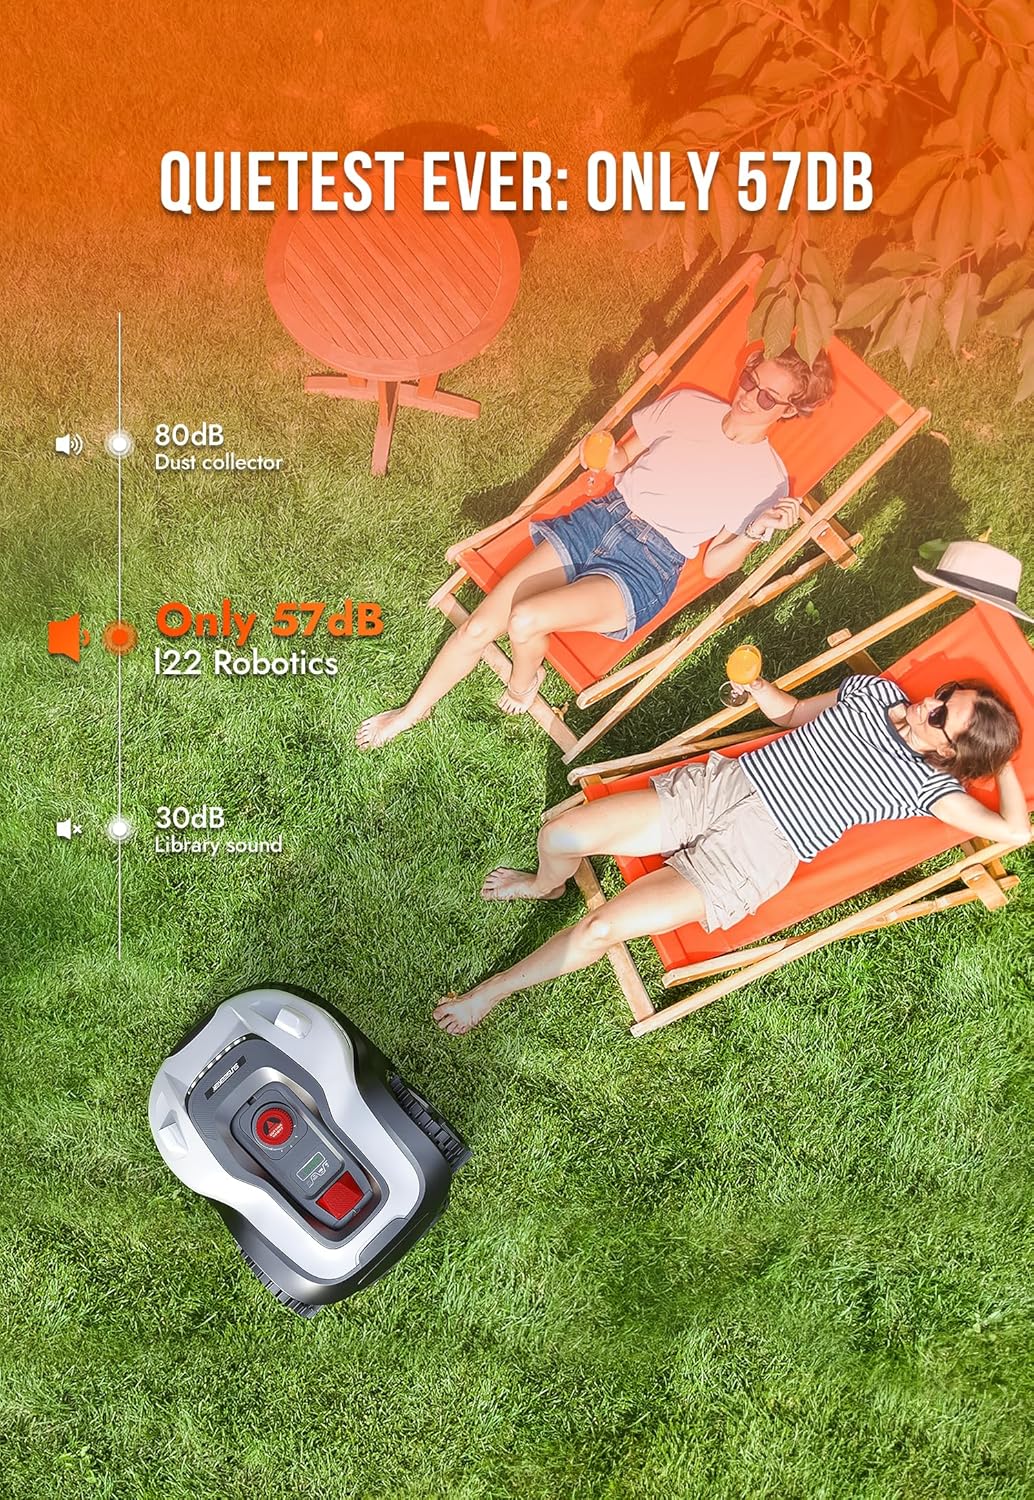
Figure 3.2.1: Intelligent navigation of the SUNSEEKER L22, showing its ability to navigate close to edges and obstacles.
3.3. Initial Charging
Once the charging station is set up and connected, place the mower onto the charging contacts. The mower will begin charging. Allow it to fully charge before its first operation.
3.4. App Control and Intelligent Mapping
Download the official SUNSEEKER app from your device's app store. Follow the in-app instructions to connect your L22 mower to your Wi-Fi network (2.4 GHz required). The app allows for intelligent mapping of your yard, setting schedules, and controlling the mower remotely.

Figure 3.4.1: The SUNSEEKER L22 Robotic Lawn Mower with its accompanying smartphone app, demonstrating the intelligent mapping feature.

Figure 3.4.2: Close-up of the smartphone app showing the intelligent mapping feature, including station, boundary, and starting points.
4. Operating the Mower
4.1. Starting and Stopping
To start the mower, ensure it is within the boundary wire and press the 'Start' button on the control panel or via the app. To stop, press the 'Stop' button or use the app. The mower will return to its charging station when its battery is low or when its schedule is complete.
4.2. Mowing Schedule
Use the app to set a customized mowing schedule. You can define specific days and times for the mower to operate. The L22 is designed to be quiet (only 57 dB), allowing for flexible scheduling, even during evening hours.
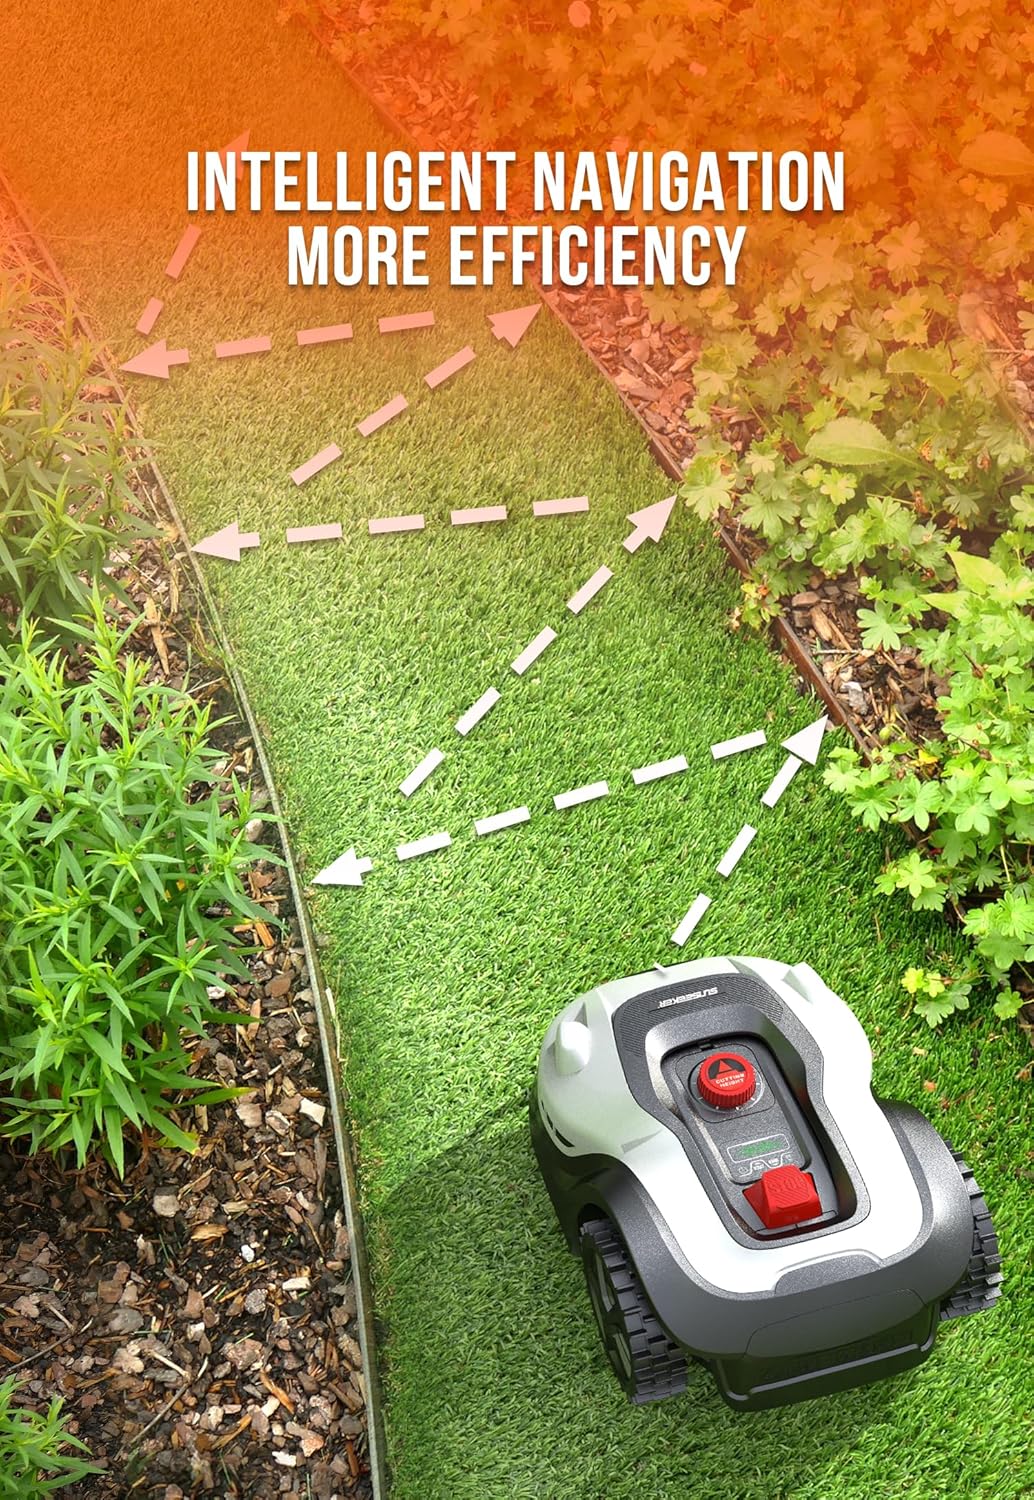
Figure 4.2.1: The SUNSEEKER L22 Robotic Lawn Mower operating quietly, demonstrating its low noise level of 57 dB.
4.3. Rain Sensor and Rain Delay
The L22 is equipped with a rain sensor. If rain is detected, the mower will automatically return to its charging station and pause its operation. The Rain Delay technology ensures it resumes mowing only when conditions are suitable, preventing damage to your lawn from mowing wet grass.
4.4. Obstacle Avoidance and Safety Features
The mower utilizes ultrasonic obstacle avoidance sensors to detect and navigate around objects in its path. Additionally, lift and tilt sensors automatically stop the blades if the mower is lifted or tilted, enhancing safety.

Figure 4.4.1: The SUNSEEKER L22 demonstrating its ultrasonic obstacle avoidance feature, detecting a soccer ball.
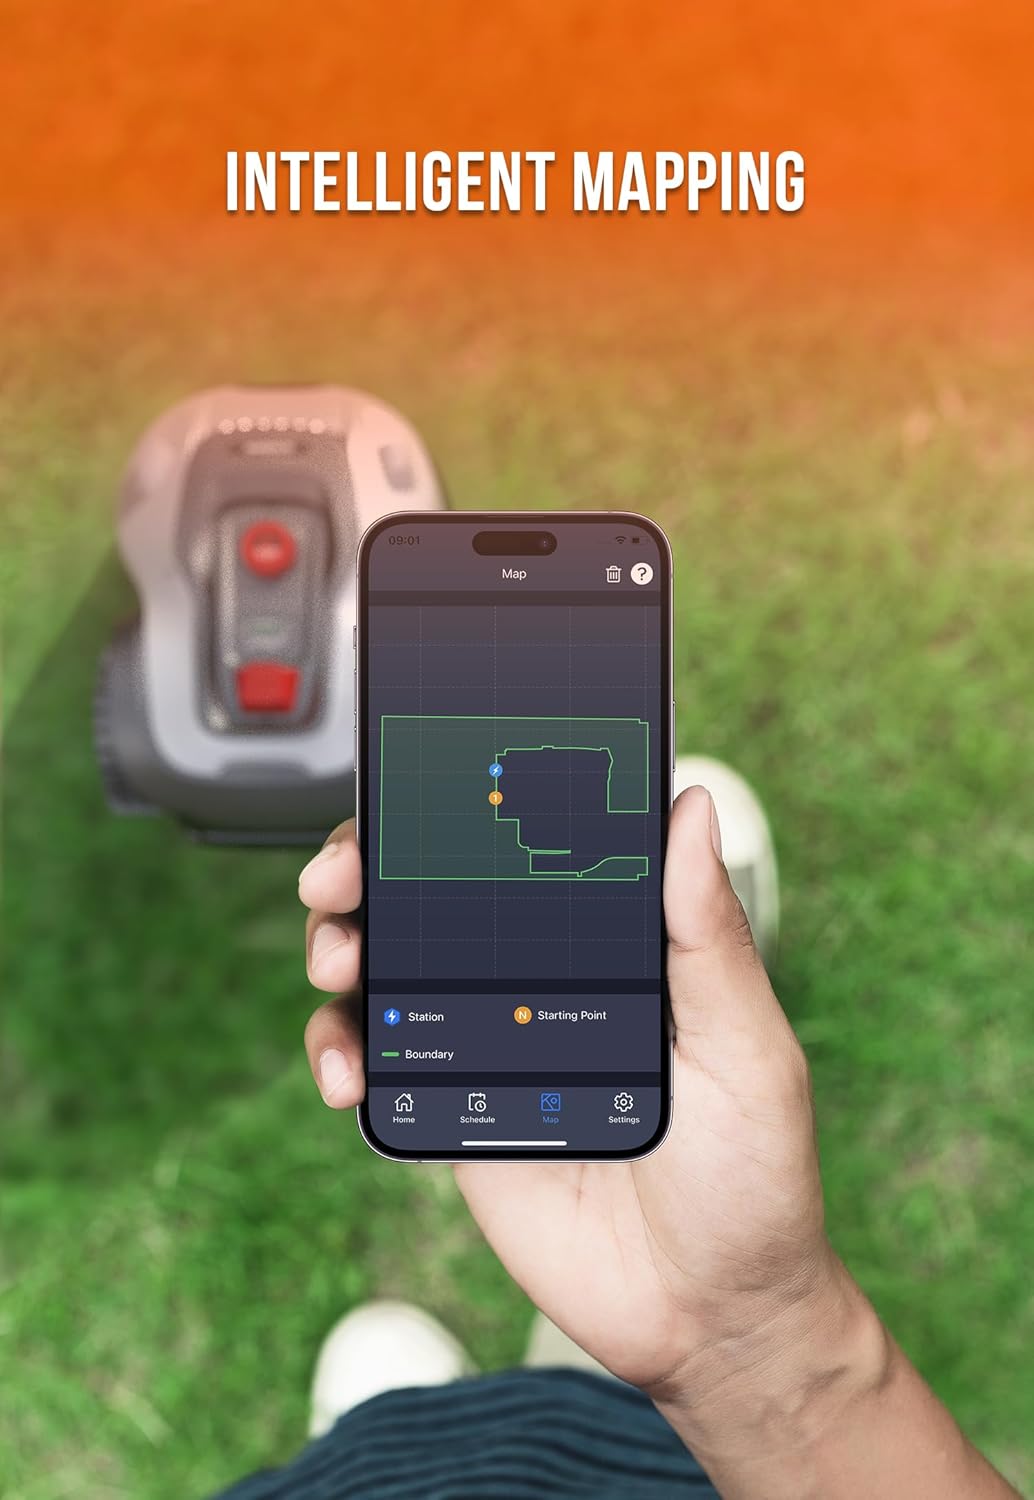
Figure 4.4.2: The SUNSEEKER L22's lift and tilt sensors, which automatically stop the blades when the mower is lifted from the ground.
5. Maintenance
5.1. Cleaning
The SUNSEEKER L22 has an IPX5 waterproof rating, allowing for easy cleaning. You can directly rinse the machine with a hose to remove grass clippings and dirt. Ensure the mower is turned off and disconnected from the charging station before cleaning.
5.2. Blade Replacement
Regularly inspect the cutting blades for wear and tear. Dull or damaged blades can affect cutting performance. Replace blades as needed using the provided replacement blades and tools. Always wear protective gloves when handling blades.

Figure 5.2.1: The floating cutting technology and blades of the SUNSEEKER L22, designed to prevent damage to your lawn.
5.3. Winter Storage
For prolonged periods of inactivity, especially during winter, clean the mower thoroughly, fully charge the battery, and store it in a dry, frost-free location. Disconnect the charging station from power.
6. Troubleshooting
If you encounter issues with your SUNSEEKER L22, refer to the following common problems and solutions:
| Problem | Possible Cause | Solution |
|---|---|---|
| Mower not starting | Low battery; Safety key not inserted; Error message on display. | Charge the battery; Insert safety key; Check display for error codes and consult app for details. |
| Mower not staying within boundary | Boundary wire disconnected or damaged; Incorrect wire installation. | Check all wire connections; Inspect wire for breaks; Ensure wire is installed according to instructions. |
| Mower gets stuck frequently | Obstacles in mowing area; Uneven terrain; Tall grass. | Clear the mowing area of debris; Adjust boundary wire around problematic areas; Mow more frequently or manually cut tall grass first. |
| Poor cutting performance | Dull or damaged blades; Grass too long or wet. | Replace blades; Wait for grass to dry; Mow more frequently. |
| App connectivity issues | Weak Wi-Fi signal; Incorrect Wi-Fi band (requires 2.4 GHz). | Ensure strong 2.4 GHz Wi-Fi signal near charging station; Restart mower and router; Re-pair device in app. |
For more complex issues, consult the SUNSEEKER app's help section or contact customer support.
7. Specifications
| Feature | Detail |
|---|---|
| Model | RMA1202L20VU |
| Brand | Sunseeker |
| Coverage Area | Up to 0.3 acre / 13,000 sq. ft. |
| Noise Level | 57 dB |
| Waterproof Rating | IPX5 |
| Power Source | Battery Powered (1 Lithium-ion battery included) |
| Cutting Width | 8.7 Inches |
| Product Dimensions (L x W x H) | 59.94 x 43.94 x 22.86 cm (23.6 x 17.3 x 9 inches) |
| Item Weight | 10.48 kg (23.1 lbs) |
| Material | Plastic |
| Operation Mode | Automatic |
8. Warranty and Support
For information regarding warranty coverage, technical support, or spare parts, please refer to the warranty card included with your product or visit the official Sunseeker website. Customer support can also be accessed through the SUNSEEKER mobile application.
Related documentsRMA1202L20VU


Ask a question about this manual
Ask about setup, troubleshooting, compatibility, parts, safety, or missing instructions. Manuals+ will review the question and use this page’s manual context to help answer it.