1. Safety Information
Please read these instructions carefully before installation and use. Failure to follow these instructions may result in electric shock, fire, or other hazards.
- Risk of Electric Shock: Disconnect power at the fuse or circuit breaker before installation or servicing.
- Risk of Fire: Use only with specified voltage and wattage. Do not modify the fixture.
- Installation: Installation must be performed by a qualified electrician in accordance with all national and local electrical codes.
- Handling: Handle with care. Avoid dropping the fixture.
- Environment: Suitable for indoor use only. Do not expose to moisture or extreme temperatures.
2. Product Overview
The Sunco 2x2 LED Flat Panel Light is a high-efficiency, back-lit fixture designed for commercial and residential applications. It features selectable color temperature (CCT) and wattage, allowing customization of lighting to suit various needs. Its ultra-slim design and integrated LEDs provide bright, flicker-free illumination with a long lifespan.
Key Features:
- Selectable CCT: Choose between 4000K (Cool White), 5000K (Daylight), and 6000K (Daylight Deluxe) during installation.
- Selectable Wattage: Adjust brightness by selecting 30W, 35W, or 40W.
- 0-10V Dimmable: Compatible with 0-10V dimmers for adjustable light output.
- Integrated LED: No bulbs to replace, ensuring long-term, maintenance-free operation.
- Ultra-Slim Design: 1.46-inch thickness for seamless recessed mounting.
- Durable Construction: Aluminum frame with a non-yellowing diffuser and dustproof sealing.
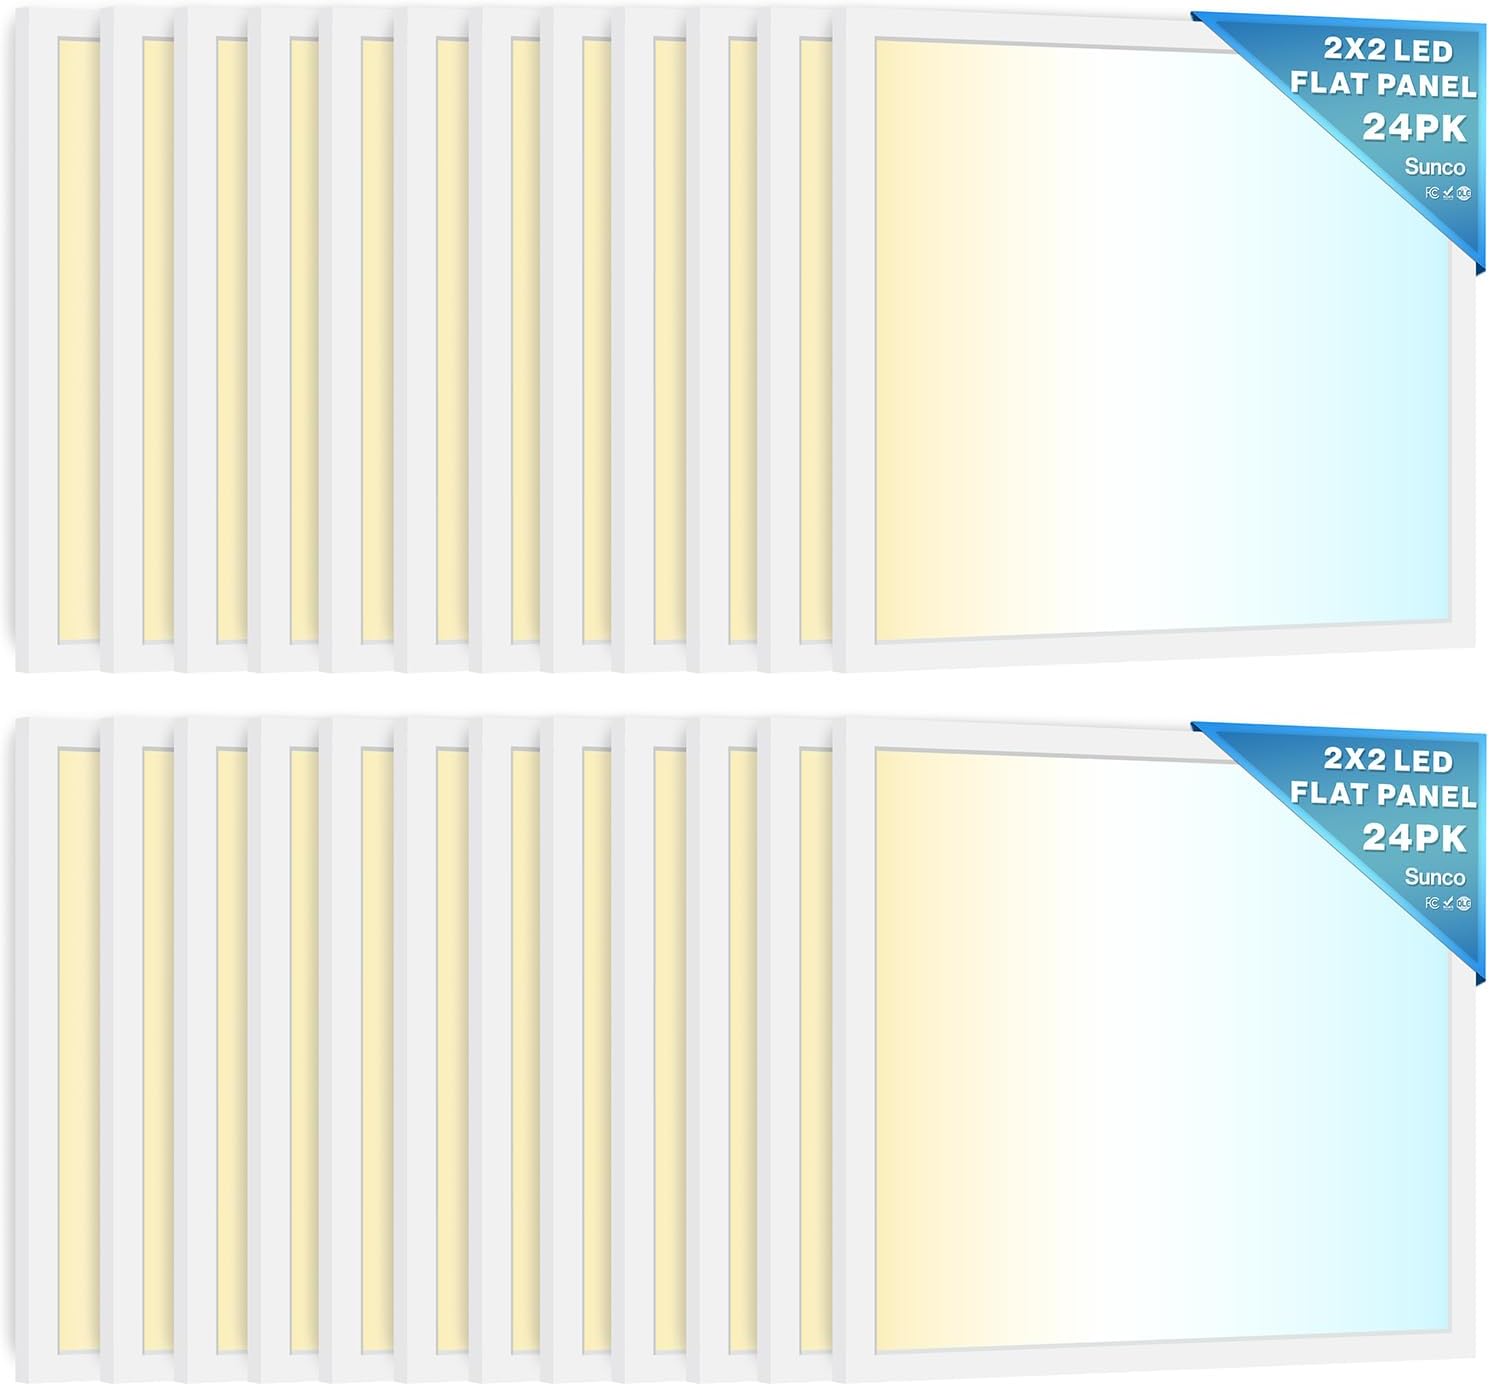
Figure 1: Sunco 2x2 LED Flat Panel Light.

Figure 2: Exploded view showing Advanced Driver, 180 High Lumen LEDs, Frosted Lens, and Flexible Mounting Bracket.
3. Specifications
| Feature | Specification |
|---|---|
| Brand | Sunco Lighting |
| Model Number | PN22_DU-WH-4060K |
| Dimensions (L x W x H) | 23.7" x 23.7" x 1.46" |
| Material | Polycarbonate (Shade), Aluminum (Frame) |
| Color Temperature (CCT) | Selectable: 4000K, 5000K, 6000K |
| Wattage | Selectable: 30W, 35W, 40W |
| Brightness (Max) | 5200 Lumens (at 40W) |
| Dimmability | 0-10V Dimmable |
| Voltage | 120-277V AC |
| Lifespan | 50,000 hours |
| Installation Type | Flush Mount, Suspension Mount (kit not included) |
| Certifications | ETL, DLC, RoHS, FC |
| Indoor/Outdoor Usage | Indoor |
4. Installation Instructions
This fixture is designed for easy installation in standard T-bar grid ceilings (recessed mount) or can be suspended (suspension kit sold separately). Always ensure power is disconnected before beginning installation.
4.1 Pre-Installation Steps:
- Inspect Fixture: Unpack the fixture and inspect for any damage.
- Verify Power: Turn off power at the circuit breaker or fuse box.
- Select CCT and Wattage: Before installation, use the slider switches on the back of the panel to select your desired Color Temperature (4000K, 5000K, or 6000K) and Wattage (30W, 35W, or 40W). Refer to Figure 3.

Figure 3: CCT and Wattage selector switches. Adjust these before final installation.

Figure 4: Examples of 4000K, 5000K, 6000K CCT and 30W, 35W, 40W wattage outputs.
4.2 Recessed Installation (T-Bar Grid Ceiling):
- Remove Ceiling Tile: Carefully remove the existing 2x2 ceiling tile from the grid where the new LED panel will be installed.
- Wiring Access: Open the wiring compartment on the back of the LED panel.
- Connect Wiring: Connect the AC input wires (Line, Neutral, Ground) from the building's electrical supply to the corresponding wires on the LED panel. If using 0-10V dimming, connect the dimmer wires (purple and gray) to the panel's dimming wires. Secure all connections with wire nuts.
- Close Compartment: Securely close the wiring compartment cover.
- Place Panel: Carefully lift the LED panel into the ceiling grid opening, ensuring it rests securely on the T-bars.
- Secure Panel: Use the integrated mounting clips or brackets to secure the panel to the T-bar grid, if applicable.

Figure 5: Recessed installation into a T-bar grid ceiling.

Figure 6: Back of the panel with wiring compartment for effortless wire access.
4.3 Suspension Installation (Kit Not Included):
For suspension mounting, a separate suspension kit is required. Follow the instructions provided with your suspension kit in conjunction with the wiring steps above.
Video 1: Product overview and installation demonstration. This video illustrates the features and general installation process of the Sunco 2x2 LED Flat Panel Light.
5. Operating Instructions
Once installed and powered, the Sunco 2x2 LED Flat Panel Light operates immediately. The CCT and wattage settings are configured during installation using the physical switches on the back of the fixture.
5.1 Dimming Functionality:
This fixture supports 0-10V dimming. To utilize this feature, ensure a compatible 0-10V dimmer switch is installed and wired correctly to the fixture's dimming leads (purple and gray). The dimmer allows for smooth adjustment of light intensity from 100% down to 10% or lower, depending on the dimmer model.

Figure 7: Illustration of dimming capability in an office environment.
6. Maintenance
The Sunco 2x2 LED Flat Panel Light is designed for minimal maintenance due to its integrated LED technology and durable construction.
- Cleaning: To clean the fixture, ensure power is off. Use a soft, damp cloth to wipe the surface. Avoid abrasive cleaners or solvents.
- No Bulb Replacement: The integrated LEDs are designed to last for 50,000 hours, eliminating the need for bulb replacement.
- Inspection: Periodically inspect the fixture for any signs of damage or loose connections. If any issues are found, consult a qualified electrician.
7. Troubleshooting
If you encounter issues with your Sunco 2x2 LED Flat Panel Light, refer to the following common troubleshooting steps:
| Problem | Possible Cause | Solution |
|---|---|---|
| Light does not turn on | No power supply Loose wiring connection Faulty fixture | Check circuit breaker/fuse. Ensure power is on. Verify all wiring connections are secure (power off first). Contact customer support if power and wiring are confirmed good. |
| Light flickers or buzzes | Incompatible dimmer switch Loose wiring Voltage fluctuations | Ensure a 0-10V compatible dimmer is used. Check wiring connections (power off first). Consult an electrician to check power supply stability. |
| Incorrect CCT or Wattage | Switches not set correctly | Turn off power. Access the back of the panel and adjust the CCT/Wattage selector switches to the desired setting. |
| Light is too dim/bright | Wattage setting incorrect Dimmer setting too low/high | Adjust wattage selector switch (power off first). Adjust the 0-10V dimmer switch. |
If troubleshooting steps do not resolve the issue, please contact Sunco Lighting customer support.
8. Warranty and Support
Sunco Lighting stands behind the quality of its products.
8.1 Warranty Information:
This Sunco 2x2 LED Flat Panel Light is covered by a 7-Year Warranty from the date of purchase. This warranty covers defects in materials and workmanship under normal use. For full warranty terms and conditions, please visit the official Sunco Lighting website.
8.2 Customer Support:
For technical assistance, warranty claims, or any questions regarding your product, please contact our USA-based support specialists.
- Website: www.suncolighting.com
- Email: Refer to website for contact form or email address.
- Phone: Refer to website for phone number.

Figure 8: Sunco Lighting Logo.


