
1. Introduction
This manual provides comprehensive instructions for the safe and efficient operation of your SEAFRONT 30L Digital Ultrasonic Cleaner, model YM-1030A. Please read this manual thoroughly before initial use and retain it for future reference. This ultrasonic cleaner is designed for professional and industrial applications, offering powerful and precise cleaning for a wide range of items.
2. Safety Instructions
WARNING: Failure to follow these safety instructions may result in electric shock, fire, or serious injury.
- Always ensure the unit is unplugged from the power outlet before filling, emptying, or performing any maintenance.
- Do not plug the power cord into an outlet before filling the cleaning tank with liquid to the MAX level.
- Never operate the unit without sufficient liquid in the tank. Operating the heater or ultrasonic function without liquid can cause severe damage to the unit.
- Ensure the lid is properly covered during cleaning and heating cycles to prevent splashes and maintain temperature.
- Avoid using highly flammable, explosive, or corrosive cleaning solutions. Consult the solution manufacturer's safety data sheet.
- Keep the unit out of reach of children and pets.
- Do not immerse the main body of the cleaner in water or other liquids.
- If the unit shows signs of damage, discontinue use immediately and contact customer support.
- Ensure proper ventilation when operating, especially when using certain cleaning solutions.
3. Product Components
The SEAFRONT 30L Digital Ultrasonic Cleaner YM-1030A includes the following main components:
- Main Unit with Stainless Steel Tank
- Stainless Steel Lid
- Cleaning Basket
- Power Cord
- Drain Valve

Figure 3.1: Overview of the ultrasonic cleaner and included accessories (power cord, cleaning basket).

Figure 3.2: Side view of the unit, highlighting the drain valve and side handles for portability.
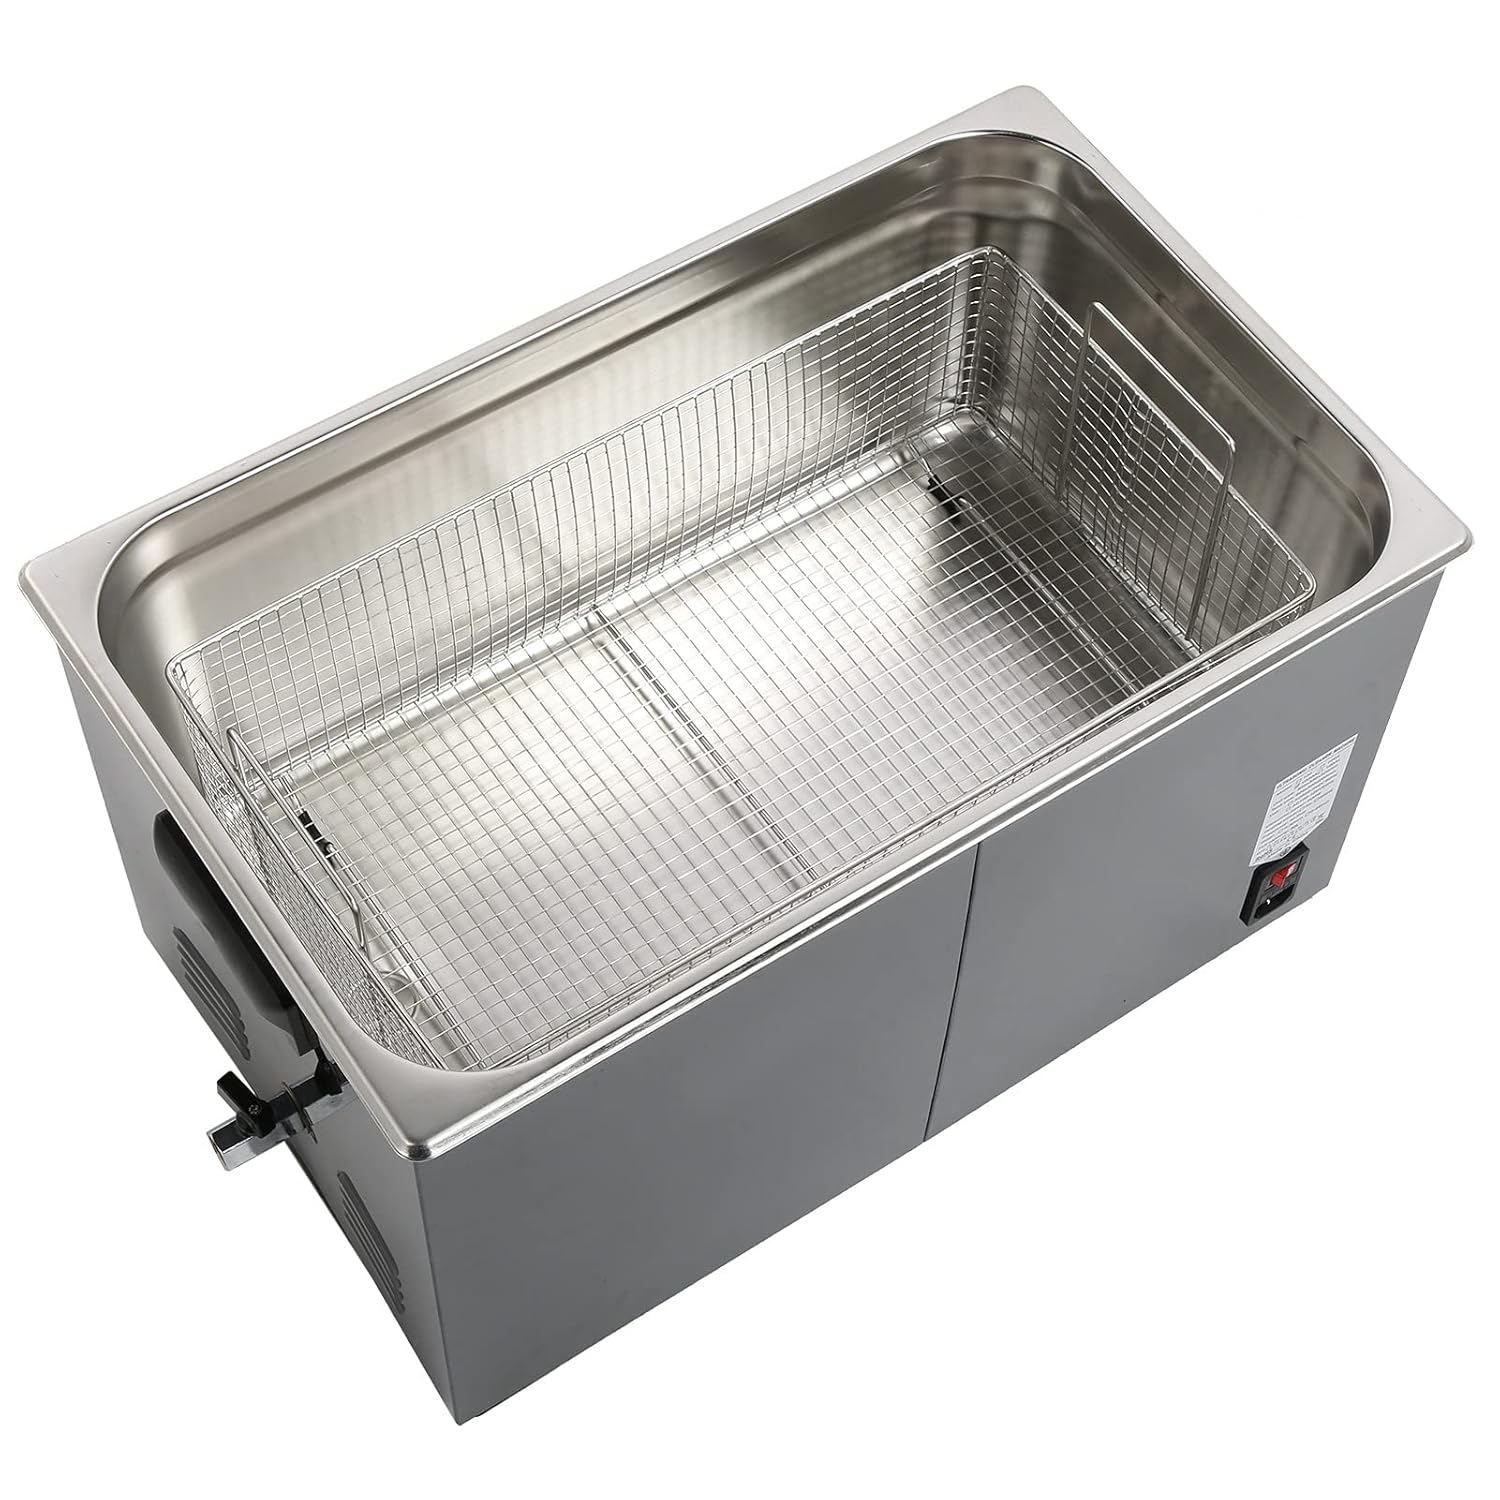
Figure 3.3: Top view of the stainless steel cleaning tank with the mesh basket inserted.
4. Setup
- Unpacking: Carefully remove the ultrasonic cleaner and all accessories from the packaging. Inspect for any shipping damage.
- Placement: Place the unit on a stable, level, and dry surface. Ensure there is adequate ventilation around the unit and that it is away from heat sources or direct sunlight.
- Filling the Tank: Open the lid and fill the stainless steel tank with an appropriate cleaning solution. Do not exceed the maximum fill line (usually indicated inside the tank). Ensure the liquid level is sufficient to cover the items to be cleaned.
- Connecting Power: Once the tank is filled, connect the power cord to the unit and then plug it into a grounded electrical outlet.
- Inserting Basket: Place the cleaning basket into the tank. Items to be cleaned should be placed inside this basket to prevent direct contact with the tank bottom and to facilitate easy removal.

Figure 4.1: Detail of the drain inside the cleaning tank.
5. Operating Instructions
The unit features a digital control panel for setting time, temperature, and ultrasonic functions.

Figure 5.1: Digital control panel with temperature and timer settings.
- Power On: Press the main power switch (usually located on the side or back of the unit) to turn on the cleaner. The digital display will illuminate.
- Setting Temperature:
- Press the 'TEMP+' or 'TEMP-' buttons to adjust the desired cleaning temperature (range: 20-80 °C).
- The display will show the set temperature and the actual temperature. The heating element will activate automatically to reach the set temperature.
- Setting Time:
- Press the 'Minute' or 'Second' buttons to set the desired cleaning duration (range: 0-99 minutes).
- Starting Ultrasonic Cleaning:
- Press the 'ON/OFF' button for the ultrasonic function to start the cleaning cycle. The 'ON' indicator will light up.
- The unit features a variable ultrasonic frequency and a degassing function. Use the 'Variable Wave' and 'Degas' buttons as needed to optimize cleaning performance. The degassing function helps remove air bubbles from the solution, improving ultrasonic efficiency.
- Stopping Operation: To stop the ultrasonic cleaning, press the 'ON/OFF' button again. To turn off heating, adjust the temperature to its minimum setting or turn off the main power switch.
- Draining the Tank: After cleaning, ensure the unit is unplugged. Open the drain valve located on the side of the unit to empty the cleaning solution into an appropriate container.
6. Maintenance
Regular maintenance ensures the longevity and optimal performance of your ultrasonic cleaner.
- Cleaning the Tank: After each use, especially when changing cleaning solutions, drain the tank and rinse it thoroughly with clean water. Wipe the interior and exterior with a soft cloth. Do not use abrasive cleaners or scouring pads.
- Solution Replacement: Replace the cleaning solution regularly, or when it becomes visibly dirty or loses effectiveness.
- Exterior Cleaning: Wipe the exterior of the unit with a damp cloth. Avoid getting water into the control panel or electrical components.
- Storage: When not in use for extended periods, ensure the tank is empty and dry. Store the unit in a cool, dry place, away from direct sunlight and dust.
- Inspection: Periodically inspect the power cord for any signs of damage. Check the drain valve for leaks.
7. Troubleshooting
If you encounter issues with your ultrasonic cleaner, refer to the table below for common problems and solutions.
| Problem | Possible Cause | Solution |
|---|---|---|
| Unit does not power on. | No power supply; Power switch off; Faulty power cord. | Check power outlet; Ensure power switch is ON; Inspect power cord for damage. |
| Ultrasonic function not working. | No liquid in tank; Ultrasonic button not pressed; Faulty transducer. | Ensure tank is filled; Press the 'ON/OFF' button for ultrasonic; Contact support if issue persists. |
| Heating function not working. | Temperature not set; No liquid in tank; Faulty heating element. | Set desired temperature; Ensure tank is filled; Contact support if issue persists. |
| Poor cleaning results. | Incorrect cleaning solution; Insufficient cleaning time/temperature; Overloaded tank; Solution needs changing. | Use appropriate solution; Adjust time/temperature; Do not overload; Replace old solution. Consider using the 'Degas' function. |
| Excessive noise during operation. | Unit not on a level surface; Tank not filled correctly; Items touching tank bottom. | Ensure stable placement; Check liquid level; Use cleaning basket to suspend items. |
If the problem persists after attempting these solutions, please contact SEAFRONT customer support.
8. Specifications
| Feature | Specification |
|---|---|
| Model | YM-1030A |
| Capacity | 30 Liters |
| Material | High-Quality Stainless Steel (Inner Tank & Outer Shell) |
| Ultrasonic Power | 600 W |
| Cleaning Frequency | 40 kHz (Variable) |
| Heating Power | 500 W |
| Time Control | Digital, 0-99 minutes (Adjustable) |
| Temperature Control | Digital, 20-80 °C (Adjustable) |
| Cleaning Tank Dimensions (L x W x H) | Approx. 500 x 300 x 200 mm (19.7 x 11.8 x 7.9 inches) |
| Machine Dimensions (L x W x H) | Approx. 550 x 330 x 320 mm (21.7 x 13.0 x 12.6 inches) |
| Features | Digital Display, Degassing Function, Variable Wave, Stamped Tank (no welding) |
| Applications | Industrial equipment, laboratory supplies, automotive parts, watches, jewelry, electronic products, optical items, dental equipment, hardware, etc. |
9. Warranty and Support
For warranty information or technical support, please refer to the documentation provided with your purchase or contact SEAFRONT customer service directly. Please have your model number (YM-1030A) and purchase date available when contacting support.