
1. Introduction
Thank you for purchasing the LITFAD Modern Wood Wardrobe with Sliding Doors. This manual provides essential information for the safe assembly, proper operation, and effective maintenance of your new wardrobe. Please read these instructions thoroughly before beginning assembly or use, and retain this manual for future reference.

Figure 1: Fully assembled LITFAD Modern Wood Wardrobe. This image displays the wardrobe with one sliding door open, revealing internal shelving and a hanging rod, while the other door remains closed.
2. Important Safety Information
Please observe the following safety precautions to prevent injury or damage to the product:
- Always unplug and remove the product from the power source before assembly or maintenance.
- Use appropriate safety gear when handling heavy or sharp objects.
- Keep the product away from heat sources and moisture to prevent warping or damage.
- Do not place heavy objects on the top of the product to avoid tipping or damage.
- Always supervise children when they are near the product to prevent injury from sliding doors or sharp edges.
3. Package Contents
Before beginning assembly, ensure all parts are present and undamaged. If any parts are missing or damaged, do not proceed with assembly and contact customer support.
- Wardrobe Panels (Side panels, top/bottom panels, back panels, door panels)
- Shelves (Quantity: 5)
- Clothing Rod
- Sliding Door Hardware (Tracks, rollers, handles)
- Assembly Hardware (Screws, dowels, connectors, etc.)
- Instruction Manual (This document)
4. Setup & Assembly
Assembly requires two adults. Clear a spacious area for assembly. Use a soft cloth or carpet to protect parts from scratches during assembly.
4.1. Overview of Components and Dimensions

Figure 2: Wardrobe dimensions and internal configuration. The diagram illustrates the overall dimensions of 39.5 inches (100cm) length, 18 inches (45cm) width, and 71 inches (180cm) height, along with the arrangement of shelves and hanging space.
4.2. Assembly Steps
- Unpack and Identify Parts: Carefully remove all components from the packaging. Lay them out and compare them against the parts list in your package contents to ensure everything is present.
- Assemble the Base and Side Panels: Attach the bottom panel to the side panels using the provided hardware. Ensure all connections are secure.
- Install Back Panels: Secure the back panels to the assembled frame. This adds stability to the structure.
- Insert Shelves: Place the shelves into the designated slots or attach them using the appropriate hardware. The wardrobe includes 5 shelves.
- Install Clothing Rod: Secure the clothing rod within the designated hanging section. Ensure it is firmly attached to support clothing weight.

Figure 3: Detail of the clothing rod installation. This image shows the wooden clothing rod securely mounted inside the wardrobe, ready for hanging garments.
- Attach Top Panel: Secure the top panel to complete the main frame of the wardrobe.
- Install Sliding Door Tracks: Attach the upper and lower sliding door tracks according to the instructions provided with the hardware. Ensure they are level and aligned.
- Mount Sliding Doors: Carefully attach the sliding doors to the tracks. Test the doors to ensure they slide smoothly and quietly.
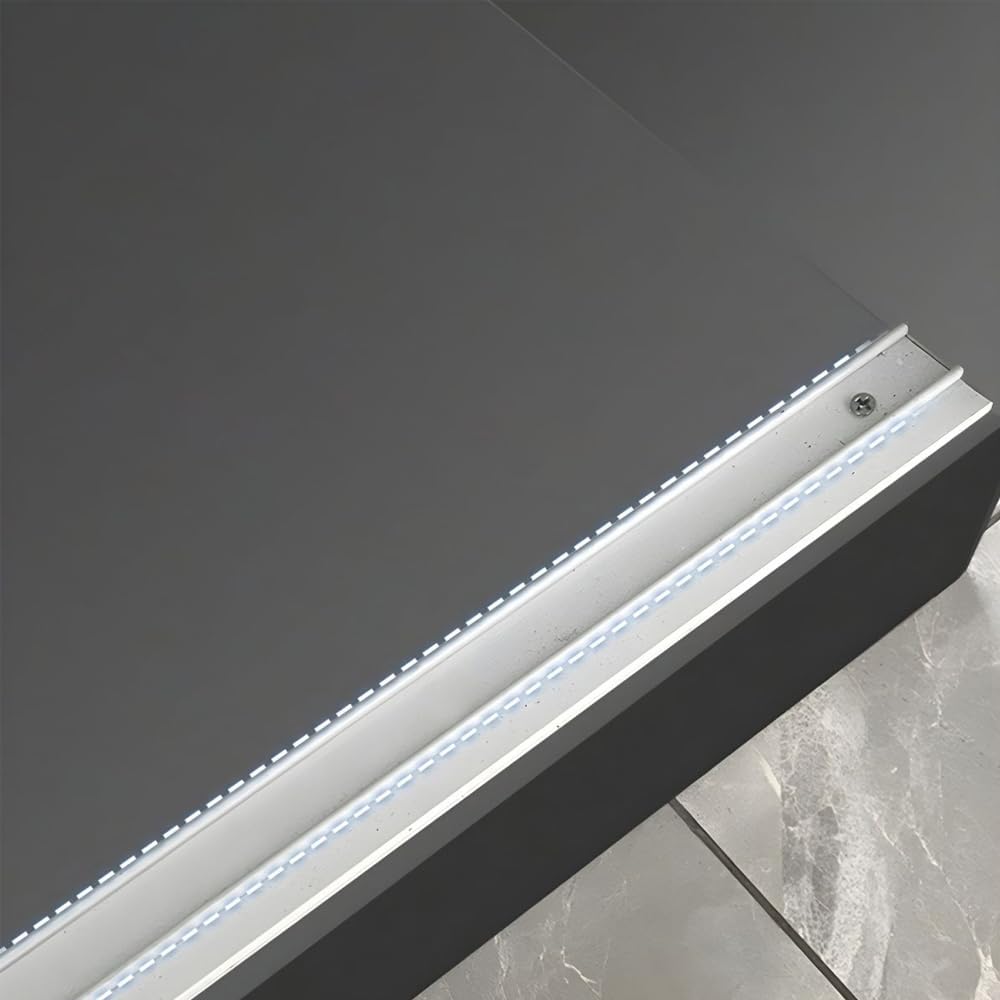
Figure 4: Detail of the sliding door track. This image highlights the smooth, low-profile track designed for effortless door movement.
- Attach Handles: Secure the handles to the sliding doors.
- Final Check: Verify that all screws are tightened, and the wardrobe is stable. Ensure doors slide freely without obstruction.
5. Operating Instructions
5.1. Using the Sliding Doors
The wardrobe features smooth-gliding sliding doors. To open or close a door, gently grasp the handle and slide the door along its track. Avoid forcing the doors, as this can damage the mechanism.

Figure 5: Sliding door operation. Red arrows indicate the direction of movement for the sliding doors, demonstrating how they overlap to access different sections of the wardrobe.
5.2. Utilizing Storage Space
The wardrobe is designed for versatile storage:
- Hanging Rod: Use the integrated clothing rod for hanging shirts, dresses, coats, and other garments.
- Shelves: The five interior shelves provide space for folded clothes, accessories, bags, or storage bins. Distribute weight evenly across shelves.

Figure 6: Organized interior shelves. This image shows the wardrobe's shelves neatly arranged with folded textiles, demonstrating effective use of the storage compartments.
6. Maintenance
6.1. Cleaning
- Wipe surfaces with a soft, damp cloth.
- Avoid using harsh chemicals, abrasive cleaners, or polishes that may damage the finish.
- Promptly wipe up any spills to prevent staining or water damage.
6.2. General Care
- Periodically check all screws and connections to ensure they remain tight. Retighten if necessary.
- Keep the sliding door tracks clean and free of debris to ensure smooth operation.
- Avoid exposing the wardrobe to direct sunlight or extreme temperature changes, which can cause warping or fading.
7. Troubleshooting
7.1. Doors Not Sliding Smoothly
- Check the tracks for any obstructions (dust, debris). Clean the tracks thoroughly.
- Ensure the wardrobe is placed on a level surface. Uneven flooring can affect door alignment.
- Verify that the door rollers are properly seated in the tracks.
7.2. Wardrobe Feels Unstable
- Ensure all assembly hardware (screws, connectors) is fully tightened.
- Check that the wardrobe is on a flat, stable surface. Adjust furniture levelers if applicable.
- Avoid overloading shelves or hanging rods beyond their capacity.
8. Specifications
| Brand | LITFAD |
| Model | 39.5"L x 18"W x 71"H |
| Product Dimensions | 18"D x 39.5"W x 71"H |
| Color | White |
| Material | Engineered Wood |
| Number of Shelves | 5 |
| Door Mechanism | Sliding Door |
| Mounting Type | Freestanding |
| Assembly Required | Yes |
9. Warranty & Support
For warranty information, missing parts, or technical support, please refer to the contact details provided at the point of purchase or visit the official LITFAD website. Please have your model number and purchase date available when contacting support.