
BoxWave Minimus MagnetoMount
BoxWave Minimus MagnetoMount Car Mount Instruction Manual
Model: Minimus MagnetoMount
Introduction
The BoxWave Minimus MagnetoMount is a compact and versatile magnetic car mount designed to securely hold your mobile device while driving. Its discreet design and strong magnetic hold provide a convenient and safe way to access your phone for navigation, calls, or music without obstructing your view or requiring complex installation.
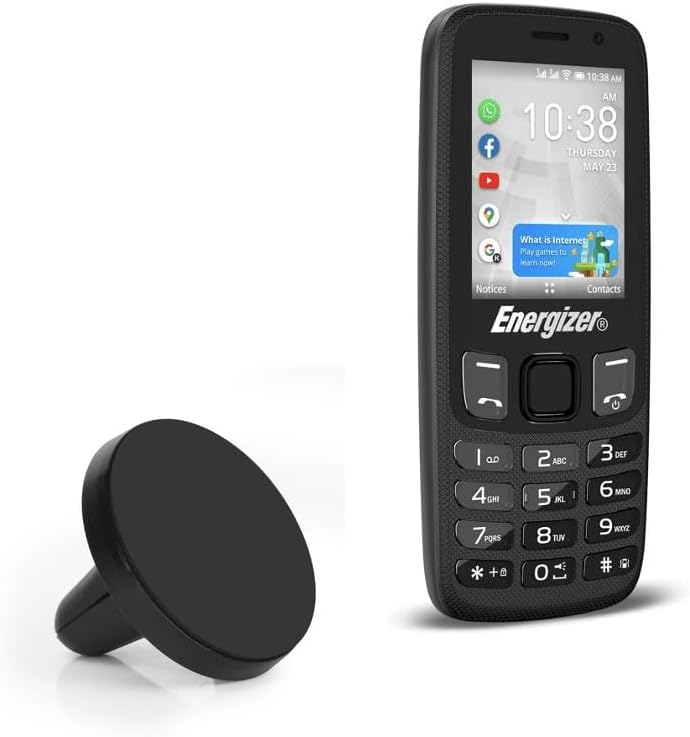
Image: The BoxWave Minimus MagnetoMount shown alongside an Energizer E242s phone, illustrating its compact size.
Package Contents
- 1 x Minimus MagnetoMount Car Mount
- 1 x Adhesive Metal Plate
Product Features
- Compact Design: Small and lightweight for discreet placement.
- Strong Magnetic Hold: Securely holds your device without slipping.
- 360-Degree Rotation: Allows for easy viewing in portrait or landscape mode.
- Air Vent Installation: Rubber prongs fit easily into car air vents, no tools or suction cups required.
- Universal Compatibility: Works with most mobile devices when used with the included metal plate.
Setup Instructions
Step 1: Attaching the Metal Plate to Your Device
The Minimus MagnetoMount requires a metal plate to be attached to your mobile device or its case for the magnetic connection. Choose one of the following methods:
- Directly to Device: Clean the back of your device thoroughly. Peel off the adhesive backing from the metal plate and firmly press it onto the center of the back of your device.
- Inside Device Case: Place the metal plate inside your device's case, between the device and the case. Ensure the plate is positioned centrally for optimal magnetic connection. This method allows for removal without adhesive residue on your device.

Image: The Minimus MagnetoMount and the adhesive metal plate. The metal plate is essential for the magnetic connection with your device.
Step 2: Installing the Mount in Your Car's Air Vent
The Minimus MagnetoMount is designed for easy installation into most car air vents.
- Locate a suitable air vent in your vehicle. Ensure the vent fins are horizontal or vertical and sturdy enough to support the mount and your device.
- Gently push the rubber prongs of the Minimus MagnetoMount into the gap between two air vent fins. The cross-cut design of the prongs allows for a secure grip.
- Push until the mount is firmly seated and stable. Adjust the angle of the vent if necessary to achieve the desired viewing position.

Image: Detail of the mount's rubber prongs, designed to fit securely into car air vent fins. The text on the image indicates "Rubber prongs fit around car air vent fins" and "Cross cut allows placement in vent fin intersections providing a stronger grip."
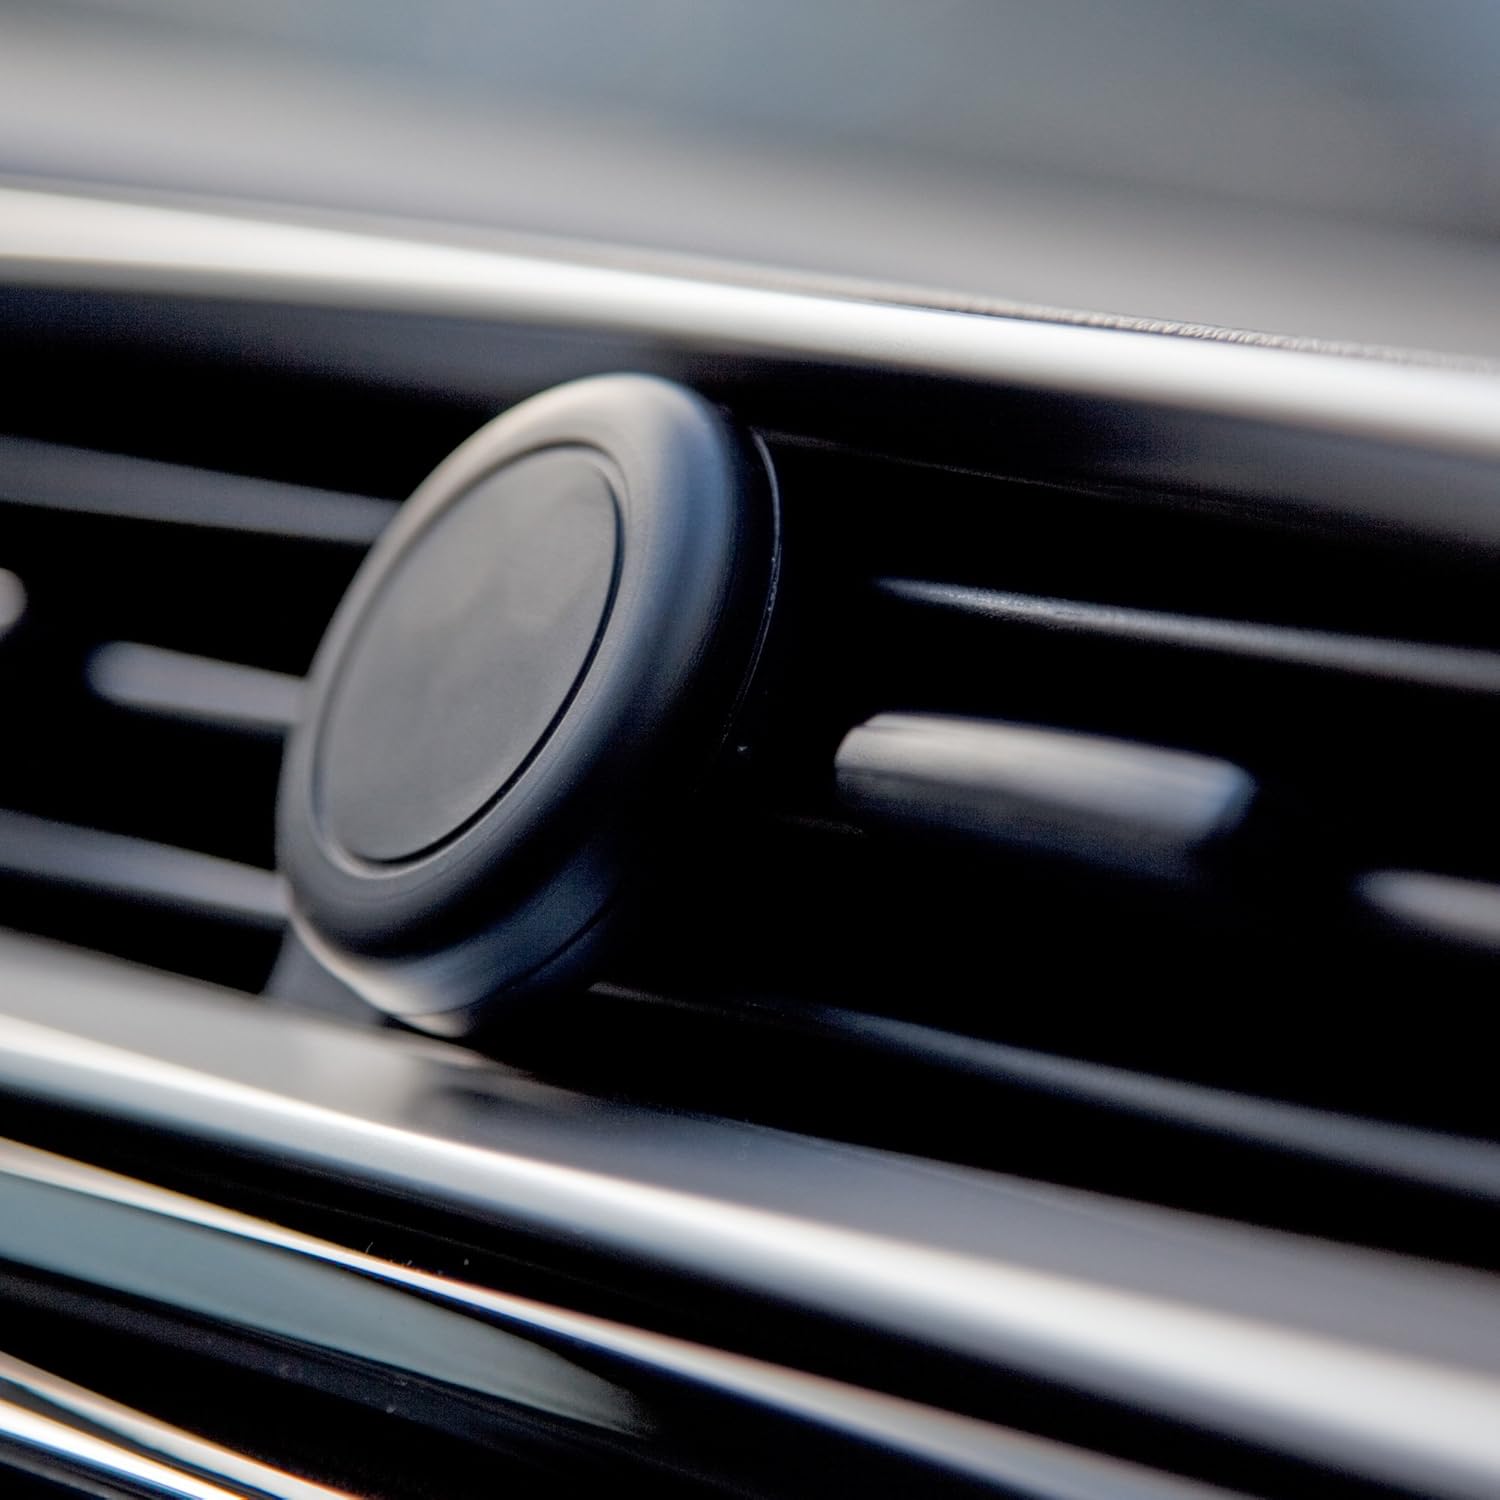
Image: The Minimus MagnetoMount securely installed in a car's air vent, ready for use.
Operating Instructions
Once the metal plate is attached to your device and the mount is installed in your car's air vent, using the Minimus MagnetoMount is simple:
- Hold your mobile device with the attached metal plate near the magnetic surface of the Minimus MagnetoMount.
- The strong magnets will automatically attract and hold your device securely in place.
- To adjust the viewing angle, simply rotate your device while it is attached to the mount. The 360-degree rotation allows for both portrait and landscape orientations.
- To remove your device, gently pull it away from the magnetic surface.

Image: A hand demonstrating the placement of a mobile phone onto the Minimus MagnetoMount, which is installed in a car's air vent.

Image: The Minimus MagnetoMount shown attached to the back of an iPhone, demonstrating the magnetic connection.
Maintenance
To ensure the longevity and optimal performance of your Minimus MagnetoMount, follow these simple maintenance guidelines:
- Cleaning: Wipe the mount with a soft, dry cloth to remove dust or smudges. Do not use abrasive cleaners or solvents.
- Storage: When not in use, store the mount in a cool, dry place away from direct sunlight and extreme temperatures.
- Avoid Overloading: Do not attempt to mount devices heavier than recommended, as this may strain the mount or the air vent.
Troubleshooting
| Problem | Possible Cause | Solution |
|---|---|---|
| Device not holding securely. | Metal plate not properly attached or positioned; device too heavy; magnetic surface dirty. | Ensure metal plate is centered and firmly attached. Verify device weight is within limits. Clean magnetic surface. |
| Mount is loose in the air vent. | Mount not fully inserted; vent fins are too thin or flexible. | Push the mount further into the vent until it is snug. Try a different vent location if available. |
| Difficulty rotating device. | Excessive friction or debris on the magnetic surface. | Clean the magnetic surface of both the mount and the metal plate. |
Specifications
| Feature | Detail |
|---|---|
| Model Name | Minimus MagnetoMount |
| Brand | BoxWave |
| Item Weight | 2 ounces |
| Mounting Type | Air Vent Clip |
| Rotation | 360-degree |
| ASIN | B0CJ617NW3 |
| Date First Available | February 23, 2023 |
Support
For technical assistance or further inquiries regarding your BoxWave Minimus MagnetoMount, please visit the official BoxWave website or contact their customer support. Refer to the product packaging or the BoxWave website for the most current contact information.
Note: This product includes limited third-party technical support for Energizer E242s (up to 3 inquiries via electronic messaging) - not affiliated with or endorsed by Energizer.
Ask a question about this manual
Ask about setup, troubleshooting, compatibility, parts, safety, or missing instructions. Manuals+ will review the question and use this page’s manual context to help answer it.