
1. Introduction
Thank you for choosing the SENXINGYAN SXY-US-ET-7-NZ Kids Digital Alarm Clock. This innovative clock is designed to help children learn time management and establish healthy routines with its colorful 7-inch LED display, intuitive settings, and engaging features. Please read this manual carefully to ensure proper use and optimal performance of your new alarm clock.
2. Safety Information
- Keep the device away from water and moisture.
- Do not expose to extreme temperatures or direct sunlight.
- Use only the provided power adapter.
- Keep out of reach of very young children to prevent accidental damage or injury.
- Do not attempt to disassemble or repair the device yourself. Contact customer support for assistance.
3. Setup
3.1 Unboxing and Initial Power-On
- Carefully remove the alarm clock and all accessories from the packaging.
- Connect the provided power adapter to the DC input port on the back of the clock.
- Plug the power adapter into a standard electrical outlet. The clock display will illuminate.

Image: The yellow digital alarm clock displaying "MONDAY MORNING 7:30 DECEMBER 25 2023" with dimensions 7.5"W x 5.5"H. This image illustrates the clock's large, colorful display and physical dimensions.
3.2 Basic Settings (Time, Date, Language)
Use the buttons on the back of the clock to navigate the settings menu. The 'MENU' button accesses the main settings, and the arrow keys (Up/Down/Left/Right) are used for navigation and adjustment. The 'OK' button confirms selections.
Video: This video demonstrates how to access and navigate the settings menu on the Kids Digital Alarm Clock, including setting the time, date, and language. It shows the physical buttons on the back of the device and the corresponding on-screen menu options.
- Press the MENU button to enter the settings interface.
- Use the Up/Down arrow keys to select "Language Set" and press OK to choose your preferred language (e.g., English).
- Navigate to "Time Set" and "Date Set" to adjust the current time and date using the arrow keys and OK button.
- Select "Time Mode" to switch between 12-hour and 24-hour formats.
- Select "Date Mode" to choose between Month-Day-Year or Day-Month-Year formats.
4. Operating Instructions
4.1 Setting Alarms
The clock supports 5 daily alarms and 12 specific scene alarms to help children follow routines.
- From the settings menu, navigate to "Daily Reminder Set" or "Alarm Clock Setting".
- Select an alarm slot (e.g., Alarm1, Wake up, Brush teeth).
- Set the desired time, status (ON/OFF), and mode (Once/Repeat).
- For scene alarms, the clock will display a cartoon image and play a voice broadcast corresponding to the activity (e.g., "Honey, it's time to go to school").

Image: The digital alarm clock displaying a scene for "Sleeping" at 9:00 PM, with text "Honey, it is time to sleeping". This image highlights the talking alarm clock feature with scene-based reminders.
4.2 Auto Dimming and Brightness Adjustment
The clock features an automatic dimmer that adjusts brightness based on day and night changes, providing an eye-caring display. You can also manually adjust the brightness.
- In the settings menu, select "Auto Dimming".
- Choose "Auto" for automatic adjustment or select a specific brightness level (e.g., Low, Mid, High).
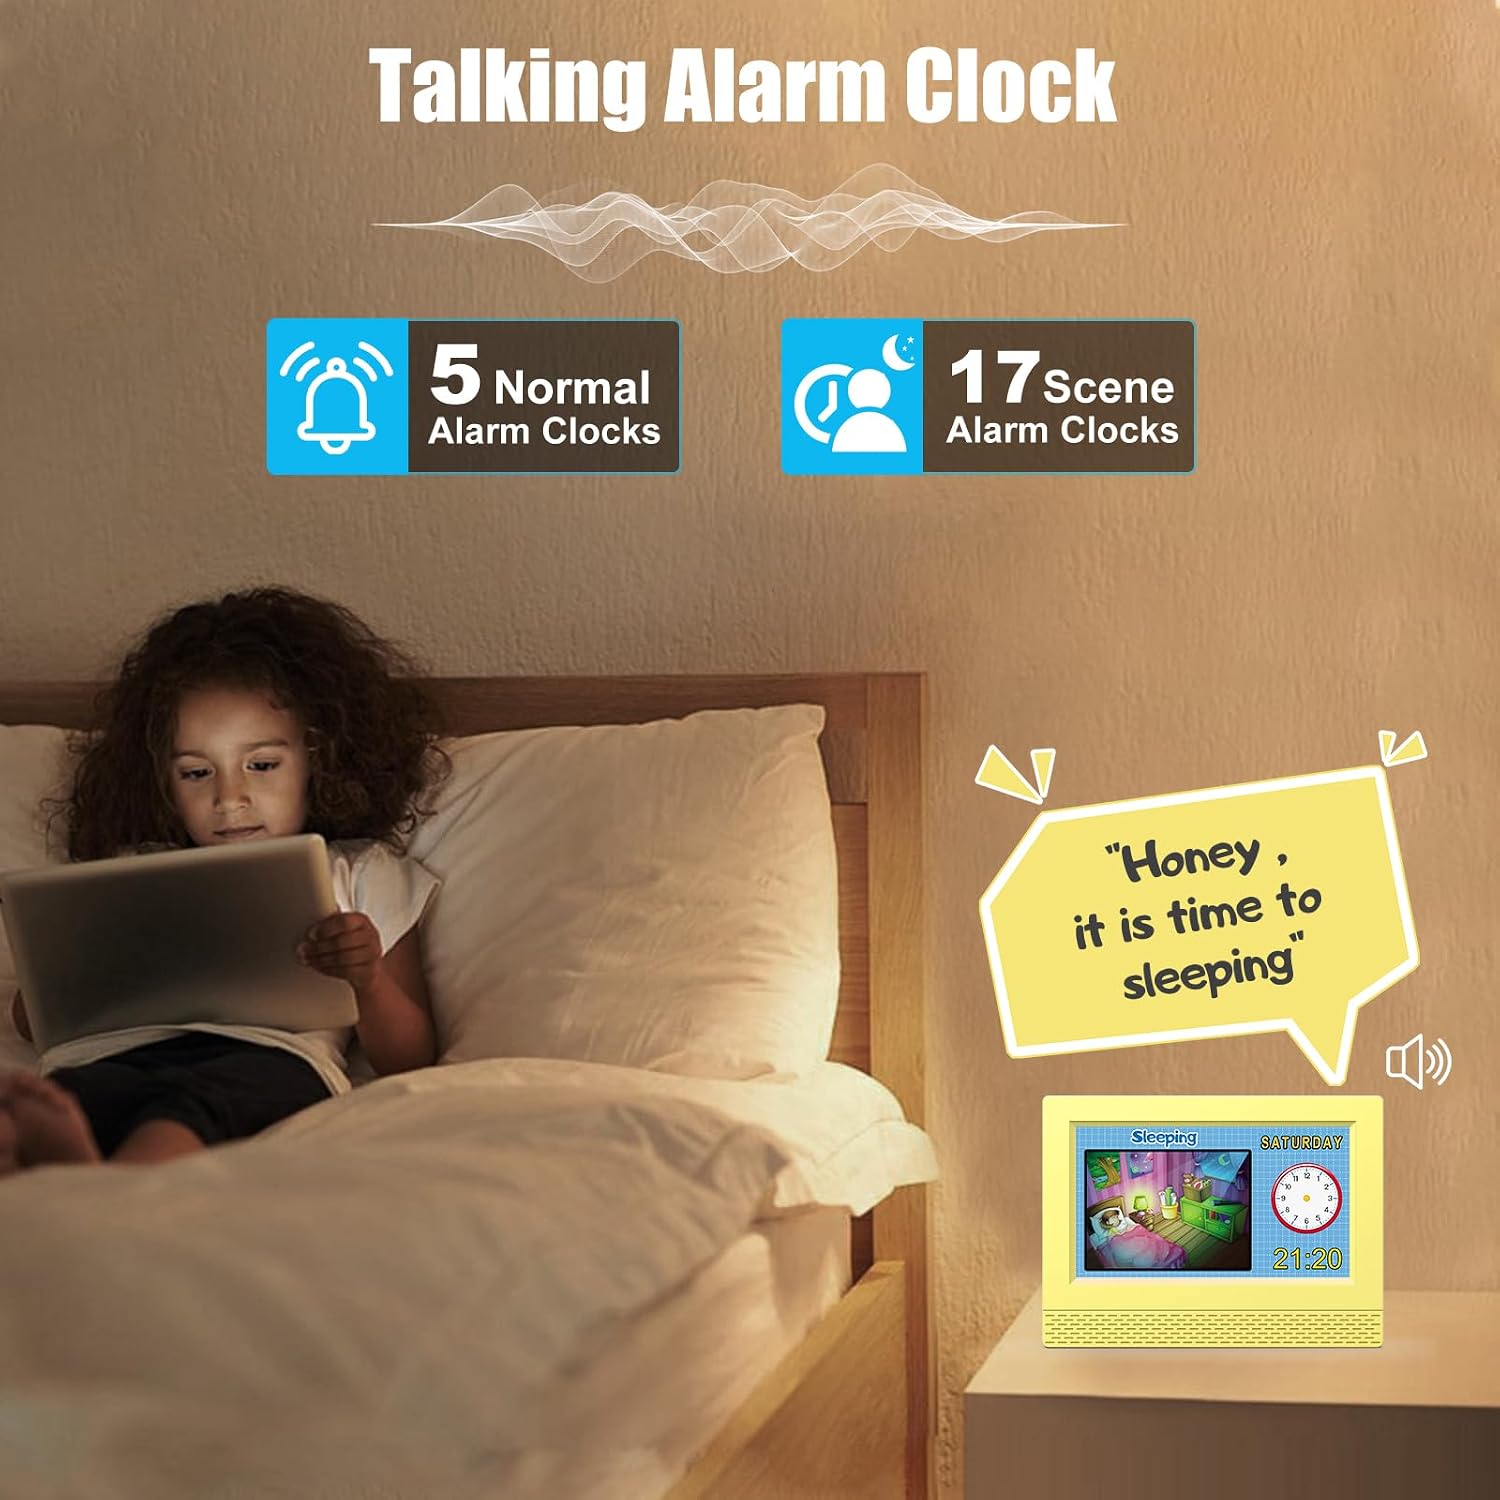
Image: A child sleeping next to the digital alarm clock, which displays "MONDAY EVENING 22:30 DECEMBER 2023". Below the clock, three smaller images show different brightness levels, indicating the auto-dimming feature for better sleep.
4.3 Switching Display Modes
The clock offers multiple display modes, including text, digital, and traditional analog clock displays. You can switch between these modes with a single button press.
- Long press the OK button on the back of the clock to cycle through different time display modes.

Image: The digital alarm clock displaying "MONDAY MORNING 7:30 DECEMBER 25 2023" in a colorful digital format. This image illustrates the clock's ability to switch between various display modes, including analog and digital representations.
5. Maintenance
- Clean the clock's screen and body with a soft, dry cloth. Do not use abrasive cleaners or solvents.
- Ensure the power adapter is securely connected and free from damage.
- The clock has a built-in battery for data retention. If unplugged, settings will be saved.
6. Troubleshooting
6.1 Display Not Turning On
- Check if the power adapter is properly connected to the clock and the electrical outlet.
- Ensure the electrical outlet is functioning correctly.
6.2 Alarm Not Sounding
- Verify that the alarm is set to ON in the settings menu.
- Check the volume settings to ensure it is not muted or set too low.
- Confirm the alarm time and repeat settings are configured as desired.
6.3 Incorrect Time/Date Display
- Access the "Time Set" and "Date Set" options in the settings menu to correct any discrepancies.
- Ensure the correct time mode (12-hour/24-hour) and date mode (Month-Day-Year/Day-Month-Year) are selected.
7. Specifications
| Feature | Detail |
|---|---|
| Brand | SENXINGYAN |
| Model Number | SXY-US-ET-7-NZ |
| Display Type | Digital |
| Screen Size | 7 inch |
| Product Dimensions | 7.5"W x 5.5"H |
| Power Source | Corded Electric |
| Special Features | Adjustable Volume, Auto Dimmable, Calendar Display, Large Display, Multilingual, Sleep Trainer, Situational Alarms |
| Frame Material | Acrylonitrile Butadiene Styrene |
| Item Weight | 1 Pounds |
8. Warranty & Support
8.1 Warranty Information
Please refer to your purchase documentation for specific warranty details. Typically, products come with a manufacturer's warranty covering defects in materials and workmanship.
8.2 Customer Support
For any questions, troubleshooting assistance, or warranty claims, please contact SENXINGYAN customer support through the retailer where the product was purchased or visit the official SENXINGYAN website for contact information.