
Eapmic 1800W,Single
Eapmic Digital Induction Cooktop User Manual
Model: 1800W Single Burner
1. Introduction
This manual provides essential information for the safe and efficient operation of your Eapmic Digital Induction Cooktop. Please read it thoroughly before first use and retain it for future reference. This 1800W single burner electric stove is designed for versatile cooking, offering precise temperature and power control for various culinary needs.
2. Important Safety Instructions
When using electrical appliances, basic safety precautions should always be followed to reduce the risk of fire, electric shock, and injury to persons, including the following:
- Read all instructions carefully before operating the appliance.
- Do not touch hot surfaces. Use handles or knobs.
- To protect against electrical shock, do not immerse cord, plugs, or the appliance in water or other liquid.
- Close supervision is necessary when any appliance is used by or near children.
- Unplug from outlet when not in use and before cleaning. Allow to cool before putting on or taking off parts.
- Do not operate any appliance with a damaged cord or plug or after the appliance malfunctions or has been damaged in any manner.
- The use of accessory attachments not recommended by the appliance manufacturer may cause injuries.
- Do not use outdoors.
- Do not let cord hang over edge of table or counter, or touch hot surfaces.
- Do not place on or near a hot gas or electric burner, or in a heated oven.
- Extreme caution must be used when moving an appliance containing hot oil or other hot liquids.
- Always attach plug to appliance first, then plug cord into the wall outlet. To disconnect, turn any control to "off", then remove plug from wall outlet.
- Do not use appliance for other than intended use.
- This appliance generates heat during use. Proper precautions must be taken to prevent the risk of burns, fires, or other damage to persons or property.
- Ensure the cooktop is placed on a stable, flat, heat-resistant surface.
- Only use induction-compatible cookware with a magnetic bottom.
- Individuals with pacemakers or similar medical devices should consult their doctor before using an induction cooktop.
3. Product Features
- Timer Function: Set cooking times precisely from 1 minute to 3 hours. Adjust in 1-minute increments with short presses or 10-minute increments with long presses.
- Adjustable Power & Temperature: Features 9 power levels (200W-1800W) and 9 temperature levels (80°C-270°C / 176°F-518°F) for diverse cooking methods like frying, boiling, steaming, and slow cooking.
- High Efficiency: 1800W power allows for rapid cooking, minimizing heat loss due to direct contact between the pot and the induction surface.
- Fast Heat Dissipation: An integrated fan ensures efficient heat dissipation, maintaining optimal performance even during extended use.
- Durable Construction: Made from high-quality plastic and an explosion-proof black crystal panel, ensuring robustness, water resistance, and rust prevention for long service life.
- Compact & Portable: With dimensions of 11.02 x 13.78 x 2.6 inches and a net weight of 6.17 lbs, it is easy to transport and store, ideal for small kitchens, RVs, dormitories, and offices.
- Touch-Adjustable Control: Intuitive touch controls for easy operation.

Figure 3.1: Key features of the Eapmic Digital Induction Cooktop, including power and temperature levels, cooking modes, and timer functionality.
4. Specifications
| Attribute | Value |
|---|---|
| Model | 1800W, Single Burner |
| Material | Black Crystal Panel, Plastic |
| Color | Black |
| Voltage | 110V-120V 60Hz (US Standard Plug) |
| Power | 1800W |
| Control Mode | Touch-adjustable Control |
| Timing Range | 1 minute - 3 hours |
| Power Levels | 9 levels (200W, 400W, 600W, 800W, 1000W, 1200W, 1400W, 1600W, 1800W) |
| Temperature Levels | 9 levels (80°C, 120°C, 140°C, 160°C, 180°C, 200°C, 220°C, 240°C, 270°C) / (176°F, 248°F, 284°F, 320°F, 356°F, 392°F, 428°F, 464°F, 518°F) |
| Applicable Cookware Diameter | 15-28 cm (5.9-11.02 inches) |
| Product Dimensions (L x W x H) | 35 x 28 x 6.6 cm (13.78 x 11.02 x 2.6 inches) |
| Net Weight | 2.8 kg (6.17 lbs) |

Figure 4.1: Physical dimensions of the Eapmic Digital Induction Cooktop.
5. Setup
- Unpack: Carefully remove the induction cooktop and all accessories from the packaging. Ensure all components listed in the "Package Included" section are present.
- Placement: Place the cooktop on a flat, stable, and heat-resistant surface. Ensure there is adequate ventilation around the unit. Do not place it near heat sources or on metallic surfaces that could interfere with induction.
- Power Connection: Plug the US standard power cord into a grounded 110V-120V 60Hz electrical outlet.
- Initial Inspection: Before first use, inspect the cooktop surface for any cracks or damage. If any damage is found, do not use the appliance and contact customer support.

Figure 5.1: Cooktop and included accessories, including the user manual and power cord.
6. Operating Instructions
The Eapmic Digital Induction Cooktop features intuitive touch controls for ease of use.

Figure 6.1: Control panel layout of the induction cooktop.
6.1. Basic Operation
- Power On: Place an induction-compatible pot or pan on the center of the cooktop. Press the ON/OFF button () to turn on the appliance. The display will light up.
- Select Function: Press the Function button () to cycle through available cooking modes or to switch between power (W) and temperature (°F/°C) settings.
- Adjust Settings: Use the Up () and Down () buttons to increase or decrease the power level (W) or temperature (°F/°C).
- Power Off: Press the ON/OFF button again to turn off the cooktop. The fan may continue to run for a short period to cool down the unit.
6.2. Timer Function
- While the cooktop is operating, press the Timer button (). The timer indicator will illuminate.
- Use the Up and Down buttons to set the desired cooking time (from 1 minute to 3 hours). Short presses adjust by 1 minute, long presses by 10 minutes.
- The timer will start counting down automatically after a few seconds of inactivity. Once the timer reaches zero, the cooktop will automatically shut off.
6.3. Lock Function
- Press the Lock button () to lock the control panel during operation, preventing accidental changes to settings.
- To unlock, press and hold the Lock button again until the lock indicator turns off.

Figure 6.2: The cooktop in active use with a wok.
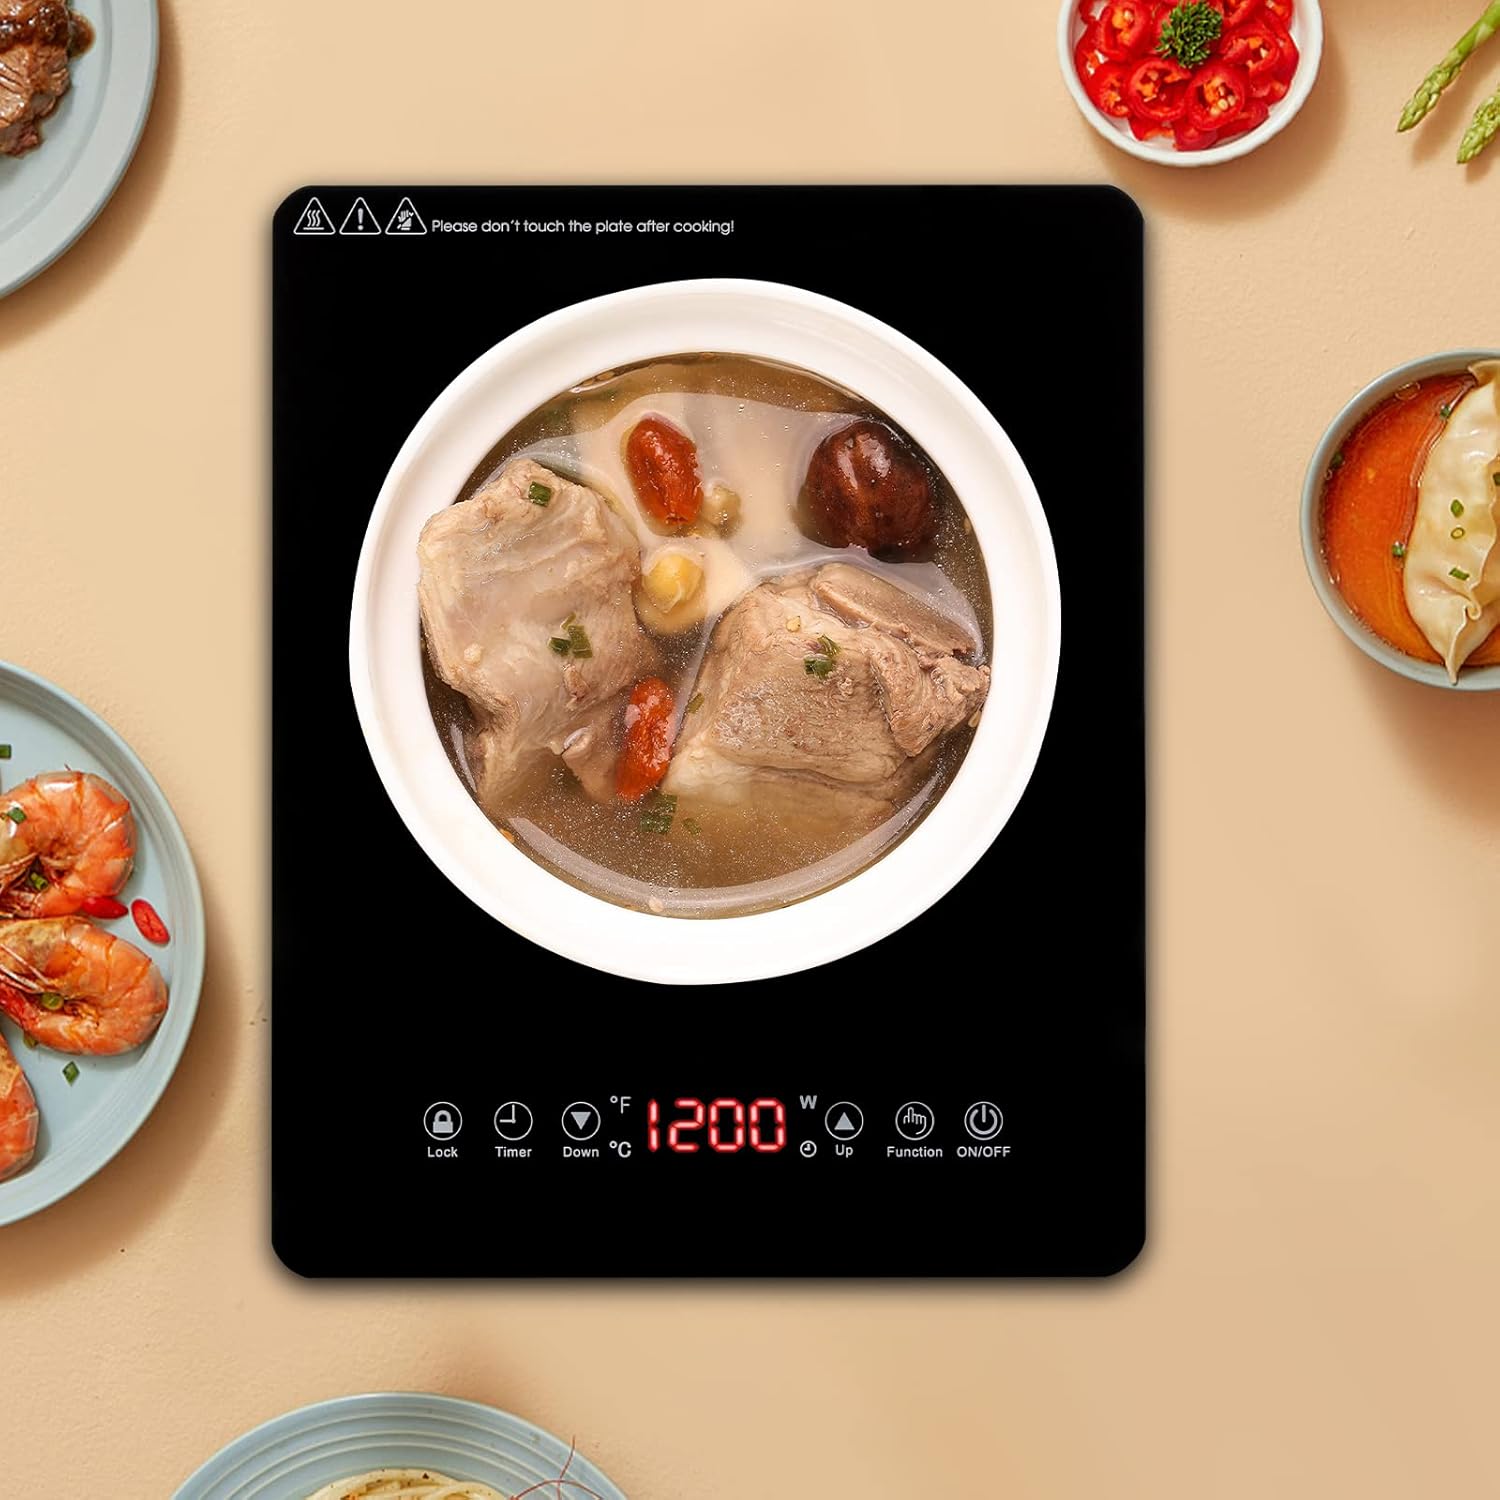
Figure 6.3: The cooktop used for cooking soup in a pot.
7. Maintenance and Cleaning
Proper maintenance ensures the longevity and optimal performance of your induction cooktop.
- Before Cleaning: Always unplug the cooktop from the power outlet and allow it to cool completely before cleaning. The surface can remain hot after use.
- Surface Cleaning: Wipe the black crystal panel with a soft, damp cloth and a mild detergent. For stubborn stains, use a non-abrasive cleaner specifically designed for ceramic or glass cooktops. Avoid abrasive pads, scouring powders, or harsh chemicals, as these can scratch or damage the surface.
- Control Panel: Gently wipe the touch control panel with a soft, dry or slightly damp cloth. Ensure no liquid enters the control area.
- Ventilation Openings: Keep the ventilation openings on the sides and bottom of the cooktop clear of dust and debris to ensure proper heat dissipation. Use a soft brush or vacuum cleaner if necessary.
- Storage: When not in use for extended periods, store the cooktop in a dry, clean place, away from direct sunlight and moisture.
- Do Not Immerse: Never immerse the cooktop in water or any other liquid.
8. Troubleshooting
If you encounter issues with your induction cooktop, please refer to the following common problems and solutions:
| Problem | Possible Cause | Solution |
|---|---|---|
| Cooktop does not turn on. | Not plugged in; power outage; faulty outlet; ON/OFF button not pressed. | Ensure the power cord is securely plugged into a working outlet. Check your circuit breaker. Press the ON/OFF button. |
| No heat, but cooktop is on. | Cookware is not induction-compatible; cookware is too small or too large; no cookware on surface. | Use only induction-compatible cookware (magnetic bottom). Ensure cookware diameter is within 15-28 cm. Place cookware centrally on the cooking zone. |
| Cooktop makes a humming or buzzing noise. | Normal operation sound of induction technology; fan noise. | This is normal. The fan operates to cool internal components. |
| Display shows an error code (e.g., E0, E1, etc.). | Specific error condition (e.g., overheating, sensor fault, voltage issue). | Refer to the specific error code in the full user manual (if provided) or unplug the unit for 5 minutes and plug it back in. If the error persists, contact customer support. |
| Controls are unresponsive. | Control panel is locked; dirty control panel. | Press and hold the Lock button to unlock. Clean the control panel surface. |
9. Warranty and Support
Eapmic is committed to providing excellent customer service. If you have any questions or encounter any issues with your Digital Induction Cooktop, please contact our customer support team. We will endeavor to resolve your problem promptly.
Please refer to your purchase documentation or the official Eapmic website for detailed warranty information and contact methods.
Ask a question about this manual
Ask about setup, troubleshooting, compatibility, parts, safety, or missing instructions. Manuals+ will review the question and use this page’s manual context to help answer it.