Introduction
This manual provides essential information for the proper setup, operation, and maintenance of your Behringer ULTRAVOICE XM8500 Dynamic Cardioid Vocal Microphones. Please read this manual thoroughly before using the product to ensure optimal performance and longevity.
Safety Instructions
- Do not expose the microphone to extreme temperatures, humidity, or direct sunlight.
- Avoid dropping or subjecting the microphone to severe impacts.
- Do not attempt to disassemble or modify the microphone. Refer all servicing to qualified personnel.
- Keep the microphone away from strong magnetic fields.
- Ensure proper ventilation when using the microphone in conjunction with other electronic equipment.
Package Contents
Verify that all items are present in your package:
- Behringer ULTRAVOICE XM8500 Dynamic Cardioid Vocal Microphones (3 units)
- Microphone Stand Adapters/Clips (3 units)
- 25-foot XLR Cables (3 units)
- Impact-Resistant Carrying Cases (3 units)

Image: Contents of the Behringer XM8500 3-pack bundle, including three microphones, three clips, and three XLR cables.
Setup
- Unpacking: Carefully remove the microphones and accessories from their impact-resistant carrying cases.
- Attaching the Microphone Clip: Screw the microphone stand adapter onto a standard microphone stand. Ensure it is securely fastened.

Image: A detailed view of the microphone clip, designed to attach the microphone to a stand.
- Mounting the Microphone: Gently insert the Behringer XM8500 microphone into the attached clip. Ensure it is held firmly but without excessive force.
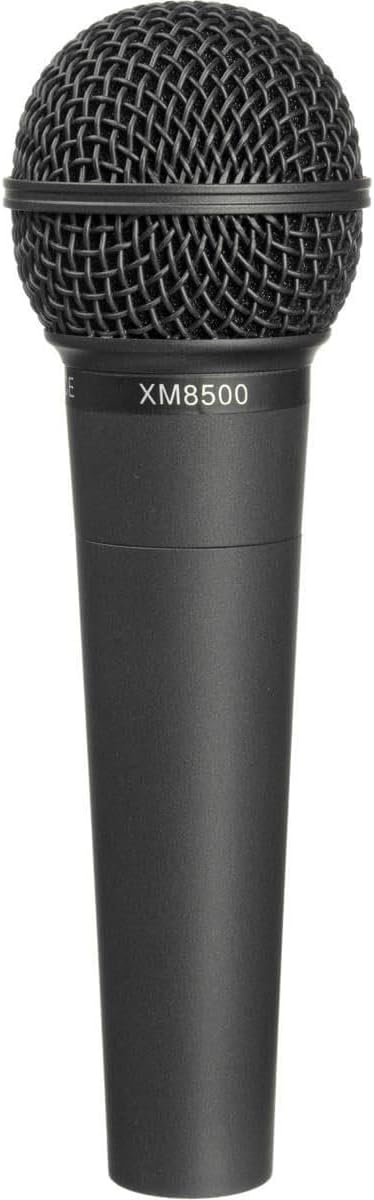
Image: A Behringer XM8500 microphone, showing its grille and body with the model number.
- Connecting the XLR Cable: Connect one end of the provided 25-foot XLR cable to the XLR output connector at the base of the microphone. Connect the other end of the XLR cable to the input of your mixer, audio interface, or amplifier.

Image: The base of the XM8500 microphone, featuring its 3-pin XLR output connector.

Image: A coiled 25-foot XLR cable, used for connecting the microphone to audio equipment.
- Powering On: Dynamic microphones like the XM8500 do not require phantom power. Once connected, your microphone is ready for use.
Operating
- Microphone Placement: Position the microphone approximately 2-6 inches from the sound source for optimal vocal capture. Experiment with distance to achieve the desired tone and minimize plosives.
- Cardioid Pickup Pattern: The XM8500 features a cardioid pickup pattern, meaning it is most sensitive to sounds directly in front of it and rejects sounds from the sides and rear. Aim the front of the microphone (the grille) directly at the sound source.
- Gain Staging: Adjust the gain on your mixer or audio interface to achieve a strong signal without clipping (distortion). Start with the gain low and gradually increase it while speaking or singing into the microphone.
- Minimizing Feedback: Due to its cardioid pattern, the XM8500 is designed to minimize feedback. However, avoid pointing the microphone directly at loudspeakers or monitors.
- Pop Filter: The integrated two-stage pop filter helps reduce breath noises and plosives (harsh 'p' and 'b' sounds).
Maintenance
- Cleaning: Use a soft, dry cloth to wipe the microphone body. For the grille, a soft brush can be used to gently remove dust or debris. Do not use liquid cleaners directly on the microphone.
- Storage: When not in use, store the microphones in their provided impact-resistant carrying cases to protect them from dust, moisture, and physical damage.

Image: Two impact-resistant carrying cases, designed for safe storage and transport of the microphones and accessories.
- Cable Care: Coil XLR cables neatly after use to prevent kinks and damage. Avoid stepping on cables or placing heavy objects on them.
Troubleshooting
- No Sound:
- Ensure all cables are securely connected at both the microphone and the audio input device.
- Check the gain setting on your mixer/interface.
- Test with a different XLR cable to rule out cable failure.
- Verify the input channel on your mixer/interface is selected and not muted.
- Distorted Sound:
- Reduce the gain setting on your mixer/interface.
- Ensure the microphone is not too close to the sound source, causing overload.
- Excessive Background Noise/Feedback:
- Reposition the microphone to point directly at the sound source and away from speakers.
- Lower the overall volume or monitor levels.
- Check for any open microphones not in use and mute them.
Specifications
| Feature | Specification |
|---|---|
| Microphone Type | Dynamic |
| Polar Pattern | Cardioid (Unidirectional) |
| Frequency Response | 50 Hz to 15 kHz |
| Connectivity Technology | XLR |
| Microphone Form Factor | Handheld |
| Item Dimensions (L x W x H) | 7 x 5.7 x 1.9 inches |
| Item Weight | 6.99 pounds (total package) |
| Included Components | 25' XLR Cable, Impact-Resistant Carrying Case |
| Special Feature | Stand (Microphone Clip) |
| Compatible Devices | Amplifier, Mixer, Audio Interface |
Warranty and Support
Behringer products are designed and manufactured to high standards. For specific warranty information and support, please refer to the warranty card included with your product or visit the official Behringer website. You can also contact Behringer customer support for technical assistance or service inquiries.
Online Support: www.behringer.com


