
Introduction
This manual provides detailed instructions for installing and operating your BrickBling LED Light Kit, designed specifically for the LEGO 21342 The Insect Collection model. This kit enhances your LEGO model by adding illumination, transforming it into a more dynamic and visually appealing display piece. Please note that the LEGO building kit is not included with this lighting set.
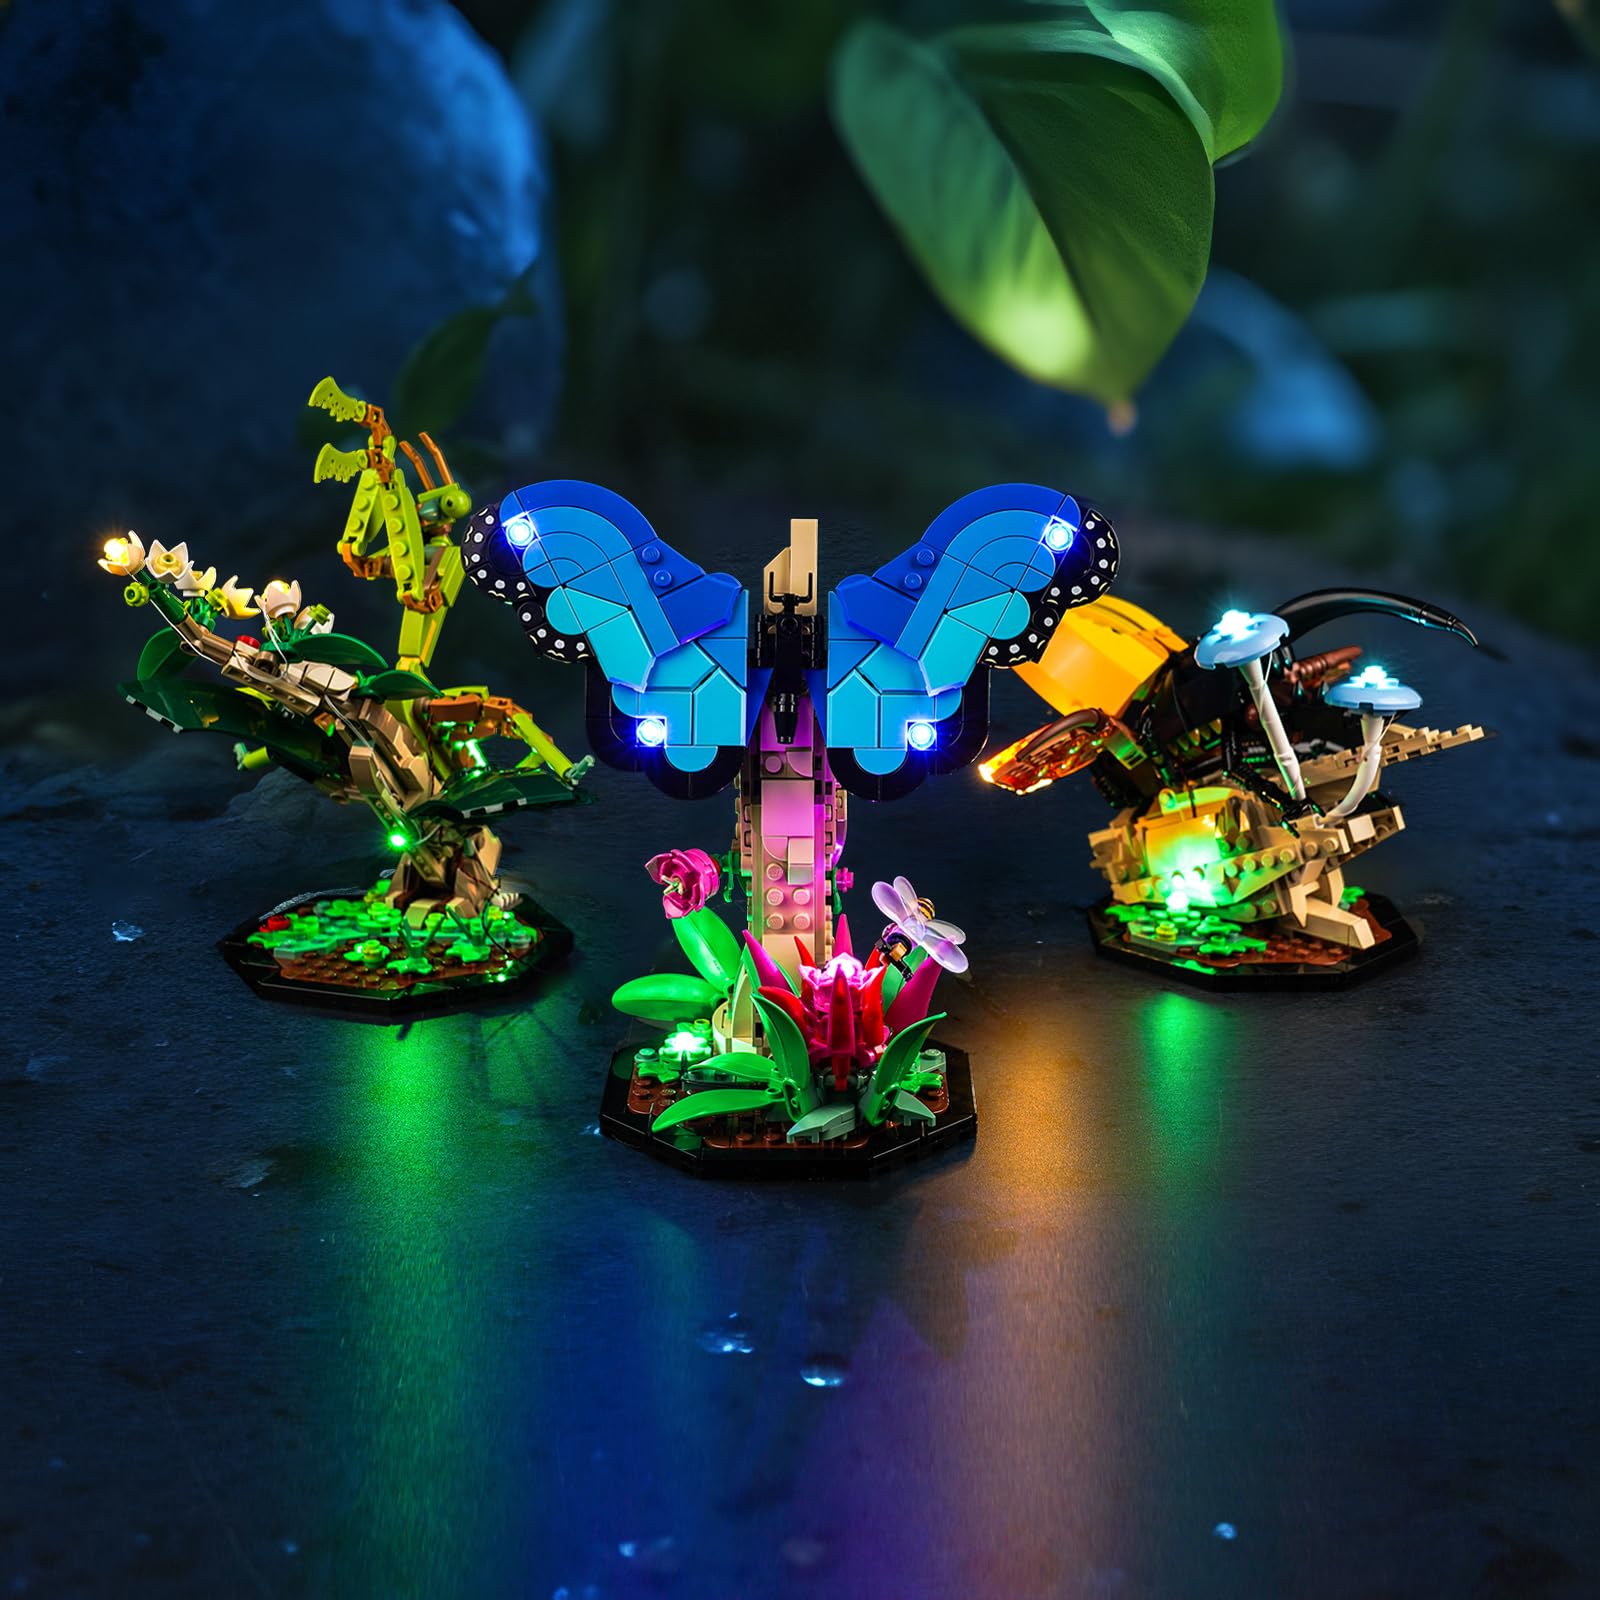
Image: The LEGO 21342 The Insect Collection models illuminated by the BrickBling LED Light Kit, showcasing the enhanced visual appeal.
Safety Information
- This product contains small parts and is not suitable for children under 3 years old due to choking hazards.
- Handle LED wires and components with care to avoid damage. Do not pull or bend wires excessively.
- Ensure the power source is correctly connected according to instructions to prevent electrical issues.
- This is an electronic accessory, not a toy. Adult supervision is recommended during installation.
- Do not expose the light kit to water or extreme temperatures.
Package Contents
Verify that all components listed below are present in your package:

Image: Overview of the BrickBling LED Light Kit accessories, including various light components and the instruction guide.
- LED Light Kits (various individual lights and strips)
- Instruction Guide Booklet
- Light Strip - Green (20 units)
- Light Strip - Warm White (12 units)
- Connecting Cable (50CM)
- Expansion Board (2x6)
- Expansion Board (2x4)
- Power Supply (Battery Box)
Setup and Installation
Installation of the BrickBling LED Light Kit requires careful integration with your existing LEGO 21342 model. Step-by-step video installation instructions are provided by our professional light-build team. Please refer to the booklet included in your package for the website link to access these detailed video guides.
General Installation Guidelines:
- Preparation: Ensure your LEGO 21342 model is fully assembled. You may need to carefully disassemble small sections of your model to integrate the lights.
- Wire Placement: The light wires are designed to be slim and fit within the LEGO bricks. Route them carefully between studs and plates to avoid pinching or damaging them.
- Component Integration: Follow the video instructions to place individual LED lights and light strips in the designated areas of your model.
- Connecting Cables: Use the connecting cables to link the individual lights and light strips to the expansion boards.
- Power Connection: Connect the expansion boards to the power supply (battery box).
- Testing: Periodically test the lights during installation to ensure proper function before fully reassembling your model.
The high-quality ABS materials and slim wires are designed to minimize damage during installation. Only disassemble the necessary blocks as guided by the video instructions.
Video: Official installation guide for the BrickBling LED Light Kit for LEGO 21342 The Insect Collection. This video demonstrates the process of integrating the lights into the model.

Image: A detailed view of the butterfly model from The Insect Collection, showcasing the integrated LED lights.
Operating Instructions
The BrickBling LED Light Kit is battery-powered for convenient display.
- Insert Batteries: Open the battery box and insert the required batteries (not included, typically AA or AAA, refer to the battery box for specifics) ensuring correct polarity.
- Power On: Locate the switch on the battery box. Flip the switch to the 'ON' position to illuminate your LEGO model.
- Power Off: To turn off the lights, flip the switch on the battery box to the 'OFF' position.
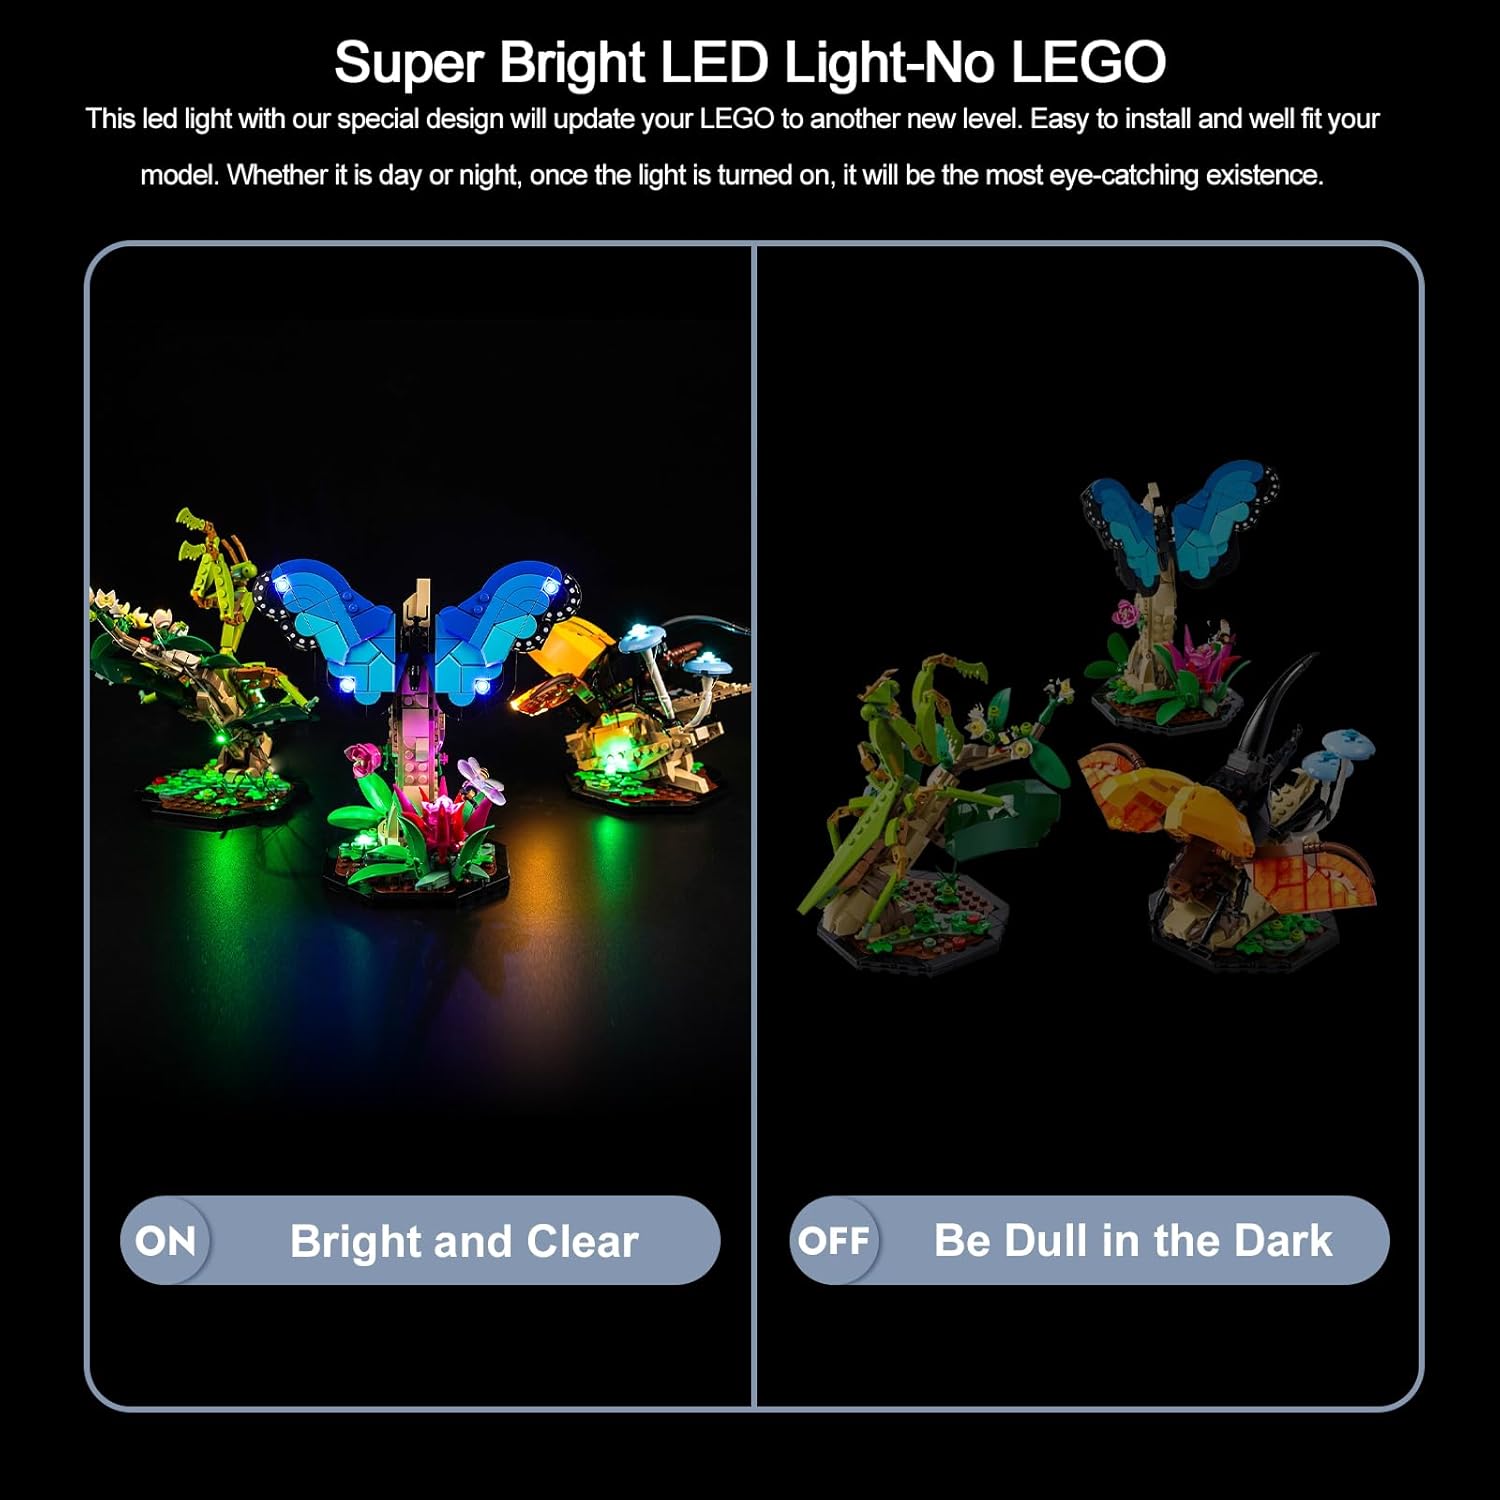
Image: A visual comparison demonstrating the effect of the LED lights, showing the models both unlit and brightly illuminated.
Maintenance
To ensure the longevity and optimal performance of your BrickBling LED Light Kit, follow these maintenance guidelines:
- Cleaning: Gently wipe the LED components and wires with a dry, soft cloth to remove dust. Avoid using liquids or abrasive cleaners.
- Battery Replacement: When the lights dim or stop working, replace the batteries in the power box. Always replace all batteries at once with new ones of the same type.
- Storage: If storing the model for an extended period, remove the batteries from the power box to prevent leakage and corrosion.
- Handling: Avoid dropping or subjecting the illuminated model to strong impacts, as this can damage the delicate wiring and LED components.
Troubleshooting
If you encounter issues with your light kit, refer to the following common troubleshooting steps:
| Problem | Possible Cause | Solution |
|---|---|---|
| Lights do not turn on. | No power, loose connection, or faulty component. | Check if batteries are correctly inserted and charged. Ensure the power switch is ON. Verify all wire connections are secure. Refer to the video guide for connection details. |
| Some lights are not working. | Loose connection to a specific light, or a damaged light/wire. | Inspect the connections for the non-working lights. Gently check wires for any visible damage. If a single light is faulty, it may need replacement. |
| Lights are flickering. | Low battery power or unstable connection. | Replace batteries with fresh ones. Check all connections for tightness. |
Specifications
- Brand: BrickBling
- Model Number: 21342
- Compatible With: LEGO 21342 The Insect Collection
- Color: Colorful
- Material: Acrylonitrile Butadiene Styrene (ABS)
- Light Source Type: Light Emitting Diode (LED)
- Power Source: Battery Powered
- Mounting Type: Freestanding (integrated with model)
- Number of Light Sources: Varies by kit, designed for full model illumination
- Item Weight: 0.11 kg
Warranty and Support
Return Policy: This product is eligible for returns within 30 days of purchase, subject to the retailer's return policy.
Customer Support: For further assistance, technical support, or inquiries regarding your BrickBling LED Light Kit, please visit the official BrickBling website or contact their customer service department. Contact information can typically be found in the product packaging or on the BrickBling store page.


