
MASINGO G5
MASINGO Sonoro G5 Karaoke Machine User Manual
Model: G5 | Brand: MASINGO
Introduction
This manual provides detailed instructions for the setup, operation, and maintenance of your MASINGO Sonoro G5 Karaoke Machine. Please read this manual thoroughly before using the product to ensure proper function and longevity.

Image: The MASINGO Sonoro G5 Karaoke Machine, featuring a black finish, two wireless microphones stored on top, and a vibrant LED light ring on its main speaker grille.
What's in the Box
Verify that all items are present in the packaging:
- Sonoro G5 Karaoke Machine
- 2 Wireless Microphones
- USB Charging Cable & Plug
- AUX Cable & TV Cable
- User Manual (this document)

Image: An illustration showing the MASINGO Sonoro G5 Karaoke Machine alongside its accessories: two wireless microphones, a 3.5mm AUX cable, a COAX TV cable, a USB-C to USB-A charging cable, and a power adapter.
Product Features
- Powerful Tri-Speaker System: Features a central 5.25-inch speaker and dual 1.6-inch side speakers, delivering a combined 30 watts of clear audio output.
- Duet-Friendly Microphones: Includes two wireless microphones that auto-connect upon activation and store conveniently within the machine.
- Compact & Long-Lasting: Portable design with an integrated handle and a battery providing 3-4 hours of operation.
- Seamless Connections: Supports Bluetooth, Aux input, USB, MicroSD, and includes a COAX cable for TV connectivity.
- Dynamic LED Lights: Equipped with 11 LED light patterns to enhance the karaoke experience, including a unique karaoke mode to remove original vocals.

Image: A banner showcasing the MASINGO Sonoro G5, emphasizing its triple speaker clarity, integrated microphone convenience, compact and durable design, and sleek, functional aesthetics with built-in LED lights.
Setup
- Unpacking: Carefully remove all components from the packaging. Retain packaging for future storage or transport.
- Charging the Unit: Connect the provided USB charging cable to the Sonoro G5 and a power source. The unit requires approximately 4 hours for a full charge.
- Microphone Setup: The two wireless microphones are stored in designated slots on top of the machine. Remove them and ensure they are charged. They will auto-connect to the main unit upon activation.
- Placement: Place the Sonoro G5 on a stable, flat surface. Ensure adequate ventilation around the unit.
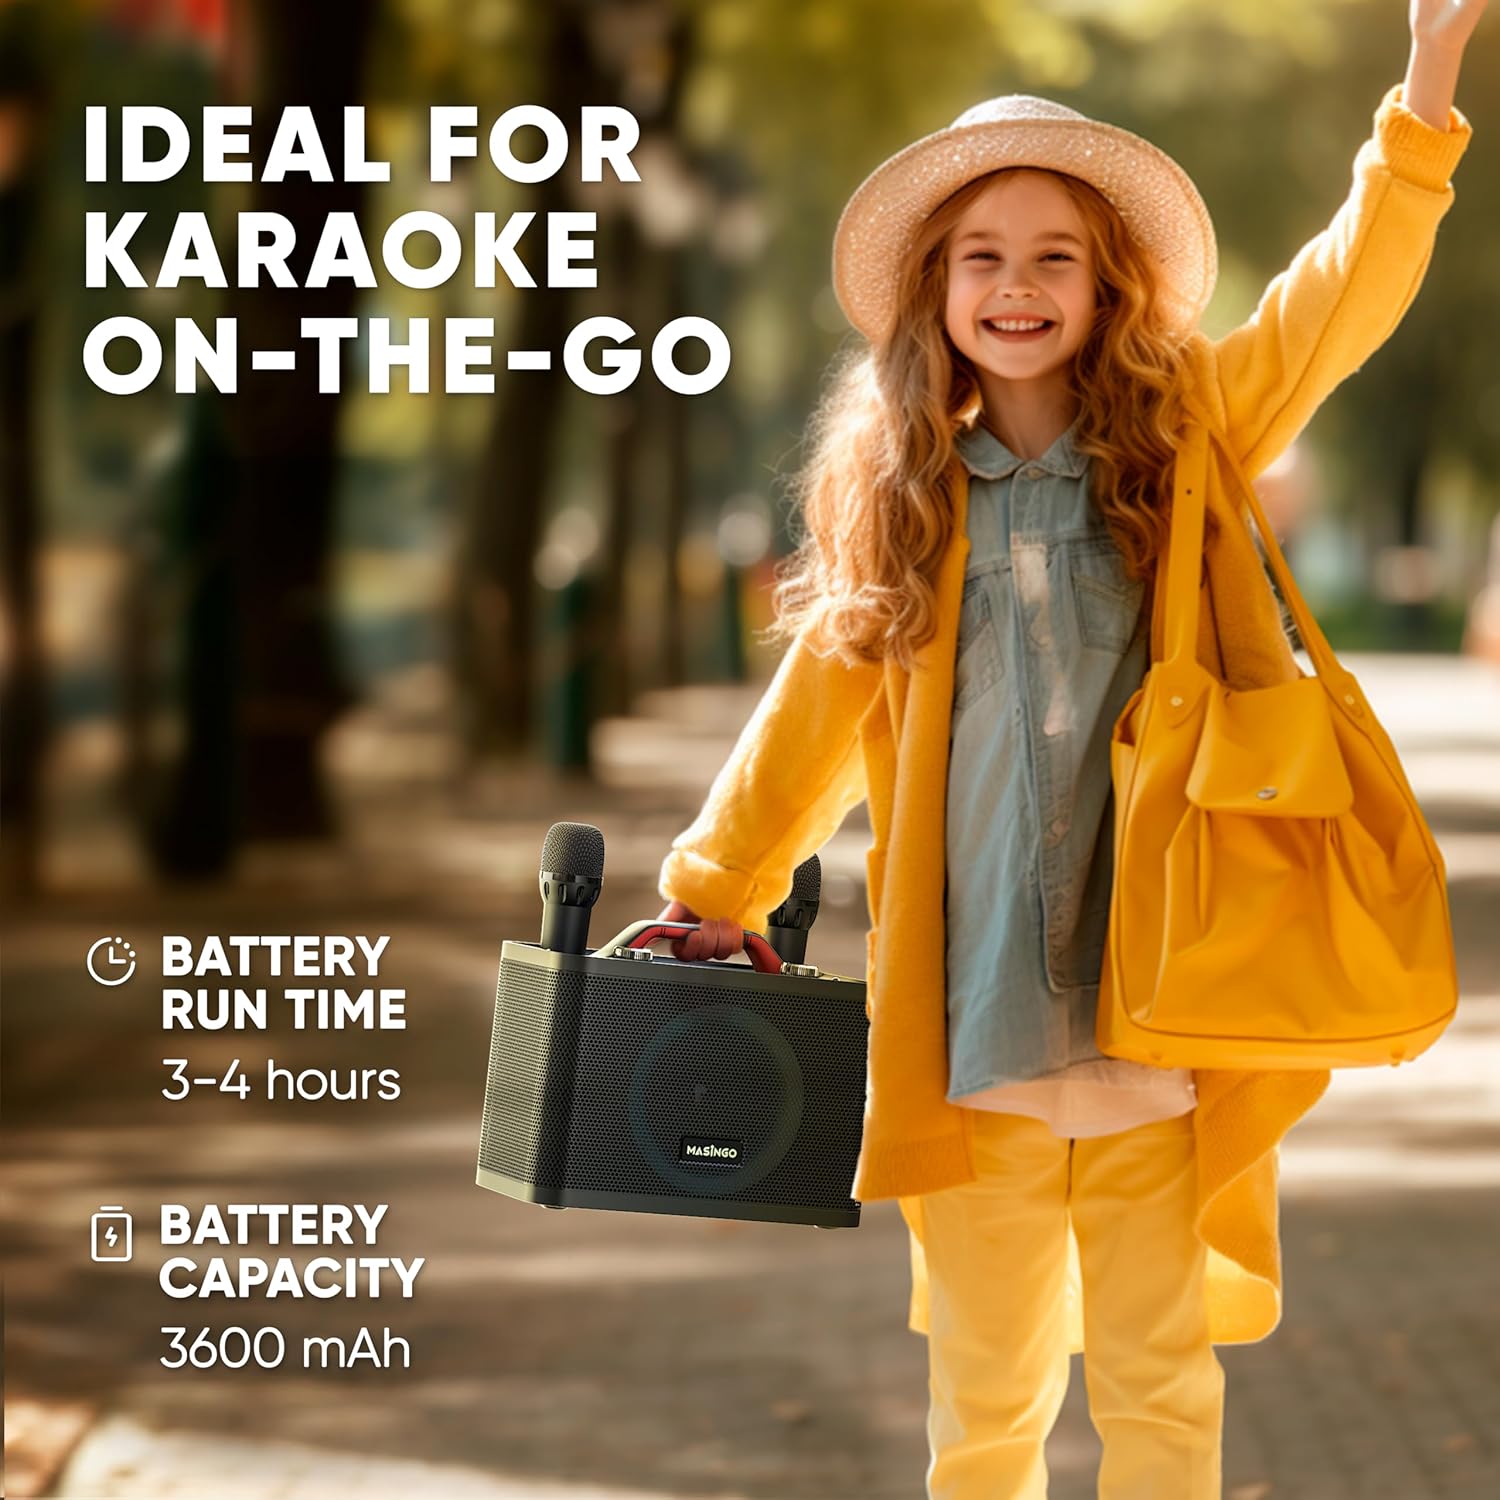
Image: A young child happily carrying the MASINGO Sonoro G5 karaoke machine by its integrated handle, illustrating its compact size and portability for on-the-go use.
Operating Instructions
Control Panel Overview

Image: A detailed view of the MASINGO Sonoro G5's control panel, highlighting various buttons and knobs for mode selection, volume control, microphone adjustments, LED effects, and playback controls.
- Volume Knob: Adjusts the main machine volume.
- MIC+/- Buttons: Increases or decreases microphone volume.
- Mode Button: Cycles through input modes (Bluetooth, AUX, USB, MicroSD).
- LED Button: Changes LED light patterns.
- Vocal Cut Button: Attempts to remove vocals from a playing track.
- Echo Knob: Adjusts the echo effect for microphones.
Connecting to Audio Sources
- Bluetooth Mode:
- Press the Mode button until "Bluetooth" is announced or displayed.
- On your smartphone or other Bluetooth device, search for "MASINGO G5" and pair.
- Once connected, you can stream audio wirelessly.
- AUX Input:
- Connect one end of the provided AUX cable to the AUX port on the Sonoro G5 and the other end to your audio device's headphone jack.
- Press the Mode button until "AUX" is announced or displayed.
- USB/MicroSD Playback:
- Insert a USB drive or MicroSD card (with compatible audio files) into the respective port.
- Press the Mode button until "USB" or "MicroSD" is announced or displayed. The unit will automatically begin playing supported audio files.
- TV Connection (COAX Cable):
- Connect the provided COAX cable from the Sonoro G5 to the appropriate audio input on your television.
- Select the corresponding audio input on your TV. This allows you to display lyrics on your TV while the Sonoro G5 handles the audio output.

Image: A family gathered around a television, with the MASINGO Sonoro G5 karaoke machine positioned on a coffee table. Lyrics are displayed on the TV screen, demonstrating the TV connectivity feature for an enhanced karaoke experience.
Using the Microphones
- Turn on the wireless microphones. They will automatically pair with the Sonoro G5.
- Adjust microphone volume using the MIC+/- buttons on the main unit.
- Adjust the echo effect using the Echo knob for desired vocal enhancement.

Image: Two hands holding the MASINGO wireless microphones, illustrating their design and emphasizing features like quick sync activation and rechargeable batteries with a 3-hour battery life and Type-C charging.
LED Light Effects
- Press the LED button to cycle through the 11 available light patterns.
- The dynamic LED ring light on the front speaker enhances the ambiance of your performance.
Maintenance
- Cleaning: Use a soft, dry cloth to clean the exterior of the unit. Do not use liquid cleaners or abrasive materials.
- Storage: When not in use, store the unit in a cool, dry place away from direct sunlight and extreme temperatures. Ensure microphones are securely stored in their slots.
- Battery Care: For optimal battery life, fully charge the unit before long periods of storage and recharge every 3-6 months if not in regular use.
- Microphone Care: Keep microphones dry and clean. Avoid dropping them to prevent damage.
Troubleshooting
| Problem | Possible Cause | Solution |
|---|---|---|
| No power/Unit not turning on | Battery is depleted; Power cable not connected properly. | Charge the unit for at least 4 hours. Ensure the charging cable is securely connected. |
| No sound from speakers | Volume too low; Incorrect input mode selected; Audio source not playing. | Increase the main volume. Press the Mode button to select the correct input. Ensure your audio source is playing and its volume is up. |
| Microphones not working | Microphones are off; Microphone batteries are low; Microphones not paired. | Ensure microphones are turned on. Recharge microphone batteries. Turn microphones off and on again to re-establish connection. |
| Bluetooth connection issues | Device too far; Interference; Incorrect pairing process. | Ensure your device is within range (approx. 30 feet). Turn off other Bluetooth devices. Forget "MASINGO G5" on your device and re-pair. |
| Vocal Cut not effective | Feature limitations; Original track not suitable. | The vocal cut feature works best with tracks that have clear vocal separation. It may not completely remove vocals from all songs. |
Specifications
| Feature | Detail |
|---|---|
| Model Number | G5 |
| Brand | MASINGO |
| Item Weight | 6.49 pounds |
| Product Dimensions | 12.2 x 6 x 9 inches |
| Speaker Configuration | 1x 5.25-inch central speaker, 2x 1.6-inch side speakers |
| Output Wattage | 30 Watts |
| Connectivity | Bluetooth, AUX, USB, MicroSD, COAX TV Cable |
| Battery Type | Lithium Ion |
| Battery Run Time | 3-4 hours |
| Charging Time | 4 Hours |
| Microphones Included | 2 Wireless Microphones (AA batteries included) |
| Special Features | PA System, 11 LED Light Patterns, Vocal Cut function |
Warranty and Support
For warranty information or technical support, please refer to the official MASINGO website or contact their customer service directly. Details are typically provided on the product packaging or through the retailer where the product was purchased.
You can visit the MASINGO Store for more information: MASINGO Official Store
Related documentsG5


Ask a question about this manual
Ask about setup, troubleshooting, compatibility, parts, safety, or missing instructions. Manuals+ will review the question and use this page’s manual context to help answer it.