
1. Introduction
This manual provides comprehensive instructions for the installation, operation, and maintenance of your Qinlorgo Smart Door Lock. This electronic fingerprint door lock offers multiple unlocking methods including fingerprint, IC card, password, mechanical key, and mobile APP, ensuring enhanced security and convenience for your office, hotel, or home.
Please read this manual thoroughly before installation and use to ensure proper functionality and to prevent damage.
2. Package Contents
Verify that all items listed below are included in your package:
- 1 x Front Lock Plate
- 1 x Rear Lock Plate
- 1 x Double Tongue Lock
- 1 x Lock Box
- 1 x Lock Catch
- 1 x Screw Bag
- 1 x Opening Figure
- 1 x Manual (this document)
- 2 x Mechanical Keys
- 2 x Access Cards
- 1 x Set of Mounting Accessories

Image: All components included in the Qinlorgo Smart Door Lock package.
3. Specifications
| Feature | Detail |
|---|---|
| Item Type | Smart Door Lock |
| Material | Zinc Alloy |
| Unlocking Methods | Fingerprint, IC card, password, mechanical key, mobile APP |
| Power Supply | 4.5V-6.5V (4xAAA dry batteries, not included) |
| Number of Administrators | 9 groups |
| Number of Fingerprints | 100 |
| Fingerprint + Password + Card Groups | 200 groups |
| Fingerprint Resolution | 500DPI |
| False Rejection Rate (FRR) | ≤0.1% |
| False Acceptance Rate (FAR) | ≤0.0001% |
| Card Type | 13.56MHz, IC card |
| Emergency Power | 5VDC (USB) |
| Password Length | 4-8 digits (actual password) |
| Virtual Password Length | Up to 16 digits (anti-peep function) |
| Low Voltage Alarm | 4.6 ± 0.2V |
| Unlock Time | 1S |
| Working Temperature | -25°C to 60°C |
| Relative Humidity | 20% - 90% |
4. Setup and Installation
Proper installation is crucial for the optimal performance of your smart door lock. Refer to the included "Opening Figure" for detailed drilling and mounting instructions.
4.1 Pre-Installation Steps
- Prepare the Door: Ensure your door meets the required thickness and bore hole specifications as detailed in the "Opening Figure".
- Install Mortise Lock: Install the double tongue lock (mortise) into the door edge.
- Connect Cables: Before mounting the front and rear lock plates, connect the connection cable between them.
- Initial Setup: Open the anti-lock switch to prepare for connecting to a hotspot and the mobile APP.
4.2 Battery Installation
The lock requires 4xAAA dry batteries (not included). Insert them into the battery compartment on the rear lock plate, ensuring correct polarity.
4.3 APP Connection (Tuya Function)
The smart lock supports Tuya functionality for remote unlocking and record viewing.
- Download the Tuya Smart APP from your mobile device's app store.
- Register or log in to your Tuya account.
- Follow the in-app instructions to add your smart door lock. Ensure your phone's Wi-Fi is enabled and the lock is in pairing mode.
- Once connected, you can manage users, view unlocking records, and remotely unlock the door via the APP.
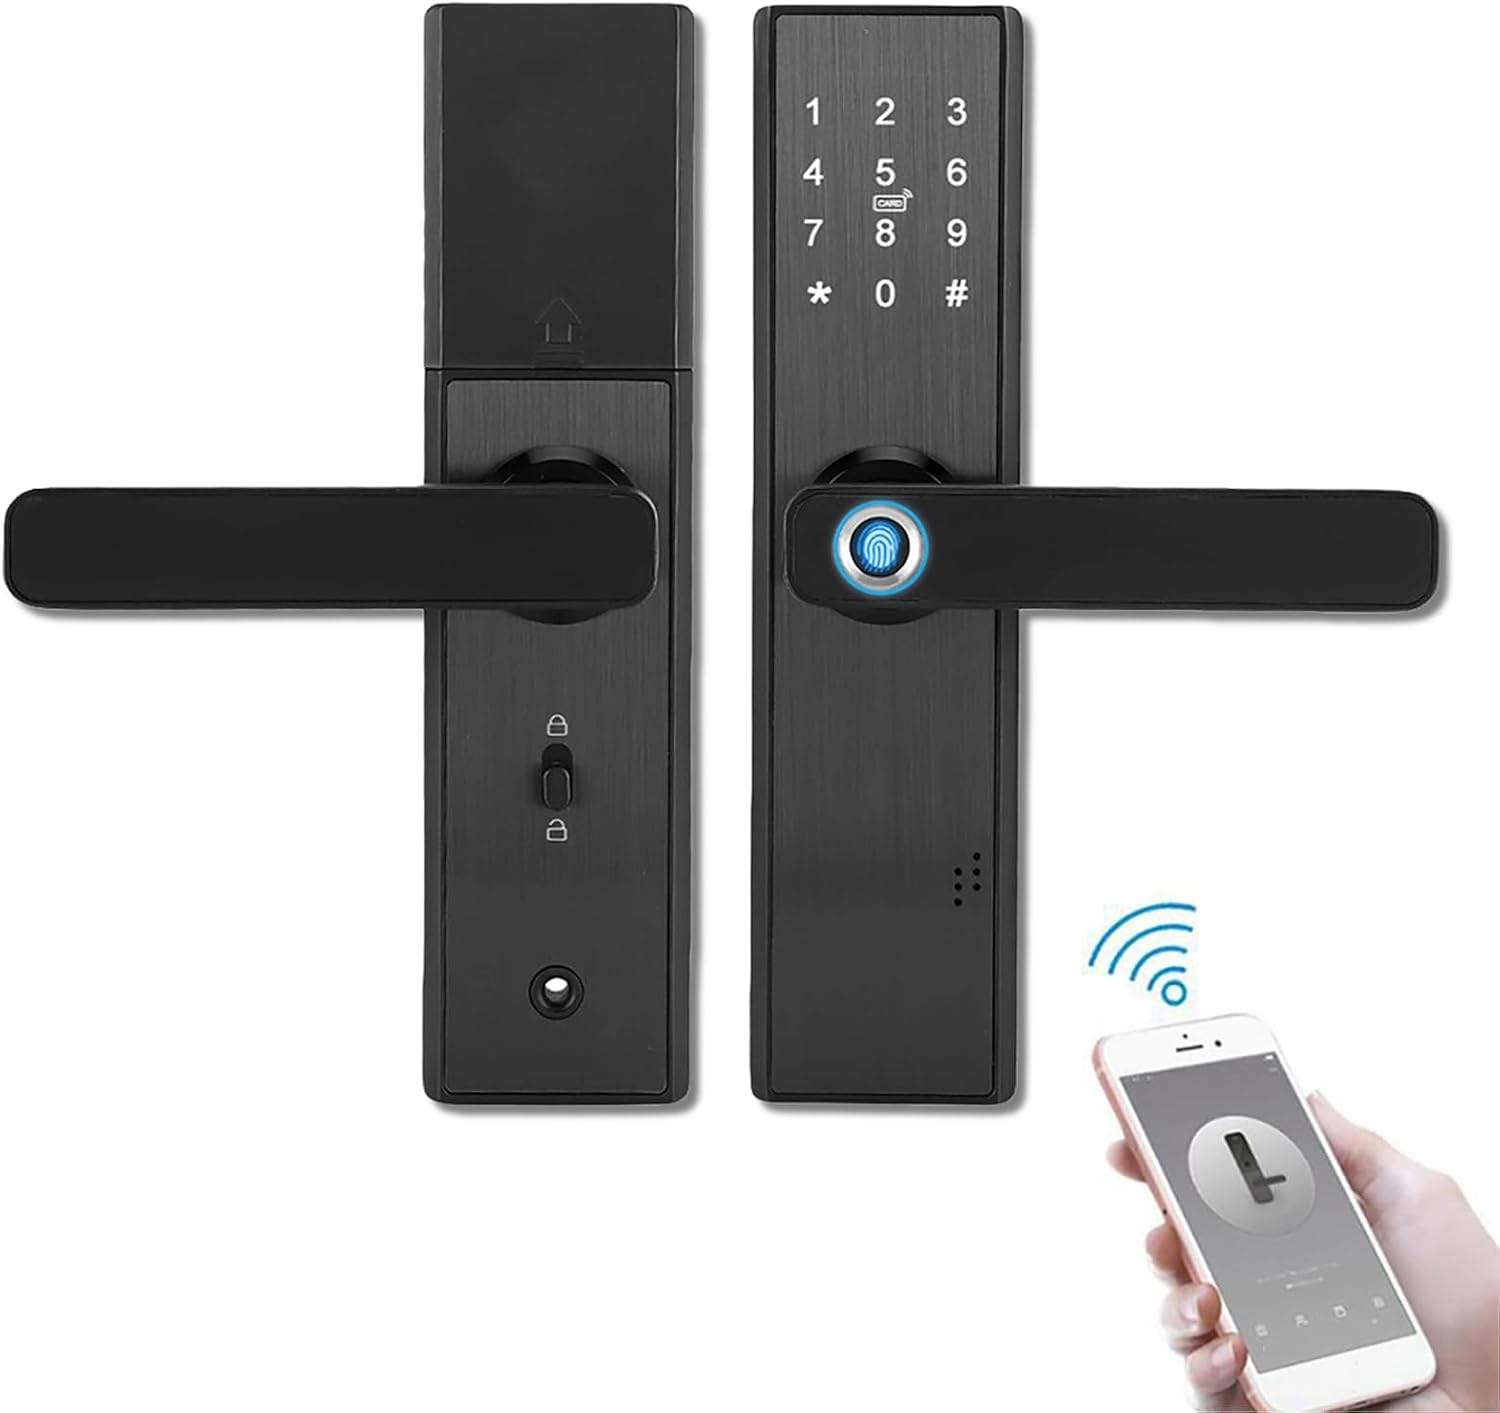
Image: Overview of the smart door lock and its mobile app connectivity.
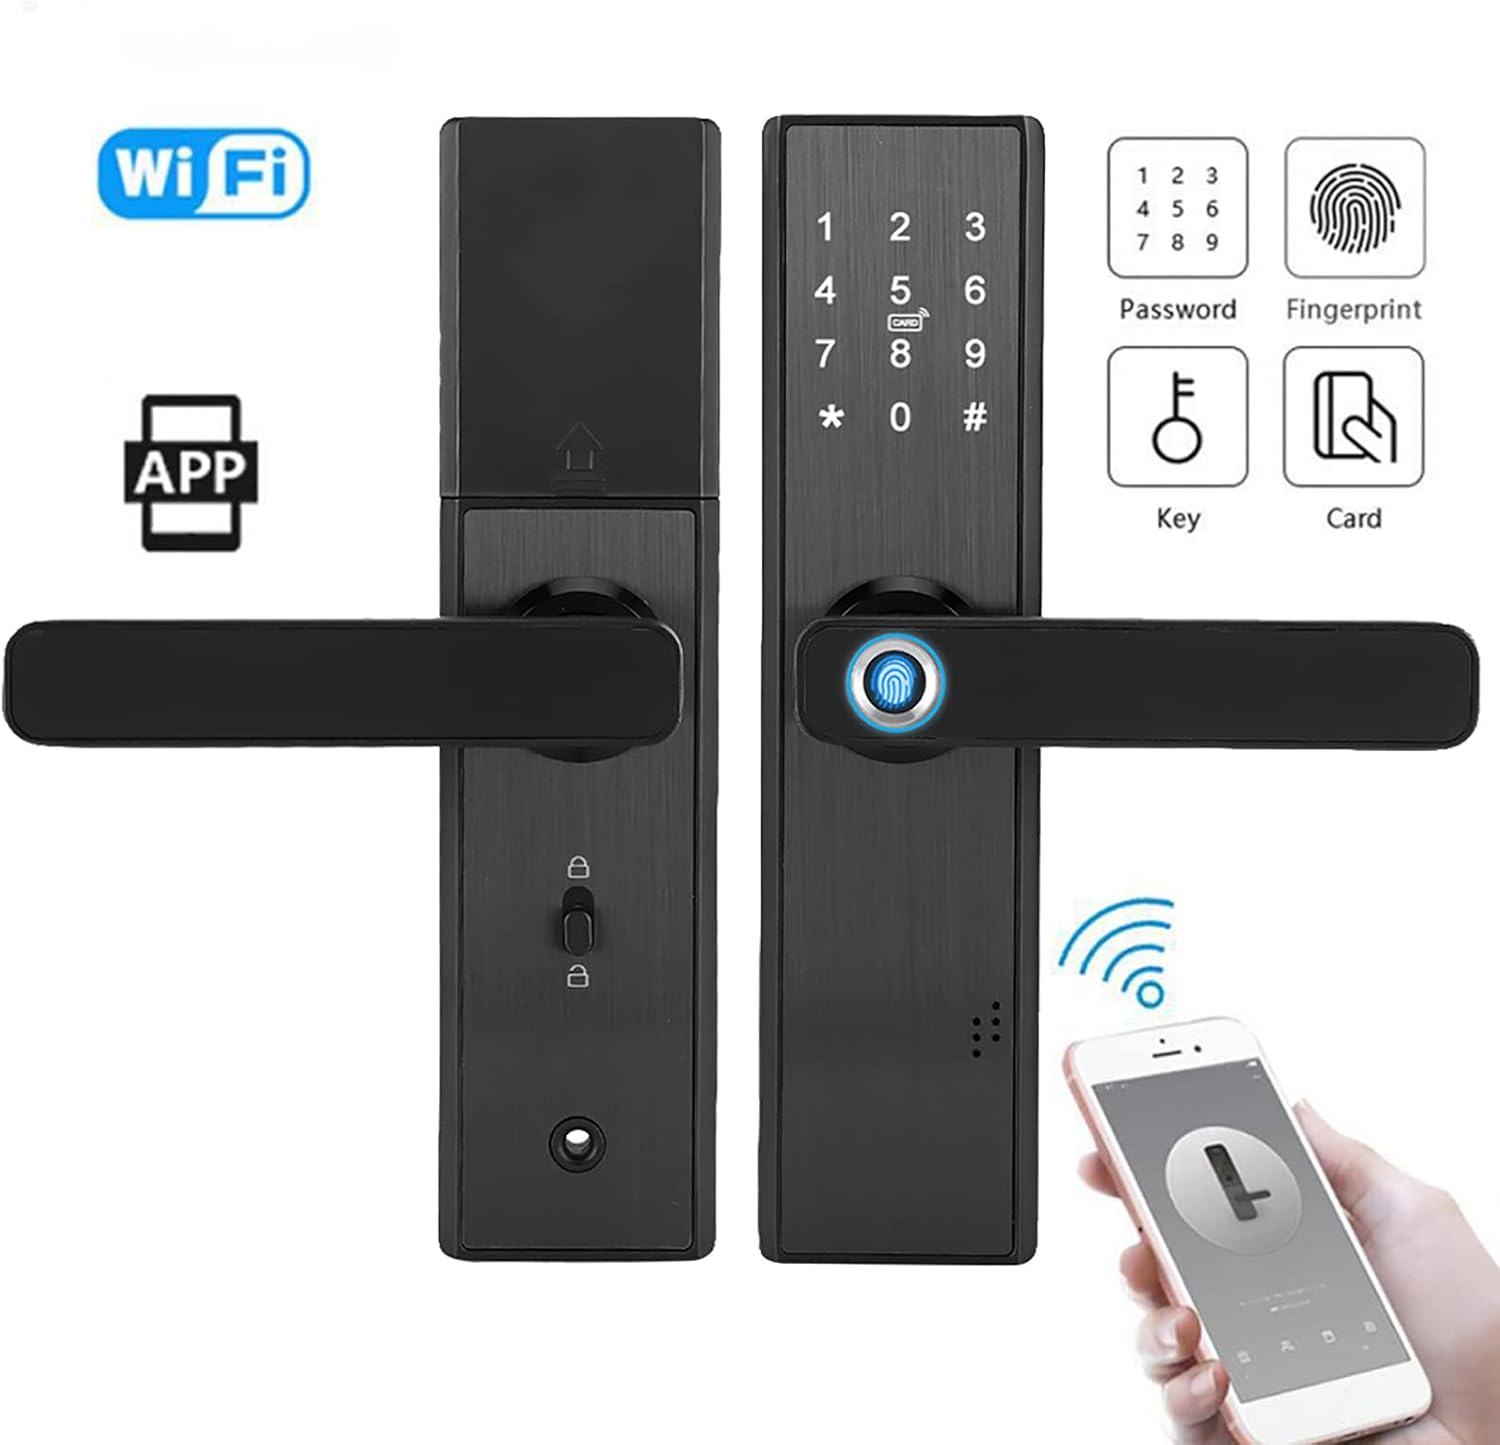
Image: The smart lock installed on a door, demonstrating remote unlocking via a smartphone.
5. Operating Instructions
Your smart door lock offers multiple convenient unlocking methods.
5.1 Unlocking Methods
- Fingerprint Unlock: Place your registered finger on the fingerprint sensor. The lock will unlock if the fingerprint is recognized.
- IC Card Unlock: Present your registered IC card to the card reader area on the lock. The lock will unlock upon successful recognition.
- Password Unlock: Enter your 4-8 digit password on the keypad, then press # to confirm.
- Mechanical Key Unlock: In case of emergency or battery depletion, insert the mechanical key into the keyhole and turn to unlock.
- Mobile APP Unlock: Use the Tuya Smart APP on your smartphone to remotely unlock the door.
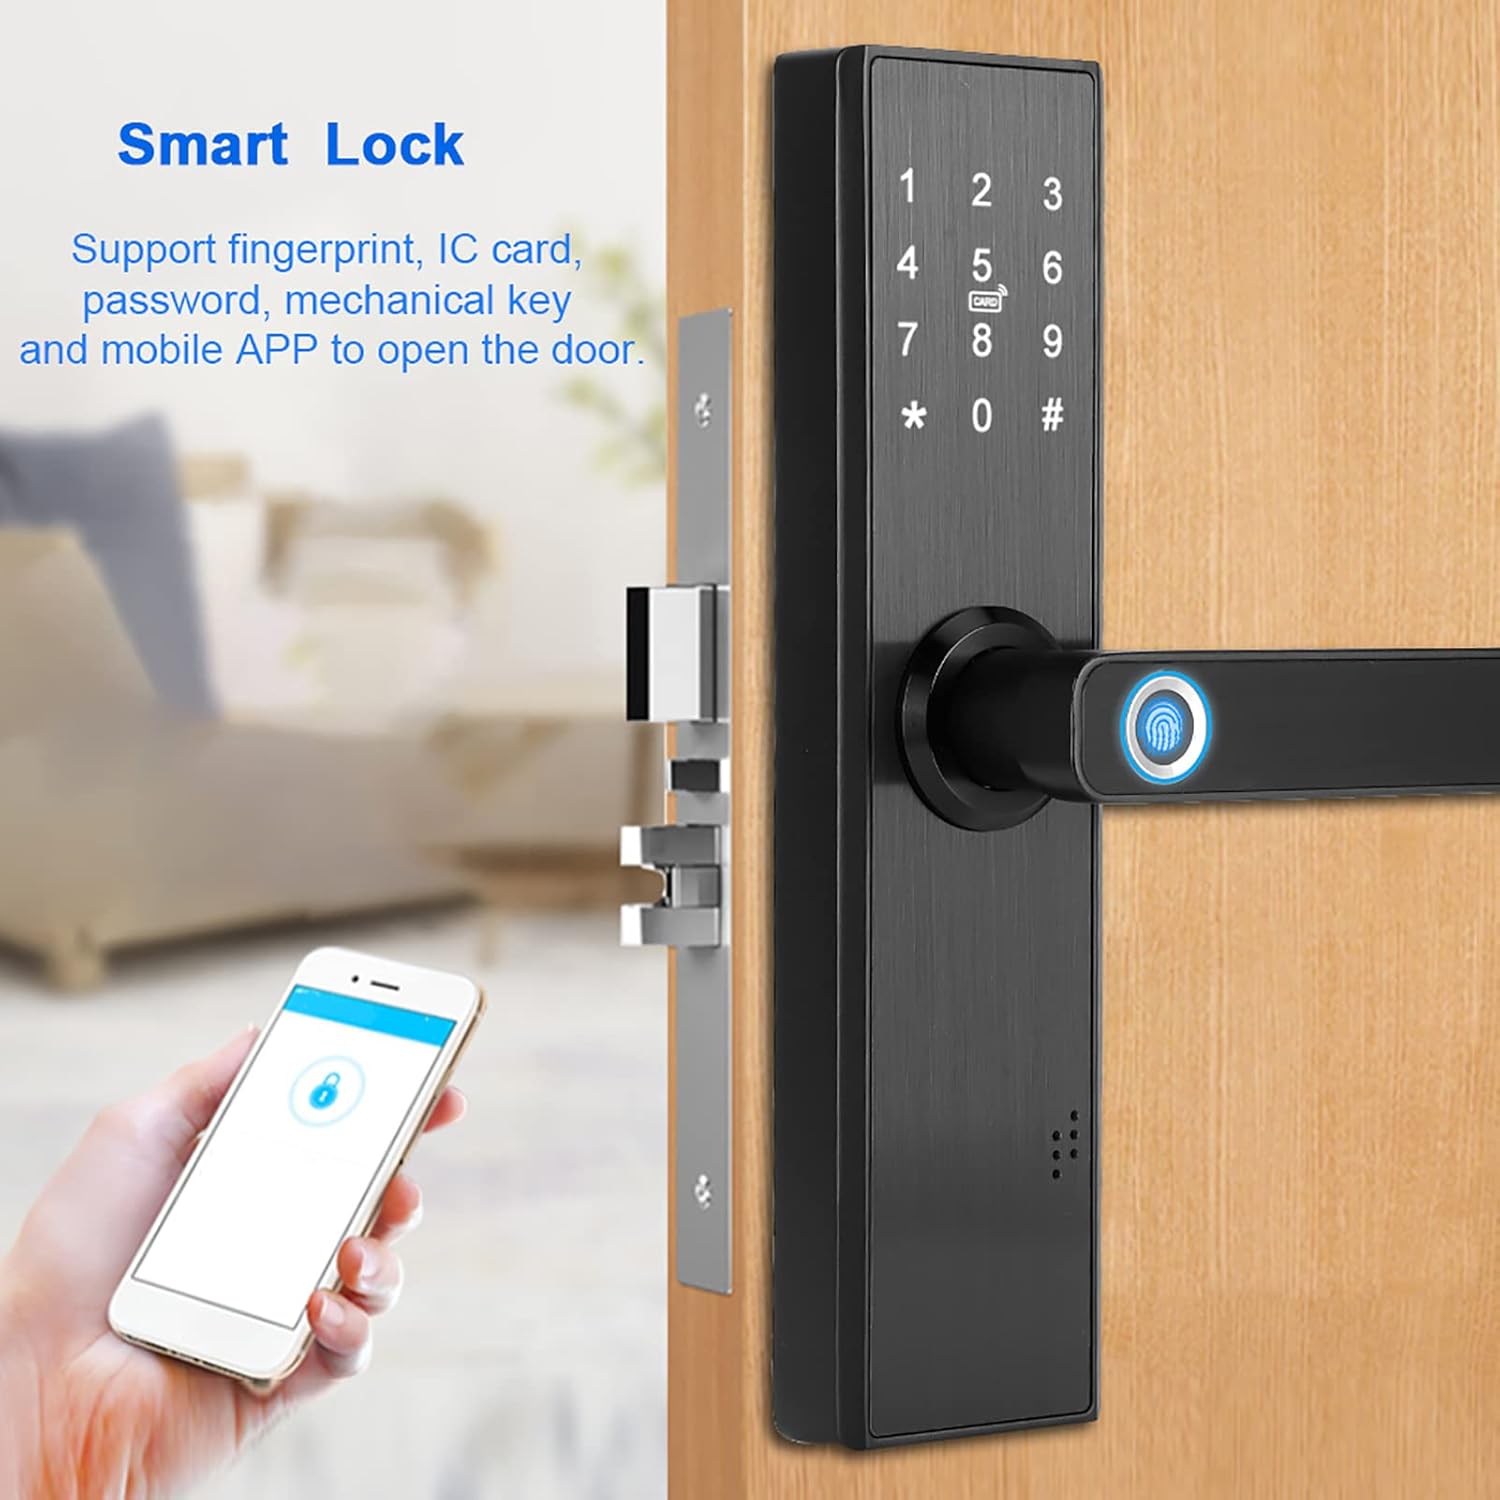
Image: The smart lock highlighting its multiple unlocking capabilities.

Image: Demonstrating fingerprint unlocking on the smart lock.
5.2 Anti-Peeping Virtual Password
To prevent others from observing your password, you can enter multiple random digits before or after your actual password. The system will only recognize the correct consecutive password sequence.
Example: If your password is 123456, you can enter 8765431234569876#. The anti-peep function allows for up to 16 digits in total.
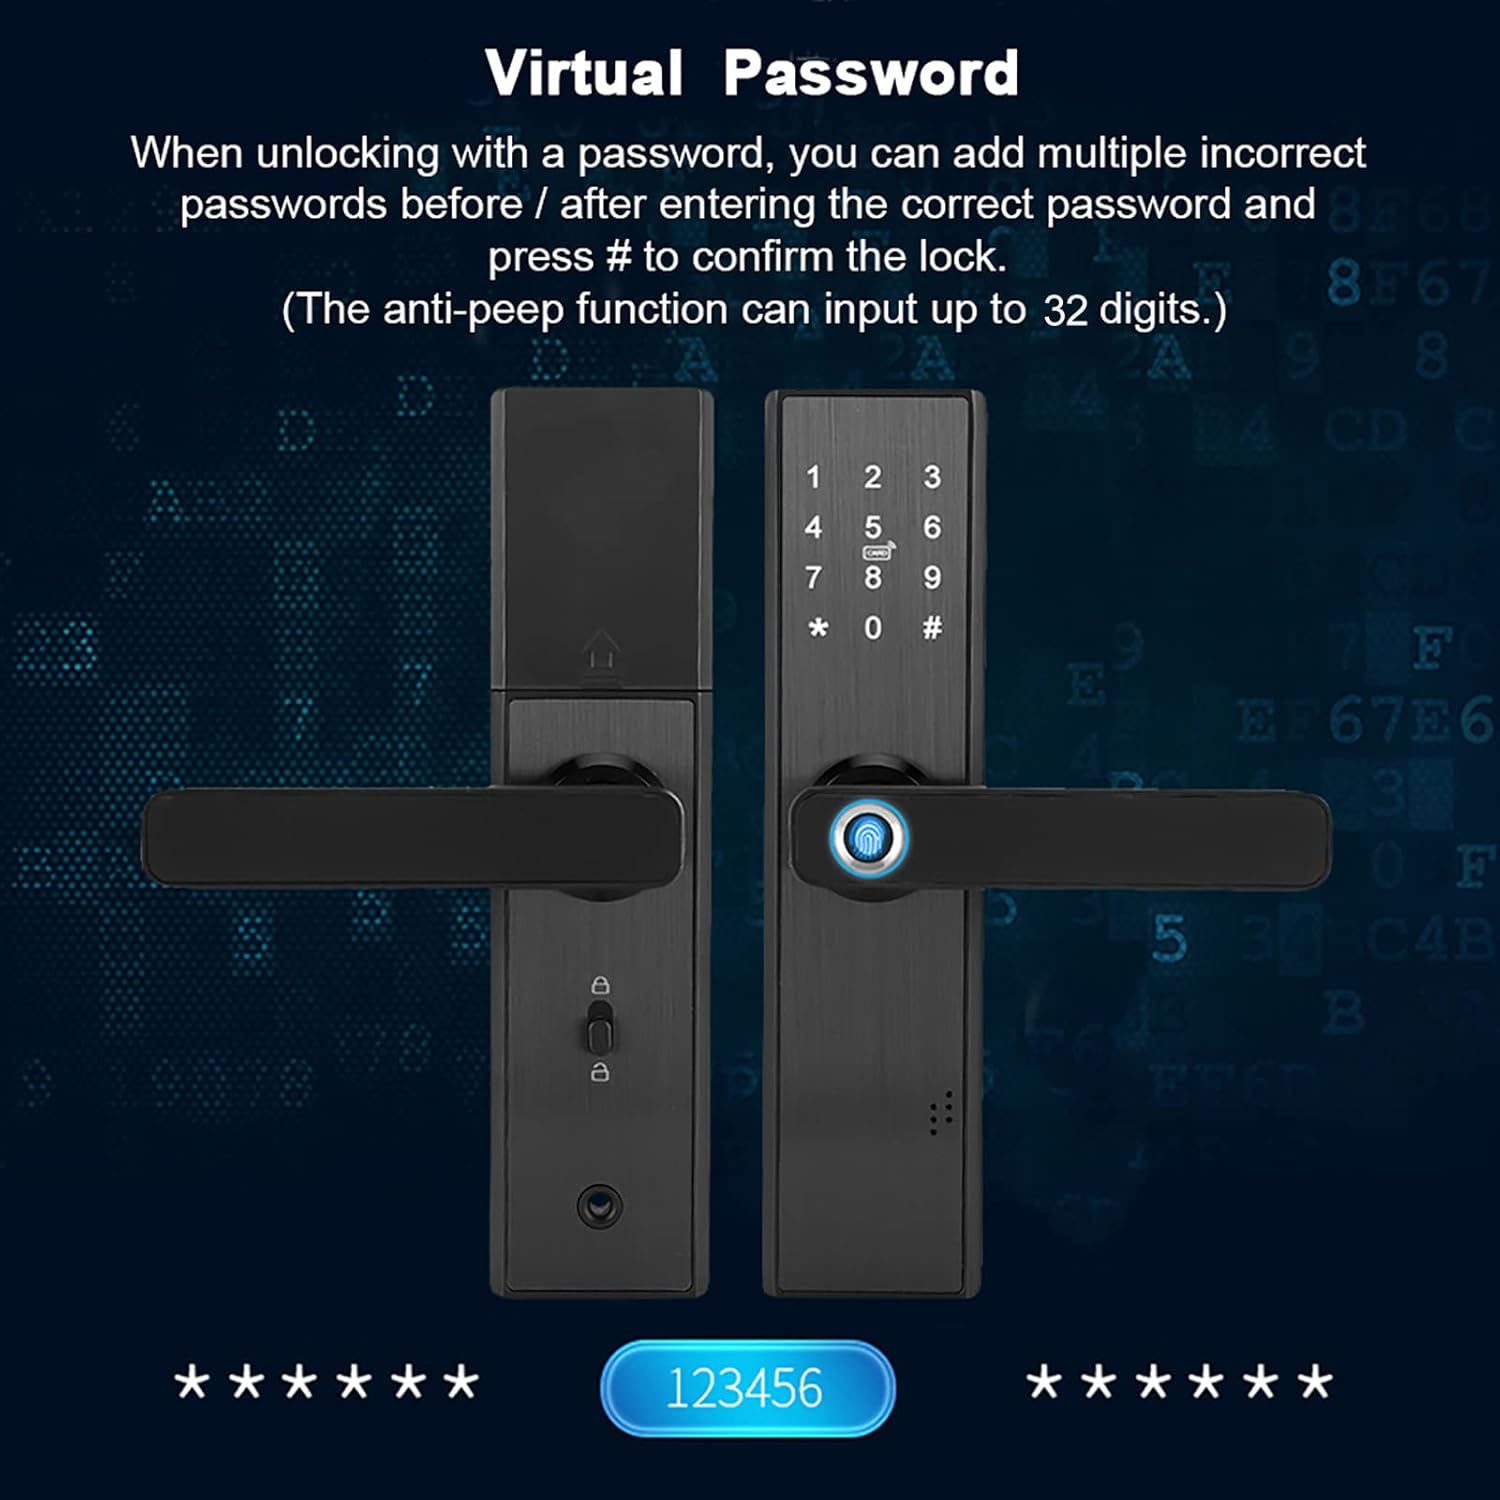
Image: Illustration of the virtual password feature for enhanced security.
5.3 User Management (via APP)
The Tuya Smart APP allows you to manage users, add/delete fingerprints, passwords, and IC cards. Refer to the APP's in-built guide for detailed steps on user management.
6. Maintenance
To ensure the longevity and optimal performance of your smart door lock, follow these maintenance guidelines:
- Cleaning: Wipe the lock surface with a soft, dry cloth. Avoid using abrasive cleaners, solvents, or harsh chemicals, as they can damage the finish and electronic components.
- Battery Replacement: Replace all four AAA batteries when the low voltage alarm sounds (at approximately 4.6 ± 0.2V). Do not mix old and new batteries or different types of batteries.
- Emergency Power: If batteries deplete completely, use a 5VDC USB power bank to temporarily power the lock via the emergency USB port for unlocking.
- Environmental Protection: The lock module is designed to be waterproof, dustproof, and moisture-proof. However, avoid direct exposure to extreme weather conditions or prolonged immersion in water.
- Mechanical Key: Keep the mechanical keys in a safe and accessible location outside the locked area for emergency access.

Image: Emergency keyhole and USB power port for maintenance and emergency access.

Image: Mechanical keys and IC access card for backup and alternative unlocking methods.
7. Troubleshooting
If you encounter issues with your smart door lock, refer to the following common problems and solutions:
| Problem | Possible Cause | Solution |
|---|---|---|
| Lock does not respond. | Dead batteries; loose cable connection. | Replace batteries; check cable connection between front and rear plates. Use emergency USB power. |
| Fingerprint not recognized. | Finger dirty/wet; unregistered fingerprint; sensor dirty. | Ensure finger is clean and dry; re-register fingerprint; clean sensor with a soft cloth. |
| Password not working. | Incorrect password; keypad malfunction. | Re-enter password carefully; try another unlocking method. |
| Cannot connect to APP. | Wi-Fi off; incorrect pairing mode; APP issue. | Ensure Wi-Fi is on; follow APP pairing instructions precisely; restart APP/phone. |
| Lock makes unusual noises. | Mechanical obstruction; internal component issue. | Check for any physical obstructions around the latch/bolt; contact customer support if issue persists. |
8. Warranty and Support
Specific warranty information for this product is not provided within this manual. Please refer to the product packaging, purchase receipt, or contact your retailer or the manufacturer, Qinlorgo, directly for warranty details and customer support.
For technical assistance or further inquiries, please reach out to Qinlorgo customer service through the contact information provided at the point of purchase or on the official Qinlorgo website.