
Introduction
This manual provides essential information for the safe and efficient operation, maintenance, and troubleshooting of your Strongway 2-Gallon 7.2V Li-Ion Never Pump Sprayer Kit, Model# 190756. Please read this manual thoroughly before initial use to ensure proper function and longevity of the product.
The Strongway 2-Gallon Never Pump Sprayer is designed for ease of use, delivering consistent pressure without manual pumping. It utilizes an internal 7.2V Lithium-ion battery to power an electric air compressor, making it suitable for various applications including weed prevention, pest control, fertilizing, and watering. The kit includes a 3-hour 120V AC charger and a 6-piece nozzle kit for versatile spraying needs.
Important Safety Information
WARNING: Failure to follow these safety instructions may result in serious injury or property damage.
- Always wear appropriate protective clothing and gloves when handling chemicals.
- Avoid contact with skin and eyes. In case of contact, rinse immediately with plenty of water and seek medical advice.
- Keep away from heat and open flames. Do not store or use near flammable materials.
- Do not use with incompatible chemicals. Refer to the chemical manufacturer's instructions for compatibility.
- Store in a cool, dry place away from children and pets.
- Always follow local regulations for chemical disposal.
- Never leave the sprayer unattended while in use.
- Always turn off the sprayer and disconnect the battery before cleaning or performing maintenance.
- Always follow the manufacturer's instructions for safe operation and maintenance.
- Ensure the pressure regulating switch maintains tank pressure between 14 PSI and 22 PSI.
Product Components
Your Strongway Sprayer Kit includes the following main components:
- 2-Gallon Tank (High Density Polyethylene - HDPE)
- 7.2V Lithium-ion Battery (integrated)
- Electric Air Compressor (integrated)
- Steel/Poly Wand
- Hose
- 6-Piece Nozzle Kit
- 120V AC Charger
- Pressure Regulating Switch


Setup
- Initial Charging: Before first use, fully charge the integrated 7.2V Lithium-ion battery. Connect the 120V AC charger to the charging port on the sprayer's top unit (refer to Figure 6). A full charge typically takes 3 hours. The indicator light on the charger will change when charging is complete.
- Assemble Wand and Hose: Connect the hose to the sprayer tank outlet and the wand handle. Ensure all connections are secure to prevent leaks.
- Attach Nozzle: Select the desired nozzle from the 6-piece kit (refer to Figure 4) and securely attach it to the end of the wand.
Operating Instructions
- Prepare Solution: Unscrew the top unit from the tank. Carefully pour your desired liquid solution into the 2-gallon tank. Do not overfill. Ensure the solution is compatible with the sprayer materials (HDPE, Stainless Steel).
- Secure Top Unit: Screw the top unit back onto the tank, ensuring it is tightly sealed to prevent leaks and maintain pressure.
- Activate Sprayer: Press the power button on the top unit to activate the electric air compressor. The compressor will automatically build pressure within the tank, maintaining it between 14 PSI and 22 PSI.
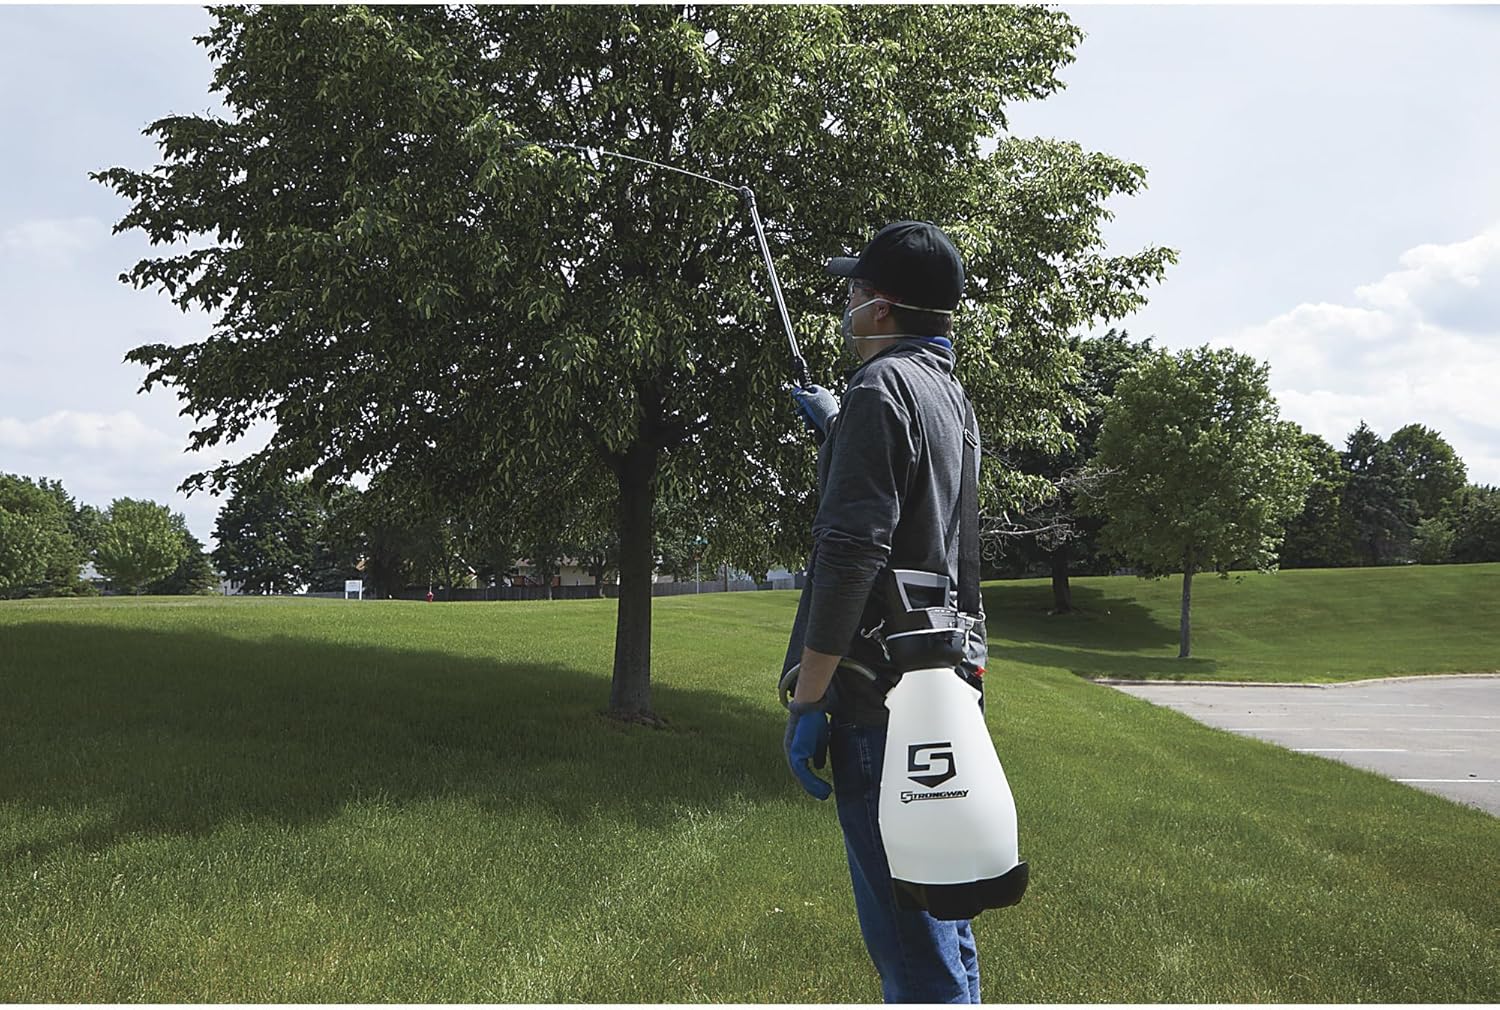
- Begin Spraying: Aim the wand at the target area. Squeeze the trigger on the wand handle to begin spraying. Release the trigger to stop spraying.
- Adjust Spray Pattern: Depending on the nozzle selected, you can adjust the spray pattern by twisting the nozzle head (if applicable) or by changing to a different nozzle from the kit.
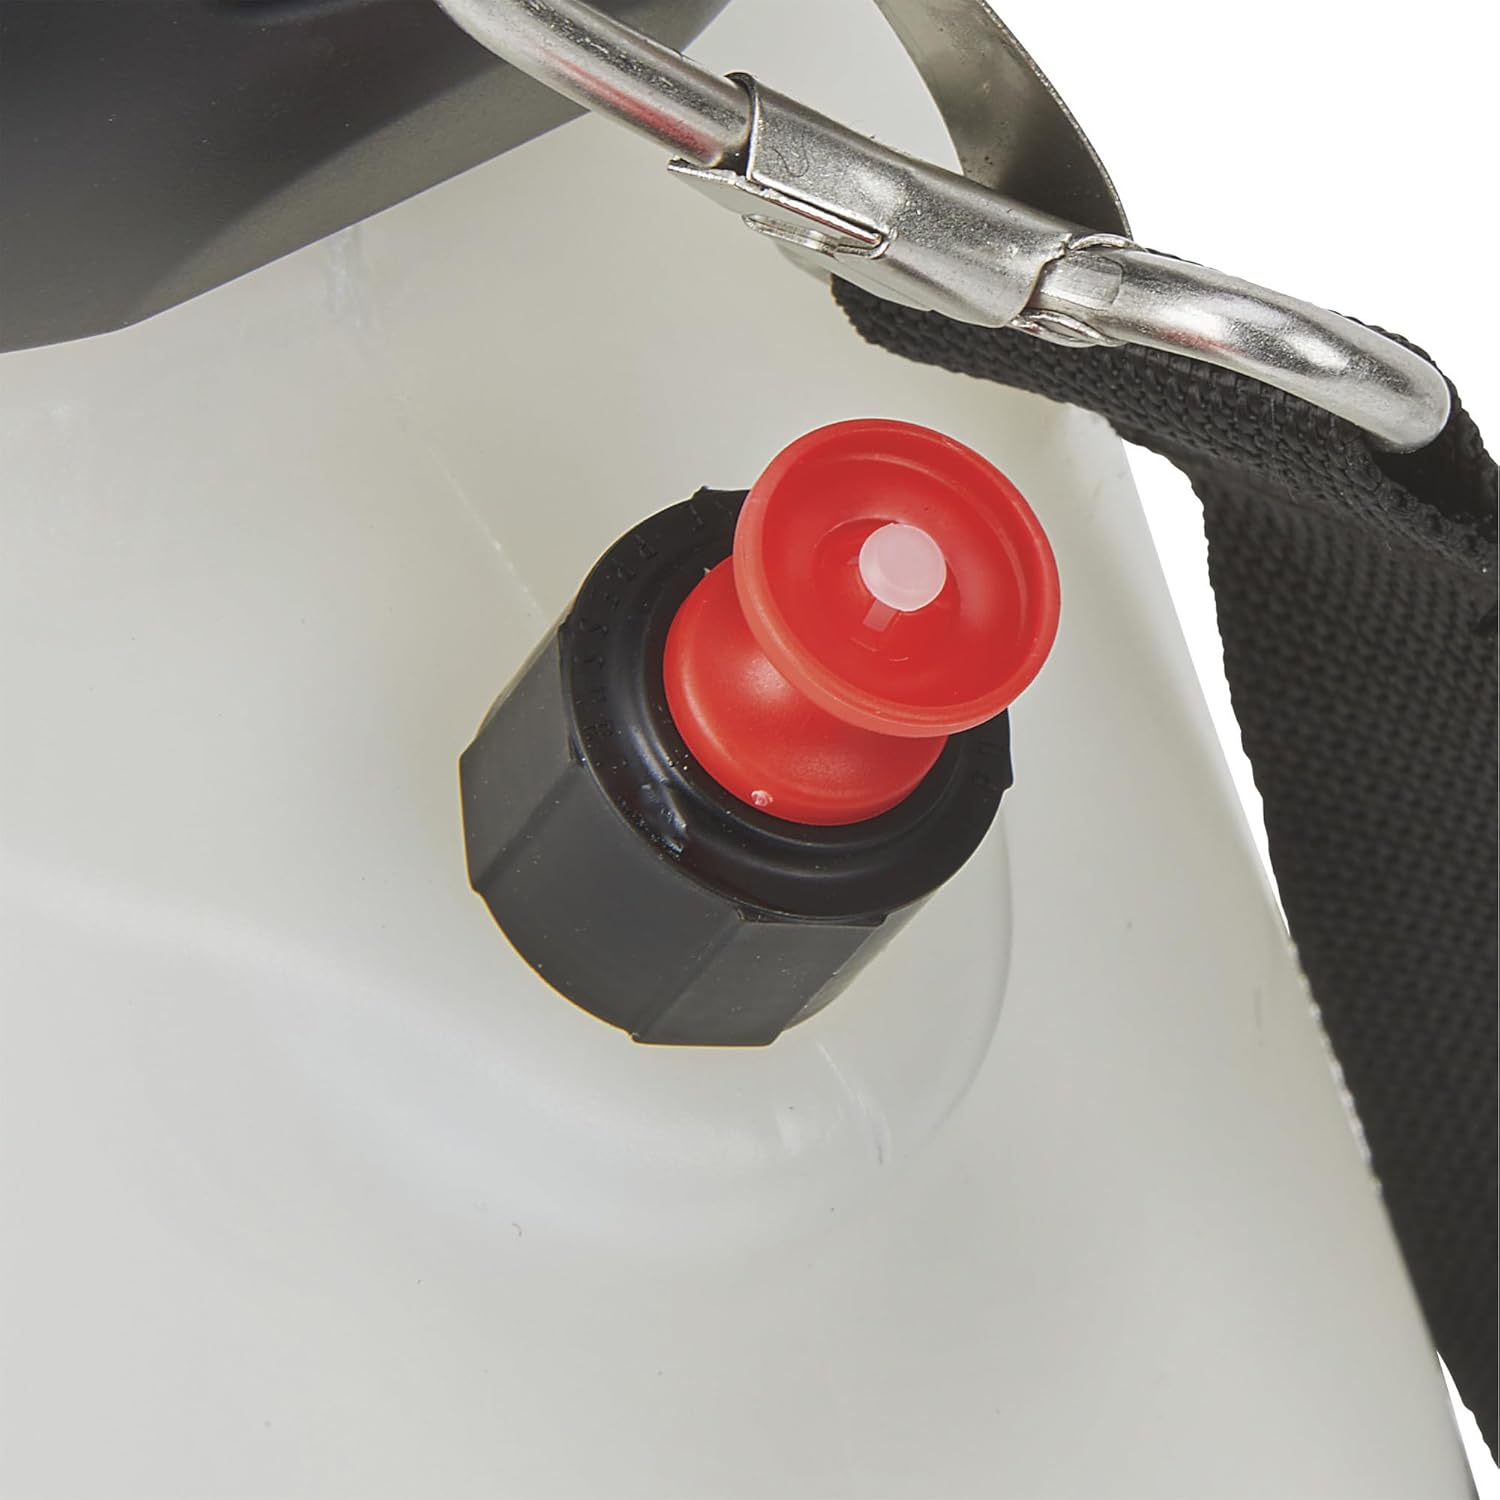
- Depressurize After Use: After completing your task, turn off the sprayer. Before opening the tank or storing, always release any remaining pressure by pulling the red pressure release valve (refer to Figure 7) until all air has escaped.

Maintenance
- Cleaning: After each use, especially when using chemicals, rinse the tank, hose, and wand thoroughly with clean water. Spray clean water through the nozzle to clear any residue.
- Battery Care: Recharge the battery after each use to maintain its capacity. Avoid completely draining the battery before recharging. If storing for extended periods, charge the battery every 3-6 months.
- Nozzle Maintenance: Periodically check nozzles for clogs. Clean them with a small brush or by rinsing under strong water pressure.
- Storage: Store the sprayer in a cool, dry place, away from direct sunlight and freezing temperatures. Ensure the tank is empty and depressurized before storage.
Troubleshooting
| Problem | Possible Cause | Solution |
|---|---|---|
| Sprayer not building pressure. | Battery low or dead; Top unit not sealed properly; Air leak in hose/wand connection. | Charge battery; Ensure top unit is tightly screwed on; Check and tighten all hose and wand connections. |
| No spray or weak spray. | Nozzle clogged; Tank empty; Insufficient pressure; Filter clogged. | Clean nozzle; Refill tank; Check pressure and recharge battery if needed; Clean tank filter. |
| Liquid leaking from connections. | Loose connections; Damaged O-rings/seals. | Tighten all connections; Inspect and replace O-rings/seals if damaged. |
| Compressor runs continuously. | Air leak in tank or connections; Pressure switch malfunction. | Check for leaks and tighten connections; If problem persists, contact customer support. |
Specifications
| Feature | Detail |
|---|---|
| Brand | Strongway |
| Model Number | 190756 |
| Tank Volume | 2 Gallons |
| Power Source | Battery Powered (7.2V Li-Ion) |
| Maximum Pressure | 22 PSI (Pound per Square Inch) |
| Material | High Density Polyethylene (HDPE), Stainless Steel |
| Item Weight | 6.5 Pounds |
| Included Components | 6-piece Nozzle Kit, Hose |
| UPC | 840321732415 |
Warranty and Support
For warranty information and customer support, please refer to the documentation included with your purchase or visit the official Strongway website. Keep your purchase receipt as proof of purchase for any warranty claims.
For technical assistance or replacement parts, please contact Strongway customer service. Contact details can typically be found on the product packaging or the brand's official website.
Note: This manual is intended as a guide. Specific warranty terms and support procedures may vary.
