
1. Introduction
The TERRAMASTER D2-320 is a 2-bay USB 3.2 Gen 2 (10Gbps) Type-C hard drive enclosure designed for high-speed data transfer and flexible storage solutions. It supports various RAID modes including RAID 0, RAID 1, Single Disk, and JBOD, allowing users to optimize for performance, data redundancy, or capacity. This manual provides essential information for setting up, operating, and maintaining your D2-320 enclosure.
2. Setup
2.1 Package Contents
- TERRAMASTER D2-320 Enclosure
- USB Type-C to Type-C Cable
- Power Adapter
- Accessory Kit (screws, screwdriver if needed)
- Quick Installation Guide
2.2 Installing Hard Drives
The D2-320 features a unique push-lock design for tool-free drive installation, making the process simple and quick.
- Gently press the release button or lever on the drive bay to unlock it.
- Slide out the empty drive tray.
- Insert your 3.5-inch or 2.5-inch SATA HDD/SSD into the tray. Ensure the connectors align correctly. For 2.5-inch drives, use the provided screws to secure them to the tray. For 3.5-inch drives, the tool-free mechanism should secure them.
- Slide the loaded drive tray back into the enclosure until it locks into place.
- Repeat for the second drive if applicable.

Image: Tool-free drive installation with a push-lock design.
2.3 Connecting to Your Computer
Connect the D2-320 to your computer using the provided USB Type-C cable. Ensure your computer has a USB 3.2 Gen 2 (10Gbps) compatible port for optimal performance. Connect the power adapter to the enclosure and plug it into a power outlet.

Image: Rear panel with USB 3.2 Type-C port and RAID mode selector.
2.4 RAID Mode Configuration
The D2-320 supports RAID 0, RAID 1, Single Disk, and JBOD modes. The RAID mode is configured via a switch on the rear panel of the device. Always configure the RAID mode BEFORE initializing or formatting your drives. Changing the RAID mode after data has been written will result in data loss.
- Single Disk: Each drive operates independently.
- JBOD (Just a Bunch Of Disks): Drives are combined into a single large volume, but data is written sequentially. No redundancy.
- RAID 0 (Striping): Data is split across both drives for maximum performance. No redundancy; failure of one drive results in total data loss.
- RAID 1 (Mirroring): Data is duplicated across both drives for redundancy. Provides data protection; capacity is limited to the size of one drive.
After selecting the desired RAID mode, power on the device. Your operating system will detect the new storage. You may need to initialize and format the drives through your operating system's disk management utility.

Image: Visual representation of supported RAID modes.
3. Operating Instructions
3.1 Data Transfer
The D2-320 utilizes a USB 3.2 Gen 2 interface, offering data transfer speeds up to 10Gbps. With two SATA III HDDs (8TB x 2) in RAID 0, read/write speeds can reach up to 521MB/s. With two SATA III SSDs (1TB x 2) in RAID 0, read speeds can reach up to 1075MB/s. Actual speeds may vary based on your system configuration, drive type, and data being transferred.

Image: High-speed data transfer demonstration.
3.2 NAS Storage Expansion
The D2-320 can be connected to a TerraMaster NAS device to expand its storage space, providing additional capacity for your network-attached storage system.

Image: D2-320 used to expand NAS storage.
4. Maintenance
4.1 Intelligent Disk Sleep
The D2-320 supports intelligent disk sleep functionality. When the connected computer's operating system enters sleep mode or when there is no disk activity for a certain period, the drives within the enclosure will spin down to save power and extend drive lifespan.
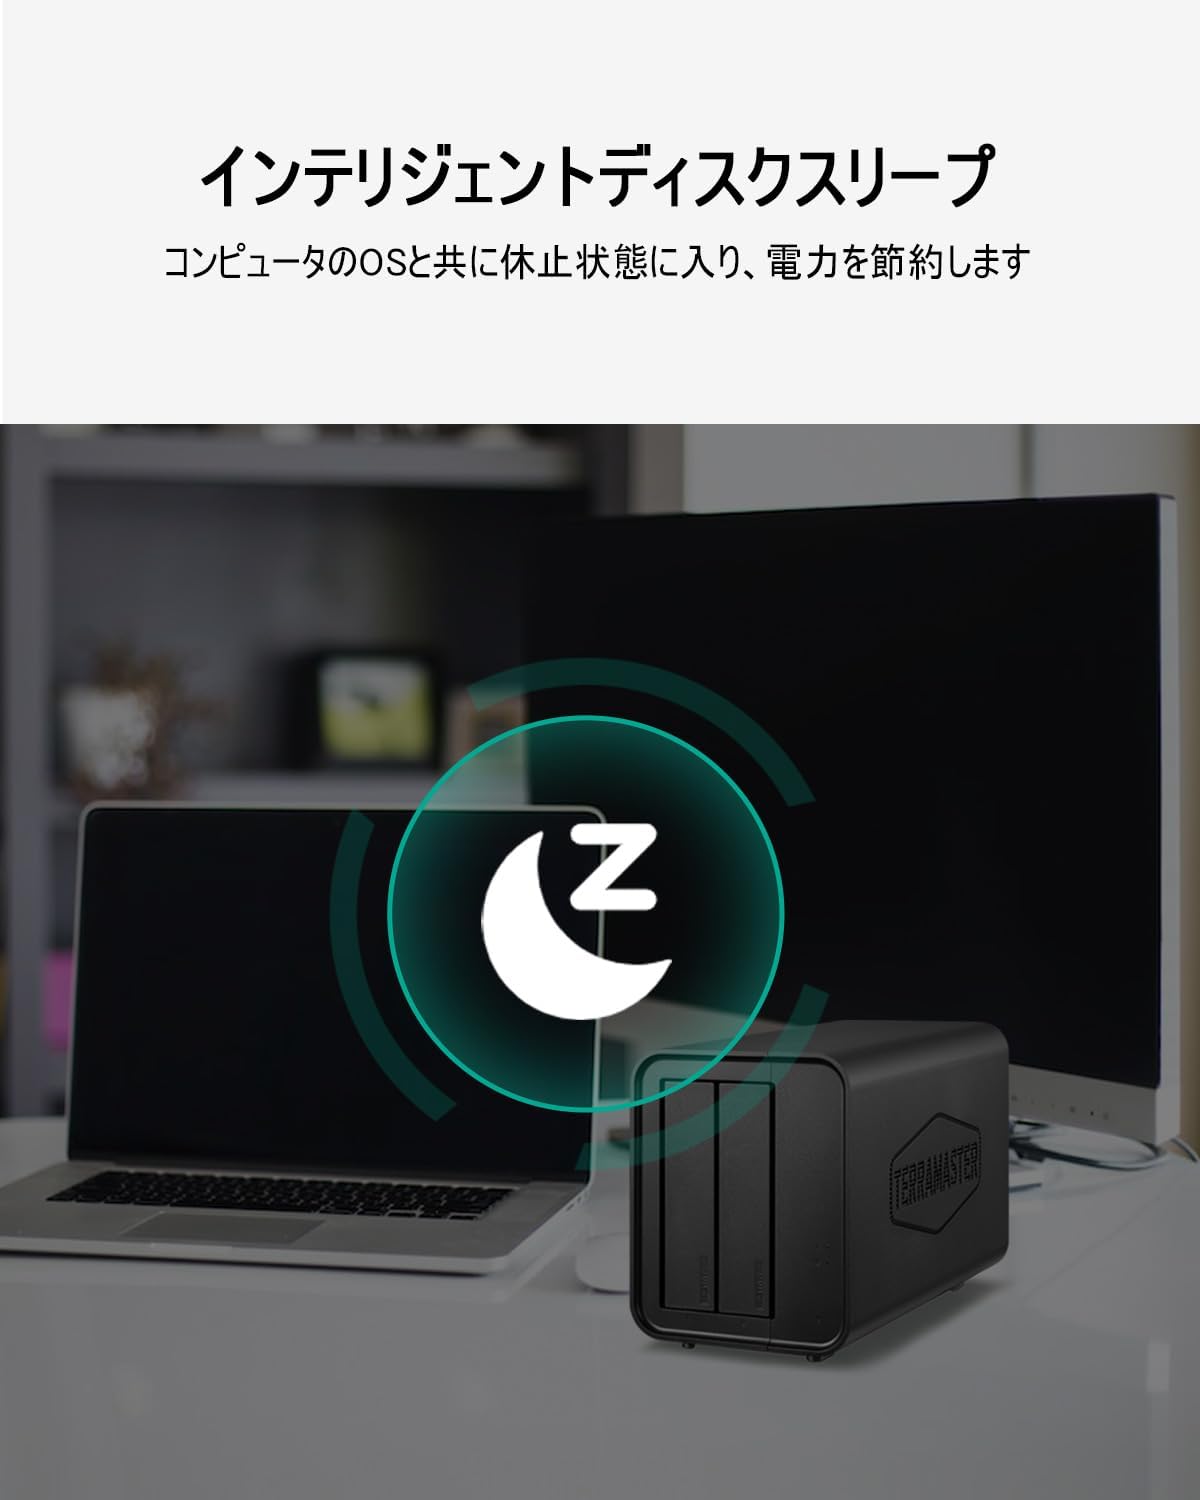
Image: Intelligent disk sleep feature in action.
4.2 Drive Compatibility
The D2-320 is compatible with various types of 3.5-inch and 2.5-inch SATA hard drives and solid-state drives. Each bay supports up to 22TB, allowing for a total capacity of up to 44TB in RAID 0 mode.

Image: Compatibility with various hard drive types.
5. Troubleshooting
5.1 Connection Issues Under High Load
If you experience connection interruptions during high data transfer loads, consider the following:
- Ensure you are using the provided high-quality USB Type-C cable.
- Connect the enclosure directly to a USB 3.2 Gen 2 port on your computer, avoiding USB hubs if possible.
- Verify that your computer's USB drivers are up to date.
- Check the power supply connection to ensure it is secure and providing stable power.
5.2 Hot-Swap Behavior on Windows
On Windows operating systems, hot-swapping drives (inserting a new drive after safely removing another without powering down the enclosure) may not always result in immediate recognition of the new drive. If a new drive is not detected after insertion:
- Perform a 'Safely Remove Hardware and Eject Media' for the entire enclosure.
- Power off the D2-320.
- Insert the new drive into the desired bay.
- Power on the D2-320. The new drive should now be detected and available for initialization/formatting.
5.3 Drive Not Detected
If a drive is not detected by your system:
- Ensure the drive is properly seated in its tray and the tray is fully inserted into the enclosure.
- Verify the power and USB cables are securely connected.
- Check the drive's health by connecting it directly to a computer if possible.
- Confirm the RAID mode switch is set correctly and has been applied (power cycle if changed).
6. Specifications
| Feature | Specification |
|---|---|
| Brand | TERRAMASTER |
| Model | D2-320 |
| Color | Black |
| Product Dimensions (L x W x H) | 11.9 cm x 15.4 cm x 22.2 cm (4.69 x 6.06 x 8.74 inches) |
| Product Weight | 1.3 kg |
| Maximum Storage Capacity | 44 TB (2 x 22TB drives) |
| Compatible Devices | Notebooks, Personal Computers |
| Number of Supported Devices | 2 (drives) |
| Data Transfer Speed | 10 Gigabits per second (USB 3.2 Gen 2) |
| Communication Interface | USB Type-C |
| RAID Support | RAID 0, RAID 1, Single, JBOD |

Image: Product dimensions of the D2-320 enclosure.
7. Warranty
The TERRAMASTER D2-320 comes with a 2-year limited warranty from the date of purchase. Please retain your proof of purchase for warranty claims. The warranty covers manufacturing defects and malfunctions under normal use. It does not cover damage caused by misuse, accidents, unauthorized modifications, or natural disasters.
8. Support
For technical assistance, driver downloads, firmware updates, or further information, please visit the official TERRAMASTER support website. You can typically find FAQs, user forums, and contact information for customer service there.
Official Website: www.terramaster.com


