1. Introduction
This manual provides detailed instructions for the installation, operation, and maintenance of your SIGMA KSF5035 Electronic Safe. Please read this manual thoroughly before using the safe to ensure proper function and security. Keep this manual for future reference.
2. Safety Information
- Do not store the emergency keys inside the safe. Keep them in a secure location outside the safe.
- Ensure the safe is securely mounted to prevent unauthorized removal.
- Replace batteries promptly when the low battery warning is indicated.
- Avoid exposing the safe to extreme temperatures or humidity.
- Do not attempt to open the safe by force. This may damage the locking mechanism and void the warranty.
3. Package Contents
Please check that all items are present in the package:
- SIGMA KSF5035 Electronic Safe
- Emergency Keys (2 pcs)
- Mounting Bolts (for wall mounting)
- User Manual (this document)
4. Product Overview
The SIGMA KSF5035 is an electronic safe designed for securing valuable items. It features a robust construction and an electronic locking mechanism with a programmable code.
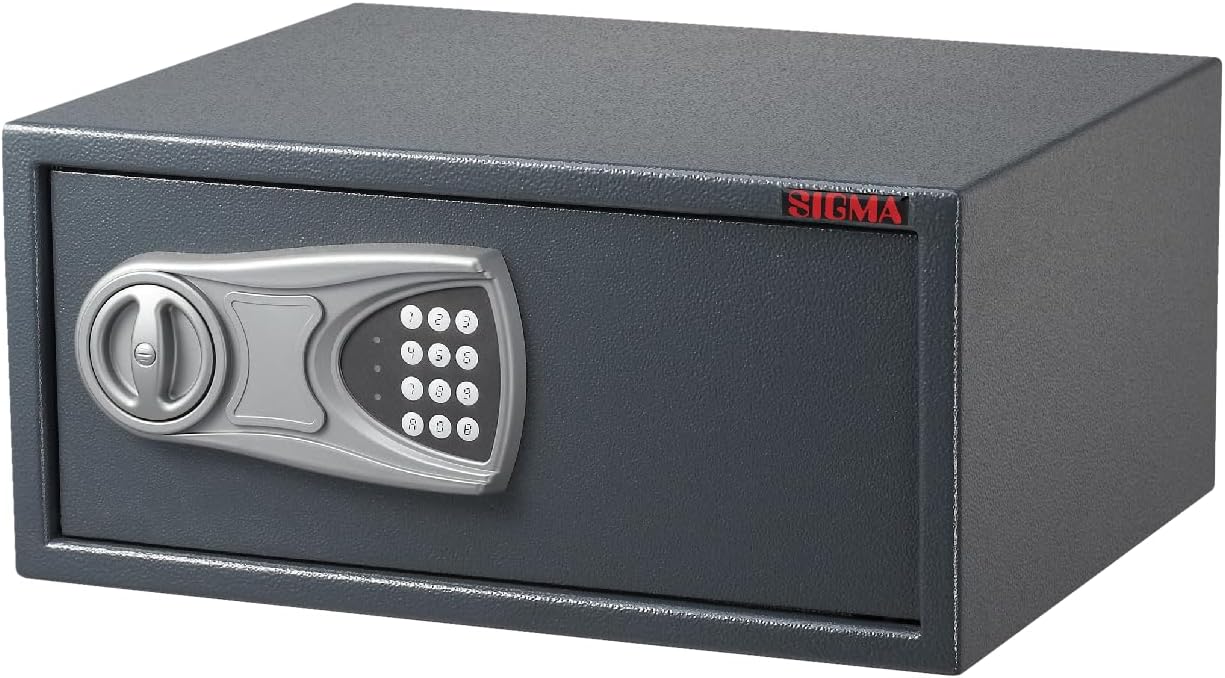
Figure 1: Front view of the SIGMA KSF5035 Electronic Safe, showing the electronic keypad, rotary handle, and the SIGMA brand logo.

Figure 2: Interior view of the SIGMA KSF5035 Electronic Safe with the door open, revealing the spacious compartment and the battery compartment on the inside of the door.
Key Features:
- Electronic Lock: Secure electronic locking mechanism with programmable code (3 to 8 digits).
- Emergency Access: Includes 2 emergency keys for manual override.
- Robust Construction: Door thickness of 4 mm and structural thickness of 2 mm for enhanced security.
- Tamper Protection: Designed with features to deter tampering.
- Low Battery Warning: Alerts when battery power is low, indicating it's time for replacement.
- Mounting Capability: Pre-drilled holes and included mounting bolts for secure wall installation.
- Durable Finish: Powder-coated surface, both inside and out, in an elegant grey color.
5. Setup
5.1. Battery Installation
- Open the safe door using one of the emergency keys. Insert the key into the keyhole, turn it clockwise, and then turn the handle to open the door.
- Locate the battery compartment on the inside of the safe door.
- Insert 4 AA batteries (not included) into the compartment, ensuring correct polarity (+/-).
- Close the battery compartment cover.
- Test the electronic lock by entering a default code (if any, or proceed to set your own code).
5.2. Mounting the Safe
For optimal security, it is highly recommended to mount the safe to a wall or floor using the provided mounting bolts.
- Choose a suitable location for mounting, suchs as a solid wall or floor.
- Open the safe door and locate the pre-drilled holes on the back or bottom of the safe.
- Mark the drilling points on the wall/floor through the pre-drilled holes.
- Drill holes at the marked points using an appropriate drill bit.
- Align the safe with the drilled holes and insert the mounting bolts.
- Tighten the bolts securely to fix the safe in place.
6. Operating Instructions
6.1. Setting Your Personal Code
You can program a personal code of 3 to 8 digits.
- With the safe door open, press the red reset button located on the inside of the door, near the battery compartment. You will hear a beep, and the yellow indicator light on the keypad will illuminate.
- Within 5 seconds, enter your desired 3 to 8 digit code on the keypad.
- Press the "E" or "#" button to confirm your new code. You will hear a confirmation beep, and the yellow light will turn off.
- Test the new code with the door open before closing it. If successful, the green light will illuminate.
6.2. Opening the Safe with Your Code
- Enter your 3 to 8 digit personal code on the keypad.
- Press the "E" or "#" button. The green indicator light will illuminate, and you will hear a beep.
- Within 5 seconds, turn the handle clockwise to open the safe door.
6.3. Opening the Safe with Emergency Key
In case of forgotten code or dead batteries, you can use the emergency key.
- Locate the emergency keyhole, usually hidden behind a small cover on the keypad panel.
- Remove the cover and insert one of the emergency keys.
- Turn the key clockwise and simultaneously turn the handle to open the safe door.
- Once open, you can replace the batteries or reset the code.
6.4. Closing and Locking the Safe
Close the safe door and turn the handle counter-clockwise until it is fully locked. The safe will automatically lock.
7. Maintenance
7.1. Battery Replacement
When the low battery warning is activated (usually indicated by a red light or specific beeps), replace all four AA batteries immediately to ensure continuous operation.
- Open the safe using your code or the emergency key.
- Locate the battery compartment on the inside of the door.
- Remove the old batteries and dispose of them responsibly.
- Insert four new AA batteries, observing correct polarity.
- Close the battery compartment cover.
7.2. Cleaning
Wipe the safe's exterior with a soft, damp cloth. Do not use abrasive cleaners or solvents, as they may damage the finish.
8. Troubleshooting
| Problem | Possible Cause | Solution |
|---|---|---|
| Safe does not open with code. | Incorrect code entered. Batteries are low or dead. Code not set correctly. | Re-enter the code carefully. Replace batteries. Reset the code following section 6.1. Use emergency key to open if necessary. |
| Keypad does not respond. | Batteries are completely dead. | Use the emergency key to open the safe and replace the batteries. |
| Low battery warning light is on. | Batteries are running low. | Replace all batteries immediately (see section 7.1). |
| Safe door cannot be closed. | Obstruction in the door frame. Locking bolts are extended. | Check for any items blocking the door. Ensure the handle is in the open position before closing the door. |
9. Specifications
| Model Number | KSF5035 |
| Brand | SIGMA |
| Dimensions (Width x Depth x Height) | 50 cm x 35 cm x 20 cm |
| Weight | 12.2 kg |
| Material | Alloy Steel |
| Door Thickness | 4 mm |
| Structure Thickness | 2 mm |
| Lock Type | Electronic with Keypad |
| Code Length | 3 to 8 digits |
| Power Source | 4 x AA Batteries (not included) |
| Color | Grey |
| Mounting Type | Wall Mount |
| Alarm | Acoustic (Low Battery/Tamper) |
10. Warranty and Support
For warranty information and customer support, please refer to the documentation provided at the time of purchase or contact your retailer. You may also visit the official SIGMA website for further assistance.


