
PEMENOL GY21191
PEMENOL 60W Voice Playback Module (GY21191) User Manual
Model: GY21191 | Brand: PEMENOL
1. Introduction
This manual provides comprehensive instructions for the PEMENOL 60W Voice Playback Module, Model GY21191. This device supports TF cards up to 32GB, operates on DC 9-24V, and features sound and light alarm capabilities. It is designed for various audio applications requiring high-power sound output and versatile playback options.
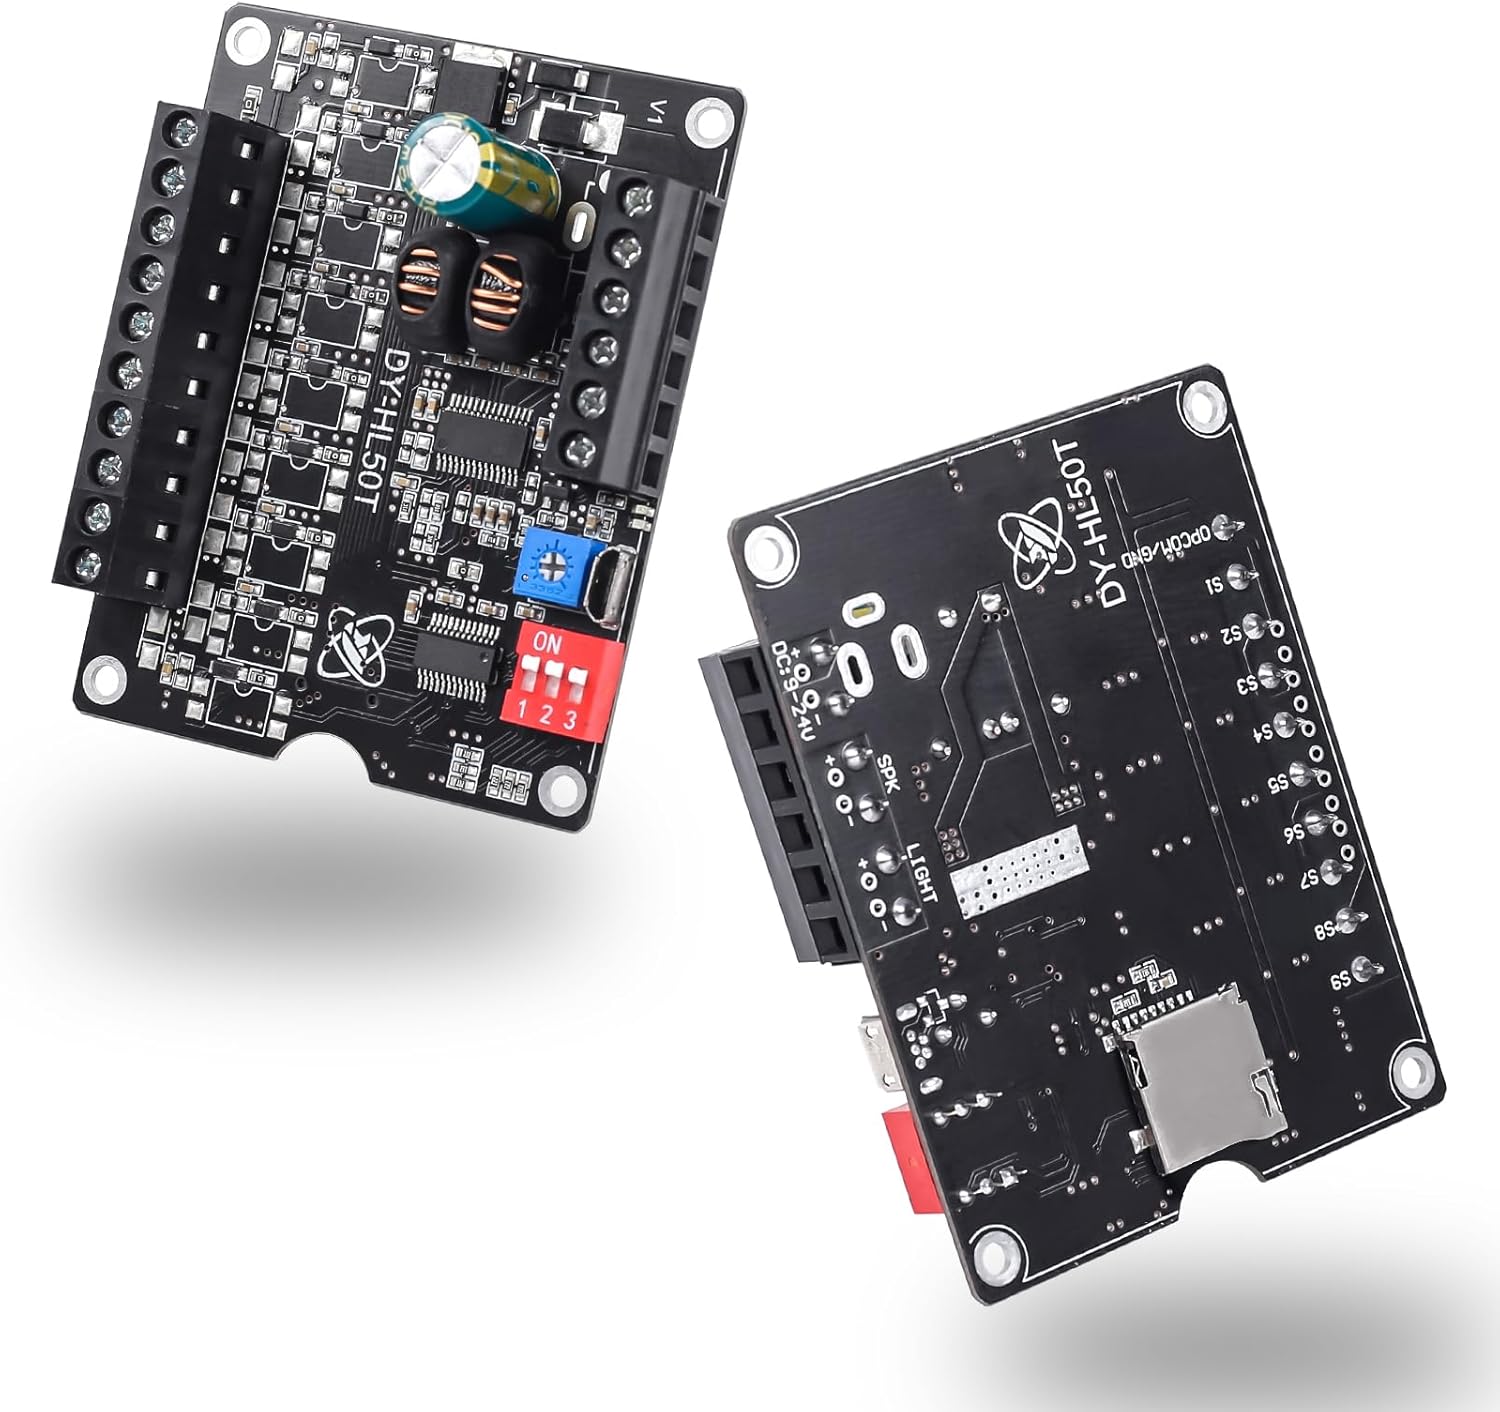
Figure 1: Front and back view of the PEMENOL 60W Voice Playback Module.

Figure 2: Example application of the PEMENOL Voice Playback Module in a toy piano.
2. Product Overview
The PEMENOL 60W Voice Playback Module is a compact and powerful audio solution. Key features include:
- TF Card Support: Expandable storage up to 32GB for audio files.
- 60W High Power Output: Provides robust sound output for various applications.
- Optimized Audio Quality: Dual built-in inductors contribute to reduced noise interference.
- Versatile Playback Options: Nine control ports enable a wide range of playback methods.
- Customizable Volume: Features a potentiometer for fine-tuning volume and setting an upper limit.
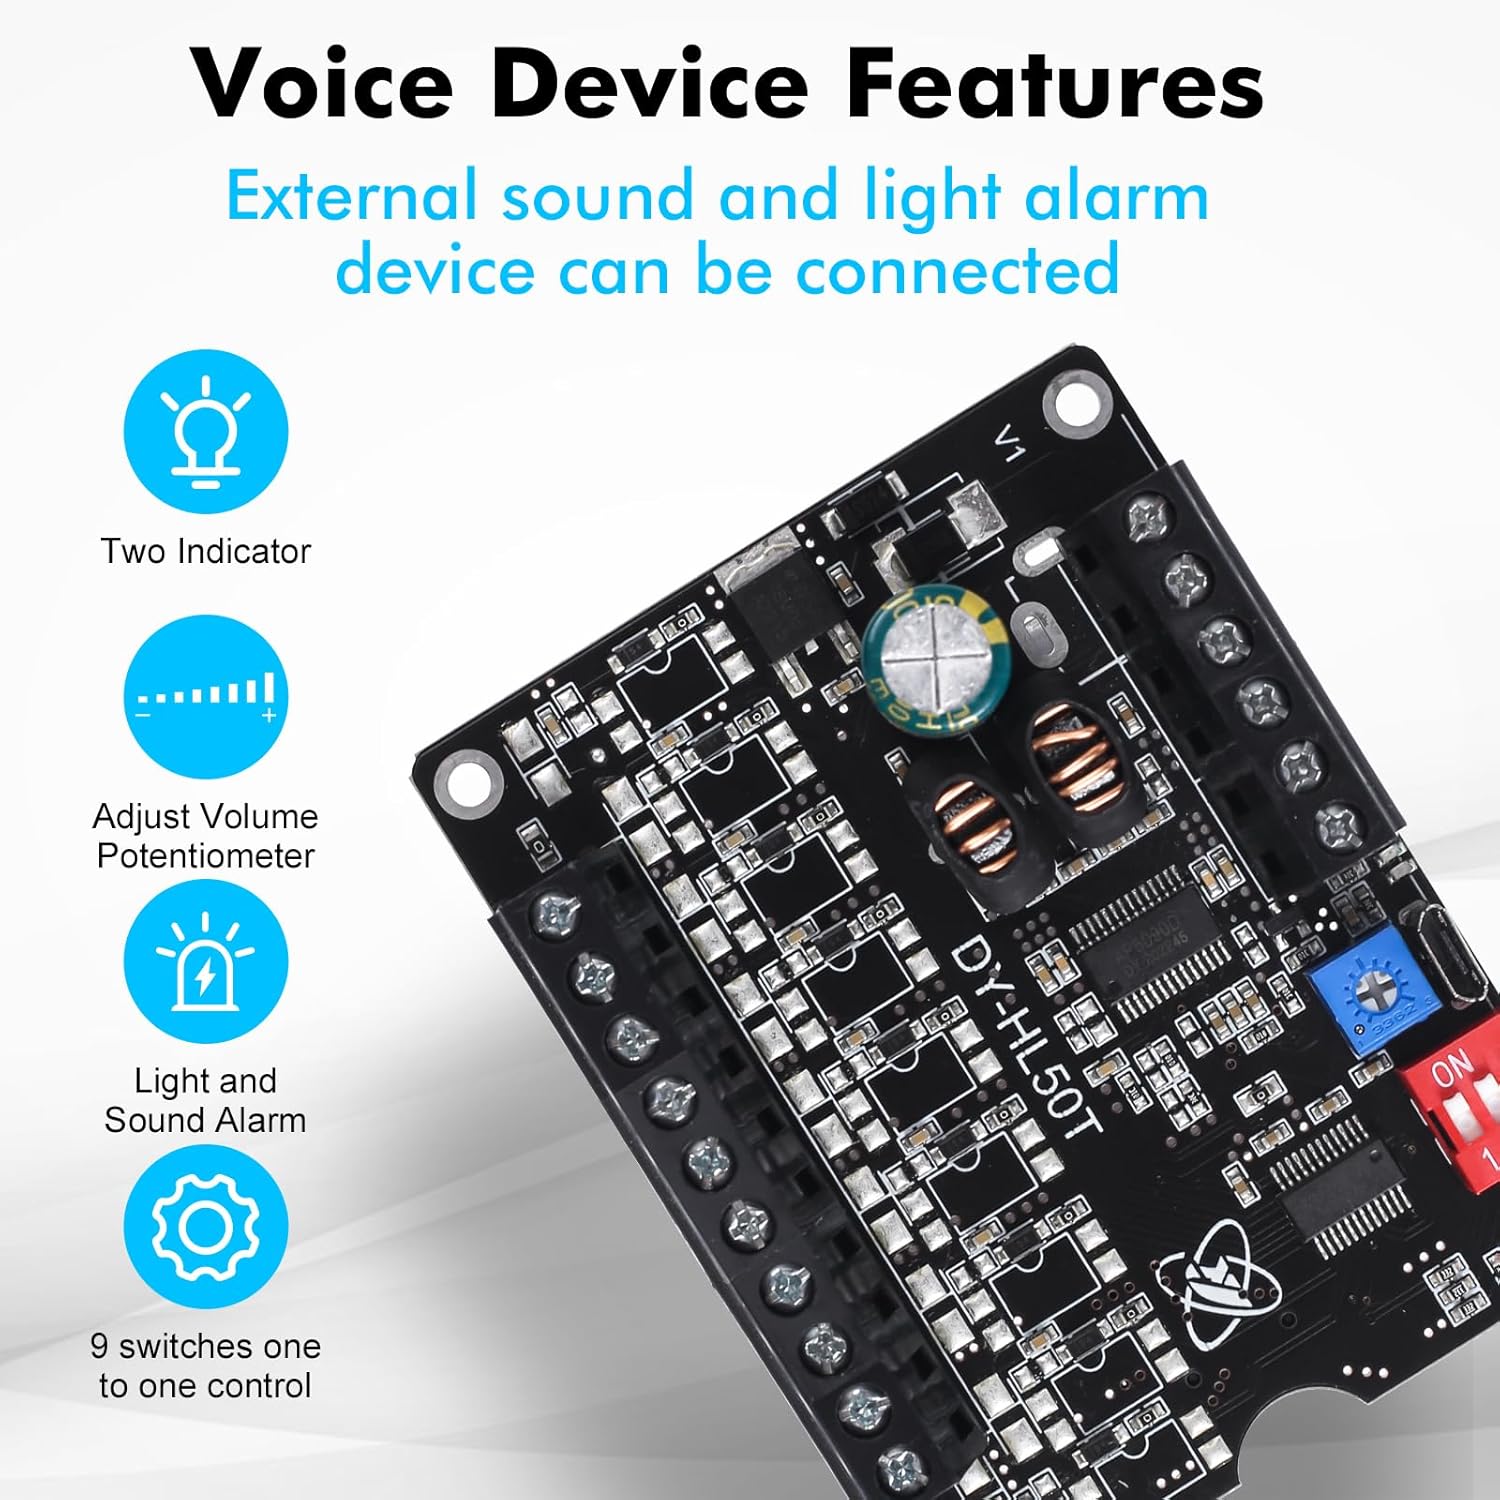
Figure 3: Key features of the Voice Playback Module.

Figure 4: The 60W Voice Playback Board with TF Card and USB Port indications.
3. Specifications
| Feature | Detail |
|---|---|
| Model Number | GY21191 |
| Product Dimensions | 2.76 x 1.57 x 0.79 inches |
| Item Weight | 1.94 ounces |
| Power Input | DC 9-24V |
| Speaker Output | Below 60W, 4-8Ω |
| TF Card Support | Up to 32GB Max |
| Control Ports | 9 (S1-S9) |
| USB Interface | Micro USB for data transfer (requires data cable) |

Figure 5: Physical dimensions of the module.
4. Setup
4.1 Wiring Connections
Refer to the diagram below for proper wiring of power, speaker, and control ports.

Figure 6: Detailed wiring diagram for the module.
- Power Input: Connect DC 9-24V to the V+ and V- terminals.
- Speaker Output: Connect a 4-8Ω speaker (below 60W) to the SPK terminals.
- Control Ports (S1-S9): These ports are used to trigger different audio files or functions. Connect to GND to activate.
- Light/Alarm Output: Provides voltage for external light or alarm.
- Indicators: Red LED for playing status, Green LED for power.
Video 1: Demonstration of wiring connections for the Sound Playback Board.
Video 2: Visual guide on connecting the Voice Playback Module.
4.2 Audio File Transfer (TF Card)
The module supports audio playback from a TF card (up to 32GB). Follow these steps to transfer audio files:
- Insert a formatted TF card into the module's TF card slot.
- Connect the module to your computer using a data-enabled Micro USB cable. The module will appear as a removable disk.
- Ensure the TF card is formatted to FAT32. NTFS is not supported.
- Rename your audio files to a five-digit numerical format (e.g., 00001.mp3, 00002.mp3).
- Copy the renamed audio files directly to the root directory of the removable disk.
- Safely eject the removable disk from your computer before disconnecting the USB cable.

Figure 7: Two types of audio input: TF Card and USB Interface.

Figure 8: Steps for replacing audio files on the TF card.
Video 3: Guide on transferring audio files to a recordable sound module.
Video 4: Instructions for managing MP3 music sound chips.
Video 5: Tutorial on using an MP3 sound player module.
5. Operating Instructions
5.1 Volume Adjustment
The module features a potentiometer for volume control. Use a small screwdriver to rotate the potentiometer to adjust the output volume. Rotating clockwise increases volume, and counter-clockwise decreases it.
Video 6: Tutorial for adjusting the volume of the recording.
5.2 Playback Modes (Dip Switch Settings)
The module offers various playback modes configured using the 3-position dip switch. The functionality of the 9 control ports (S1-S9) changes based on these settings.
| Toggle Switch Position (123) | Work Mode | Function Description | Applicable Scenarios |
|---|---|---|---|
| ON DP ON | Level Trigger Non-interruptible | 1. Input trigger signal and start to playing. 2. Stop after playing once. 3. Input trigger signal again is invalid during playing. 4. Loop playback if keep input signal. | 1. It cannot be interrupted by other signals during playing. 2. Only the first triggered signal can be played when multiple signals are triggered simultaneously. |
| ON DP OFF | Level Trigger Interruptible | 1. Input trigger signal and start to playing. 2. Stop after playing once. 3. Replay music after input trigger signal again during playing. 4. Loop playback if keep input signal. | 1. Immediately replay the music as soon as receive the signal. 2. Only the last triggered signal can be played when multiple signals are triggered simultaneously. |
| OFF DP ON | Pulse Trigger Non-interruptible | 1. Input trigger signal and start to playing. 2. Stop after playing once. 3. Input trigger signal again is invalid during playing. 4. Just playing once even if keep input signal. | 1. Play music in the order of triggering when multiple signals are triggered simultaneously. |
| OFF DP OFF | Pulse Trigger Interruptible | 1. Input trigger signal and start to playing. 2. Stop after playing once. 3. Replay music after input trigger signal again during playing. 4. Just playing once even if keep input signal. | 1. Immediately replay the music as soon as receive the signal. 2. Only the last triggered signal can be played when multiple signals are triggered simultaneously. |
| ON ON ON | Level Keep Trigger | 1. Play when keep input signal. 2. Stop immediately if remove input signal. 3. Input others trigger signal again is invalid during playing. | 1. Signal hold trigger. |
| ON ON OFF | Play or Pause Trigger | 1. Input trigger signal and start to playing and keep loop playback. 2. Input trigger signal again to stop. 3. Restart playback after the input trigger signal again during stopping. | 1. Self locking playback. |
| OFF ON ON | Inter-Cut Trigger | 1. It just play in folder CHABO in root directory. 2. S1-S9 can trigger play music in folder CHABO after input trigger signal. 3. Play background music after power ON. 4. Input trigger signal again is invalid during playing. | 1. The background music's name cannot be 00001.mp3 to 00009.mp3. 2. Replay background music after inter-cut music. 3. S1-S9 just can trigger play music 00001.mp3 to 00009.mp3 in folder CHABO. |
| OFF ON OFF | MP3 Mode 1 | S1 : Connect to GND S2 : Next Music S3 : Prev Music S4 : VOL+ S5 : VOL- | 1. Input trigger signal and start to playing. 2. Stop after playing once. 3. Play in order of music files. 4. Note: potentiometer is used to adjust the upper limit of the maximum volume at this time. |
| ON OFF ON | MP3 Mode 2 | S1 : NC S2 : Next Music S3 : Prev Music S4 : VOL+ S5 : VOL- | 1. Automatically loop all music inside the folder after power ON. 2. Note: potentiometer is used to adjust the upper limit of the maximum volume at this time. |
Figure 9: Playback modes and their corresponding dip switch settings.
6. Maintenance
- Keep the module in a dry environment to prevent moisture damage.
- Avoid exposing the module to extreme temperatures.
- Clean the module with a soft, dry cloth. Do not use liquid cleaners.
- Ensure all connections are secure and free from corrosion.
7. Troubleshooting
- No Sound Output:
- Check power supply connections (DC 9-24V).
- Verify speaker connections and ensure the speaker impedance is 4-8Ω and power is below 60W.
- Confirm audio files are correctly named (e.g., 00001.mp3) and stored in the root directory of a FAT32 formatted TF card.
- Adjust the volume potentiometer.
- Module Not Recognized by Computer:
- Ensure you are using a data-enabled Micro USB cable, not just a charging cable.
- Try a different USB port or computer.
- Verify the TF card is properly inserted.
- Incorrect Playback Mode:
- Review the "Playback Modes" section and adjust the dip switches accordingly.
- Sound Distortion:
- Check the power supply for stability.
- Ensure the speaker is not overdriven (adjust volume).
- Verify audio file quality.
8. Warranty and Support
For warranty information and technical support, please refer to the official PEMENOL website or contact your retailer. Keep your purchase receipt for warranty claims.
Manufacturer: PEMENOL
Related documentsGY21191


Ask a question about this manual
Ask about setup, troubleshooting, compatibility, parts, safety, or missing instructions. Manuals+ will review the question and use this page’s manual context to help answer it.