
A-Tech ASJ270
A-Tech 16GB DDR4 SODIMM Memory Module User Manual
Model: ASJ270
Brand: A-Tech
Introduction
This manual provides essential information for the installation and use of your A-Tech 16GB DDR4 2400MHz PC4-19200 SODIMM Non-ECC Memory Upgrade module. This memory module is designed to enhance the performance of compatible laptops and all-in-one systems by expanding their memory (RAM) capacity, allowing for smoother multitasking and improved system responsiveness.
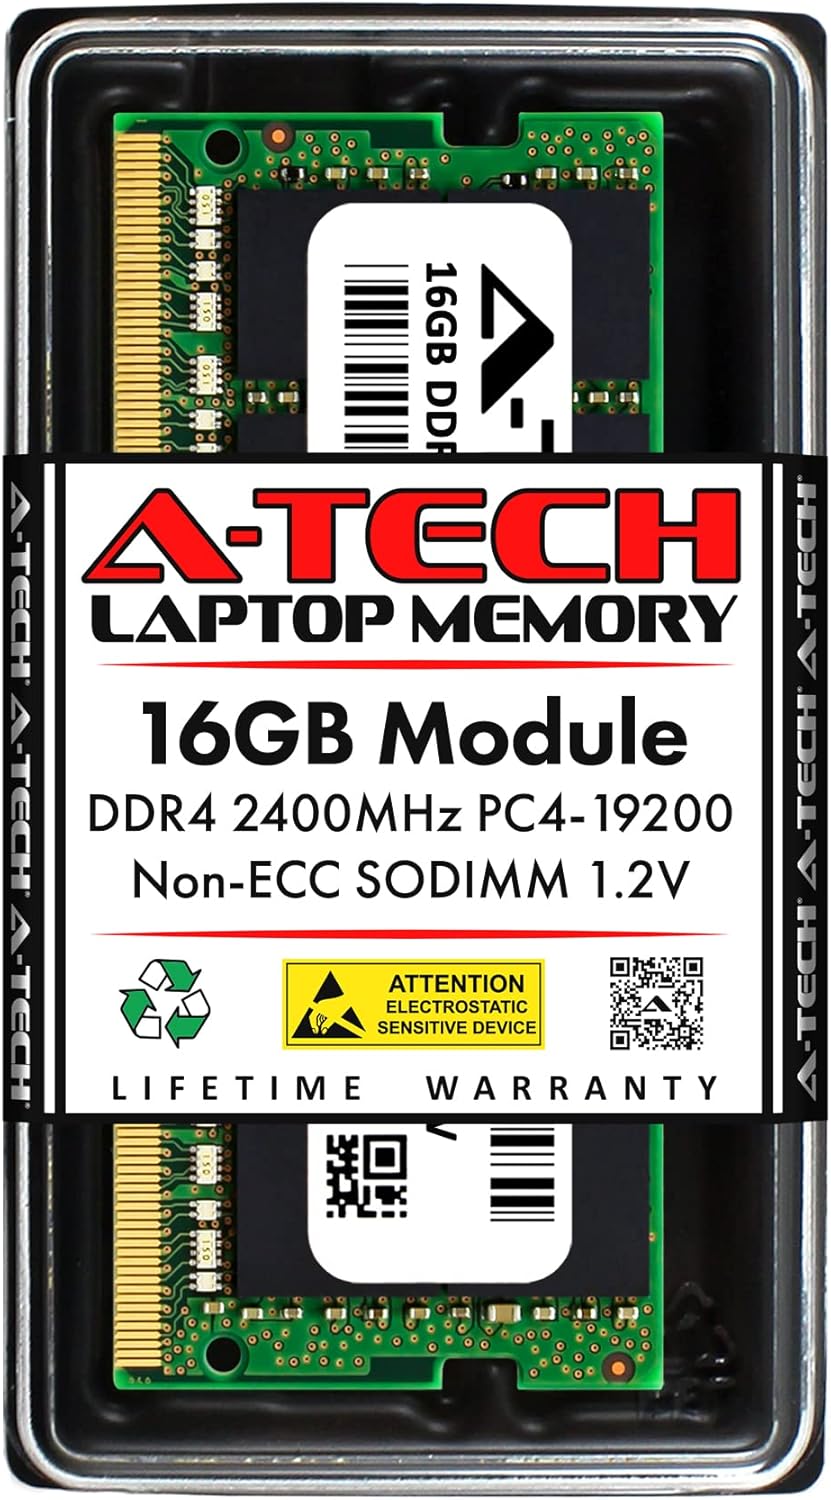
Image: A-Tech 16GB DDR4 SODIMM Memory Module in its protective retail packaging, highlighting key specifications like 16GB, DDR4 2400MHz, PC4-19200, Non-ECC SODIMM 1.2V, and Lifetime Warranty.
For more information, scan the QR code on the product packaging or visit atechmemory.com/pages/qr.
Compatibility
This A-Tech memory module is compatible with a wide range of laptops and all-in-one (AIO) computers. Specifically, it is designed for the following Acer Aspire models:
- Acer Aspire A515-51-539B
- Acer Aspire A515-51-55K1
- Acer Aspire A515-52-38F1
- Acer Aspire A515-54-59EF
- Acer Aspire A517-51-539M
- Acer Aspire A715-71G-715Z
- Acer Aspire A715-71G-79LE
- Acer Aspire A717-71G-58RK
It is crucial to refer to your system's manual for specific memory upgrade guidelines and maximum supported capacity before installation. This module is not compatible with Desktop PC/Computers.

Image: A banner emphasizing compatibility, stating the memory is "Designed for Laptop, Mini PC, and AIO systems." It also explicitly notes that it is NOT compatible with Desktop PC/Computers.
Specifications
| Feature | Specification |
|---|---|
| RAM Capacity | 16 GB |
| RAM Technology | DDR4 |
| Memory Speed | 2400 MHz (PC4-19200 / PC4-2400) |
| Form Factor | SODIMM (260-Pin) |
| Error Correction | Non-ECC Unbuffered |
| Voltage | 1.2V |
| Product Dimensions (LxWxH) | 2.74 x 1.18 x 0.15 inches (69.60 x 30 x 3.81 mm) |
| Model Number | ASJ270 |

Image: A-Tech 16GB DDR4 SODIMM module with precise measurements (69.60mm x 30mm) indicating its compact size for laptop and small form factor device compatibility.
For more product details, visit atechmemory.com.
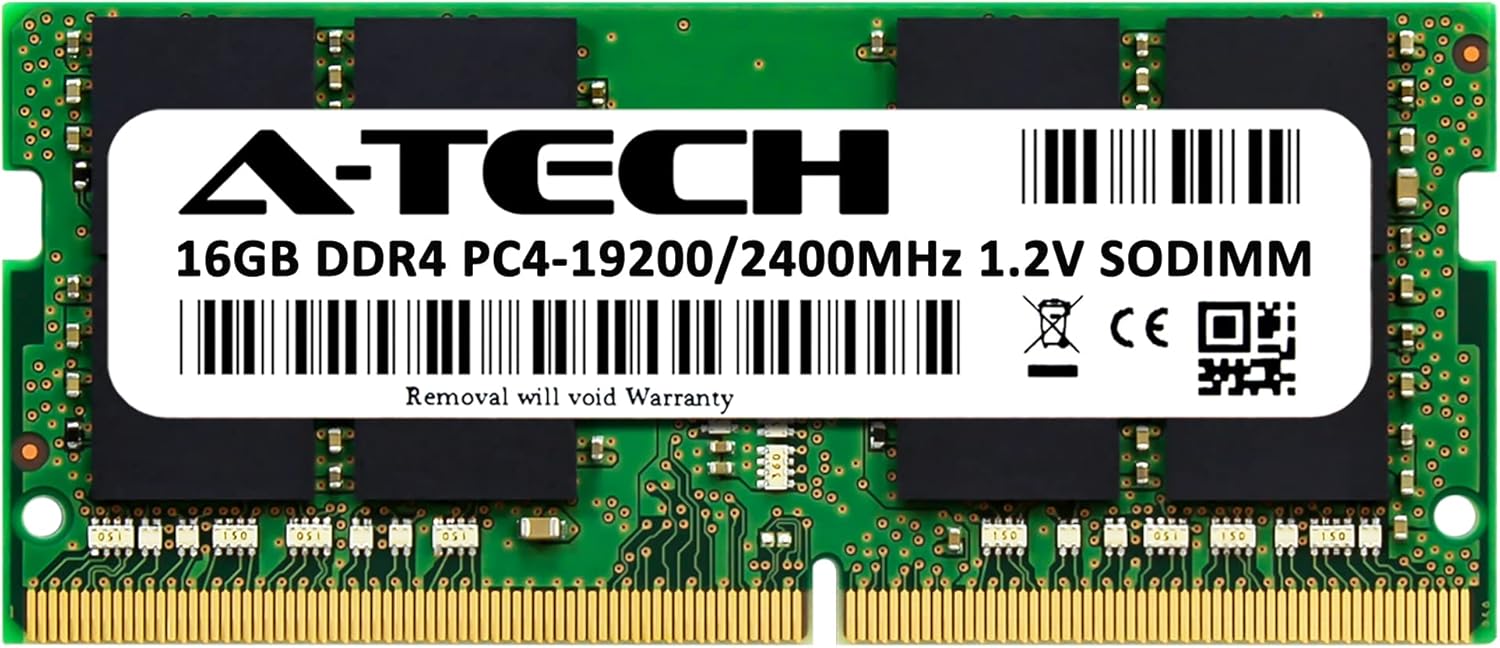
Image: A clear front view of the A-Tech 16GB DDR4 SODIMM memory module, showing the label with specifications and barcode.
Setup and Installation
Installing the A-Tech memory module is a straightforward process. However, it is essential to follow these steps carefully to avoid damage to your system or the memory module. Always consult your laptop or all-in-one system's specific service manual for detailed instructions on accessing and replacing memory modules, as procedures may vary by model.
Before You Begin:
- Static Electricity: Static electricity can damage electronic components. Work on a clean, static-free surface. Consider using an anti-static wrist strap or frequently touch a grounded metal object (like an unpainted metal part of your computer chassis) to discharge static.
- Power Off: Completely shut down your computer and disconnect it from all power sources (AC adapter and battery).
- Cool Down: Allow the computer to cool down for a few minutes if it has been recently in use.
- Gather Tools: You may need a small Phillips head screwdriver.
Installation Steps:
- Access Memory Slots: Carefully open your laptop or all-in-one system to expose the memory slots. This usually involves removing a back panel or keyboard. Refer to your system's manual for precise instructions.
- Locate Existing Modules (if any): If you are replacing existing memory, gently push outwards on the small metal clips on either side of the module. The module will pop up at an angle. You can then pull it straight out of the slot.
- Insert New Module: Hold the A-Tech memory module by its edges, avoiding touching the gold connectors. Align the notch on the module with the key in the memory slot.
- Seat the Module: Insert the module firmly into the slot at a 45-degree angle.
- Secure the Module: Gently push down on the module until the metal clips on both sides snap into place, securing the module horizontally.
- Verify Seating: Ensure the module is flat and securely seated in the slot.
- Reassemble: Carefully reassemble your computer, ensuring all screws and panels are replaced correctly.
- Power On: Reconnect the power adapter and battery, then power on your computer. The system should automatically detect the new memory.
If the system does not boot or recognize the new memory, double-check the seating of the module and ensure it is fully inserted. Refer to the Troubleshooting section if issues persist.
Operating Principles
The A-Tech 16GB DDR4 memory module functions as your computer's Random Access Memory (RAM). RAM is a form of computer data storage that stores frequently used program instructions to enable quick access by the computer's processor. By upgrading your system's RAM, you directly improve its ability to handle multiple applications simultaneously, run demanding software, and generally enhance overall system responsiveness and speed.

Image: A banner titled "UPGRADE PERFORMANCE" with a graphic of a rocket launching from a laptop screen, illustrating how A-Tech memory helps reduce bottlenecks and boost performance.

Image: A woman comfortably using a laptop, accompanied by the text "MULTITASK WITH EASE," signifying the enhanced capability of the system with increased RAM.
Maintenance
Memory modules are generally maintenance-free once installed. However, proper handling during installation and general care for your computer system will ensure their longevity and optimal performance:
- Cleanliness: Keep your computer's interior free from dust and debris, which can impede airflow and lead to overheating. Use compressed air to gently clean internal components periodically.
- Environmental Conditions: Operate your computer in a well-ventilated area, away from extreme temperatures and humidity.
- Physical Handling: Avoid dropping or subjecting your computer to physical shocks, which can dislodge or damage internal components, including memory modules.
- Software Updates: Keep your operating system and drivers updated to ensure optimal compatibility and performance with all hardware components.
Troubleshooting
If you encounter issues after installing your A-Tech memory module, consider the following troubleshooting steps:
- System Not Booting / Black Screen:
- Ensure the memory module is fully and correctly seated in its slot. Remove and re-insert it firmly.
- Verify that the notch on the module aligns with the key in the memory slot.
- If multiple modules are installed, try booting with only the new A-Tech module, or try it in a different slot.
- Confirm compatibility with your specific laptop model by checking your system's manual.
- Incorrect Memory Size Detected:
- Check your system's BIOS/UEFI settings to see if the memory is detected there.
- Ensure your operating system is 64-bit to fully utilize 16GB or more RAM.
- Verify that your system supports the total amount of RAM installed.
- System Instability / Blue Screens (BSOD):
- This can sometimes indicate a faulty module or improper seating. Re-seat the module.
- Run a memory diagnostic tool (e.g., Windows Memory Diagnostic) to check for errors.
- Ensure your system's BIOS is updated to the latest version, as this can improve memory compatibility.
If these steps do not resolve the issue, please contact A-Tech customer support for further assistance.
Warranty and Support
All A-Tech memory modules undergo stringent quality control testing to ensure dependable and reliable performance. This product is backed by A-Tech's Limited Lifetime Warranty.
For technical assistance, installation guidance, or warranty claims, our knowledgeable Tech Team is available to help before and after your purchase. Please visit the official A-Tech website or refer to the contact information provided with your product for support details.

Image: A banner titled "RELIABILITY" showing a person working comfortably on a laptop, with text stating that A-Tech memory modules undergo extensive quality control testing for dependable performance.
Related documentsASJ270


Ask a question about this manual
Ask about setup, troubleshooting, compatibility, parts, safety, or missing instructions. Manuals+ will review the question and use this page’s manual context to help answer it.