
1. Introduction
This manual provides essential information for the safe and efficient operation of your Samsung DW80CG4021SR Built-In Dishwasher. Please read these instructions thoroughly before using your appliance and retain them for future reference.
The Samsung DW80CG4021SR features hidden top controls, a durable stainless steel interior door, and a height-adjustable upper rack for versatile loading. Operating at a quiet 53 dBA, it is designed to integrate seamlessly into your kitchen environment.

Figure 1: Front view of the Samsung DW80CG4021SR stainless steel built-in dishwasher, showcasing its sleek design and top control panel.
2. Setup and Installation
For optimal performance and safety, professional installation of your built-in dishwasher is recommended. Ensure that all water, drainage, and electrical connections comply with local codes and the manufacturer's guidelines.
- Location: Install the dishwasher in a standard 24-inch wide opening under a countertop.
- Leveling: Adjust the leveling legs to ensure the dishwasher is stable and level.
- Water Supply: Connect to a hot water supply line with appropriate pressure.
- Drainage: Securely connect the drain hose to the sink drain or garbage disposal.
- Electrical Connection: Connect to a dedicated, grounded electrical circuit as specified in the electrical requirements.
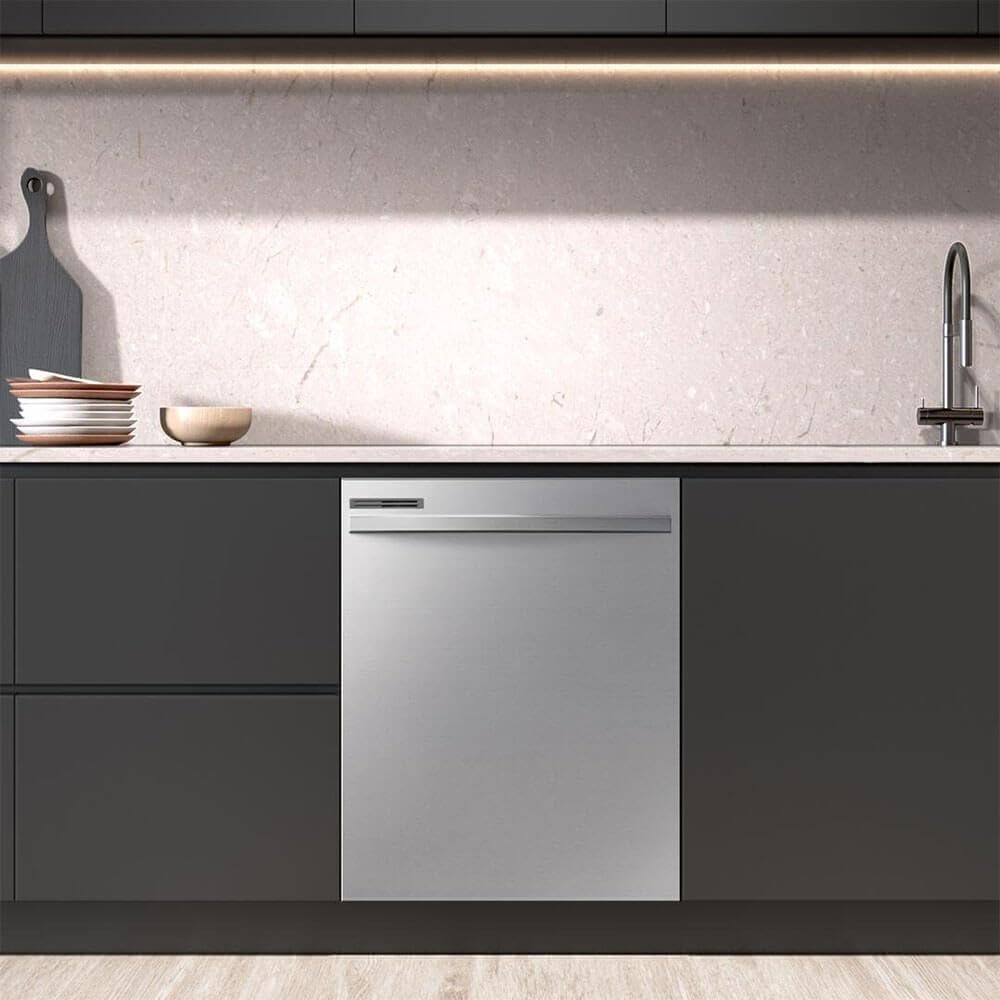
Figure 2: The Samsung DW80CG4021SR dishwasher seamlessly integrated into a modern kitchen setting.
3. Operating Instructions
Your Samsung dishwasher features intuitive top controls for easy program selection and operation. The control panel is located on the top edge of the door, visible only when the door is slightly ajar.
3.1 Control Panel Overview
The control panel includes buttons for Power, Cycle selection, and various Options. An LED display indicates the selected cycle and remaining time.
- Power: Turns the dishwasher on or off.
- Cycles: Select from Auto, Normal, Heavy, and Express 60.
- Options: Customize your wash with Hi-Temp Steam Wash, Sanitize, Heated Dry, and Delay Start (3h, 6h, 9h).
- Start: Initiates the selected wash cycle.
- Clean Indicator: Illuminates when the cycle is complete.
3.2 Selecting a Wash Cycle
- Load the dishwasher according to the loading guidelines.
- Add detergent and rinse aid to their respective dispensers.
- Press the Power button to turn on the dishwasher.
- Select the desired wash cycle (e.g., Normal for everyday loads, Heavy for heavily soiled items).
- Choose any additional Options as needed (e.g., Sanitize for extra hygiene, Heated Dry for improved drying).
- Close the dishwasher door firmly. The cycle will begin automatically after a short delay.
4. Loading Guidelines
Proper loading is crucial for effective cleaning and drying. Arrange items to allow water and detergent to reach all surfaces.

Figure 3: The dishwasher interior with racks extended, demonstrating capacity and organization.
4.1 Upper Rack
- Ideal for glasses, cups, small plates, and bowls.
- The upper rack is height-adjustable to accommodate taller items on either the upper or lower rack.
- Place items face down or at an angle for best water drainage.
4.2 Lower Rack
- Designed for dinner plates, serving dishes, pots, and pans.
- Ensure large items do not block the spray arms.
4.3 Cutlery Basket
- Place forks and spoons with handles down.
- Place knives with handles up for safety.
- The cutlery basket is removable for flexible loading.
5. Maintenance
Regular maintenance helps ensure the longevity and optimal performance of your dishwasher.
5.1 Cleaning the Filter
The dishwasher features a filter system to prevent food particles from recirculating. Clean the filter regularly to maintain wash performance.
- Twist and remove the cylindrical filter from the bottom of the dishwasher.
- Rinse the filter under running water to remove any trapped food particles.
- Reinsert the filter and twist to secure it in place.

Figure 4: Detailed view of the dishwasher's bottom spray arm and the removable filter system.
5.2 Detergent and Rinse Aid Dispensers
- Fill the detergent dispenser with the recommended amount of dishwasher detergent before each cycle.
- Check the rinse aid indicator and refill the rinse aid dispenser as needed to ensure spot-free drying.
5.3 Exterior Cleaning
Wipe the fingerprint-resistant stainless steel exterior with a soft, damp cloth to remove smudges and maintain its appearance.
6. Troubleshooting
If you encounter issues with your dishwasher, refer to the full user manual for detailed troubleshooting steps. Below are some common concerns:
- Dishwasher Not Starting: Ensure the door is fully closed and latched, power is supplied, and the "Start" button has been pressed.
- Dishes Not Clean: Check for proper loading, ensure spray arms are not blocked, verify detergent and rinse aid levels, and clean the filter.
- Water Leakage: Inspect the door seal for debris, ensure the dishwasher is level, and check drain hose connections.
- Unusual Noises: Verify that no items are interfering with the spray arms or other internal components.
For persistent problems, contact Samsung customer support or a qualified service technician.
7. Specifications
| Form Factor | Built-In |
| Model Name | DW80CG4021SR |
| Item Weight | 78 Pounds |
| Voltage | 120 Volts |
| Noise Level | 53 Decibels |
| Number of Settings | 8 |
| Option Cycles | 4 |
| Material Type | Stainless Steel |
| Special Features | Touch Panel |
| Installation Type | Built-In |
| Included Components | User Manual |
8. Warranty and Support
Your Samsung DW80CG4021SR dishwasher includes a comprehensive user manual with detailed warranty information. For specific warranty terms, product registration, or technical support, please refer to the included documentation or visit the official Samsung website.
You can find additional support and product information by visiting the Samsung Store on Amazon.


