
1. Introduction
The SunFounder PiDog is an interactive AI robot dog kit designed for use with Raspberry Pi (models 5/4B/3B+/3B/Zero 2W). This kit integrates advanced sensors and AI capabilities, supporting various Large Language Models (LLMs) such as ChatGPT-4o, Gemini, Grok, DeepSeek, Qwen, Doubao, and Ollama. It is an ideal platform for students, educators, and engineers interested in robotics, programming, and artificial intelligence.
The PiDog features 12 powerful servos for realistic dog-like movements, along with a comprehensive sensor suite including ultrasonic, touch, gyroscope, sound, camera, speaker, and microphone. These components enable the robot to perceive its environment, respond to interactions, and engage in intelligent conversations through Text-to-Speech (TTS) and Speech-to-Text (STT) functionalities. Control is available via a dedicated application with real-time First-Person View (FPV) and through Python programming.
2. Setup and Assembly
2.1 Unpacking and Component Check
Carefully unpack all components from the kit. Verify that all parts listed in the packing list are present and undamaged. If any components are missing or damaged, please contact SunFounder support immediately.
2.2 Raspberry Pi Installation
The Raspberry Pi is not included with this kit and must be purchased separately. The PiDog is compatible with Raspberry Pi 5, 4B, 3B+, 3B, and Zero 2W models. Follow the detailed online documentation for specific instructions on how to install your Raspberry Pi onto the Robot HAT expansion board.

Image: Compatible Raspberry Pi models (Raspberry Pi not included).
2.3 Mechanical Assembly
The PiDog kit requires assembly of its mechanical structure. Detailed step-by-step instructions, including visual guides and video tutorials, are available in the official online documentation. Ensure all servos, sensors, and the camera module are correctly attached and wired according to the instructions.

Image: Hands-on assembly of the PiDog robot kit, showing various components being put together.
2.4 Software Installation
After assembling the hardware, install the necessary software on your Raspberry Pi. This typically involves configuring the operating system (Raspbian OS recommended), installing libraries for Python, and setting up the environment for AI functionalities. Refer to the online documentation for the latest software setup guides and example code.
3. Operating the PiDog
3.1 Basic Movement and Actions
The PiDog can perform a variety of realistic dog-like movements thanks to its 12 servos. These include walking, sitting, standing, shaking its head, and wagging its tail. Basic movements can be controlled via the mobile application or through Python scripts.
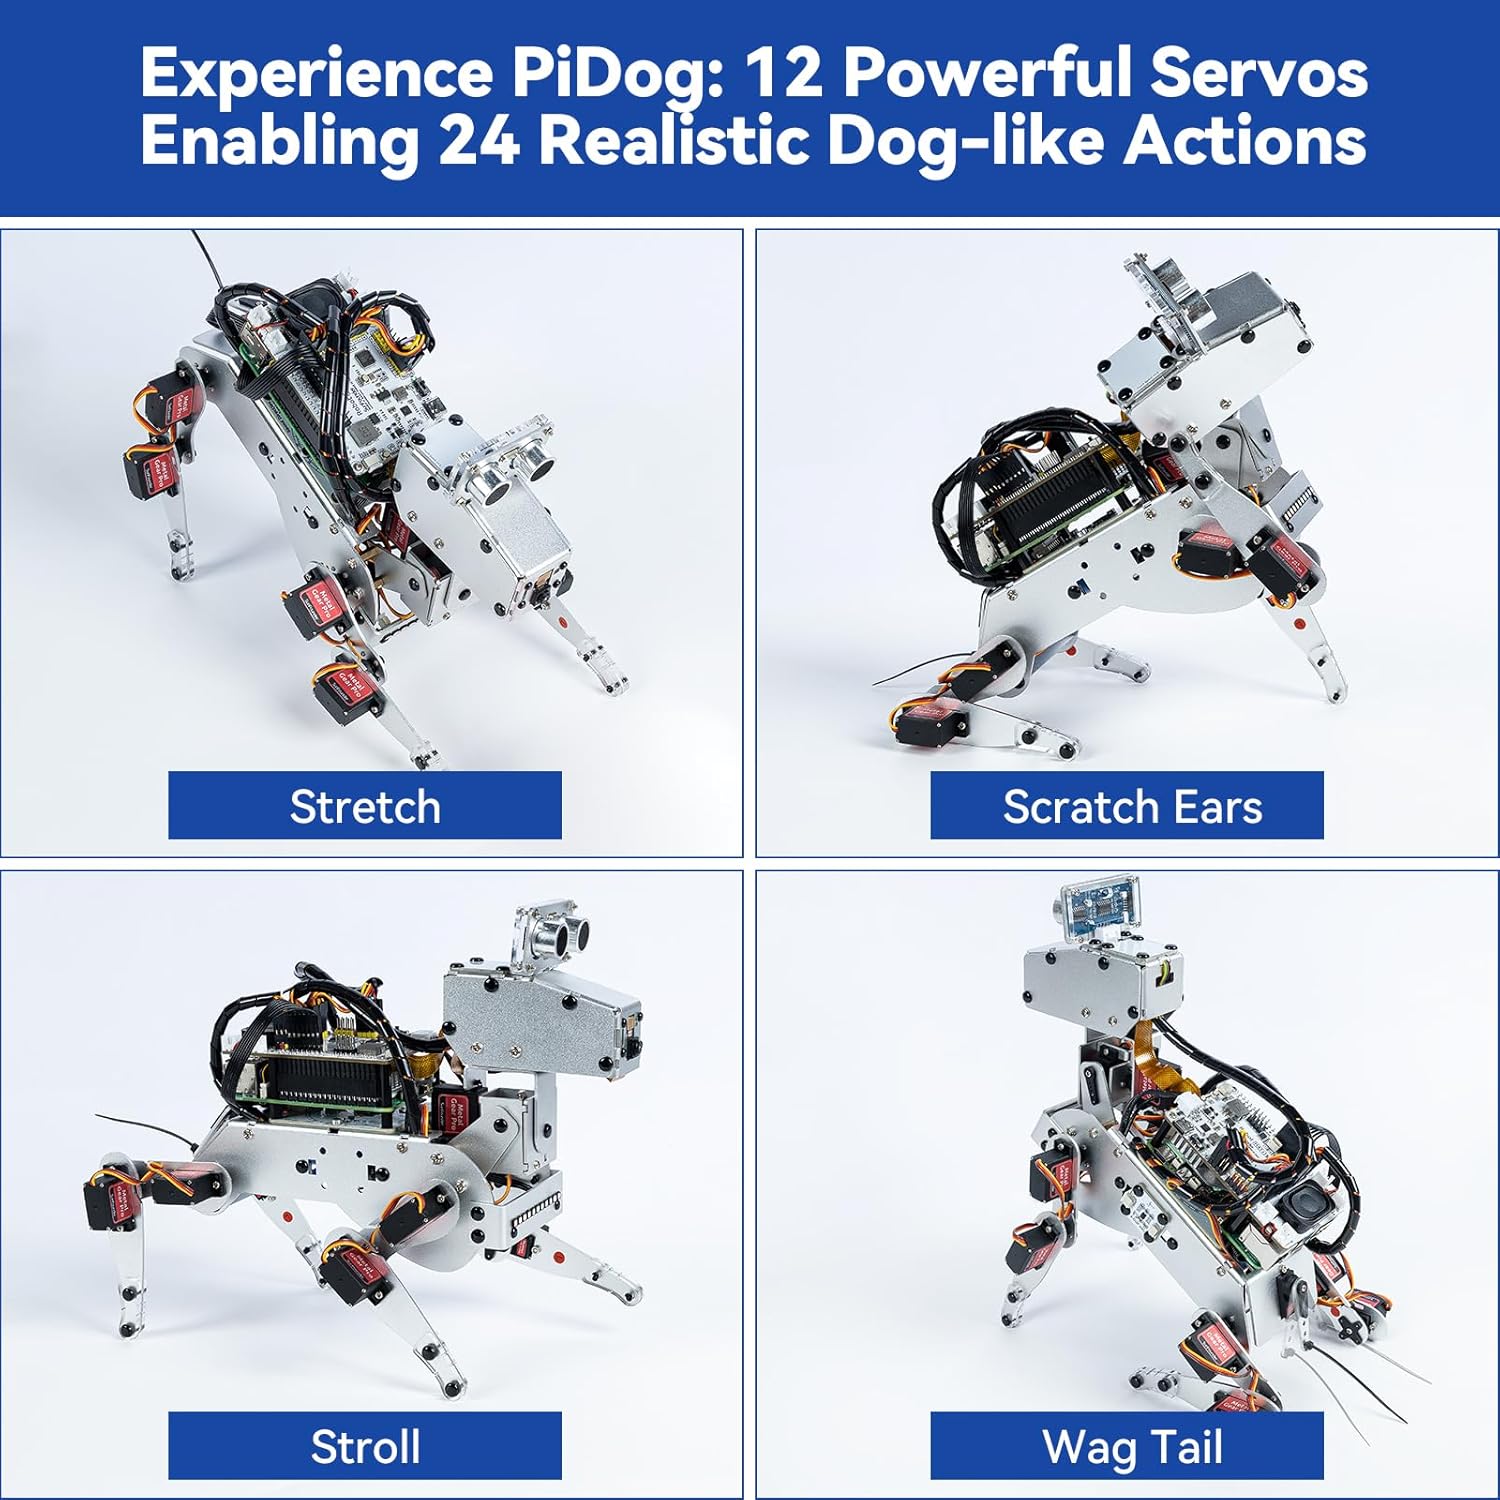
Image: PiDog demonstrating various movements like stretching, scratching ears, strolling, and wagging its tail.
3.2 AI-Powered Interactions
The PiDog supports integration with multiple Large Language Models (LLMs) such as ChatGPT-4o, Gemini, Grok, DeepSeek, Qwen, Doubao, and Ollama. This enables advanced voice and video recognition, allowing for complex question understanding and natural responses through TTS and STT. The robot can recognize objects, interpret gestures, and engage in meaningful conversations.
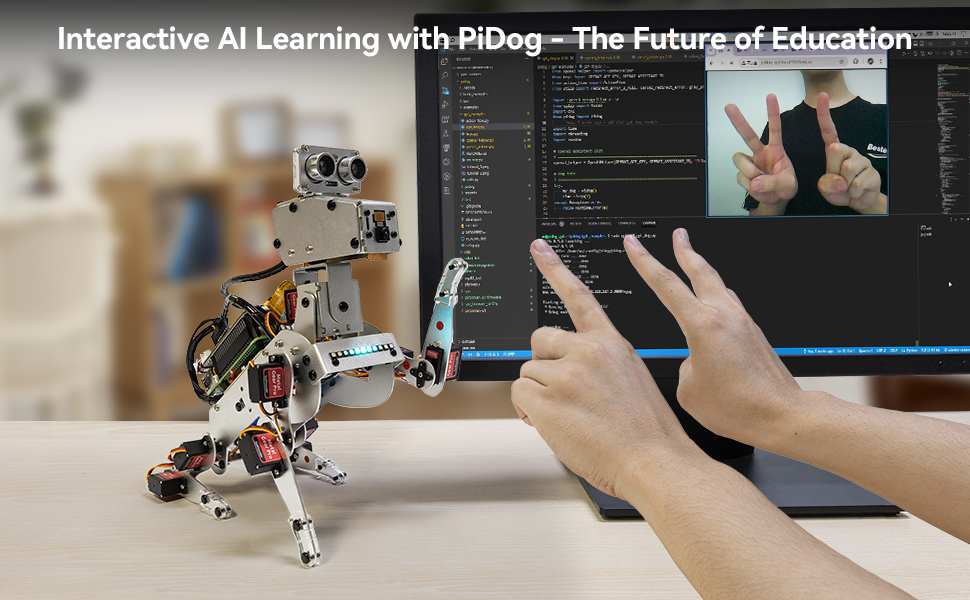
Image: PiDog answering a math question, demonstrating AI-powered interaction.
3.3 App Control
Control the PiDog using the dedicated mobile application. The app provides a user-friendly interface for real-time control, including FPV from the robot's camera. This allows for intuitive navigation and interaction with the robot's features.
Video: SunFounder PiDog Robot Dog Kit for Raspberry Pi 4/3B+. This video demonstrates the assembly process, basic movements, and various functionalities of the PiDog robot, including app control and AI interactions.
3.4 Python Programming
For advanced users and those looking to customize the robot's behavior, the PiDog can be programmed using Python. The kit comes with comprehensive learning resources, including video tutorials and sample code, to help users develop their own scripts for controlling movements, integrating sensors, and implementing AI algorithms.

Image: A user programming the PiDog robot using Python on a laptop.
4. Key Features
4.1 Robotic Components
- Servos: 12 powerful servos enabling 32 dog-like actions.
- Robot HAT: Expansion board for Raspberry Pi, managing all connections.
- Camera Module: For visual recognition and real-time FPV.
- Microphone & Speaker: For sound detection, voice recognition, and audio output.
- Ultrasonic Module: For obstacle detection and distance sensing.
- Dual Touch Sensor: For tactile interactions.
- Gyroscope: For balance and orientation sensing.
- 11-channel Light Board: For visual feedback and customization.

Image: Detailed view of PiDog's intelligent robotic components.
4.2 AI Capabilities
- Multi-LLM Support: Compatible with ChatGPT-4o, Gemini, Grok, DeepSeek, Qwen, Doubao, and Ollama for advanced conversational AI.
- Voice & Video Recognition: Enables the robot to see, listen, talk, and think.
- OpenCV & MediaPipe: Utilized for advanced computer vision tasks.
- TTS & STT: Text-to-Speech and Speech-to-Text for natural language processing.
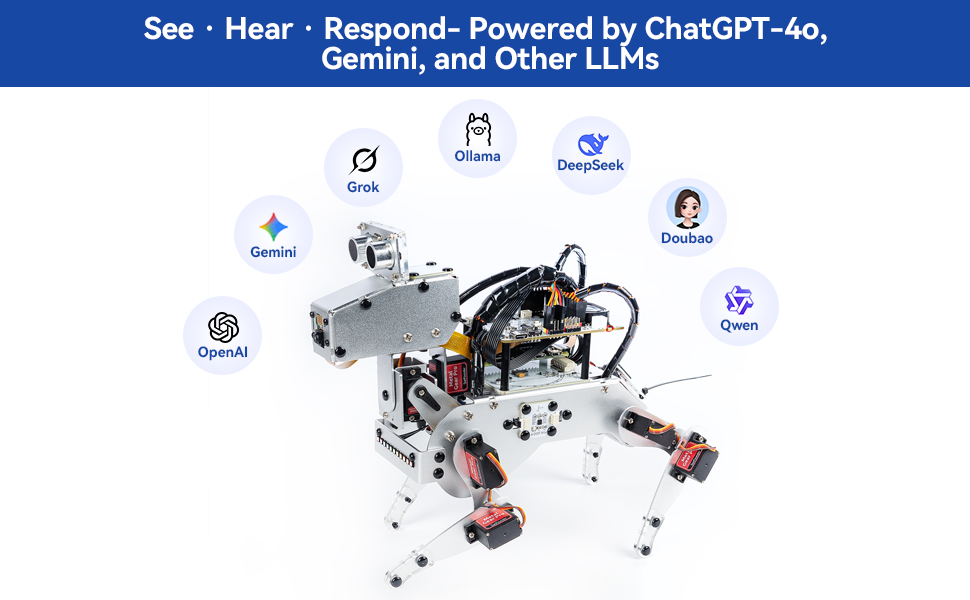
Image: PiDog's AI capabilities powered by multiple LLMs.
5. Maintenance
5.1 General Care
- Keep the PiDog clean and free from dust and debris.
- Avoid exposing the robot to water or extreme temperatures.
- Handle the robot with care to prevent damage to its delicate electronic components and servos.
5.2 Battery Management
The PiDog kit includes 2 Lithium Ion batteries. Ensure proper charging and handling of the batteries to maximize their lifespan and ensure safe operation. Always use the recommended charger and follow battery safety guidelines.
6. Troubleshooting
If you encounter any issues with your PiDog, refer to the following resources:
- Online Documentation: The official SunFounder website provides detailed troubleshooting guides and FAQs.
- Video Tutorials: Check the official SunFounder YouTube channel or website for video guides that may address common problems.
- Technical Support: Contact SunFounder's technical support team for personalized assistance.
- Community Forum: Engage with other users and experts on the SunFounder community forum for solutions and advice.
7. Specifications
| Feature | Detail |
|---|---|
| Brand | SunFounder |
| Model Name | PiDog |
| Compatible Raspberry Pi | 5/4B/3B+/3B/Zero 2W |
| Processor (Raspberry Pi) | ARMv7 (Broadcom) |
| RAM (Raspberry Pi) | 2 GB LPDDR2 (Kit does not include Raspberry Pi) |
| Operating System | Raspbian OS |
| Wireless Type | 802.11bgn |
| Item Weight | 2.13 pounds |
| Product Dimensions | 10.39 x 7 x 3.35 inches |
| Batteries | 2 Lithium Ion batteries (included) |
| Included Components | Robot Hat, Camera Module, Microphone, Speaker, Battery, Ultrasonic Module, Dual Touch Sensor etc. |
8. Warranty and Support
8.1 Return Policy
This product is eligible for a refund or replacement within 30 days of purchase, subject to the seller's return policy.
8.2 Technical Support
SunFounder provides comprehensive learning resources and support for the PiDog kit:
- Detailed online documentation.
- Video tutorials.
- Prompt technical support.
- An active forum community for peer assistance.
For further assistance, please visit the official SunFounder website or contact their customer service directly.

