
1. Introduction
The DWEII RP2040 Core Board is a compact and powerful microcontroller development board featuring the Raspberry Pi RP2040 chip. It is designed for a wide range of applications, supporting Micropython and C/C++ programming. This board offers flexible digital interfaces and a dual-core Arm Cortex M0+ processor, making it suitable for various embedded projects.
Key features include:
- Dual-core Arm Cortex M0+ processor with flexible clock up to 133 MHz.
- 264KB SRAM and 4MB onboard flash memory.
- USB 1.1 device and host support with Type-C USB-C connector.
- 26 multi-function GPIO pins, including 2 SPI, 2 I2C, 2 UART, 3 12-bit ADCs, and 16 controllable PWM channels.
- Low-power sleep and hibernate modes.
- Drag-and-drop programming via USB mass storage.
- Integrated RGB light group for status indication.
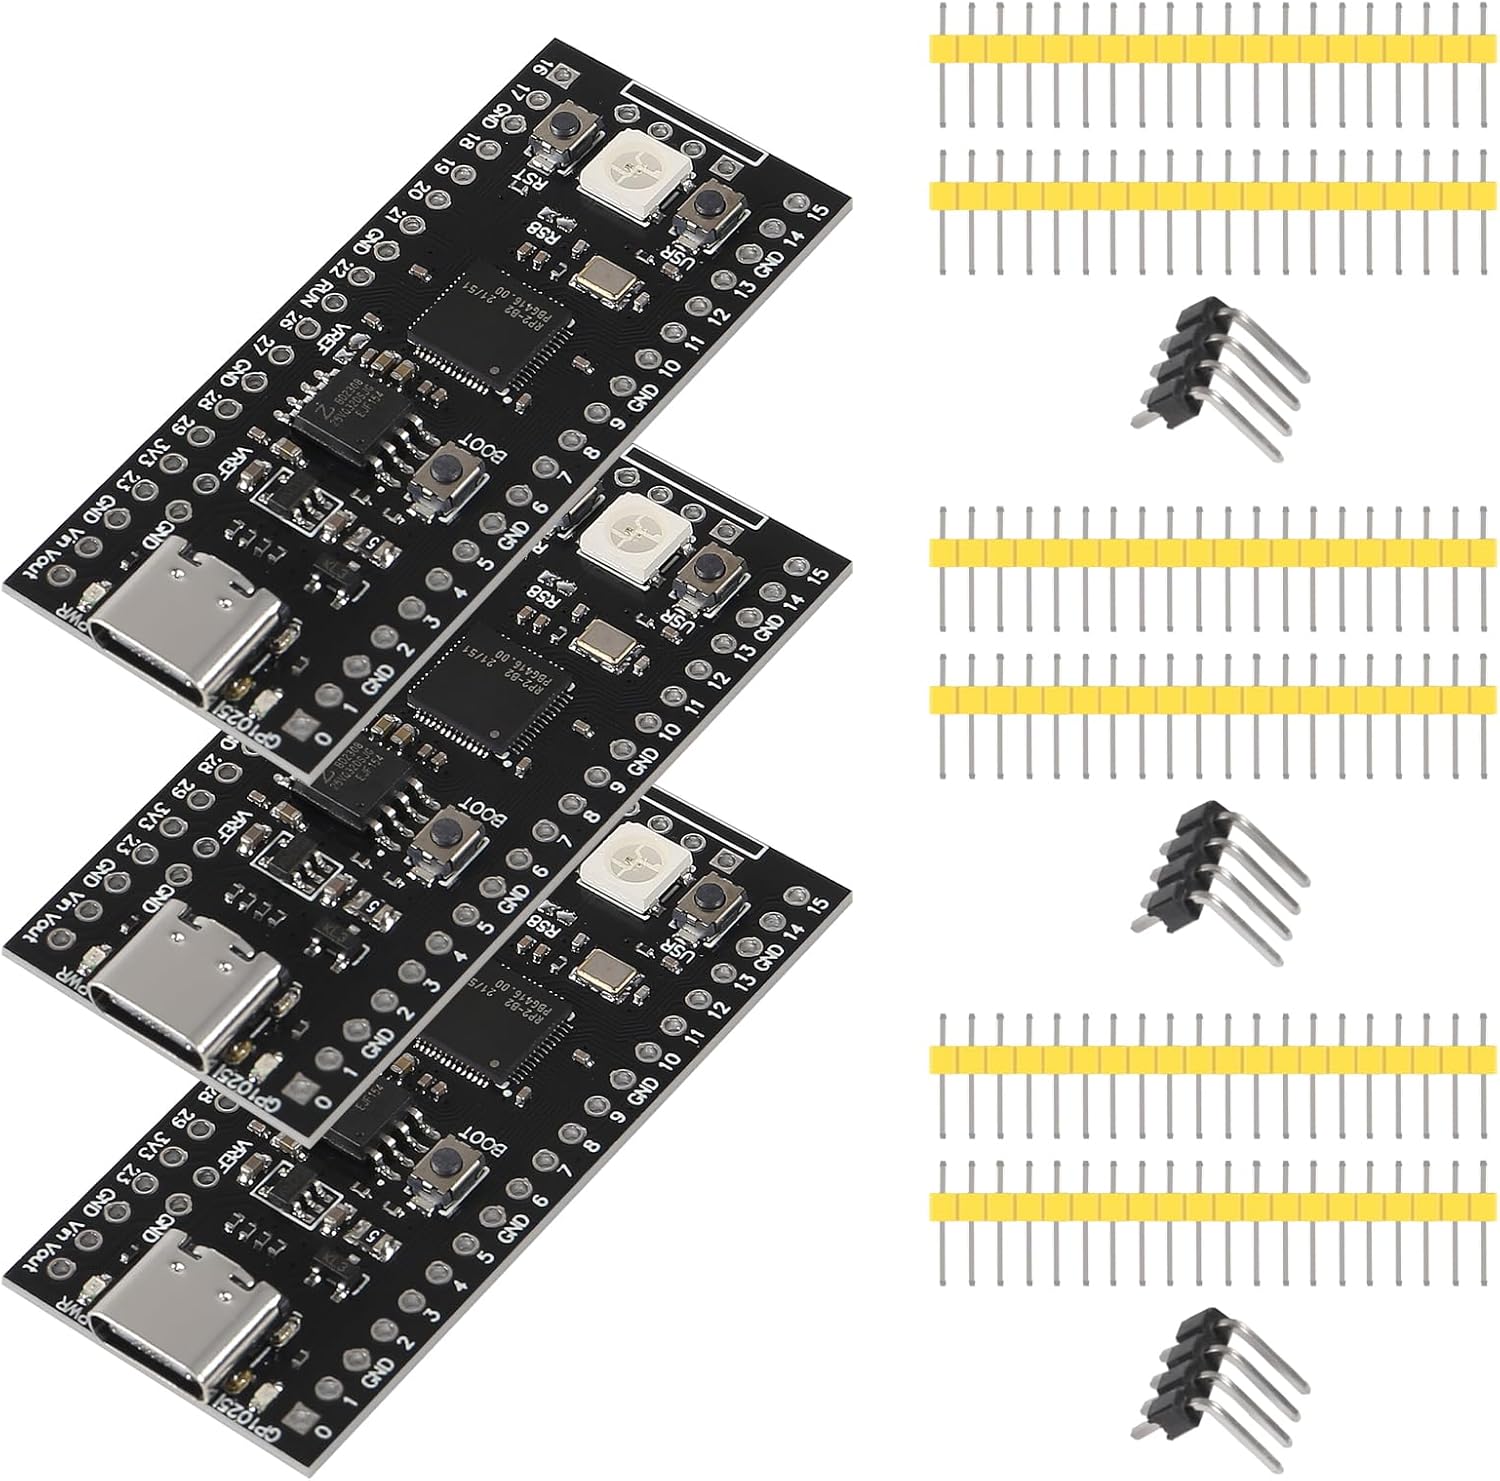
Figure 1: Overview of the DWEII RP2040 Core Board with included pin headers.
2. What's in the Box
Your package should contain the following items:
- 3 x RP2040 Core Board Type-C USB-C 4MB

Figure 2: A set of three DWEII RP2040 Core Boards.
3. Specifications
| Feature | Detail |
|---|---|
| Brand | DWEII |
| Model Name | RP2040 Core Board |
| Processor | Dual-core Arm Cortex M0+ |
| Processor Speed | Up to 133 MHz |
| SRAM | 264KB |
| Flash Memory | 4 MB |
| USB Interface | Type-C USB-C (USB 1.1 device and host) |
| GPIO Pins | 26 multi-function |
| Peripherals | 2 SPI, 2 I2C, 2 UART, 3 12-bit ADCs, 16 PWM channels |
| Operating System Support | Micropython |
| Compatible Devices | RP2040, Raspberry Pi Pico |
| UPC | 687117729859 |

Figure 3: Physical dimensions of the DWEII RP2040 Core Board.
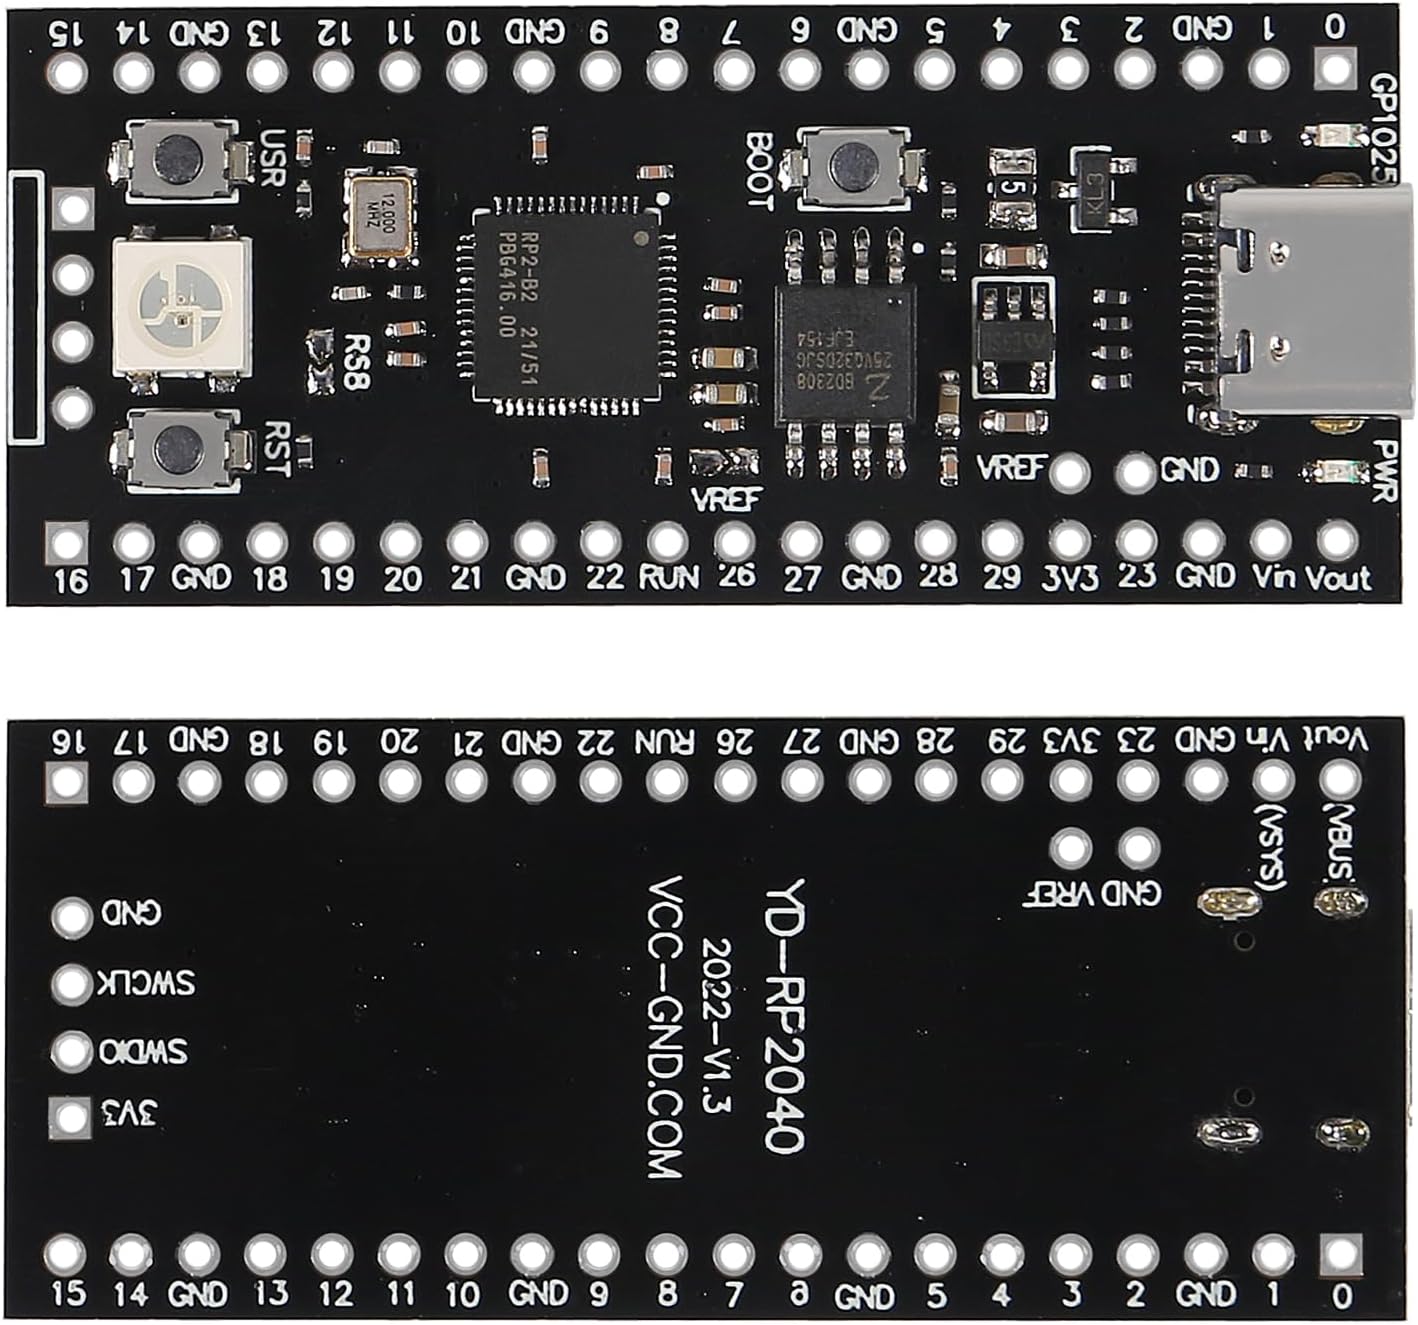
Figure 4: Bottom view of the DWEII RP2040 Core Board, indicating manufacturer information.
4. Setup
To begin using your DWEII RP2040 Core Board, you will typically connect it to your computer via the USB-C port. This allows for power, communication, and firmware programming.
4.1 Initial Connection
- Ensure your computer has the necessary drivers or development environment installed (e.g., Thonny for Micropython, or the Pico SDK for C/C++).
- Connect one end of a USB-C cable to the Type-C port on the RP2040 Core Board.
- Connect the other end of the USB-C cable to an available USB port on your computer.
- The board should power on, and the RGB LED may illuminate.

Figure 5: Detail of the Type-C USB-C port and surrounding GPIO pins on the RP2040 Core Board.
5. Operating Instructions
5.1 Updating Firmware / Programming the Board
The RP2040 Core Board supports drag-and-drop programming, which is a convenient way to upload new firmware or programs (UF2 files) to the board. Follow these steps to update the firmware:
- Prepare the USB Cable: Insert the Type-C USB cable into the board's Type-C interface. Do not connect the other end to your computer yet.
- Enter BOOTSEL Mode:
- Press and hold down the BOOT button on the RP2040 Core Board.
- While holding BOOT, connect the other end of the USB cable to your computer.
- Release the BOOT button after the board is connected to the computer.
Alternatively, if the board is already powered on:
- Press and hold down the BOOT button.
- Press and release the RST button.
- Release the BOOT button after approximately 1 second.
- Recognize as Removable Disk: Your computer will automatically recognize the RP2040 Core Board as a removable storage device (e.g., "RPI-RP2").
- Copy Firmware: Drag and drop the desired UF2 firmware file (e.g., Micropython firmware or your compiled C/C++ program) onto the "RPI-RP2" removable disk.
- Automatic Restart: The core board will automatically restart after the file transfer is complete, and the new firmware will begin running.

Figure 6: Location of the BOOT and RST buttons on the RP2040 Core Board.
6. Maintenance
Proper maintenance ensures the longevity and reliable operation of your RP2040 Core Board.
- Storage: Store the board in a dry, anti-static environment, away from direct sunlight and extreme temperatures.
- Handling: Handle the board by its edges to avoid touching components, especially the pins, which can be sensitive to static discharge.
- Cleaning: If necessary, gently clean the board with a soft, dry brush or compressed air to remove dust. Avoid using liquids or harsh chemicals.
- Power Supply: Always use a stable and appropriate 5V power supply via the USB-C port or Vin pin.
7. Troubleshooting
If you encounter issues with your RP2040 Core Board, consider the following troubleshooting steps:
- Board Not Detected by Computer:
- Ensure the USB-C cable is fully inserted and functional. Try a different cable.
- Verify the board is in BOOTSEL mode (refer to Section 5.1).
- Try connecting to a different USB port on your computer.
- Restart your computer.
- Firmware Upload Fails:
- Confirm the UF2 file is not corrupted and is compatible with the RP2040.
- Ensure the board remains in BOOTSEL mode throughout the drag-and-drop process.
- Check for sufficient free space on the "RPI-RP2" drive (though typically not an issue for UF2 files).
- Program Not Running:
- After uploading firmware, the board should automatically restart. If not, press the RST button.
- Verify your code logic and pin assignments.
- Check power supply stability.
- RGB LED Issues:
- Ensure your code correctly initializes and controls the RGB LED.
- Check for any short circuits or incorrect wiring if external components are connected.
8. Warranty
The manufacturer provides a warranty for this product. For specific details regarding warranty coverage, duration, and claims, please refer to the documentation provided with your purchase or contact the seller directly. Keep your proof of purchase for warranty purposes.
9. Support
For technical assistance, additional resources, or further inquiries, please contact the seller or manufacturer. Online communities and forums dedicated to Raspberry Pi Pico and RP2040 development can also be valuable sources of information and support.


