1. Product Overview
The SHEHDS DMX384 DJ Controller is a powerful and versatile lighting console designed for stage lighting control. It offers extensive control capabilities for various DMX-compatible lighting fixtures, making it suitable for DJs, stage productions, and event lighting.
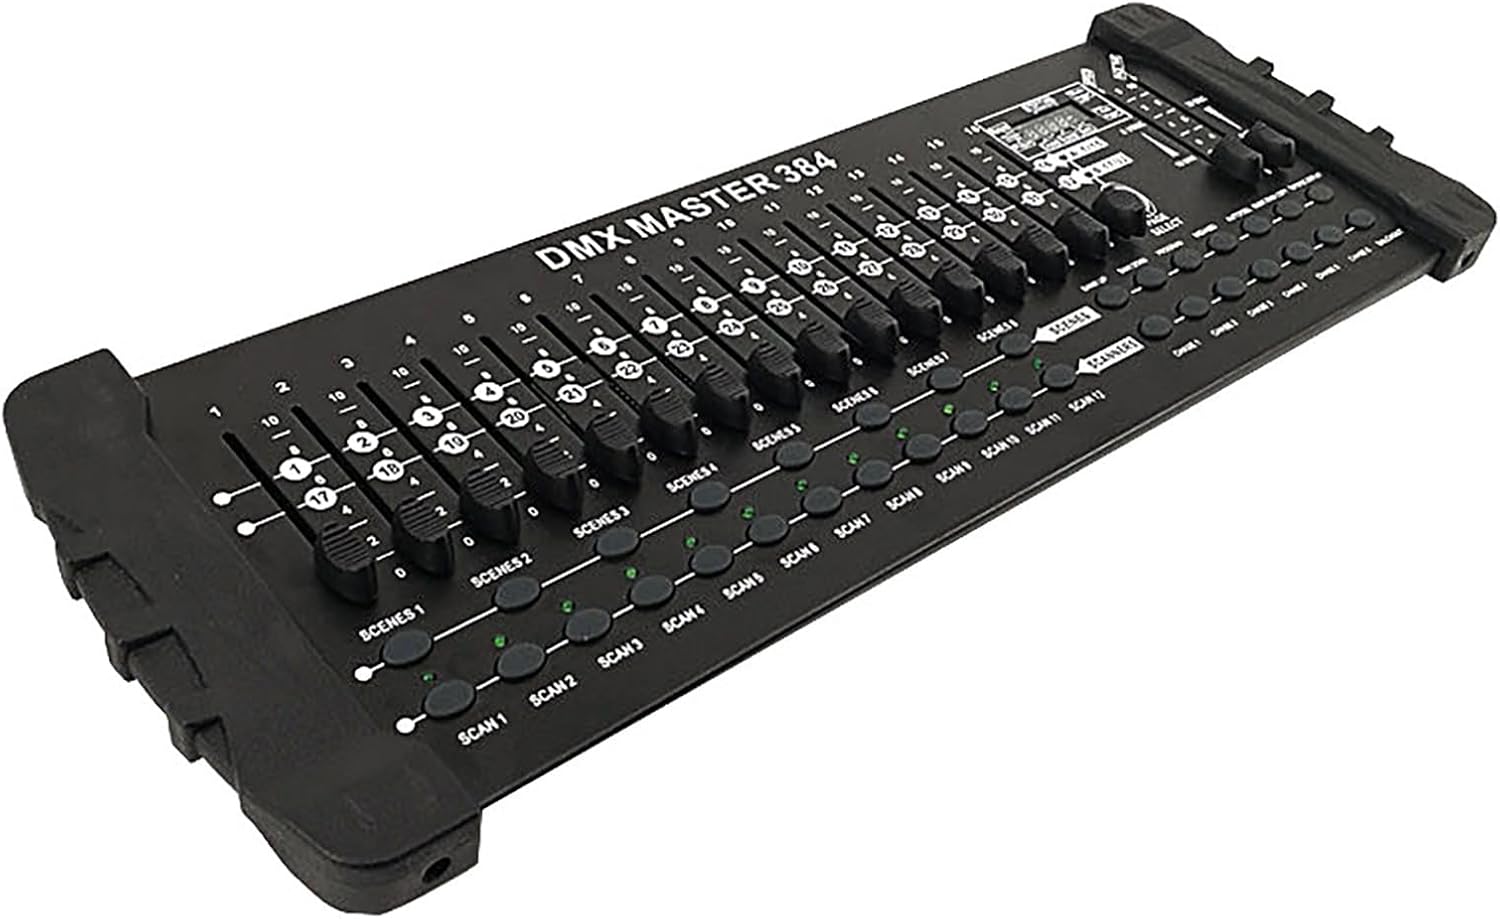
Figure 1: Angled view of the SHEHDS DMX384 DJ Controller, showcasing its faders and buttons.
Key Features:
- Super 384 Channels Control: Manages 12 smart computer lights, each with 32 channels, for a total of 384 DMX channels.
- Scene and Chase Programming: Features 30 bar stacks with 8 scenes each, and 6 slots capable of storing up to 240 scenes. Supports recording with fading and sensitivity.
- Intuitive Operation: Equipped with 16 direct control sliders, a bright LED digital display, and dedicated buttons for easy programming and effect switching.
- Three-Pin DMX Cable: Includes a standard three-pin DMX cable for broad compatibility with fog lights, headlights, par lights, strobe devices, and beam lights.
- Durable Construction: Housed in a black aluminum alloy shell.
2. Package Contents
Upon opening the package, please verify that all items listed below are present and in good condition.

Figure 2: The DMX384 Controller, user manual, and power adapter as included in the package.
- SHEHDS DMX384 DJ Controller
- Power Adapter
- User Manual
3. Product Components
Familiarize yourself with the various components and controls of the DMX384 controller.
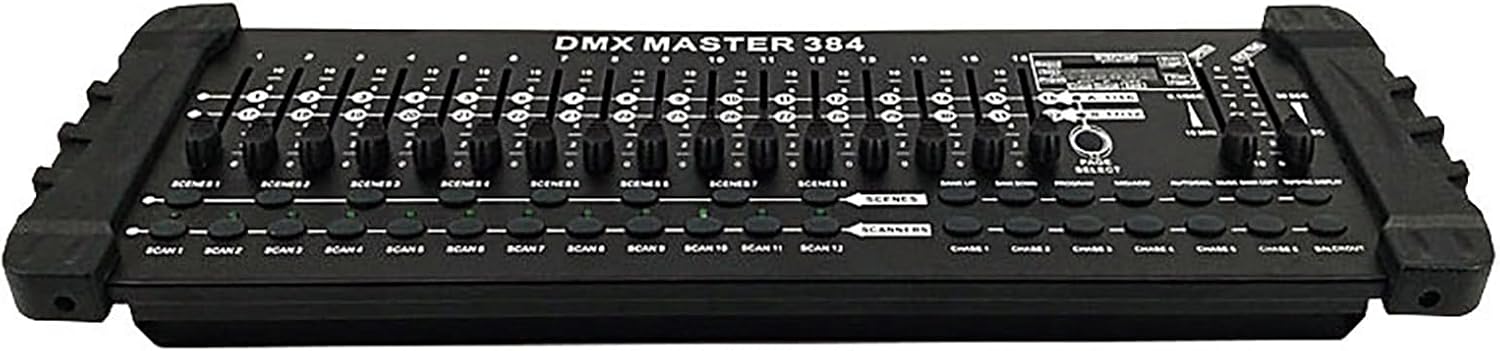
Figure 3: Front view of the DMX384 controller, highlighting the layout of faders and buttons.
- Lighting Area: Contains faders for controlling individual DMX channels.
- Channel Faders (1-16): Sliders used to adjust the intensity or value of specific DMX channels.
- Time/Speed Faders: Controls for adjusting fade time and speed of programmed scenes or chases.
- Functional Area: Buttons for various operations such as Bank Up/Down, Program, MIDI/Add, Auto/Delete, Music/Bank Copy, and Tap Sync/Display.
- Scene Keys (SCENE 1-8): Buttons to activate pre-programmed scenes.
- Page Change Area: Allows switching between different pages of channels (A: 1/16, B: 17/32).
- LCD Display: A bright digital display showing current settings, channel values, and program status.
- Scan Buttons (SCAN 1-12): Buttons to select and control individual intelligent lighting fixtures.
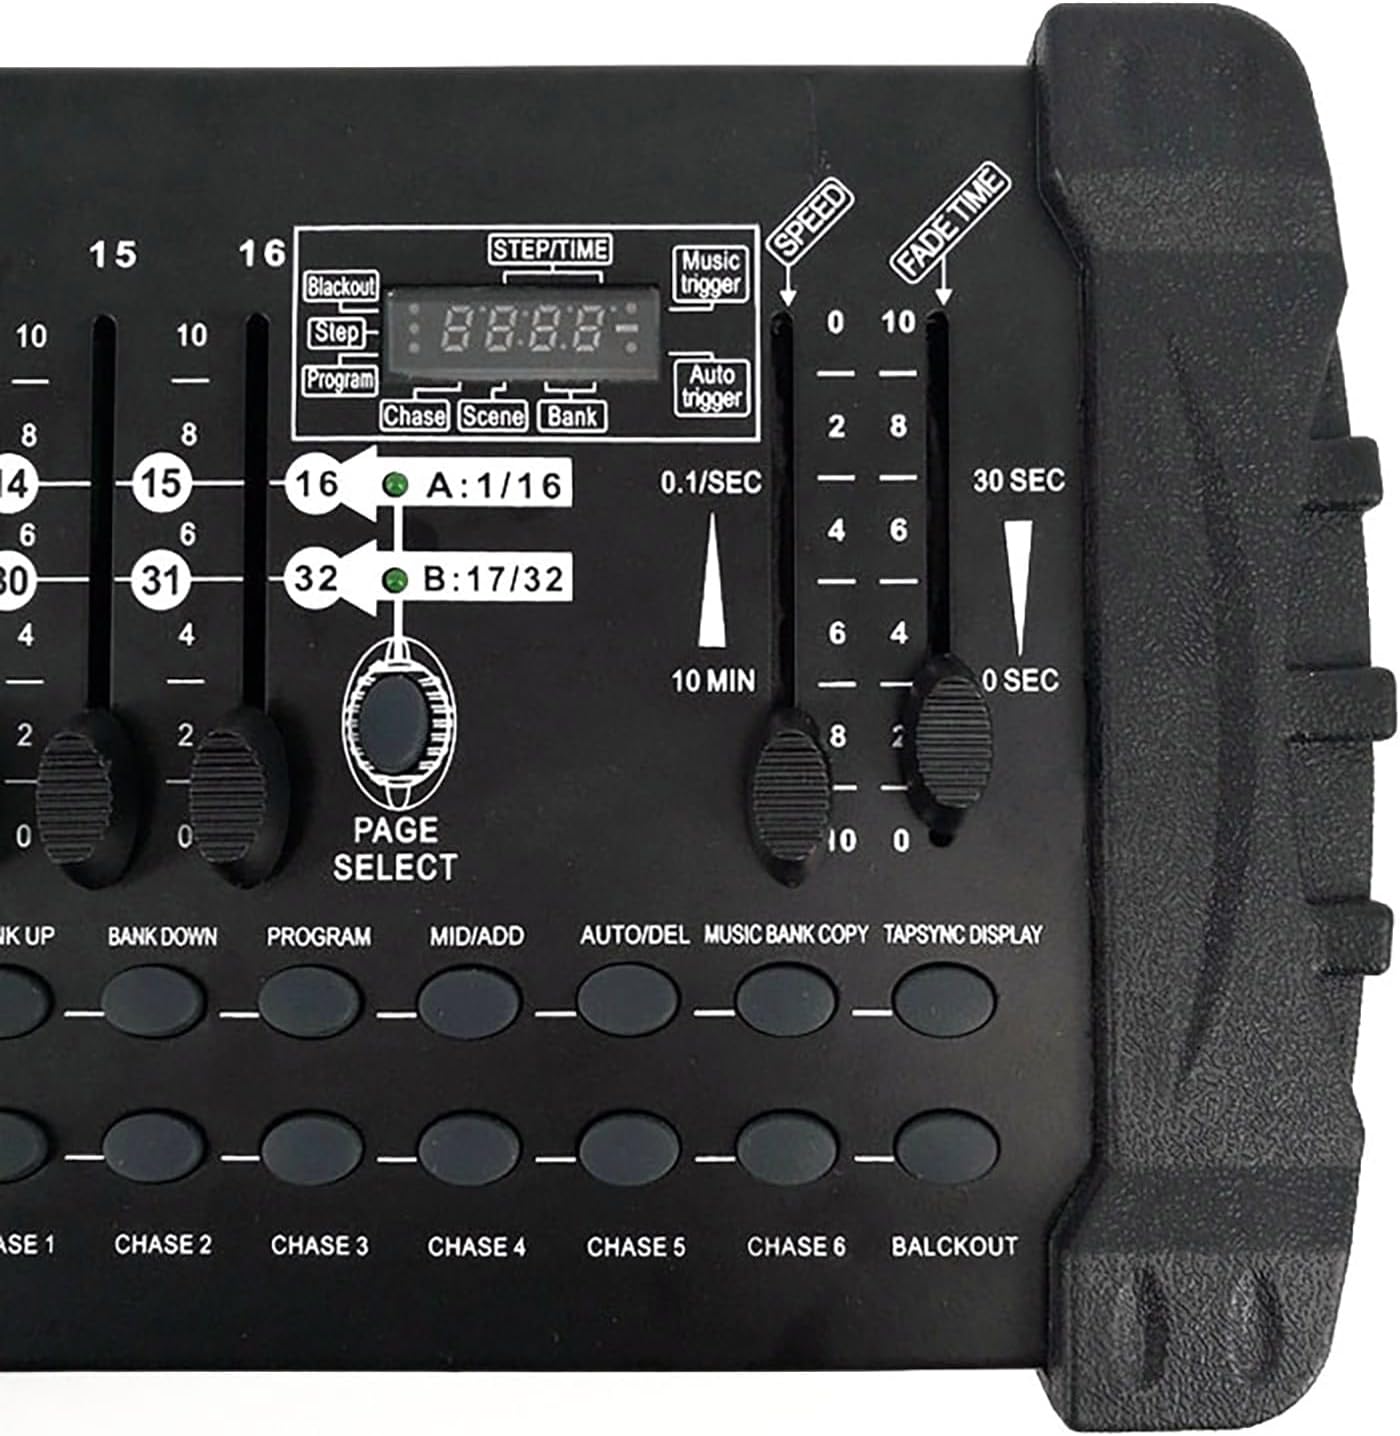
Figure 4: Close-up view of the LCD display, time/speed faders, and functional buttons.
4. Setup
Follow these steps to set up your DMX384 controller for operation.
- Power Connection: Connect the provided power adapter to the DC IN 9V 1000mA port on the rear of the controller and plug it into a suitable power outlet.
- DMX Output Connection: Connect your DMX-compatible lighting fixtures to the DMX 512 OUTPUT port (3-pin XLR) on the rear of the controller using a standard DMX cable. Ensure proper pin configuration (Pin 1: Ground, Pin 2: Data-, Pin 3: Data+).
- MIDI Connection (Optional): If using MIDI control, connect your MIDI device to the MIDI IN port.
- USB Connection (Optional): The USB port can be used for firmware updates or specific functionalities as outlined in advanced documentation.
- Power On: Flip the POWER switch to the ON position. The LCD display will illuminate.

Figure 5: Rear panel of the DMX384 controller, showing the DMX output, DC input, MIDI, and USB ports.
5. Operating Instructions
This section provides basic instructions for operating your DMX384 controller.
5.1. Setting DMX Addresses
Before controlling your lights, ensure each fixture has a unique DMX address set. Refer to your lighting fixture's manual for instructions on setting its DMX address. Once the DMX address is set on the controller and confirmed by pressing the OK key, it will be retained even after powering off and restarting the unit.
5.2. Controlling Fixtures and Channels
- Selecting Fixtures: Use the SCAN buttons (SCAN 1-12) to select the intelligent lighting fixture you wish to control.
- Channel Control: Use the 16 channel faders to adjust the values of the selected fixture's DMX channels. The LCD display will show the current channel values. Use the PAGE SELECT button to switch between channel pages A (1-16) and B (17-32) if your fixture uses more than 16 channels.
5.3. Programming Scenes
- Press the PROGRAM button to enter programming mode.
- Select the desired fixture(s) using the SCAN buttons.
- Adjust the channel faders to create the desired lighting state for your scene.
- Press the MIDI/ADD button to save the scene.
- Select one of the 30 bar stacks and then one of the 8 scene buttons to store your scene.
- Repeat for additional scenes.
- Press PROGRAM again to exit programming mode.
5.4. Running Chases (Sequences of Scenes)
The controller allows you to record up to 6 chases, each containing multiple scenes (up to 240 scenes per slot).
- Enter programming mode.
- Select a chase slot (CHASE 1-6).
- Add scenes to the chase in the desired order.
- Adjust SPEED and FADE TIME faders to control the transition between scenes.
- Exit programming mode.
- To activate a chase, press the corresponding CHASE button.
5.5. Music Mode
The built-in amplifier in music mode allows the controller to react to audio input, synchronizing lighting effects with music. Refer to the full manual for detailed setup of music mode.
6. Maintenance
Proper maintenance ensures the longevity and optimal performance of your DMX384 controller.
- Cleaning: Regularly wipe the surface of the controller with a soft, dry cloth. For stubborn dirt, a slightly damp cloth can be used, followed by immediate drying. Avoid abrasive cleaners or solvents.
- Storage: When not in use, store the controller in a cool, dry place away from direct sunlight and extreme temperatures.
- Handling: Handle the unit with care. Avoid dropping or subjecting it to strong impacts.
- Ventilation: Ensure proper ventilation around the unit to prevent overheating. Do not block any vents.
7. Troubleshooting
If you encounter issues with your DMX384 controller, refer to the following common troubleshooting steps.
| Problem | Possible Cause | Solution |
|---|---|---|
| Controller does not power on. | No power supply; faulty power adapter; power switch off. | Check power cable connection. Ensure power adapter is working. Verify power switch is in the ON position. Try a different power outlet. |
| Lights not responding to controller. | Incorrect DMX address on fixture; faulty DMX cable; fixture not in DMX mode; controller not in active mode. | Verify DMX addresses on fixtures match controller settings. Check DMX cable for damage. Ensure fixtures are set to DMX control mode. Confirm controller is not in programming or blackout mode. |
| Lights flickering or behaving erratically. | DMX signal interference; loose DMX connection; faulty fixture. | Ensure DMX cables are securely connected. Use DMX terminators if experiencing signal issues over long runs. Test with a different DMX cable or fixture to isolate the problem. |
| Cannot save or recall scenes/chases. | Not in programming mode; memory full; incorrect save procedure. | Ensure you are in PROGRAM mode. Follow the scene/chase saving instructions carefully. Check available memory slots. |
If the problem persists after attempting these solutions, please contact SHEHDS customer support.
8. Specifications
| Feature | Detail |
|---|---|
| Model | DMX384 |
| Control Channels | 384 DMX Channels (12 fixtures x 32 channels) |
| Scenes | 30 banks x 8 scenes (240 scenes total) |
| Chases | 6 chases, up to 240 scenes per chase |
| Power Source | Corded Electric (DC 9V 1000mA) |
| Material | Plastic, Aluminum (shell) |
| Product Dimensions (L x W x H) | 24.4" x 8.8" x 5.7" |
| Item Weight | 6.19 pounds |
| Light Source Type | LED (for display) |
| Mounting Type | Rack Mount (Note: May not fit standard 19" racks as per user feedback) |
| Certifications | Meets CE, ROHS, UL, and SAA specifications |
9. Warranty and Support
SHEHDS is committed to providing quality products and customer satisfaction.

Figure 6: SHEHDS customer service and warranty details, including instant customer service, 1-month replacement, and 1-year warranty.
- Instant Customer Service: For immediate assistance, please refer to the contact information provided with your product or on the official SHEHDS website.
- 1 Month Replacement: In case of manufacturing defects or malfunctions within one month of purchase, the product is eligible for replacement.
- 1 Year Warranty: The SHEHDS DMX384 Controller is covered by a one-year limited warranty from the date of purchase, covering defects in materials and workmanship.
For warranty claims or technical support, please contact SHEHDS customer service with your purchase details.


