
Introduction
This manual provides detailed instructions for the safe and effective use of the KAIWEETS KM201 Smart Digital Multimeter. The KM201 is a compact, auto-ranging multimeter designed for measuring voltage, resistance, and continuity, featuring True RMS for accurate readings and Non-Contact Voltage (NCV) detection for enhanced safety. Please read this manual thoroughly before operation and retain it for future reference.
Safety Information
Always adhere to local and national safety codes. Use appropriate personal protective equipment (PPE) when working with electrical circuits. Do not use the device if it appears damaged or if the test leads are compromised. Ensure the battery compartment is securely closed before operation.
Package Contents
Verify that all items are present in the package:
- 1 x KAIWEETS KM201 Smart Digital Multimeter
- 2 x AAA Batteries
- 1 x User Manual (this document)
Product Overview
The KAIWEETS KM201 is designed for ease of use and portability. Below is an illustration of the device and its main components.

Figure 1: Front and back view of the KAIWEETS KM201 Multimeter, showing the display, function buttons, and integrated test leads with storage clips.
Key Features:
- Smart Automatic Mode: Automatically identifies measurement type (voltage, resistance, continuity).
- True RMS: Provides accurate readings for non-sinusoidal waveforms.
- Non-Contact Voltage (NCV) Detection: Detects AC voltage without physical contact.
- Phase Sequence Test: Identifies live and phase wires.
- Backlight & Flashlight: Enhances visibility in low-light conditions.
- Data Hold: Freezes the current reading on the display.
- Auto Power Off: Conserves battery life.
- Low Battery Indicator: Alerts when battery replacement is needed.
Setup
Battery Installation
- Locate the battery compartment cover on the back of the multimeter.
- Use a screwdriver to open the battery compartment.
- Insert two AAA batteries, ensuring correct polarity (+/-).
- Replace the battery compartment cover and secure it with the screw.
Note: The device will display a low battery indicator when batteries need replacement.
Operating Instructions
Power On/Off
Press the Power button ( ) to turn the multimeter on or off. The device will automatically power off after a period of inactivity to conserve battery.
Smart Automatic Mode
The KM201 features a smart automatic mode that simplifies measurements. When powered on, the multimeter defaults to this mode, indicated by "Auto" on the display. In this mode, the device automatically detects and measures AC/DC voltage, resistance, and continuity.
Figure 2: The multimeter display indicating "Auto" mode, ready for automatic measurement.
Voltage Test (AC/DC)
In Smart Automatic Mode, connect the test leads to the circuit or component you wish to measure. The multimeter will automatically detect and display the AC or DC voltage.
- Ensure the test leads are securely plugged into the COM and INPUT jacks.
- Touch the red probe to the positive terminal or live wire and the black probe to the negative terminal or neutral/ground wire.
- Read the voltage value on the display.

Figure 3: Measuring DC voltage on a car battery using the KM201 multimeter.
Resistance and Continuity Test
In Smart Automatic Mode, the multimeter will automatically switch to resistance or continuity measurement when connected to a non-powered circuit.
- Ensure the circuit is de-energized before connecting the test leads.
- Connect the test leads across the component or circuit path.
- For continuity, if the resistance is less than approximately 50 ohms, the screen will turn green and a beeping sound will indicate continuity.
- For resistance, the display will show the resistance value in ohms (Ω), kilohms (kΩ), or megohms (MΩ).
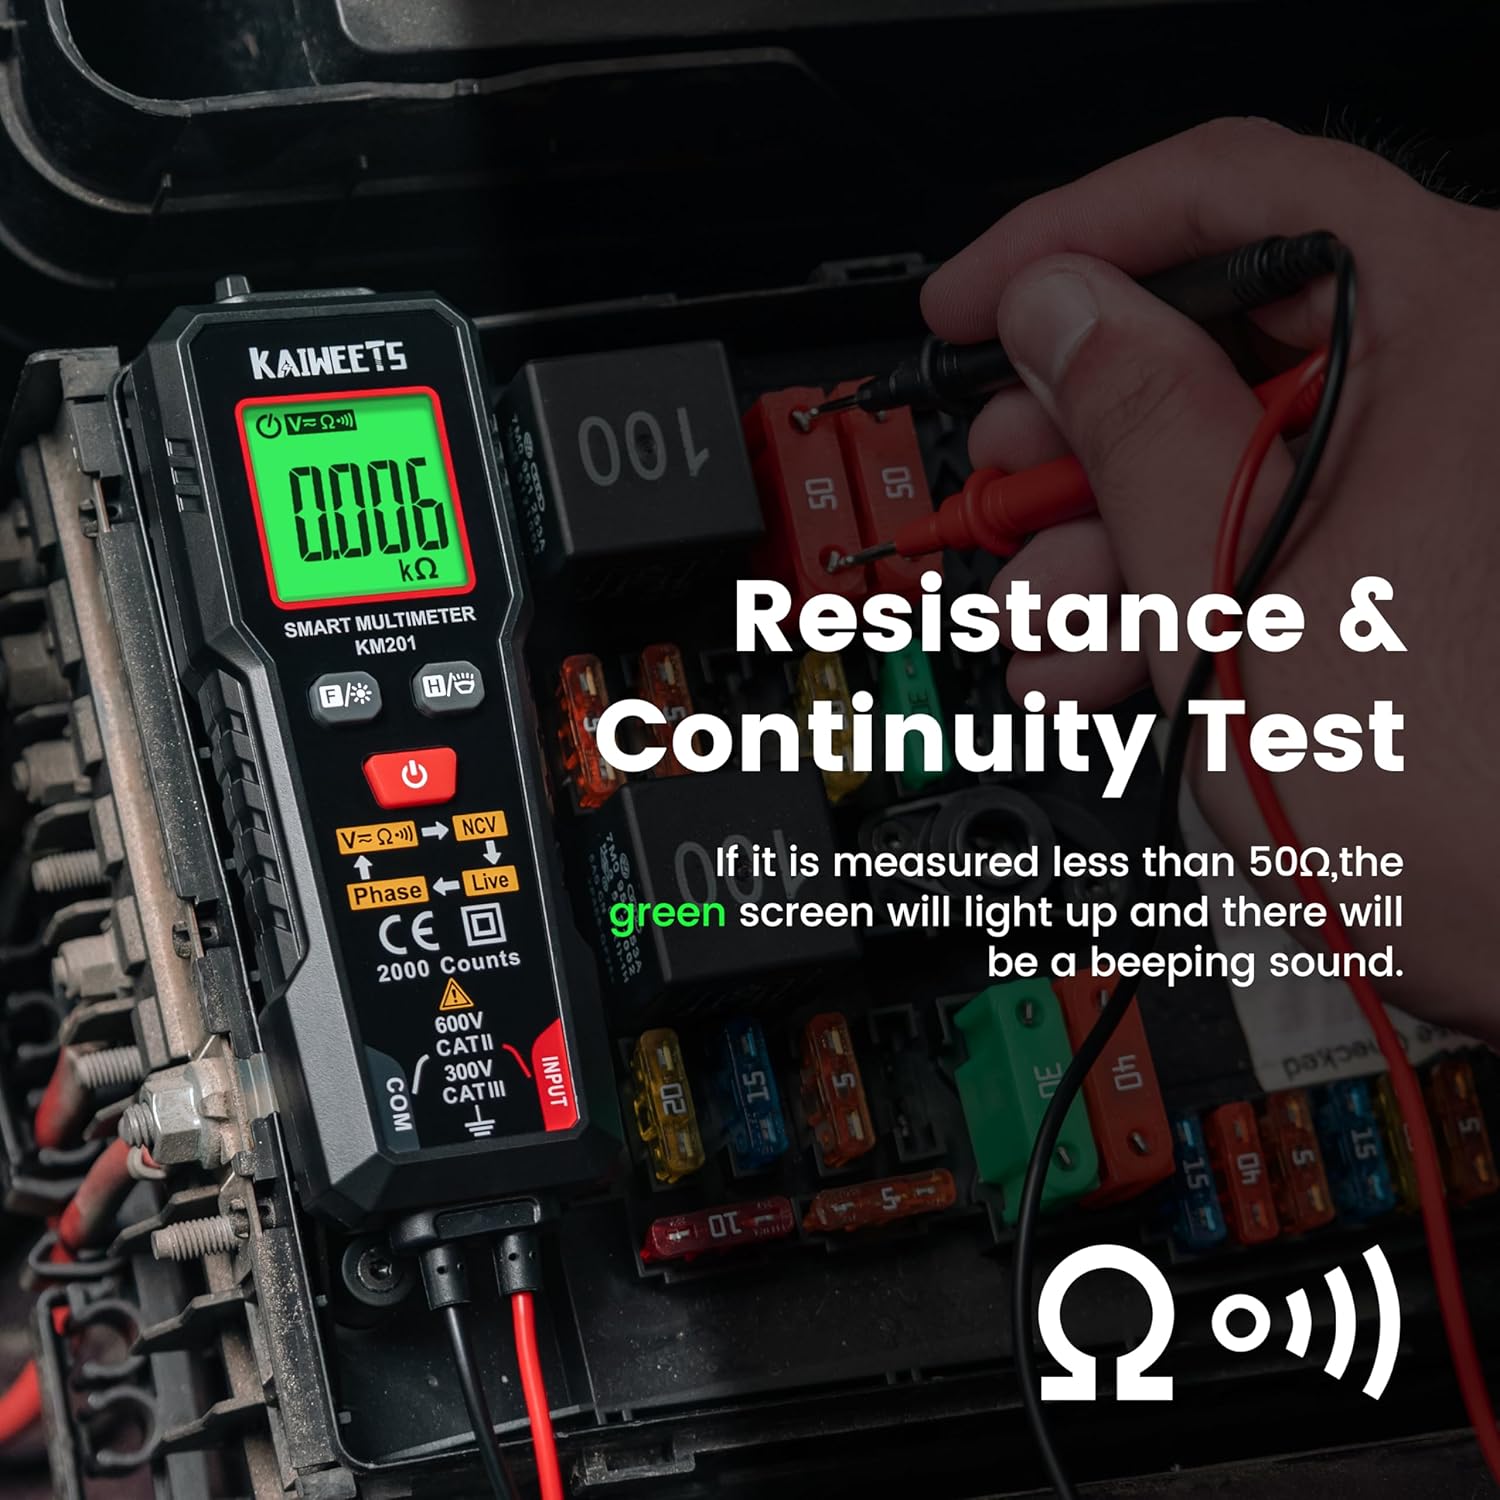
Figure 4: Performing a resistance and continuity test on electrical components within a fuse box.
Non-Contact Voltage (NCV) Detection
The NCV function allows for safe detection of AC voltage without direct contact with conductors.
- Press the NCV button (labeled V=K))) NCV) to activate NCV mode.
- Move the top tip of the multimeter close to the wire or outlet.
- If AC voltage is detected, the screen will display red, show "-H", and emit a rapid beeping sound, indicating the presence of live voltage.
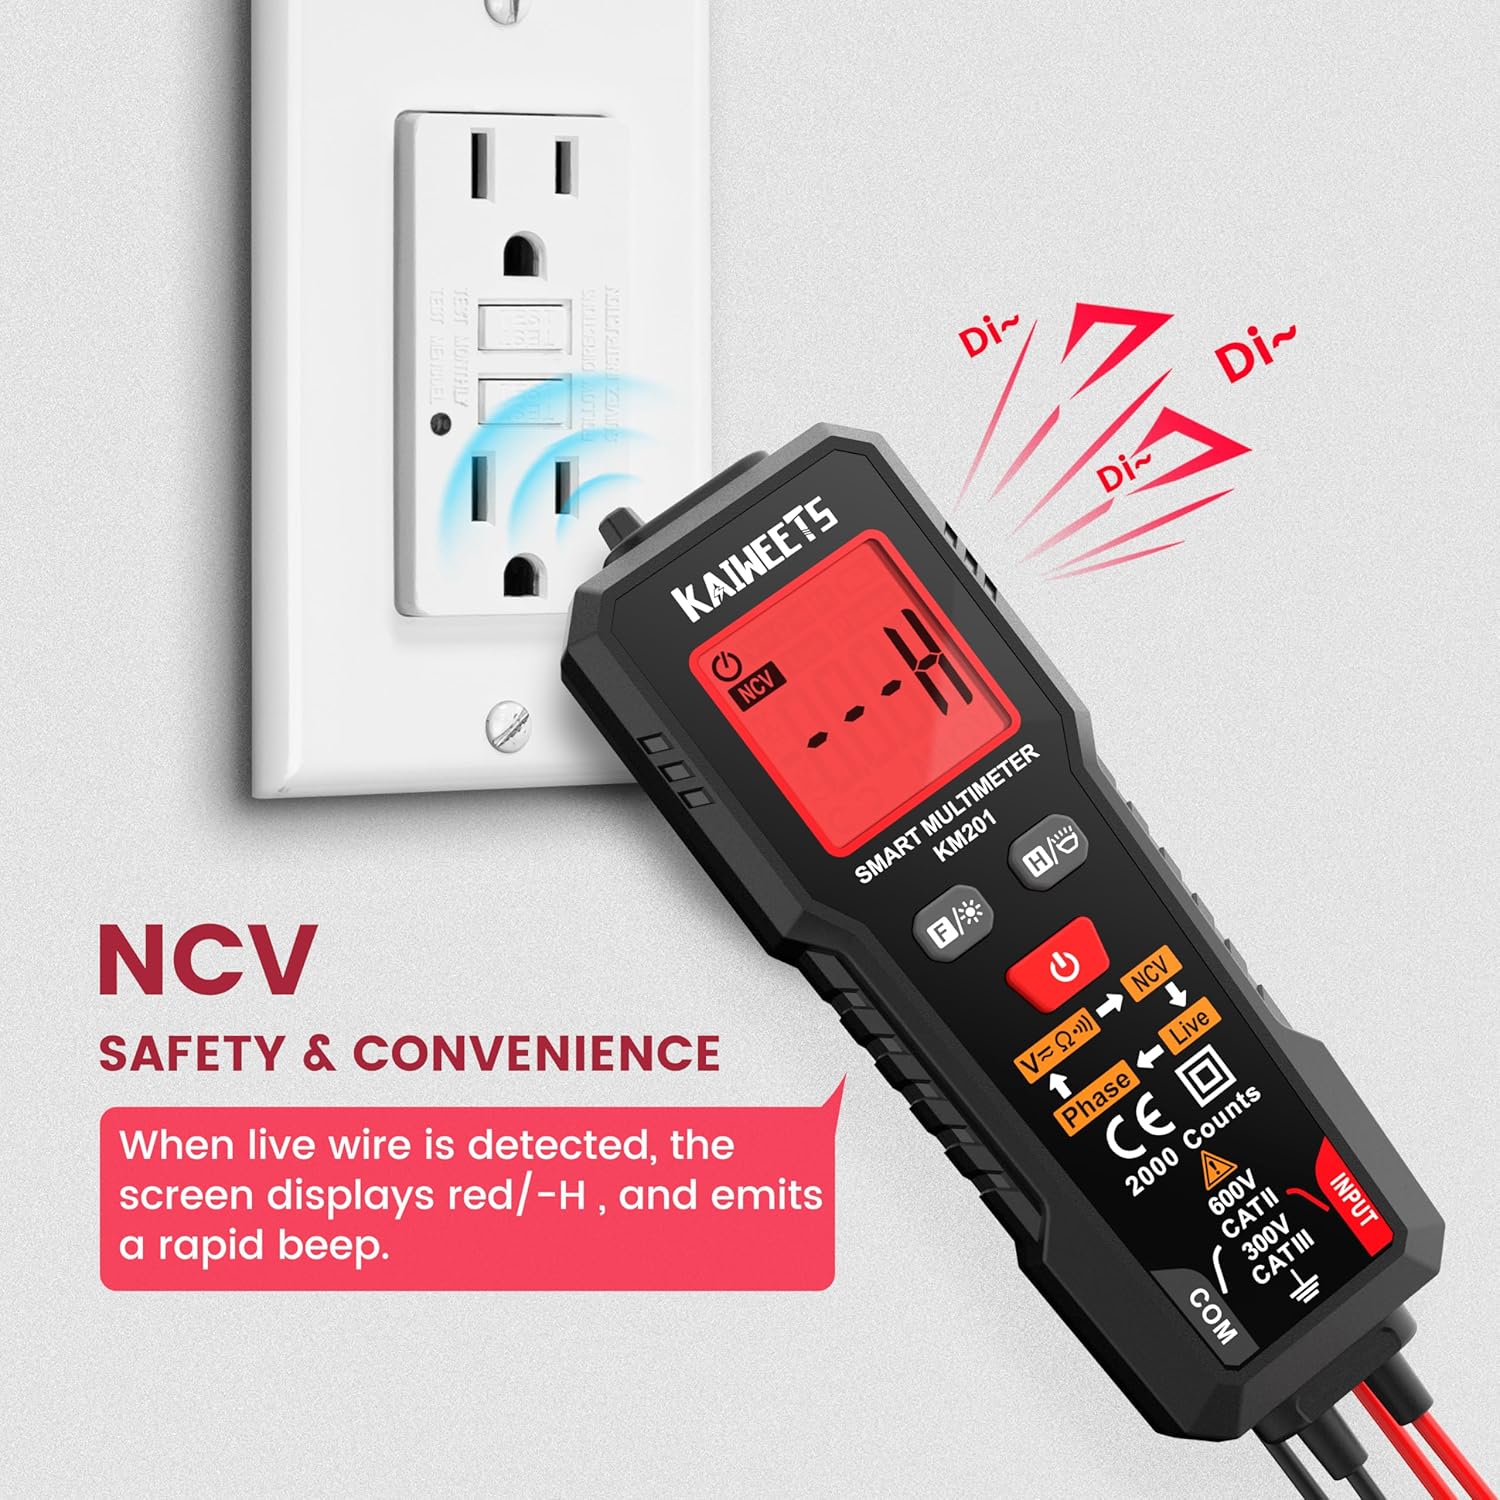
Figure 5: Using the NCV function to detect live voltage in an electrical outlet, indicated by a red screen and audible alarm.
Phase Test
The phase test helps identify live and phase wires.
- Press the Phase button (labeled Phase ← Live) to activate the phase test mode.
- Touch the red probe to the wire you want to test.
- The display will indicate "Phase" or "Live" to identify the wire type.
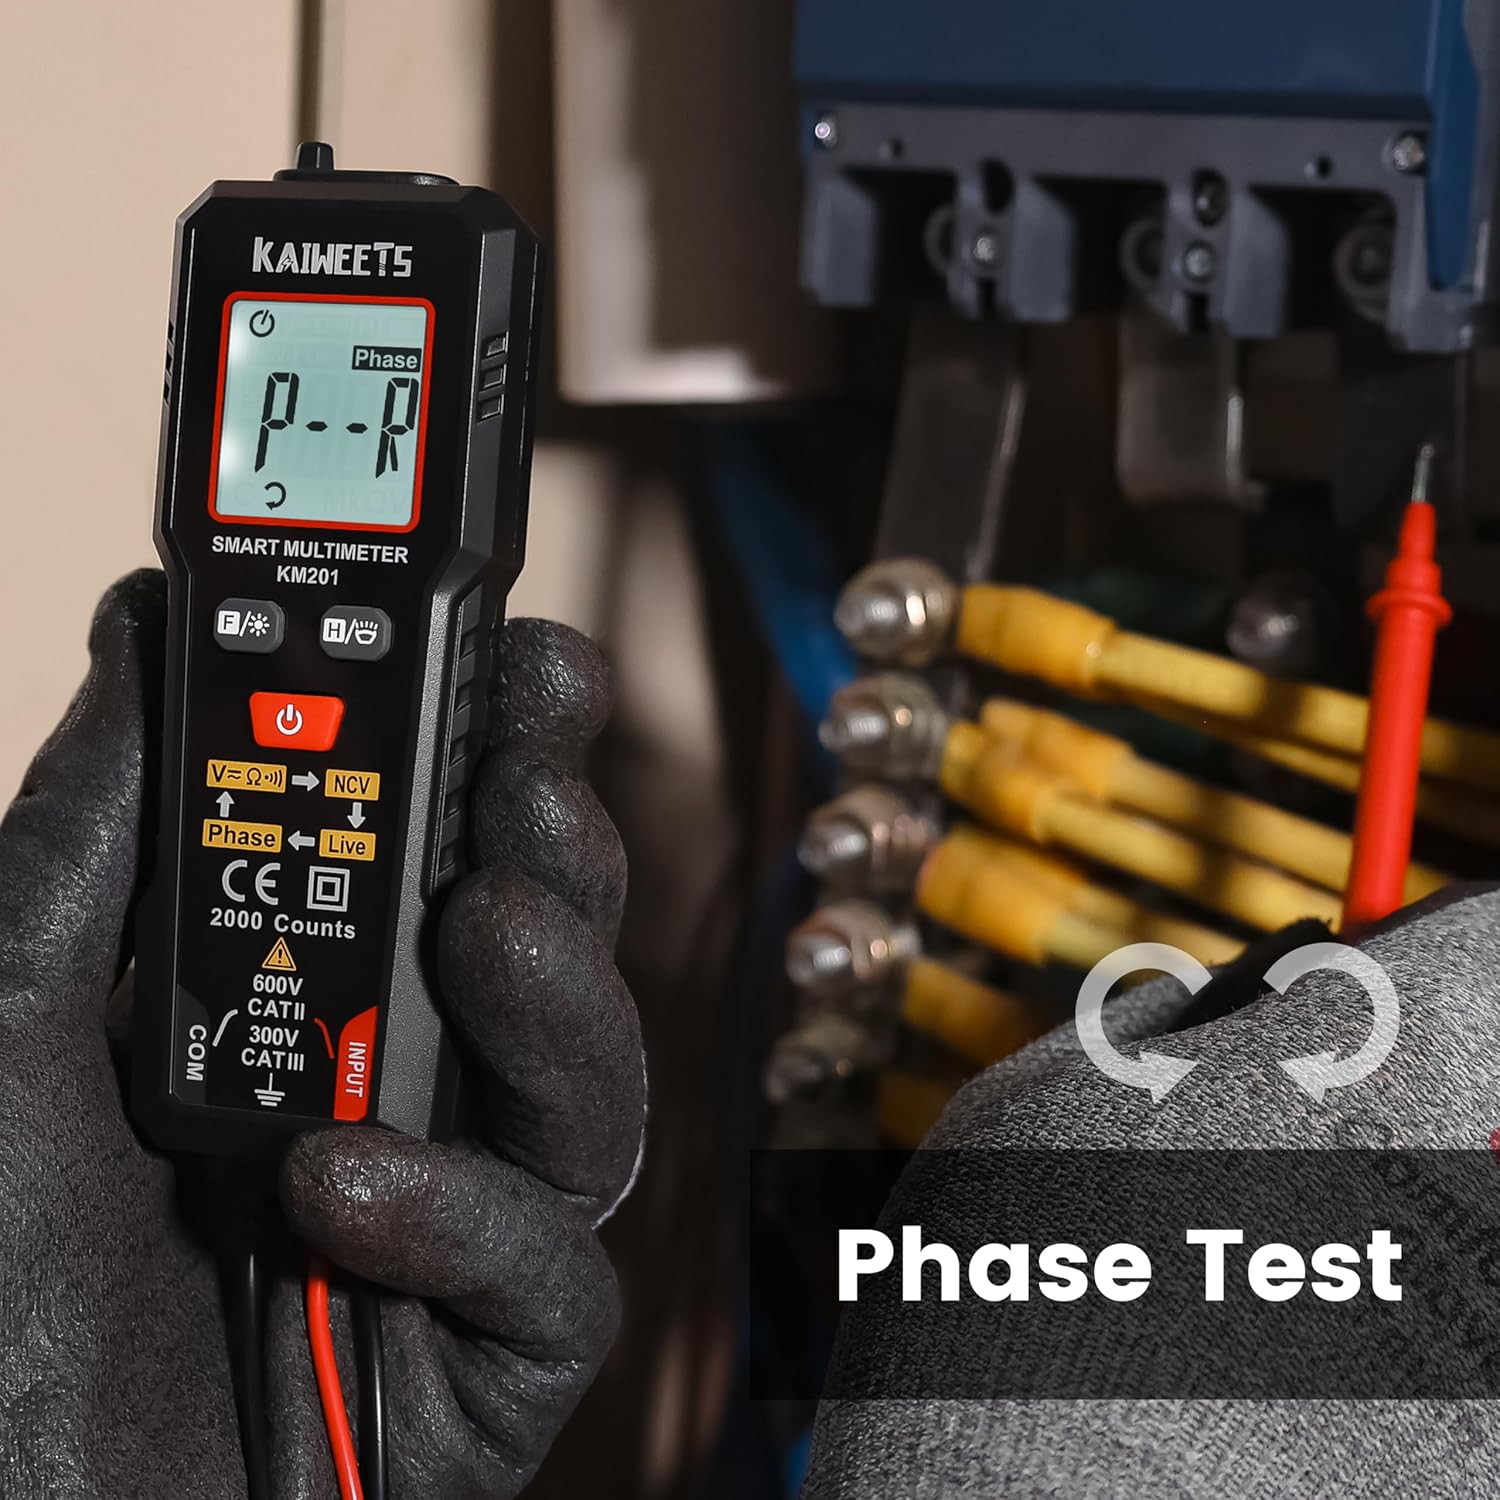
Figure 6: Performing a phase test on electrical wiring to identify live conductors.
Backlight and Flashlight
The KM201 includes a backlight for the display and a built-in flashlight for improved visibility in dark environments.
- Press the Backlight/Flashlight button (
 ) to toggle the display backlight.
 - Press and hold the Backlight/Flashlight button to turn the flashlight on or off.
Figure 7: The KM201 multimeter with its display backlight and integrated flashlight active, illuminating wires in a dark space.
Maintenance
Cleaning
Wipe the multimeter casing with a damp cloth and mild detergent. Do not use abrasive cleaners or solvents. Ensure the device is dry before storage or use.
Battery Replacement
When the low battery indicator appears on the display, replace the batteries as described in the "Battery Installation" section. Always use two new AAA batteries of the same type.
Storage
If the multimeter will not be used for an extended period, remove the batteries to prevent leakage. Store the device in a cool, dry place, away from direct sunlight and extreme temperatures.
Troubleshooting
| Problem | Possible Cause | Solution |
|---|---|---|
| Multimeter does not power on. | Dead or incorrectly installed batteries. | Check battery polarity or replace batteries. |
| Inaccurate readings. | Damaged test leads; incorrect measurement technique; external interference. | Inspect test leads for damage; ensure proper connection; move away from strong electromagnetic fields. |
| "Auto" mode not selecting desired measurement (e.g., continuity instead of voltage). | The smart auto mode prioritizes voltage detection. If a small voltage is present, it may default to voltage measurement. | Ensure the circuit is completely de-energized for resistance/continuity tests. The KM201 is primarily designed for automatic detection, which may not suit all specific manual mode requirements. |
| Display is dim or flickering. | Low battery. | Replace batteries. |
Specifications
| Feature | Detail |
|---|---|
| Model Number | KM201 |
| Brand | KAIWEETS |
| Display Counts | 2000 Counts |
| Measurement Type | Smart Digital Multimeter (True RMS) |
| Power Source | 2 x AAA Batteries (included) |
| Dimensions (L x W x H) | 13.97 x 4.57 x 3.56 cm (5.5 x 1.8 x 1.4 inches) |
| Weight | 200 grams (approx. 7.05 oz) |
| Safety Rating | 600V CAT II, 300V CAT III, CE compliant |
| Features | Smart Auto Mode, NCV, Phase Test, Backlight, Flashlight, Data Hold, Auto Power Off, Low Battery Indicator |
Warranty and Support
KAIWEETS provides a 36-month service warranty and lifetime technical support for the KM201 Smart Digital Multimeter. For any inquiries, technical assistance, or warranty claims, please contact KAIWEETS customer service through their official channels.


