1. Introduction
This user manual provides comprehensive instructions for the operation and maintenance of your Hangrui Kids Instant Print Camera, Model C11. Please read this manual thoroughly before using the camera to ensure proper function and longevity of the device. This camera is designed to capture and instantly print black and white photos, record videos, and offer interactive features for children.
2. Product Overview
The Hangrui Kids Instant Print Camera is a digital camera featuring a 2.4-inch HD IPS screen, 12-megapixel photo resolution, and 1080P video recording capabilities. Its primary function is instant black and white photo printing without the need for ink. The camera also includes various creative features such as filters, cartoon photo frames, a music player, and puzzle games.
Key Features:
- Instant Print Function: Print black and white photos directly from the camera without ink.
- High Resolution: 12MP photos and 1080P video recording.
- 2.4-inch HD IPS Screen: Clear display for viewing photos and videos.
- Digital Zoom: Up to 16x digital zoom for capturing distant subjects.
- Creative Modes: Various filters, cartoon photo frames, and continuous shooting.
- Entertainment: Built-in music player and puzzle games.
- Storage: Supports external storage via SD card (32GB card included).
- Connectivity: USB for file transfer and charging.

Figure 2.1: Overview of the camera's dimensions and key features, including 2.4-inch IPS screen, 1080P video, 16X zoom, print photos, graffiti DIY, multi funny frame, music, puzzle game, and 32GB storage.
Product Video:
Video 2.1: An official product video demonstrating the key features and functions of the Hangrui Kids Instant Print Camera, including instant printing, creative DIY, photo frames, video recording, zoom, and built-in games.
3. What's in the Box
Upon opening the package, please ensure all the following items are present:
- 1 x Hangrui Kids Instant Print Camera
- 1 x 32 GB Memory Card
- 3 x Rolls of Printing Paper
- 5 x Colored Pencils
- 1 x Lanyard
- 1 x USB Cable
- 1 x Cartoon Stickers
- 1 x User Manual (this document)

Figure 3.1: All items included in the product package: the camera, 32GB memory card, printing paper rolls, colored pencils, lanyard, USB cable, and cartoon stickers.
4. Setup
4.1 Charging the Camera
Before first use, fully charge the camera. Connect the provided USB cable to the camera's charging port and the other end to a USB power adapter (not included) or a computer's USB port. The charging indicator light will show the charging status.

Figure 4.1: The camera's side panel, illustrating the location of the SD card slot and the USB charging port for power and data transfer.
4.2 Inserting the SD Card
The camera requires an SD card to save photos and videos. Insert the included 32GB memory card into the designated SD card slot on the side of the camera until it clicks into place. Ensure the card is inserted in the correct orientation.
4.3 Installing Printer Paper
Follow these steps to load the thermal printing paper:
- Step 1: Pull open the film door on the camera as shown in the diagram.
- Step 2: Insert a roll of printer paper into the compartment. Ensure the paper feeds out about 1-2 inches in length from the slot.
- Step 3: Close the film door securely.
- Step 4: Enter the camera function and press the "Print" button. The icon in the upper right corner of the screen will switch to print mode, indicating readiness.

Figure 4.2: Visual instructions for loading the thermal printing paper into the camera's dedicated compartment.
5. Operating Instructions
5.1 Power On/Off
Press and hold the power button (usually located on the top or side) for a few seconds to turn the camera on or off.
5.2 Taking Photos and Instant Printing
In camera mode, frame your shot using the IPS screen. Press the shutter button to take a photo. The camera will automatically print a black and white version of the photo. The photo is also saved to the SD card.

Figure 5.1: Demonstration of the camera's zero-ink instant printing capability, showing a child taking a picture and the resulting black and white prints.
You can adjust the print density in the settings menu to improve print quality based on lighting conditions. There are 5 print density levels available.

Figure 5.2: Illustration of the camera's two print modes and five print density settings, allowing users to choose the suitable density for optimal print quality.
5.3 Video Recording
Switch to video recording mode. Press the shutter button to start recording and press it again to stop. Videos are saved to the SD card.

Figure 5.3: Visual representation of the camera's advanced functions, including video recording, time-lapse photography (3s/5s/10s), up to 16X digital zoom, and burst recording for capturing multiple rapid shots.
5.4 Using Filters and Photo Frames
Navigate through the camera's menu to access various filters and cartoon photo frames. Select your desired effect before taking a photo to add a creative touch.
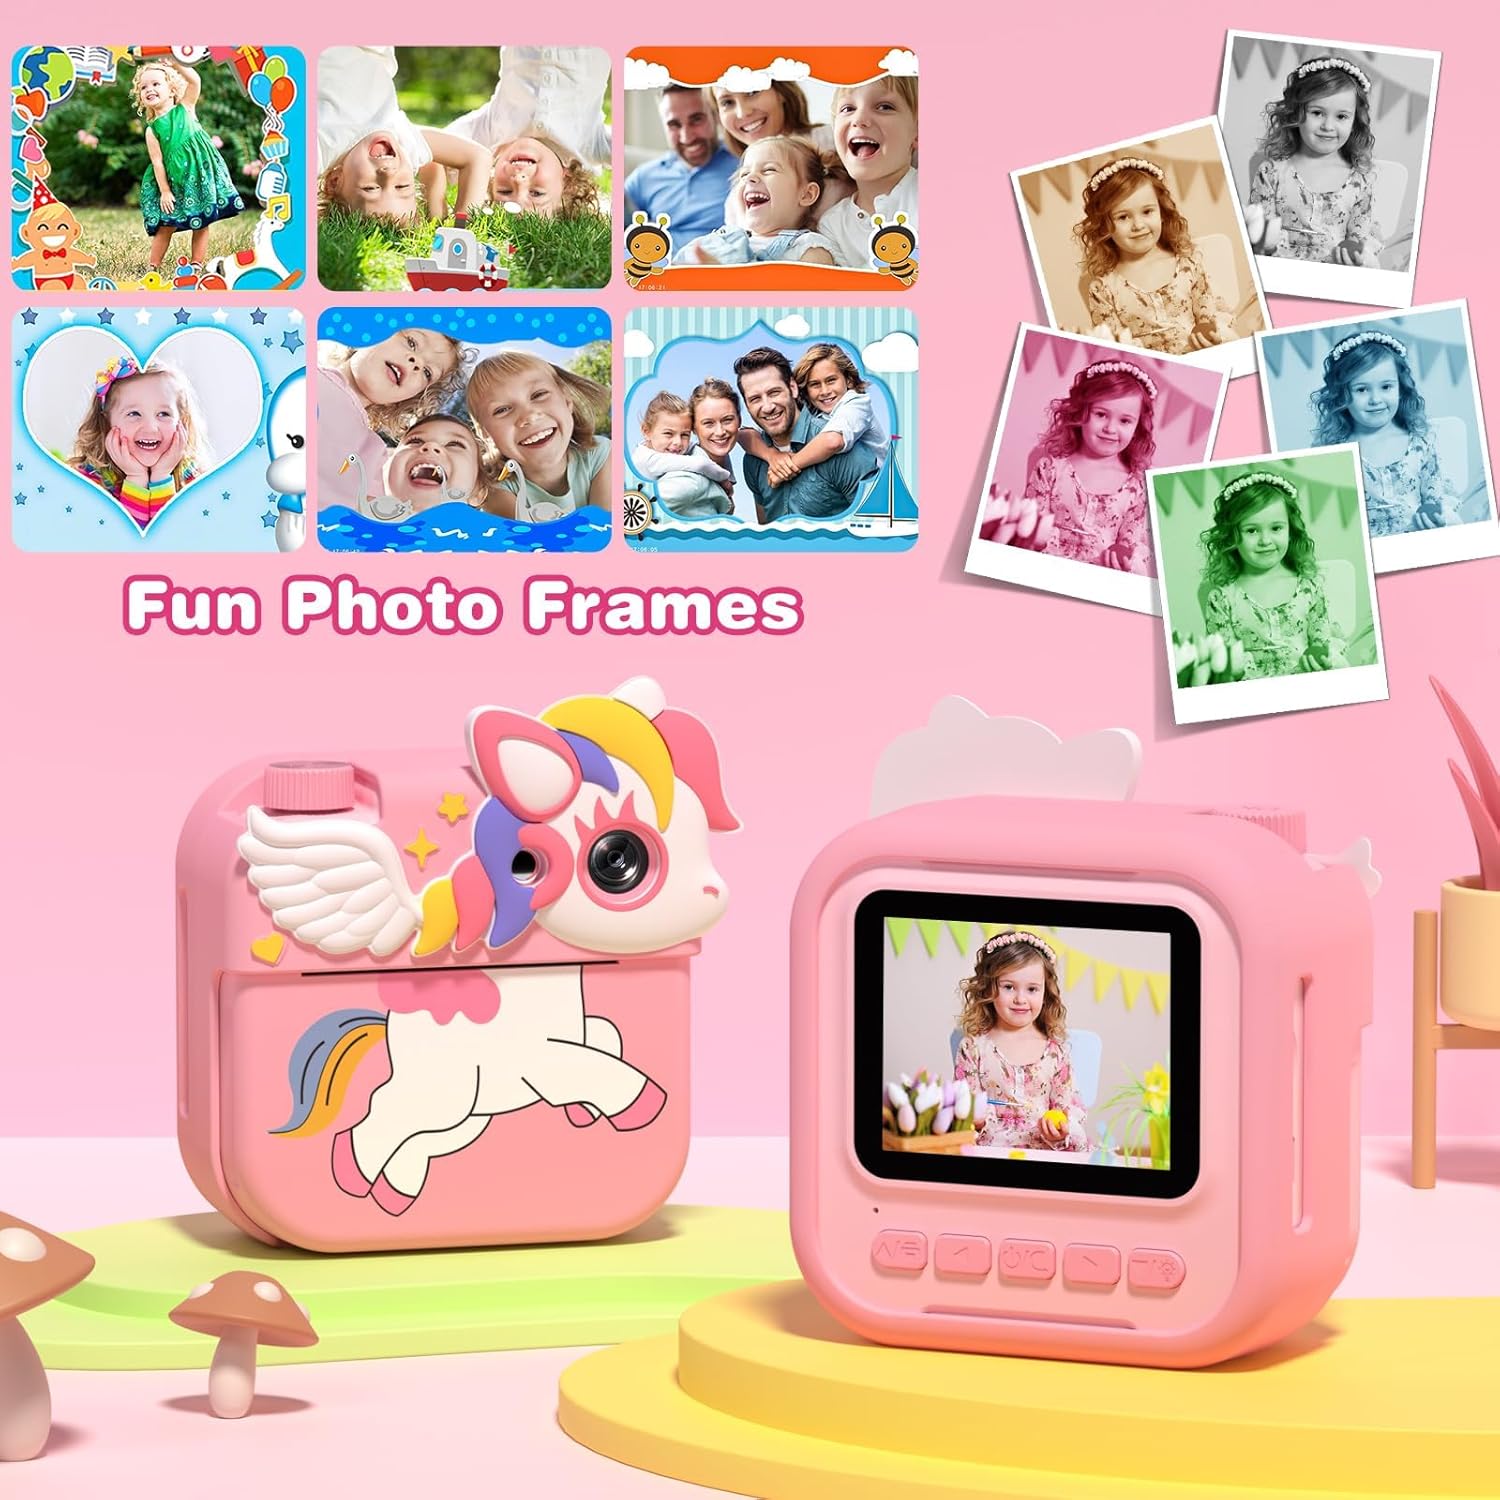
Figure 5.4: A display of the various fun photo frames and color filters that can be applied to images taken with the camera, enhancing creativity.
5.5 Playing Games
The camera includes 5 puzzle games for entertainment. Access them through the main menu.

Figure 5.5: The camera's screen showing one of the five built-in puzzle games, providing an additional entertainment feature for users.
5.6 Transferring Files
To transfer photos and videos to a computer, connect the camera using the provided USB cable. The camera will appear as a removable disk drive. Alternatively, you can remove the SD card and use a card reader (not included) to access the files.
6. Maintenance
6.1 Cleaning the Camera
Use a soft, dry cloth to clean the camera body and screen. Do not use liquid cleaners or abrasive materials, as they may damage the surface. For the lens, use a specialized lens cleaning cloth.
6.2 Paper Handling
When tearing off a printed photo, always pull the paper straight down. Pulling the paper upwards or at an angle may cause the film door to open prematurely or damage the internal print mechanism.
6.3 Battery Care
To prolong battery life, avoid fully discharging the camera frequently. Charge the camera regularly, even if not in use for extended periods. Store the camera in a cool, dry place.
7. Troubleshooting
| Problem | Possible Cause | Solution |
|---|---|---|
| Camera does not turn on. | Low battery. | Charge the camera fully using the provided USB cable. |
| Photos are not printing. | No paper, paper jammed, or film door not closed properly. | Check if paper is loaded correctly. Ensure the film door is securely closed. If jammed, gently remove the paper and re-insert. |
| Printed photos are too dark/light. | Incorrect print density setting. | Adjust the print density setting in the camera's menu. Experiment with different levels to find the optimal setting for your environment. |
| Cannot save photos/videos. | No SD card, SD card full, or SD card error. | Ensure an SD card is inserted. Check available storage space. If the card is full, transfer files to a computer and delete them from the card, or replace the card. Reformat the SD card if errors persist (this will erase all data). |
| Camera freezes or becomes unresponsive. | Software glitch or temporary error. | Press and hold the power button for 10-15 seconds to force a restart. If the issue persists, ensure the battery is charged and try again. |
8. Specifications
| Feature | Detail |
|---|---|
| Brand | Hangrui |
| Model Name | C11 |
| Screen | 2.4-inch HD IPS Screen |
| Photo Resolution | 12 Megapixels |
| Video Resolution | 1080P |
| Film Format Type | Instant (Thermal) |
| Film Color | Black and White |
| Digital Zoom | Up to 16x |
| Storage | Supports SD Card (32GB included) |
| Connectivity | USB |
| Item Weight | 32 Grams |
| Item Dimensions (L x W x H) | 3.39 x 3.39 x 2.05 inches (8.6 x 8.6 x 5.2 cm) |
| Exposure Control Type | Automatic |
| Shutter Type | Mechanical |
9. Warranty and Support
For any product inquiries, technical support, or warranty claims, please contact the seller directly through the platform where the purchase was made. The manufacturer, Hangrui, and seller, HangRuiDirect, are committed to providing assistance for their products.
Please retain your proof of purchase for any warranty-related requests.


