1. Introduction
This manual provides detailed instructions for the installation, operation, and maintenance of your ID-COOLING FROZN A410 Black Air CPU Cooler. Please read this manual thoroughly before installation to ensure proper setup and optimal performance.
The FROZN A410 is a high-performance air CPU cooler designed for efficient heat dissipation, featuring 4 direct-contact heat pipes and a 120mm FDB fan. It is compatible with a wide range of Intel and AMD sockets.
Description: This video provides a brief overview of the ID-COOLING FROZN A410 Black CPU Cooler, showcasing its design and features.
2. Safety Information
- Ensure your computer is powered off and unplugged from the wall outlet before installation.
- Handle components with care to avoid damage.
- Avoid touching the fan blades while the fan is operating.
- Keep thermal paste away from children and pets. If ingested, seek medical attention immediately.
- Refer to your motherboard manual for specific instructions regarding CPU and cooler installation.
3. Package Contents
Verify that all components listed below are present in your package:
- Heatsink
- 120mm Cooling Fan
- Mounting Hardware (for Intel and AMD sockets)
- Thermal Paste
- Installation Guide (this document)
4. Specifications
| Feature | Detail |
|---|---|
| Product Dimensions | 4.72"L x 0.98"W x 4.72"H (Fan dimensions) |
| Brand | ID-COOLING |
| Power Connector Type | 4-Pin PWM |
| Voltage | 12 Volts |
| Wattage | 35 watts |
| Cooling Method | Air |
| Compatible Devices | Desktop |
| Noise Level | 29.85 dB(A) Max. |
| Material | Aluminum (Heatsink fins) |
| Maximum Rotational Speed | 2000 RPM |
| Air Flow Capacity | 78.25 Cubic Feet Per Minute (CFM) |
| Item Weight | 2.2 pounds |
| CPU Socket Compatibility | Intel LGA1700/1851/1200/115X; AMD AM4/AM5 |
5. Installation Guide
Follow these general steps for installation. Refer to the specific platform instructions and included diagrams for detailed guidance.
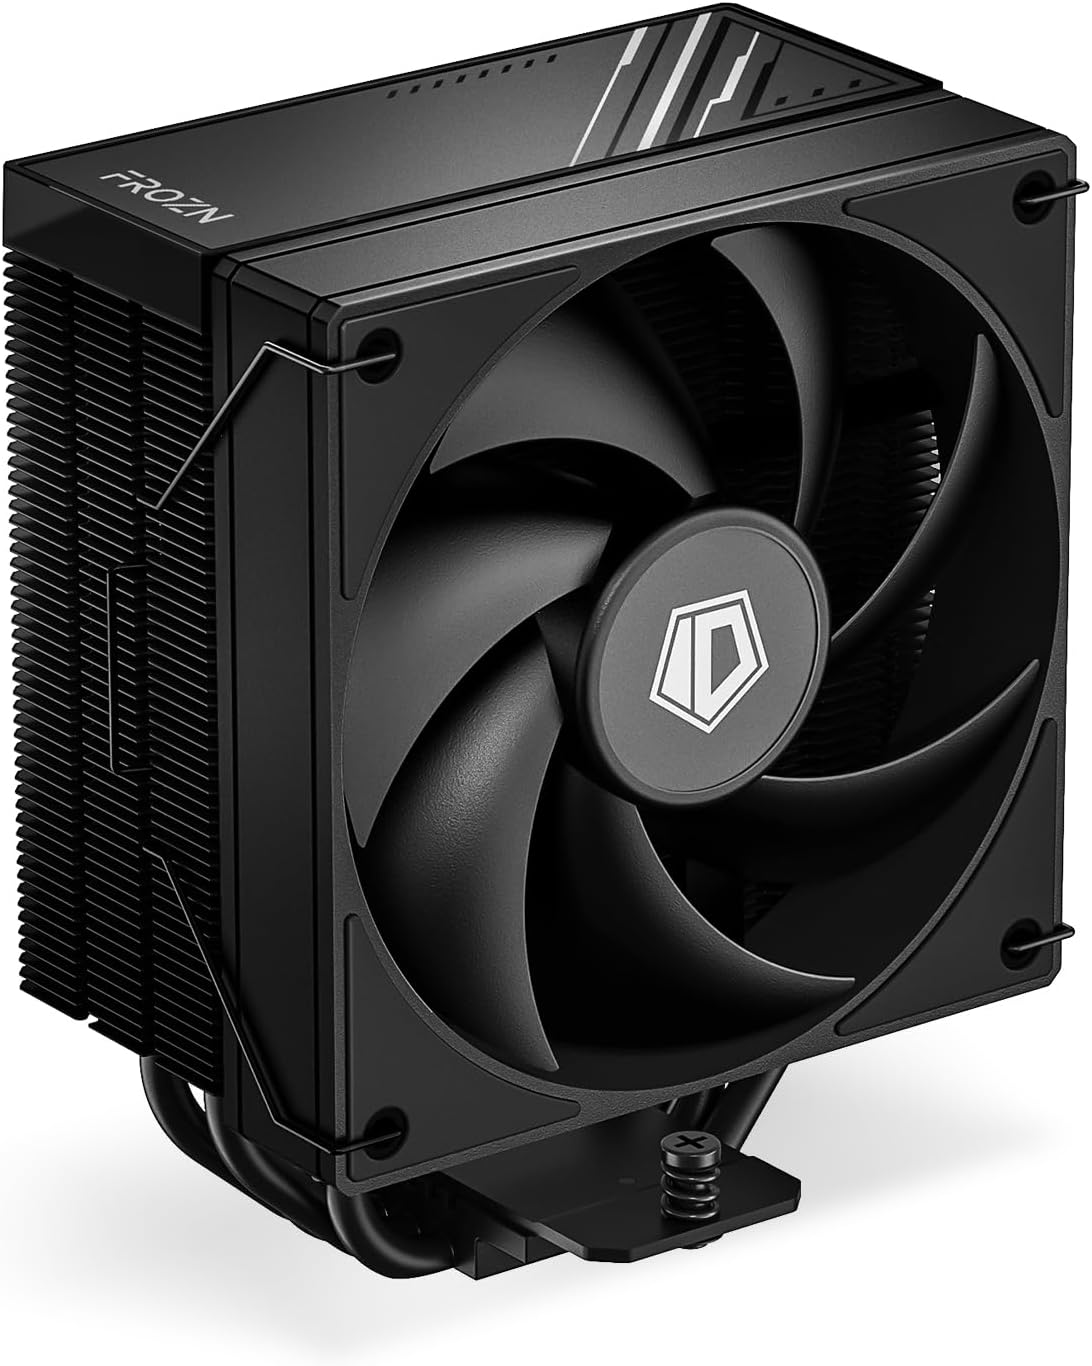
Description: A detailed view of the ID-COOLING FROZN A410 Black Air CPU Cooler, highlighting its compact design and fan.
5.1. General Pre-Installation Steps
- Power off your computer and unplug it from the power source.
- Open your computer case to access the motherboard.
- Remove any existing CPU cooler. Clean the CPU surface thoroughly to remove old thermal paste using an alcohol wipe or similar cleaner.
- Identify your CPU socket type (Intel LGA or AMD AM).
5.2. Intel LGA1700/1851/1200/115X Installation
For Intel platforms, use the provided Intel backplate, standoffs, and brackets.
- Step 1: Prepare the Backplate. Adjust the screws on the Intel backplate to the corresponding positions for your socket type (LGA1851/1700: pull screws outward; LGA1200/115X: push screws inward). Remove the adhesive backing and install the backplate on the back of the motherboard, aligning the screws with the mounting holes.
- Step 2: Install Standoffs and Brackets. Thread the stud bolts onto the backplate screws. Place the Intel brackets over the stud bolts, ensuring correct orientation for your socket type (LGA1851/1700 or LGA1200/115X). Secure them with the tightening nuts.
- Step 3: Apply Thermal Paste. Clean the CPU surface. Apply a thin, even layer of the included thermal paste onto the center of the CPU's integrated heat spreader (IHS).
- Step 4: Install Heatsink. Remove the protective sticker from the bottom of the heatsink. Carefully place the heatsink onto the CPU, aligning the mounting holes with the brackets. Secure the heatsink by tightening the two screws on each side in an alternating cross pattern until snug. Do not overtighten.
- Step 5: Install Fan. Secure the 120mm fan to the heatsink tower using the provided fan clips.
- Step 6: Connect Fan Cables. Connect the fan's 4-pin power cable to the "CPU_FAN" header on your motherboard. If your model has ARGB lighting, connect the ARGB cable to the appropriate ARGB header (e.g., ASUS AURA, MSI MYSTIC LIGHT, GIGABYTE RGB FUSION, ASROCK POLYCHROME SYNC).
Visual Aid: For a visual demonstration of the Intel installation process, please refer to the following video:
Description: This video demonstrates the installation of the FROZN A620 PRO SE cooler on an Intel LGA platform, which uses a similar mounting mechanism to the FROZN A410. It covers backplate preparation, standoff and bracket installation, thermal paste application, heatsink mounting, and fan attachment.
5.3. AMD AM4/AM5 Installation
For AMD platforms, the motherboard's stock backplate is needed. Use the provided AMD standoffs and brackets.
- Step 1: Remove Stock Retention Frame. Remove the original AMD plastic retention frame from the motherboard. Keep the motherboard's stock backplate in place.
- Step 2: Install Standoffs and Brackets. Install the red AMD standoffs onto the motherboard's stock backplate screws. Place the AMD brackets over the standoffs. Secure them with the tightening nuts.
- Step 3: Apply Thermal Paste. Clean the CPU surface. Apply a thin, even layer of the included thermal paste onto the center of the CPU's integrated heat spreader (IHS).
- Step 4: Install Heatsink. Remove the protective sticker from the bottom of the heatsink. Carefully place the heatsink onto the CPU, aligning the mounting holes with the brackets. Secure the heatsink by tightening the two screws on each side in an alternating cross pattern until snug. Do not overtighten.
- Step 5: Install Fan. Secure the 120mm fan to the heatsink tower using the provided fan clips.
- Step 6: Connect Fan Cables. Connect the fan's 4-pin power cable to the "CPU_FAN" header on your motherboard. If your model has ARGB lighting, connect the ARGB cable to the appropriate ARGB header (e.g., ASUS AURA, MSI MYSTIC LIGHT, GIGABYTE RGB FUSION, ASROCK POLYCHROME SYNC).
Visual Aid: For a visual demonstration of the AMD AM4/AM5 installation process, please refer to the following video:
Description: This video demonstrates the installation of the SE 224 XTS cooler onto an AMD AM5 platform, which uses a similar mounting mechanism to the FROZN A410. It covers removal of the stock retention frame, standoff and bracket installation, thermal paste application, heatsink mounting, and fan attachment.
6. Operating Instructions
The ID-COOLING FROZN A410 features a 120mm PWM (Pulse Width Modulation) fan and Fluid Dynamic Bearing (FDB) technology for optimal performance.
- PWM Functionality: The fan speed is automatically controlled by your motherboard based on CPU temperature. This ensures efficient cooling when needed and quiet operation during lighter loads. You can typically adjust fan curves in your motherboard's BIOS/UEFI settings or through manufacturer-provided software.
- Fluid Dynamic Bearing (FDB): The FDB fan is designed for quieter operation, reduced vibration, and a longer lifespan compared to traditional bearings.
- Optimal Airflow: Ensure proper airflow within your PC case by maintaining clear pathways for air intake and exhaust.
7. Maintenance
- Dust Cleaning: Periodically clean dust from the heatsink fins and fan blades using compressed air or a soft brush. Ensure the fan is not spinning during cleaning.
- Thermal Paste: Thermal paste should be reapplied if the cooler is removed or if CPU temperatures become consistently higher than normal. Clean off old thermal paste completely before applying new paste.
8. Troubleshooting
- Fan Not Spinning:
- Check if the 4-pin fan cable is securely connected to the "CPU_FAN" header on the motherboard.
- Verify fan settings in your motherboard's BIOS/UEFI.
- High CPU Temperatures:
- Ensure the heatsink is properly seated on the CPU and the mounting screws are tightened evenly.
- Check if thermal paste was applied correctly and adequately. Reapply if necessary.
- Clean any dust accumulation from the heatsink and fan.
- Verify proper airflow within your PC case.
- Excessive Noise:
- Check for any cables or obstructions hitting the fan blades.
- Adjust fan speed settings in your motherboard's BIOS/UEFI to a lower RPM if temperatures allow.
9. Warranty and Support
ID-COOLING products are backed by a manufacturer's warranty. For specific warranty terms and conditions, please refer to the warranty information included with your product or visit the official ID-COOLING website. If you encounter any issues or have questions not covered in this manual, please contact ID-COOLING customer support or your original retailer.
Contact Information: Refer to the ID-COOLING official website for the most up-to-date support and contact details.


