
Introduction
Thank you for choosing the ciciglow FDM Mini 3D Printer. This compact and user-friendly 3D printer is designed for beginners and children, offering a 4x4x4 inch (100x100x100 mm) print volume. It features uniform heating, smooth printing capabilities with a layer resolution up to 0.05 mm, and a simple one-button operation system. This manual provides essential information for safe setup, operation, and maintenance of your 3D printer.
Safety Information
- Always operate the printer in a well-ventilated area.
- Keep the printer away from flammable materials, heat sources, and water.
- Do not touch the nozzle or heated bed during operation or immediately after, as they can reach high temperatures (up to 230°C).
- Keep children and pets away from the printer during operation.
- Use only the power adapter provided with the printer.
- Ensure proper grounding to prevent electrical hazards.
- Unplug the printer before performing any maintenance or cleaning.
- Do not attempt to modify the printer or use non-approved parts.
Package Contents
Please check the contents of your package upon arrival. If any items are missing or damaged, contact customer support.
- ciciglow FDM Mini 3D Printer (main unit)
- Power Adapter (EU Plug)
- USB Cable
- 4G Memory Card (pre-loaded with model files)
- User Manual (this document)
- Tools for assembly (if applicable, not explicitly mentioned but common)
Setup Guide
The ciciglow Mini 3D Printer is designed for quick assembly, consisting of three main parts. Follow these steps to set up your printer:
- Unpack the Printer: Carefully remove all components from the packaging.
- Assemble the Main Parts: Connect the three main structural components of the printer. Refer to the included quick start guide or diagrams for specific connection points. Ensure all connections are secure.
- Connect Power: Plug the power adapter into the printer and then into a suitable power outlet (100-240V).
- Insert Memory Card: Insert the provided 4G memory card into the designated slot on the printer. This card contains pre-loaded model files for your first prints.
- Connect to Computer (Optional): If you plan to control the printer directly from a computer, connect it using the supplied USB cable. Install any necessary drivers or software (e.g., Easyware, CURA, Simplify 3D) as required by your operating system (Windows XP/7/8/10, OS X).

Image: All components of the ciciglow Mini 3D Printer laid out, ready for assembly. This shows the main frame, print head, and base unit.

Image: A close-up view of the main frame assembly, illustrating how the vertical supports connect to the base.
Operating Instructions
1. Loading Filament
This printer supports 1.75mm PLA and TPU filaments. Ensure the filament is properly spooled and free of tangles.
- Preheat Nozzle: Turn on the printer. Use the control button to navigate to the preheat option for PLA or TPU. The nozzle will heat uniformly, reaching 180°C in approximately 5 minutes.
- Insert Filament: Once the nozzle is heated, gently feed the filament into the extruder's input hole until you feel resistance.
- Extrude Filament: Continue pushing the filament until it emerges from the nozzle, indicating it is loaded correctly.
2. Starting a Print
The printer features a unique one-button system for easy control.
- Select Model: Use the control button to browse the model files on the inserted memory card. You can also download model files online and transfer them to the memory card.
- Start Printing: Once you have selected your desired model, press the control button to initiate the printing process. The printer will begin heating the nozzle and bed (if applicable) and then start printing.
- Monitor Progress: Observe the initial layers to ensure proper adhesion and smooth printing. The printer's high layer resolution (up to 0.05 mm) ensures precision.

Image: The ciciglow Mini 3D Printer actively printing a small, intricate object, demonstrating its operational state.
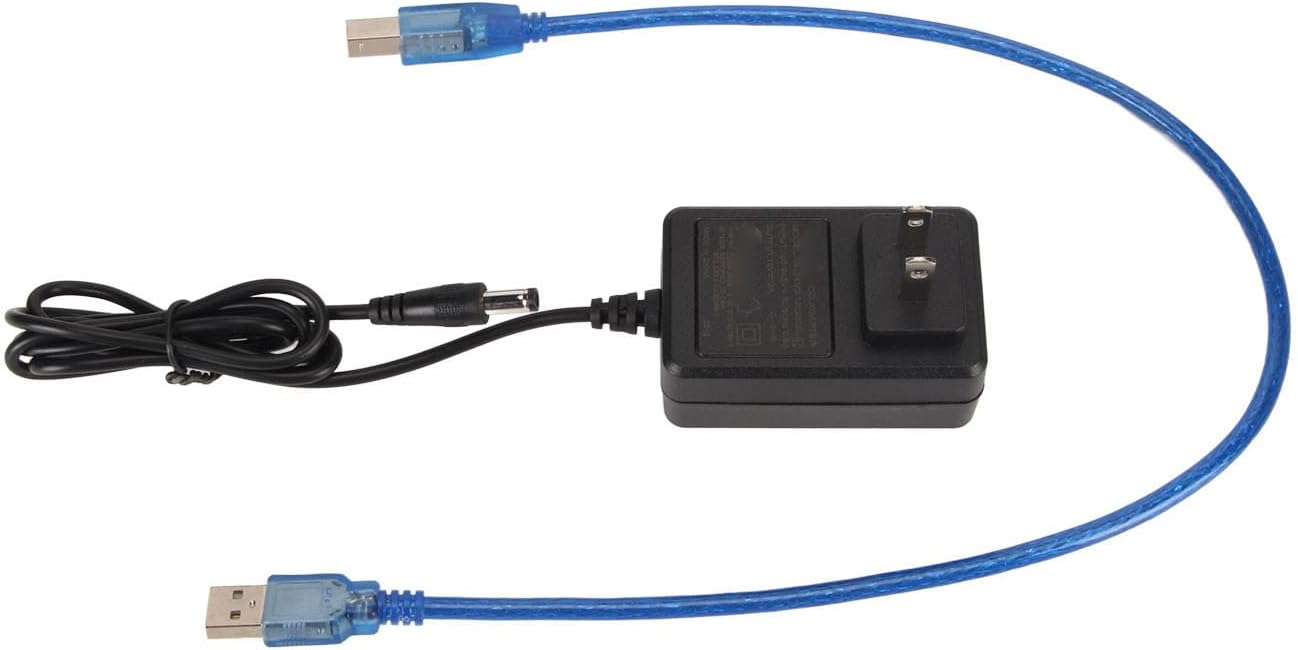
Image: A close-up view of the printer's single control button, used for navigation and selection.
3. Stopping and Pausing a Print
- Pause: Press the control button once during printing to pause the operation.
- Resume: Press the control button again to resume printing.
- Stop: To stop a print completely, press and hold the control button for a few seconds. Confirm the stop action if prompted.
4. Removing a Finished Print
Once the print is complete, allow the print bed and nozzle to cool down before attempting to remove the object. Gently detach the printed object from the build plate using a spatula or scraper.
Maintenance
Regular maintenance ensures optimal performance and extends the lifespan of your 3D printer.
- Clean the Nozzle: Periodically clean the nozzle to prevent clogs. Use a small brush or needle to remove any accumulated filament residue. Ensure the nozzle is heated before cleaning to soften any plastic.
- Clean the Build Plate: After each print, clean the build plate to remove any adhesive residue or small plastic pieces. A clean surface ensures good first-layer adhesion for subsequent prints.
- Lubricate Moving Parts: Apply a small amount of lubricant (e.g., lithium grease) to the guide rods and lead screws every few months to ensure smooth movement of the print head.
- Check for Loose Connections: Regularly inspect all cables and connections to ensure they are secure.
- Firmware Updates: Check the manufacturer's website for any available firmware updates to improve printer performance and add new features.

Image: A detailed view of the printer's nozzle and extruder, highlighting areas for cleaning and maintenance.
Troubleshooting
| Problem | Possible Cause | Solution |
|---|---|---|
| Filament not extruding | Nozzle clogged, filament tangled, incorrect temperature. | Clean the nozzle, check filament path, verify nozzle temperature (180-230°C). |
| Print not sticking to bed | Bed not level, bed too cold, dirty build plate. | Level the print bed, ensure proper bed temperature (if applicable), clean the build plate. |
| Poor print quality (layer shifting, stringing) | Incorrect print settings (speed, temperature), loose belts, filament quality. | Adjust print settings in your slicer software, check and tighten belts, try a different filament. |
| Printer not turning on | Power cable loose, power supply issue. | Check power connections, ensure outlet is functional, contact support if issue persists. |
Specifications
| Brand | ciciglow |
| Model Number | ciciglow8v51x4pcq2-11 |
| Printing Technology | FDM (Fused Deposition Modeling) |
| Machine Size | Approx. 160 x 200 x 250 mm (6.3 x 7.9 x 9.8 inches) |
| Print Size (Build Volume) | Approx. 100 x 100 x 100 mm (4 x 4 x 4 inches) |
| Nozzle Diameter | Approx. 0.4 mm (0.02 inches) |
| Nozzle Temperature | 180 to 230°C |
| Printing Speed | 10 to 40 mm/s |
| Applicable Materials | PLA, TPU (1.75 mm diameter) |
| Connectivity | Memory Card (4G included, supports up to 128G), USB Cable |
| Supported OS | Windows XP/7/8/10 (32bit/64bit), OS X |
| Slicer Software | Easyware, CURA, Simplify 3D |
| Input File Format | STL, OBJ |
| Output File Format | G-code |
| Voltage | 100-240V |
| Color | Black |
| Material (Printer Body) | ABS Plastic |
Warranty and Support
The ciciglow FDM Mini 3D Printer comes with a 1-year warranty against manufacturer defects. Please retain your proof of purchase for warranty claims.
For technical support, troubleshooting assistance, or warranty inquiries, please contact your retailer or visit the official ciciglow support website (if available). Information regarding spare parts availability is currently not provided.