
KDYGPDCT TL09
KDYGPDCT J-C Controllers User Manual
Model: TL09
Introduction
Thank you for choosing KDYGPDCT J-C Controllers. These wireless L/R controllers are designed to be compatible with Nintendo Switch and Switch Lite consoles, offering an enhanced gaming experience with features like vibrant light gradients, dual shock vibration, and motion sensing. This manual provides detailed instructions for setup, operation, maintenance, and troubleshooting to ensure optimal performance and longevity of your controllers.
Package Contents
Before you begin, please verify that all items are present in your package:
- 1 x Left J-C Controller
- 1 x Right J-C Controller
- 1 x USB Charging Cable
- 1 x User Manual (this document)

Image: The KDYGPDCT J-C controllers, showing their vibrant light effects, alongside their retail packaging and a Nintendo Switch console.
Setup and Connection
1. Initial Charging
It is recommended to fully charge the controllers before first use. The controllers have a 450mAh battery capacity.
- Connect the provided USB charging cable to the charging port on each controller.
- Connect the other end of the USB cable to a USB power source (e.g., Nintendo Switch dock, USB wall adapter, computer USB port).
- The charging indicator lights on the controllers will show charging status.
- Charging time is approximately 1-2 hours for a full charge.

Image: Illustration showing the controllers connected to a Nintendo Switch console, with text indicating a charging time of 1-2 hours and a full battery life of 4-6 hours.
2. Pairing with Nintendo Switch
These controllers support both direct attachment and wireless Bluetooth connection.
A. Attaching to the Console (Wired Mode)
- Slide each J-C controller along the rails on the sides of your Nintendo Switch console until you hear a click.
- The console will automatically recognize the controllers.
B. Wireless Bluetooth Connection
- From the Nintendo Switch HOME Menu, select "Controllers" > "Change Grip/Order".
- On the controllers, press and hold the SYNC button (small round button on the side rail) for a few seconds until the indicator lights begin to flash rapidly.
- Once paired, the player indicator lights on the controller will light up solid.
- The controllers support "Plug and Play" functionality for easy wireless connection.

Image: An illustration highlighting the Bluetooth connection and "Plug and Play" features of the KDYGPDCT J-C controllers, showing a Bluetooth symbol and wireless signal icons.
Operating the Controllers
Button Layout and Functions

Image: A detailed diagram labeling all buttons on both the Left and Right KDYGPDCT J-C controllers, including L/R Buttons, +/- Buttons, Left/Right Joysticks, Direction Button, A/B/X/Y Buttons, Screenshot Button, and Home Button.
- Left Controller: Left Joystick, Direction Button, L Button, - Button, Screenshot Button.
- Right Controller: Right Joystick, A/B/X/Y Buttons, R Button, + Button, Home Button.
Key Features
- Wake-up Function: Press the Home button to wake up the console from sleep mode.
- Motion Sensing: Built-in gyroscope provides precise motion control for compatible games.
- Vibration Feedback: Dual motors provide immersive HD vibration feedback.
- Light Gradient: The controllers feature dynamic RGB light effects.
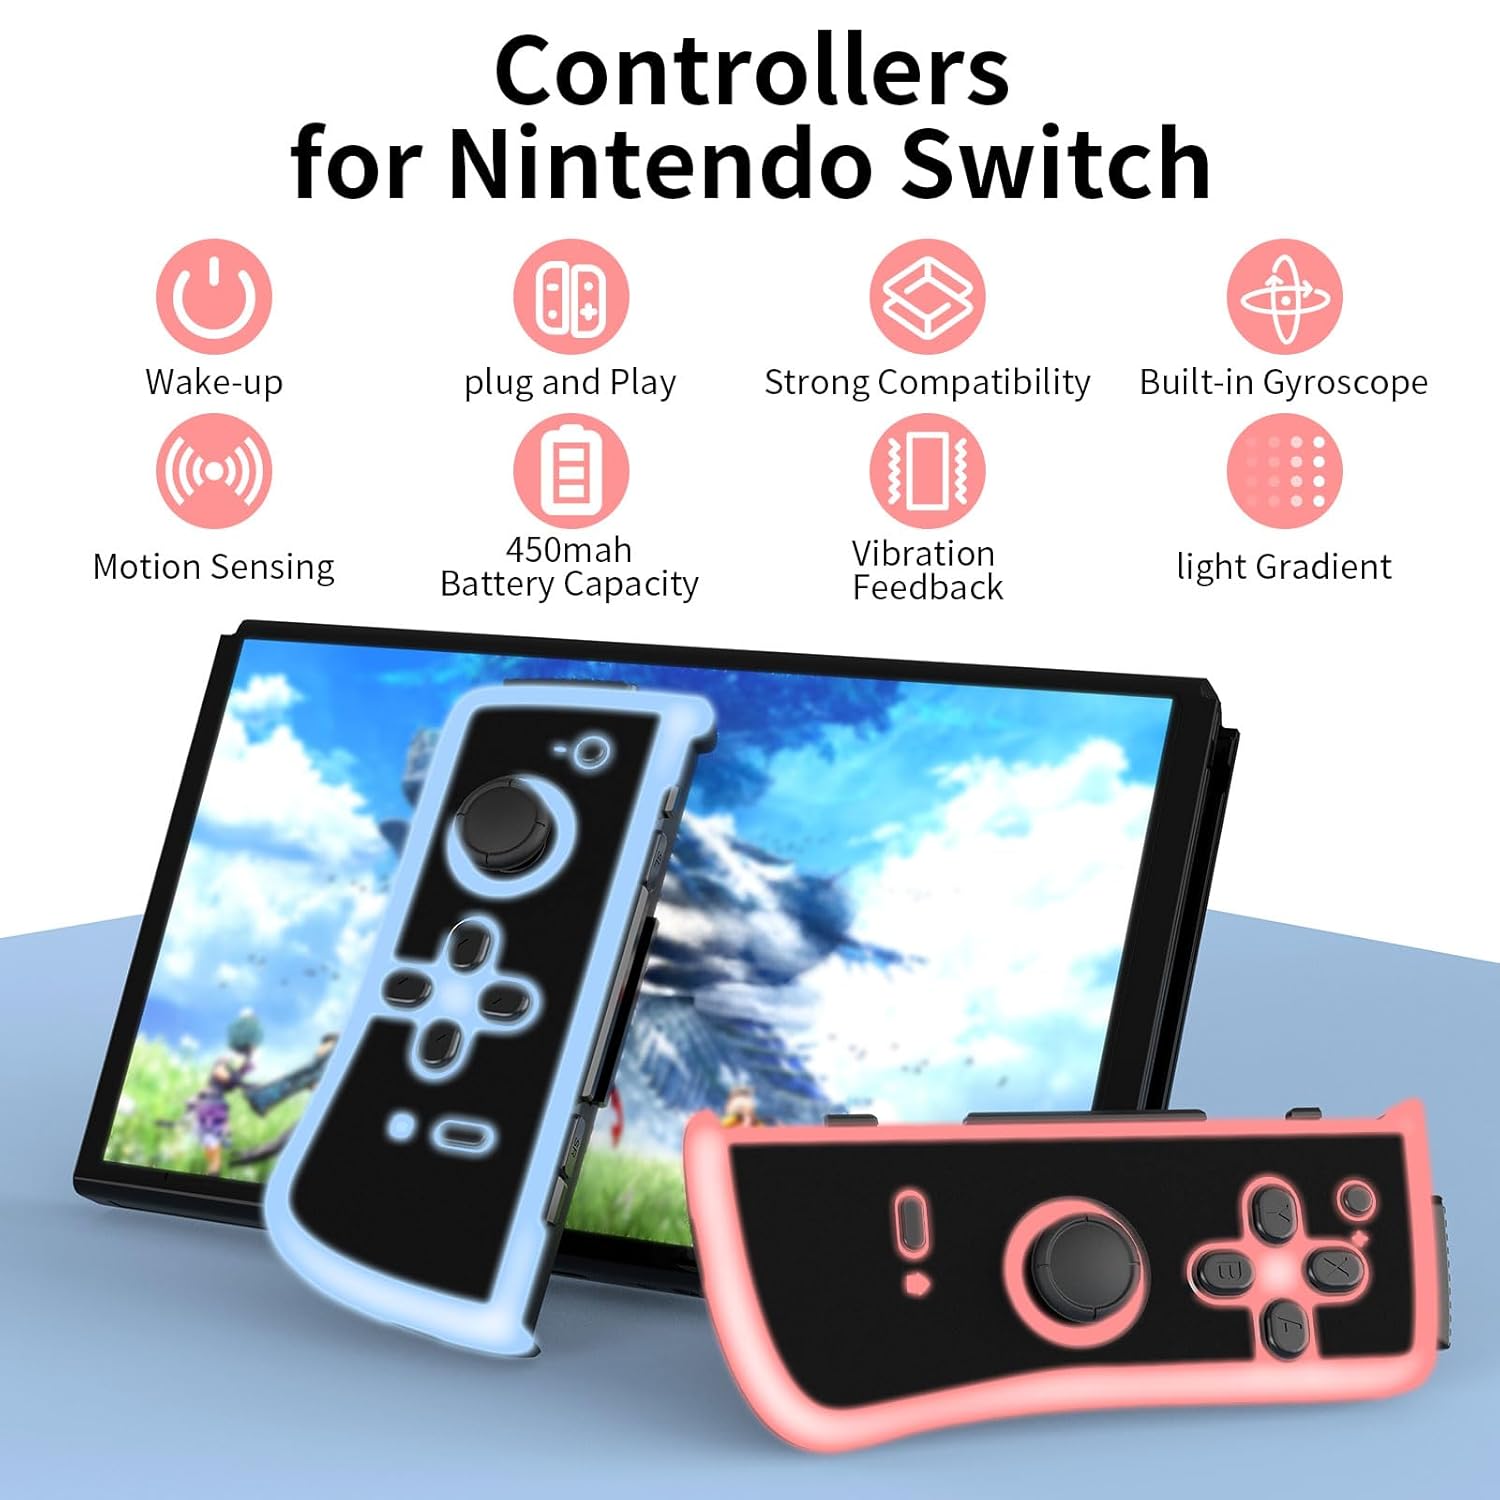
Image: An infographic illustrating the main features: Wake-up, Plug and Play, Strong Compatibility, Built-in Gyroscope, Motion Sensing, 450mAh Battery Capacity, Vibration Feedback, and Light Gradient.

Image: Visual representation of the dual shock and motion control capabilities, emphasizing accurate Nintendo motion sensor and dynamic game experience through HD vibration.
Maintenance
- Cleaning: Use a soft, dry cloth to clean the surface of the controllers. Avoid using harsh chemicals or abrasive materials.
- Storage: Store the controllers in a cool, dry place away from direct sunlight and extreme temperatures.
- Battery Care: To prolong battery life, avoid fully discharging the controllers frequently. Charge them regularly, even if not in constant use. If storing for an extended period, charge them to about 50% every few months.
Troubleshooting
| Problem | Possible Cause | Solution |
|---|---|---|
| Controllers not connecting wirelessly. | Low battery, out of range, pairing issue. | Ensure controllers are charged. Move closer to the console. Re-attempt pairing via "Change Grip/Order" menu. |
| Controllers not charging. | Faulty cable, power source issue, dirty port. | Try a different USB cable or power source. Clean the charging port gently. |
| Buttons or joysticks unresponsive. | Software glitch, physical damage. | Restart the Nintendo Switch console. Disconnect and reconnect controllers. If issue persists, contact customer support. |
| Lights not working or flickering. | Low battery, internal issue. | Charge the controllers fully. If the problem continues, it may indicate a hardware issue. |
Specifications
- Model Number: TL09
- Connectivity: Wireless (Bluetooth)
- Battery Capacity: 450mAh per controller
- Charging Time: 1-2 hours
- Battery Life: 4-6 hours (approximate, varies with usage)
- Dimensions: 4.72 x 4.72 x 1.37 inches (each controller, approximate)
- Weight: 5.61 ounces (total for pair, approximate)
- Manufacturer: KDYGPDCT
Warranty and Support
For any product-related inquiries, technical support, or warranty claims, please contact KDYGPDCT customer service through the retailer's platform or the official brand website. Please retain your proof of purchase for warranty validation.
For more information, visit the KDYGPDCT Store on Amazon.
Related documentsTL09

Ask a question about this manual
Ask about setup, troubleshooting, compatibility, parts, safety, or missing instructions. Manuals+ will review the question and use this page’s manual context to help answer it.