
1. Introduction
Thank you for choosing the Ceversa 52 Inch Solid Wood Ceiling Fan with Lights and Remote. This manual provides detailed instructions for the safe installation, operation, and maintenance of your new ceiling fan. Please read all instructions carefully before beginning installation and retain this manual for future reference.
2. Safety Information
- Always disconnect power at the main circuit breaker before installation, cleaning, or servicing.
- Ensure all electrical connections comply with local codes and ordinances, as well as the National Electrical Code (NEC). If you are unfamiliar with electrical wiring, consult a qualified electrician.
- The mounting bracket must be securely fastened to a ceiling joist or a suitable support structure capable of supporting the fan's weight.
- Ensure the fan blades are at least 7 feet (2.13 meters) from the floor and 18 inches (0.46 meters) from any wall or obstruction.
- Do not bend the blade holders during installation or cleaning.
- This fan is suitable for covered outdoor areas like patios and porches, as well as indoor spaces such as bedrooms, living rooms, and home offices. It is not designed for direct exposure to rain.
3. Package Contents
Before installation, verify that all accessories inside the cardboard box are complete:
- Ceiling Fan Motor Assembly
- 3 Solid Wood Fan Blades
- LED Light Kit
- Remote Control
- Mounting Bracket
- Downrods (5-inch and 10-inch options)
- Canopy Cover
- Hanger Ball
- Hardware Pack (screws, wire caps, etc.)
- Installation Instructions

Image: All components of the Ceversa ceiling fan laid out for inspection before assembly.
4. Installation
For a visual guide, please refer to the official installation video provided below. Disconnect power before beginning installation.
Video: Official Ceversa installation guide for the 52-389 Ceiling Fan with Light. This video demonstrates the step-by-step assembly and mounting process.
4.1. Assemble Fan Blades
- Place each fan blade between the iron ring and the motor.
- Align the screws with the holes on the iron ring, motor, and fan blades. Screw them in securely.
- After installing all three fan blades, tighten the screws for extra reinforcement.
4.2. Install LED Light Kit
- Remove the three screws from the triangular plate on the motor.
- Align the three holes on the LED board with the corresponding holes on the triangular plate.
- Insert the screws into the holes and tighten the two knobs on the LED board.
4.3. Attach Downrod and Canopy
- Remove the clevis pin and setscrew from the motor's top shaft. Loosen the screws on the motor but do not fully remove them.
- Choose your preferred downrod length (5-inch or 10-inch).
- Thread the motor wires through the downrod.
- Insert the setscrew and thread the clevis pin through the hole, then tighten the screw.
- Thread the coupling cover and canopy onto the downrod in that order.
- Finally, thread the hanger ball into the downrod, pass through the setscrew, and tighten the screws at both ends.
4.4. Mount to Ceiling and Wire Connections
- Secure the mounting bracket to the ceiling using appropriate hardware.
- Connect the motor wires to the controller.
- Place the controller on the mounting bracket.
- Tighten the wires using wire caps or screw terminals, ensuring all connections are secure.
- Place the fan light onto the mounting bracket.
- Place the canopy cover over the ceiling and tighten it.
- Place the canopy cover over the canopy from below.
- Finally, attach the light cover. Your ceiling fan with light is now fully installed!
5. Operating Instructions
Your Ceversa ceiling fan is operated via the included multi-function remote control. Ensure batteries are correctly installed in the remote.

Image: The multi-functional remote control for the Ceversa ceiling fan, showing various buttons for fan speed, light control, and timer settings.
5.1. Fan Speed Control
- The remote offers 6-speed settings (1-6). Press the corresponding number button to select your desired speed.
- Press 'OFF' to turn the fan off.
5.2. Light Control
- On/Off: Press the light bulb icon to turn the LED light on or off.
- Color Temperature: Cycle through 3 color temperatures (3000K Warm, 4500K Neutral, 6000K Cool White) by pressing the light bulb icon repeatedly.
- Brightness: Adjust brightness from 10% to 100% using the dimming buttons.

Image: Demonstrates the three adjustable color temperatures (3000K, 4500K, 6000K) and dimmable brightness feature of the LED light.
5.3. Reversible DC Motor
- The fan features a reversible DC motor for year-round use.
- Summer Mode: Forward rotation (counter-clockwise) creates a downward airflow, providing a cooling effect.
- Winter Mode: Reverse rotation (clockwise) creates an upward airflow, circulating warm air trapped near the ceiling.
- Press the reverse button on the remote to switch between modes.
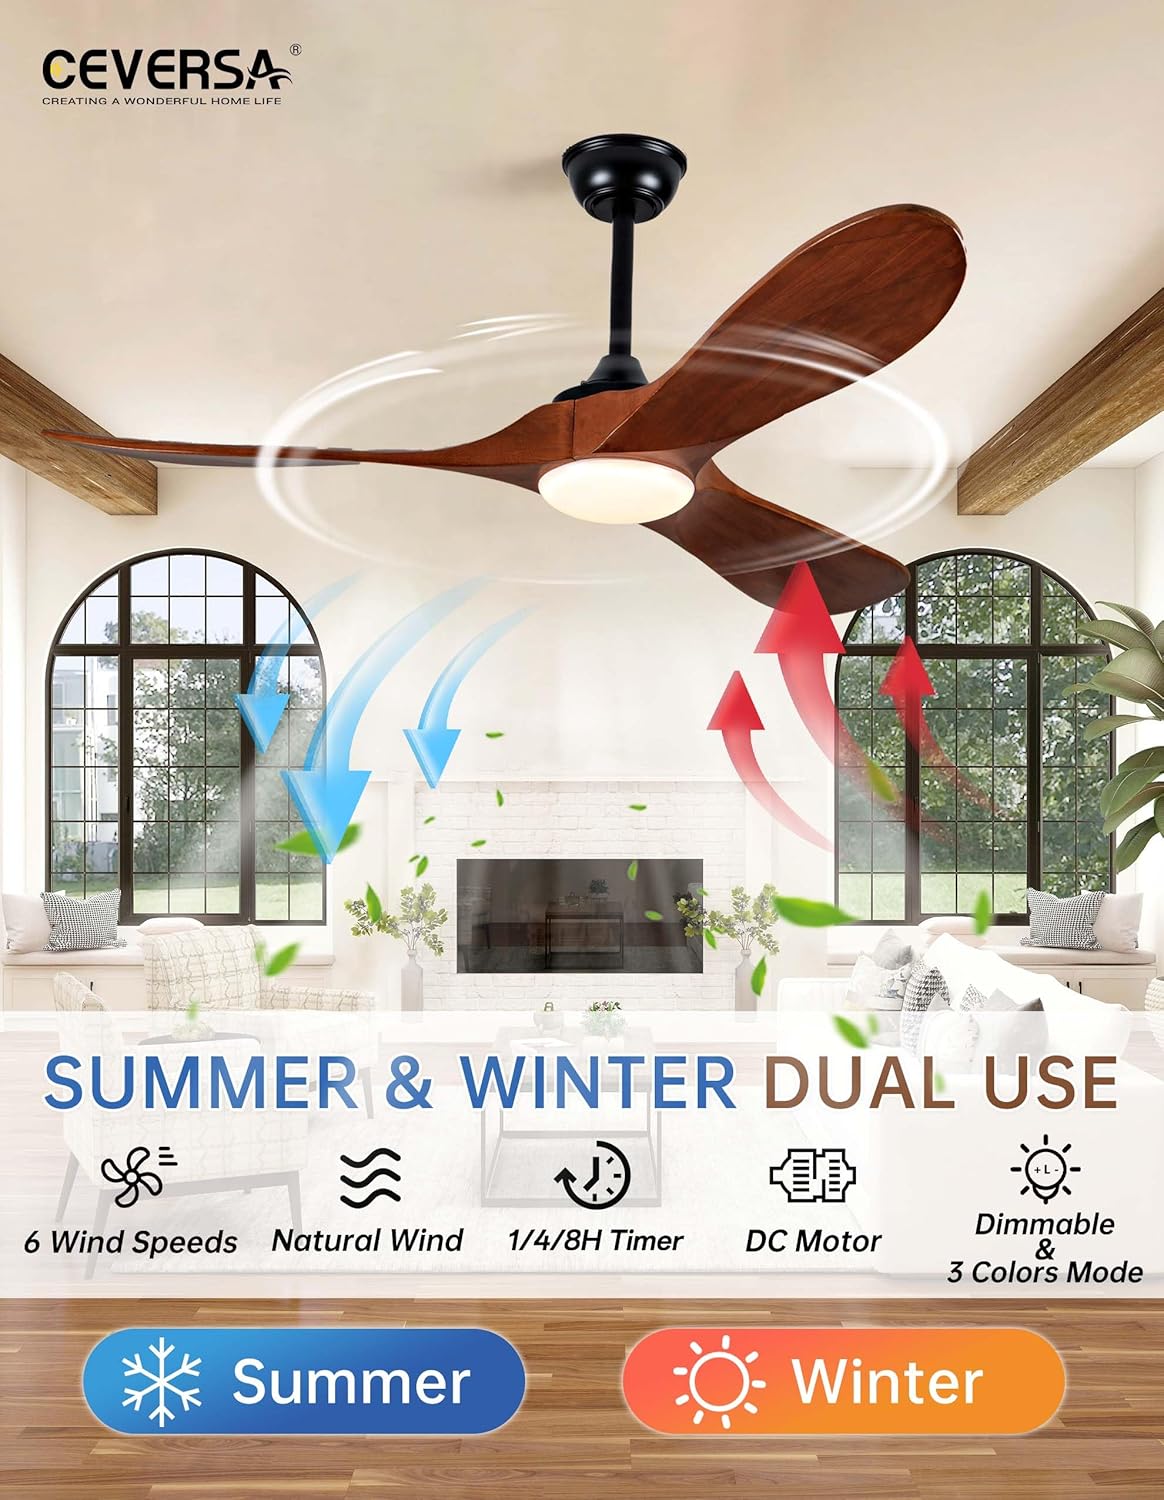
Image: Illustration of the fan's dual-use functionality, showing blue arrows for downward summer airflow and red arrows for upward winter airflow.
5.4. Timer Function
- Set the fan to automatically turn off after 1, 4, or 8 hours using the dedicated timer buttons on the remote.
5.5. Memory Function
- The fan includes a power-off memory function, which retains the last used settings for fan speed and light when turned back on.
6. Maintenance
- Clean the fan periodically with a soft, damp cloth. Do not use abrasive cleaners or solvents.
- Check all connections and screws regularly to ensure they remain tight and secure.
- No lubrication is needed for the motor.
7. Troubleshooting
| Problem | Possible Cause | Solution |
|---|---|---|
| Fan does not start | No power to the fan; loose wire connections; remote control issue. | Check circuit breaker; ensure all wires are securely connected; replace remote batteries or re-pair remote. |
| Light does not work | Loose wire connection to light kit; LED light failure. | Check light kit wiring; contact customer support for LED replacement. |
| Fan wobbles | Loose blades; unevenly tightened screws; improper mounting. | Ensure all blade screws are tight; check mounting bracket for secure installation. |
| Noisy operation | Loose screws; internal motor issue. | Tighten all screws; if noise persists, contact customer support. |
8. Specifications
| Feature | Detail |
|---|---|
| Brand | Ceversa |
| Model Name | 52-389-1L |
| Size | 52 Inch |
| Color | Walnut |
| Material | Wood (Chinese parasol wood blades) |
| Number of Blades | 3 |
| Motor Type | Brushless DC Motor |
| Number of Speeds | 6 |
| Noise Level | Below 30 dB (rated 35 Decibels) |
| Wattage | 35 watts |
| Voltage | 120 Volts |
| Light Type | LED (3000K/4500K/6000K, 10-100% dimmable) |
| Control Method | Remote Control |
| Downrod Lengths | 5-inch and 10-inch included |
| Indoor/Outdoor Usage | Indoor / Covered Outdoor |
| Item Weight | 11 Pounds |
| Product Dimensions | 52"D x 52"W x 17"H |
9. Warranty & Support
- Motor Warranty: 10 years.
- Light Components Warranty: 2 years.
- Remote Control Replacement: Provided within 3 years if lost or damaged.
- For any installation questions, usage issues, or warranty claims, please contact Ceversa customer support.