
1. Introduction
This manual provides detailed instructions for the installation, operation, and maintenance of your REVODATA 5MP PIR POE IP Camera. Please read this manual thoroughly before using the product to ensure proper setup and functionality. This camera is designed for indoor security surveillance, offering high-resolution video and advanced features like invisible IR night vision and motion detection.

Figure 1: REVODATA 5MP PIR POE IP Camera (Model IPIR-M-POE)
2. Package Contents
Verify that all items listed below are included in your package. If any items are missing or damaged, please contact customer support.
- 1 x REVODATA 5MP PIR POE IP Camera
- 1 x User Manual
- 1 x Screws Set for mounting

Figure 2: Contents included in the product package.
3. Product Features
The REVODATA 5MP PIR POE IP Camera offers a range of features for effective indoor surveillance:
- Ultra HD 5MP Resolution: Equipped with a 1/3'' CMOS Sensor, providing 2880 x 1620P resolution at 20 frames per second for clear and detailed images.
- Standard 48V POE (802.3af): Supports Power Over Ethernet, simplifying installation by allowing power and data transmission through a single Cat5/6 cable. An auxiliary power connector is also available for 12V/2A power adapter connection.
- 3.7mm Pinhole Lens: Features a flat 3.7mm pinhole lens with an approximate 80-degree viewing angle, designed for discreet placement. The camera casing is PIR-shaped but does not include PIR functionality.
- 940nm Invisible IR LEDs: 18 invisible 940nm infrared LEDs provide night vision without emitting visible red light, ensuring discreet operation in low-light conditions up to 5-10 meters.
- H.265/H.264 Encoding: Supports both H.265 and H.264 compression formats, offering efficient storage and bandwidth usage while maintaining image quality.
- Motion Detection & Email Alarm: Integrated motion detection triggers alerts and can send email notifications.
- Remote Viewing: Access live feeds and recordings via the 'TSEYE' smartphone app (iOS/Android) or VMS software for Windows.
- Web Interface Support: Compatible with IE8.0+, Edge, Chrome, Firefox, and Safari browsers.

Figure 3: Overview of camera features including 5MP resolution, H.265/H.264 encoding, 3.7mm pinhole lens, 940nm invisible LEDs, and POE support.

Figure 4: Detailed view of the camera's 940nm invisible IR LED board, which provides discreet night vision.
4. Setup and Installation
4.1 Powering the Camera
The camera primarily uses Power Over Ethernet (POE) for power and data. It requires connection to an 802.3af Standard 48V POE Switch.
- Connect a Cat5/6 Ethernet cable from your 802.3af POE switch to the camera's RJ-45 port.
- Alternatively, the camera has an auxiliary power connector. You can use a 12V/2A power adapter (not included) if a POE switch is not available or preferred.

Figure 5: Illustration of POE support, demonstrating how a single cable provides both power and data to the camera.
4.2 Physical Installation
The camera is designed for wall mounting. Use the provided screws set for secure installation.
- Choose a suitable indoor location for optimal surveillance coverage.
- Mount the camera securely using the included screws. Ensure the camera cable is routed appropriately.
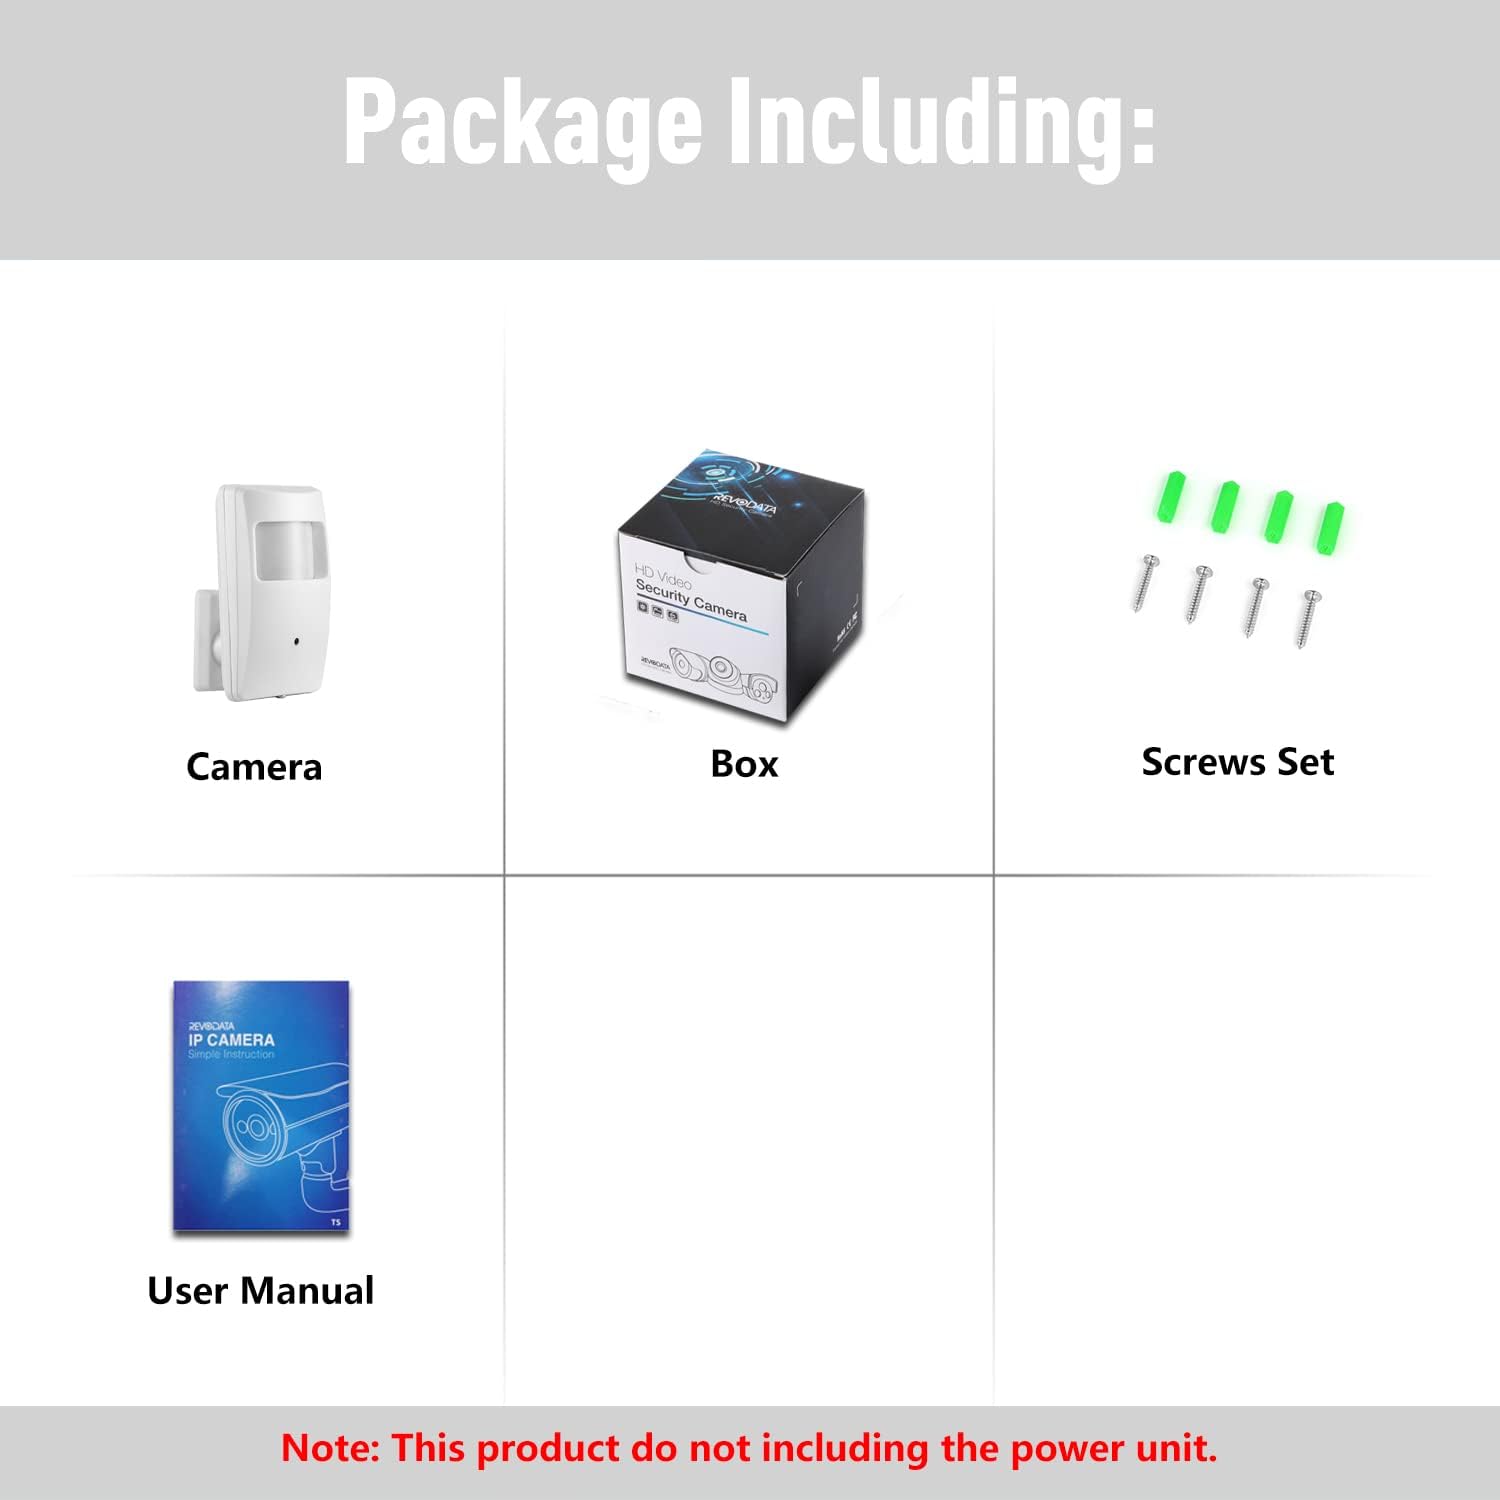
Figure 6: Detailed view of the camera's dimensions and key components, including the 940nm LED board, 3.7mm pinhole lens, ABC plastic shell, camera cable, camera bracket, auxiliary power supply port, and RJ45 port (supporting POE).
4.3 Initial Network Configuration
The camera has a default static IP address of 192.168.1.108. For initial setup, ensure your computer is on the same network segment or configure your network to access this IP address. The camera also supports Dynamic IP assignment.
- Connect the camera to your network via a POE switch or router.
- Access the camera's web interface by entering its IP address (e.g., http://192.168.1.108) into a compatible web browser (IE8.0+, Edge, Chrome, Firefox, Safari).
- Follow the on-screen prompts to set up a password and configure network settings as needed.
5. Operating Instructions
5.1 Remote Viewing (Smartphone App)
The 'TSEYE' app allows you to view live footage and manage your camera from your smartphone.
- Download the 'TSEYE' app from your smartphone's app store (available for iPhone and Android).
- Register an account and log in.
- Add your camera to the app by scanning the QR code or manually entering the device ID.
- Once added, you can access live view, playback recordings, and adjust settings.

Figure 7: Screenshots illustrating the TSEYE smartphone application interface for remote viewing and the VMS software interface for PC monitoring.
5.2 PC Software (VMS)
For Windows users, VMS software is available for comprehensive monitoring and management.
- Download the VMS software from the REVODATA support website.
- Install the software on your Windows computer. (Note: VMS software is not compatible with MAC OS or Linux).
- Add your camera to the VMS software using its IP address or device ID.
- Utilize the VMS software for multi-camera viewing, recording management, and advanced configurations.
5.3 Motion Detection
The camera features built-in motion detection to alert you to activity.
- Access the camera's settings via the web interface or the TSEYE app.
- Navigate to the motion detection section.
- Configure detection zones, sensitivity levels, and alarm actions (e.g., email notifications).

Figure 8: Example of a smartphone notification for motion detection, showing an alert from the TSEYE app and a visual representation of motion being detected within the camera's view.
5.4 Day & Night Vision
The camera automatically switches between day (color) and night (black and white) modes based on ambient light conditions, utilizing its invisible IR LEDs for clear night vision.

Figure 9: A comparison demonstrating the camera's clear image quality during the day (color) and its effective black and white night vision using invisible IR LEDs.
6. Maintenance
To ensure optimal performance and longevity of your camera, follow these maintenance guidelines:
- Cleaning: Gently wipe the camera lens and body with a soft, dry cloth. Avoid using harsh chemicals or abrasive materials that could scratch the lens or casing.
- Firmware Updates: Periodically check the REVODATA support website for firmware updates. Keeping your camera's firmware up-to-date can improve performance and add new features.
- Environmental Conditions: Ensure the camera is operated within its specified temperature range (-25°C to 60°C) and protected from direct moisture.
7. Troubleshooting
This section addresses common issues you might encounter with your REVODATA IP Camera.
- No Power/No Image:
- Ensure the camera is connected to an 802.3af Standard 48V POE Switch.
- If using an auxiliary power adapter, confirm it is a 12V/2A supply and properly connected.
- Check all cable connections for secure fit.
- Cannot Access Camera via IP:
- Verify your computer is on the same network segment as the camera (default IP: 192.168.1.108).
- Ensure your network firewall is not blocking access to the camera's IP address or ONVIF port (8088).
- Try resetting the camera to factory defaults (refer to advanced settings in the web interface, if available).
- Image Quality Issues:
- If your NVR does not support 5MP or H.265, you can change the camera's resolution to 1080P (2MP) and encoding to H.264 via the camera's web interface.
- Clean the camera lens if the image appears blurry.
- Motion Detection Recording Not Working with NVR:
- While the camera supports internal motion detection and email alarms, compatibility with NVR motion recording features can vary. Ensure your NVR is fully compatible with the camera's ONVIF profile and motion detection protocols.
- Some NVRs may require specific configurations or may not fully support motion-triggered recording from all third-party IP cameras.
8. Specifications
| Model | IPIR-M-P-TS-X |
| Resolution | 5.0 Megapixel (2880 x 1620P) @ 20fps |
| Sensor | 1/3'' CMOS (FH8852V310+GC5063) |
| Min Illumination | 0.1 Lux @(F1.2, AGC ON) |
| Lens | 3.7mm Pinhole Lens |
| Lens Interface Type | M12 |
| Shutter | 1/25 seconds - 1/100,000 seconds |
| Compression Format | H.265 / H.264 |
| ONVIF Port | 8088 |
| Storage | NVR or Computer |
| IP Address | Static (Default 192.168.1.108) / Dynamic |
| Smart Alarm | Motion detection, Email alarm |
| Supported Protocols | HTTP, TCP/IP, RTSP, RTP, UPNP, SMTP, DHCP, DDNS, DNS, FTP, NTP |
| Ethernet | 10M/100M mbps (RJ-45) |
| Operating Temperature | -25°C ~ 60°C |
| Power Supply | POE (802.3af Standard) or 12V DC (auxiliary) |
| Infrared Lamp | 18 x 940nm Invisible LEDs |
| Night Vision Distance | 5-10m |
| Material | ABS Plastic Shell |
| Dimensions | 10.2cm x 6cm x 2.7cm (4.02 x 2.36 x 1.06 inches) |
| Weight | 0.2kg (6.3 ounces) |
9. Support
For further assistance, please refer to the following resources:
- Online Resources: Visit the official REVODATA website for FAQs, updated manuals, and software downloads.
- Customer Service: Contact REVODATA customer support for technical assistance or warranty inquiries. Refer to the product packaging or official website for contact details.


