
1. Product Overview
The KAMRUI Pinova P1 Mini PC is a compact and powerful desktop computer designed for various applications, from daily office tasks to 4K multimedia. It features an AMD Ryzen R2544 processor, 16GB DDR4 RAM, and a 512GB M.2 SSD, offering efficient performance in a small form factor.
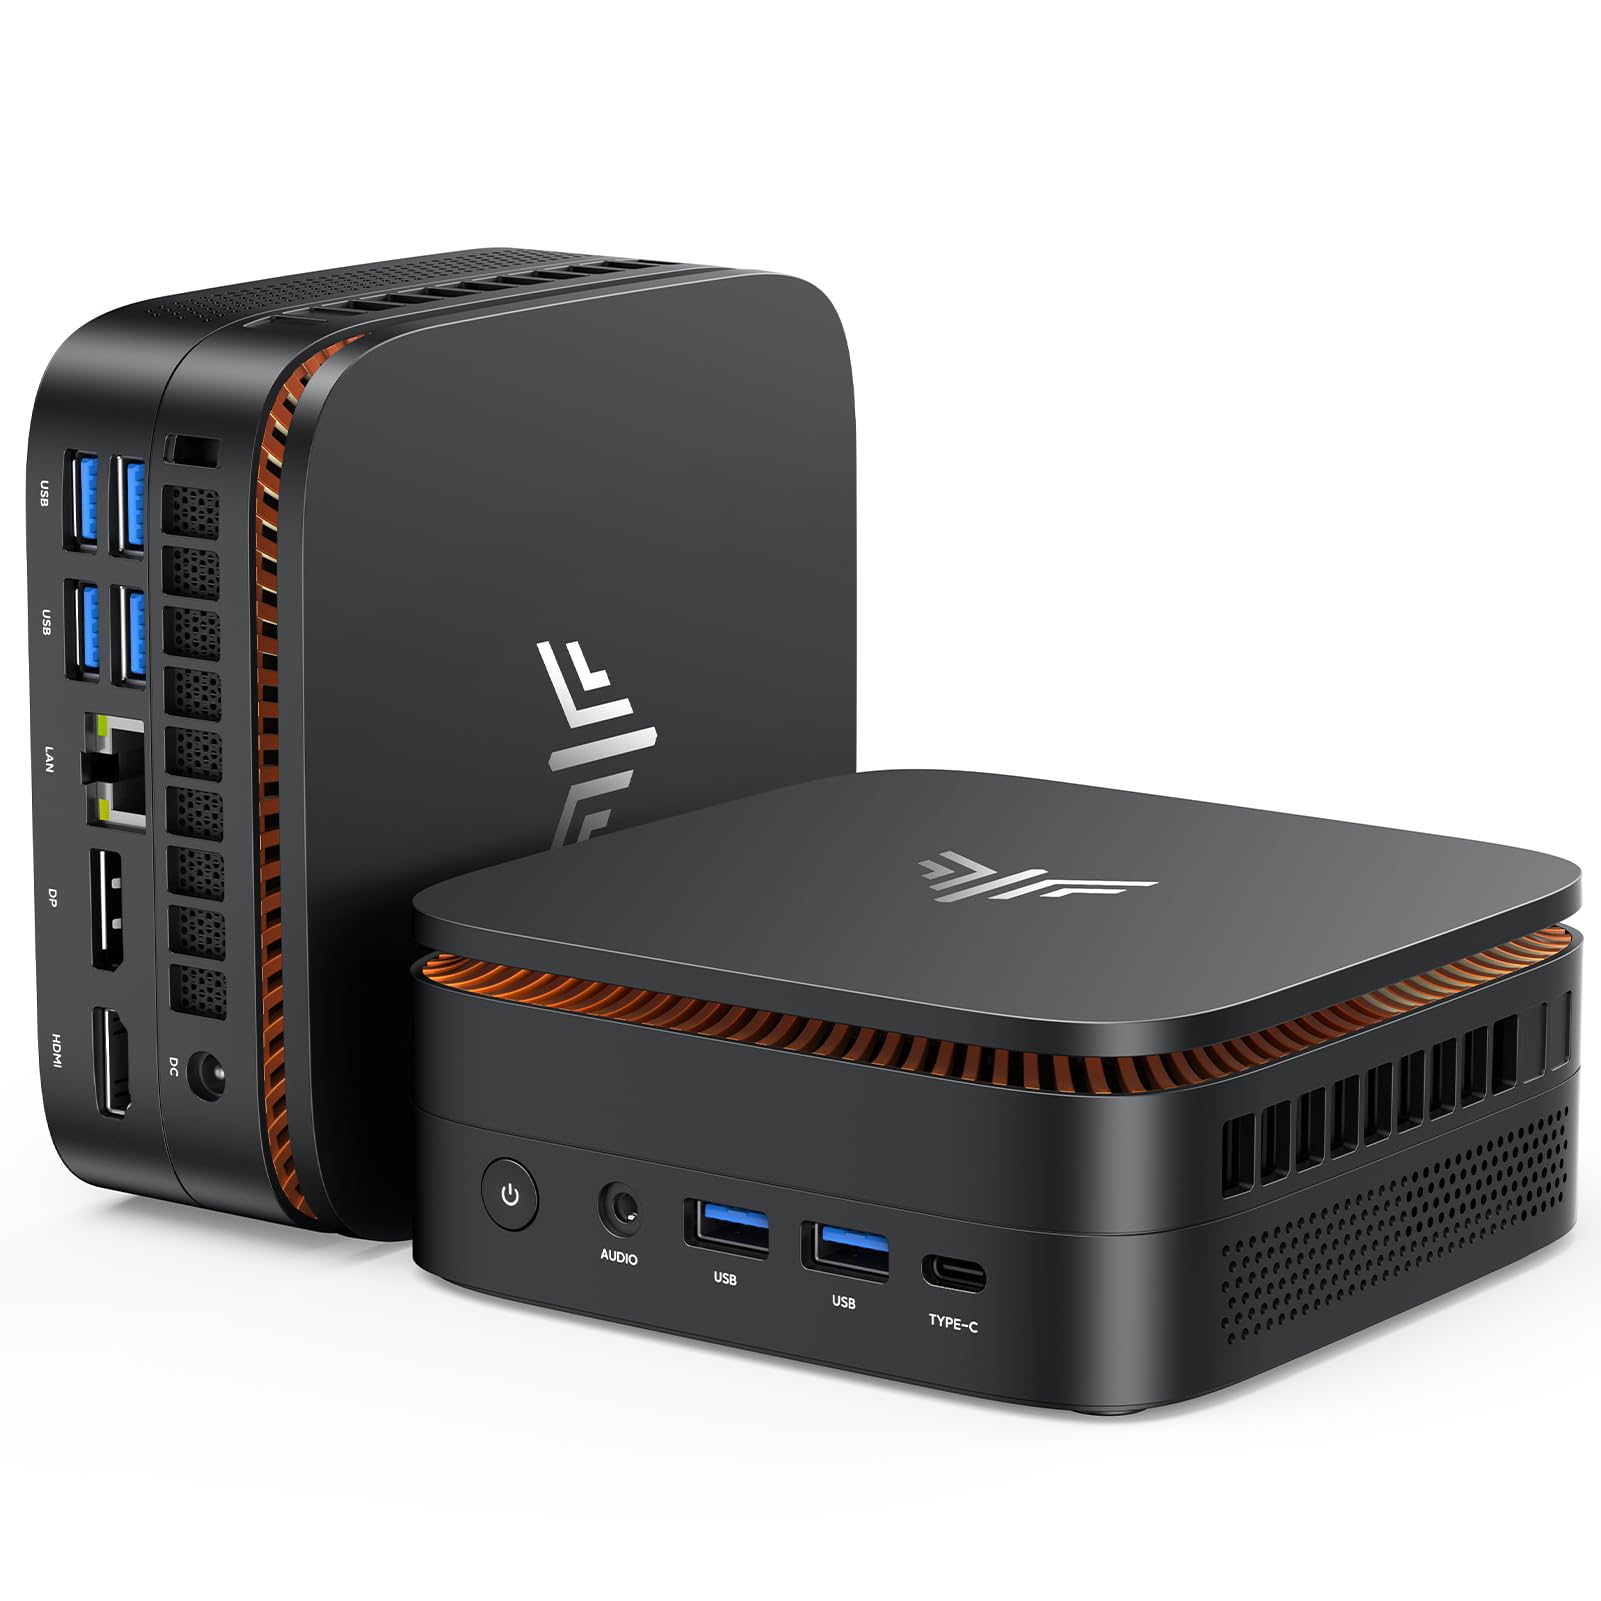
Image: The KAMRUI Pinova P1 Mini PC, showcasing its compact design.
2. Setup Guide
2.1 Unboxing and Initial Connections
Carefully remove the Mini PC and all accessories from the packaging. Ensure the following items are present:
- KAMRUI Pinova P1 Mini PC
- Power Adapter
- HDMI Cable
- VESA Mount Bracket and Screws
- User Manual
Connect your monitor(s), keyboard, and mouse to the appropriate ports on the Mini PC. Then, connect the power adapter to the DC-in port and plug it into a power outlet.
Video: An unboxing demonstration of the AMD Ryzen R2544 Mini PC, showing included components and initial setup steps.
2.2 VESA Mount Installation
The Mini PC can be mounted behind a monitor using the included VESA bracket to save desk space. Follow these steps:
- Attach the VESA bracket to the back of your monitor using the provided screws.
- Secure the Mini PC to the VESA bracket.
- Ensure all cables are connected securely.
Video: A guide demonstrating the wall-mount installation process for the KAMRUI P1 Mini PC using the VESA bracket.
3. Operating Instructions
3.1 Power On/Off
- To power on: Press the power button located on the front of the device.
- To power off: Use the standard Windows shutdown procedure (Start > Power > Shut down). Avoid direct power disconnection during operation to prevent data loss.
3.2 Connectivity
The Mini PC supports various connectivity options:
- Wi-Fi: Connect to 2.4G or 5.0G dual-band Wi-Fi networks for wireless internet access.
- Bluetooth: Pair with Bluetooth-enabled devices such as keyboards, mice, or headphones.
- Ethernet: Use the RJ45 LAN port for a stable wired network connection.
3.3 Multi-Display Setup
The KAMRUI Pinova P1 supports up to three 4K displays simultaneously via HDMI, DP 1.4, and Type-C ports. This allows for an extended desktop experience, ideal for multitasking or complex workflows.

Image: The KAMRUI Pinova P1 Mini PC connected to three external monitors, demonstrating its triple 4K display capability.
Video: A demonstration of the triple 4K output feature of the KAMRUI P1 Mini PC.
3.4 Storage Expansion
The Mini PC comes with a 512GB M.2 SSD. For additional storage, an extra M.2 slot is available, supporting up to 4TB. The RAM can also be upgraded from 16GB DDR4 to a maximum of 32GB DDR4.

Image: An internal view of the KAMRUI Pinova P1 Mini PC, highlighting the accessible M.2 SSD and DDR4 RAM slots for user upgrades.
Video: Instructions on how to install and remove SSD and DDR memory in the KAMRUI P1 Mini PC.
4. Maintenance
4.1 Cleaning
To maintain optimal performance, regularly clean the exterior of the Mini PC with a soft, dry cloth. Ensure ventilation openings are free from dust accumulation. Do not use liquid cleaners directly on the device.
4.2 Software Updates
Keep your Windows 11 operating system and drivers updated to ensure system stability and security. Access Windows Update through the Settings menu.
4.3 Cooling System
The Mini PC features an efficient cooling system with a high-speed fan and dual exhaust to manage heat and ensure quiet operation. Avoid blocking the ventilation ports to prevent overheating.

Image: An exploded view illustrating the internal cooling components of the Mini PC, including the high-speed fan and heat dissipation design.
5. Troubleshooting
If you encounter issues with your KAMRUI Pinova P1 Mini PC, refer to the following common solutions:
- No Power: Ensure the power adapter is securely connected to both the Mini PC and a working power outlet. Test the outlet with another device.
- No Display: Verify that the monitor is powered on and the video cable (HDMI, DP, or Type-C) is securely connected to both the Mini PC and the monitor. Try a different video port or cable if available.
- Network Connectivity Issues: For Wi-Fi, check if the Wi-Fi adapter is enabled in Windows settings and ensure you are connecting to the correct network with the right password. For wired connections, ensure the Ethernet cable is properly connected and your router/modem is functioning.
- Slow Performance: Close unnecessary applications, check for background processes, ensure sufficient free storage space, and verify that the system is up to date with the latest drivers and Windows updates.
- Peripheral Not Detected: Try connecting the peripheral to a different USB port. Ensure drivers for the peripheral are installed if required.
For persistent issues, please contact KAMRUI customer support.
6. Specifications
| Feature | Specification |
|---|---|
| Processor | AMD Ryzen Embedded R2544 (4 Cores, 8 Threads, up to 3.7GHz) |
| Graphics | AMD Radeon Graphics (1400 MHz), Integrated |
| Memory (RAM) | 16GB DDR4 (Expandable up to 32GB) |
| Storage | 512GB M.2 SSD (Expandable up to 4TB via additional M.2 slot) |
| Operating System | Windows 11 Pro (Pre-installed) |
| Video Output | 1x HDMI, 1x DisplayPort 1.4, 1x Type-C (Supports Triple 4K Display) |
| Connectivity | Wi-Fi 5 (2.4G+5.0G Dual-Band), Bluetooth 4.2, Gigabit Ethernet (RJ45) |
| USB Ports | Multiple USB 3.2 Gen 1 ports, Type-C port |
| Audio | 1x Audio Jack |
| Dimensions | 5.05 x 5.05 x 2 inches (128.2 x 128.2 x 51 mm) |
| Weight | 0.61 kg |
| Power Consumption | 30 watts |
| Security Features | Wake On LAN, PXE Boot, RTC Wake, Auto Power On, Windows Security |
7. Warranty and Support
KAMRUI provides comprehensive support for its products:
- Service Period: 12-month satisfying service.
- Technical Support: Lifetime technical support is available for all customers.
Contact Information:
For technical assistance or warranty inquiries, please contact KAMRUI support:
- Email: support@kamrui.com
- Phone (US): +1-833-670-1528
- Service Time: Monday - Friday, 9 AM - 5 PM (EST)

