
1. Product Overview
The SIXTOP Dual Dash Cam is designed to provide comprehensive video recording for your vehicle, capturing both the road ahead and the interior cabin. It features a 3.16-inch IPS screen, 1080P HD resolution, wide-angle lenses, automatic loop recording, and enhanced night vision capabilities for clear footage in various lighting conditions. This manual will guide you through the setup, operation, and maintenance of your dash cam.

2. Package Contents
Please verify that all items listed below are included in your package:
- 1 x Dash Cam Unit
- 1 x Car Charger (Power Cable)
- 1 x 64G TF Card
- 1 x User Manual

3. Specifications
| Feature | Description |
|---|---|
| Display Size | 3.16 inch IPS Screen |
| Video Resolution | 1296P, 1080P, 720P |
| Video Format | MOV |
| Picture Format | JPEG |
| Lens Angle | 150° (Front) |
| Storage Support | TF Card, up to 64GB (maximum) |
| Power Interface | DC 5V/1.5A |
| USB Interface | Mini USB |
| Battery | 150mAh built-in |
| Operating Temperature | -20°C to +75°C |
| Special Features | Loop Recording, Night Vision, G-Sensor, 2 Split Screens |
4. Setup
4.1. Installation
- Choose a Location: Select a suitable location on your windshield, typically behind the rearview mirror, that does not obstruct your driving view. Ensure the area is clean and dry.
- Attach the Dash Cam: Securely attach the dash cam to the windshield using the provided mounting bracket.
- Connect Power: Plug the car charger into the dash cam's power interface and then into your vehicle's cigarette lighter socket. Route the power cable neatly along the windshield edge and dashboard to avoid interference with driving.
- Insert TF Card: Insert the provided 64GB TF card into the designated slot on the dash cam. Ensure it is inserted correctly until it clicks into place.
- Adjust Camera Angle: Adjust the camera lens to ensure it captures the desired view of the road ahead and the vehicle's interior.

5. Operating Instructions
5.1. Basic Operation
- Power On/Off: The dash cam will automatically power on and begin recording when connected to the car charger and the vehicle's ignition is turned on. It will power off automatically when the ignition is turned off.
- Manual Recording: Press the designated button (refer to your device's physical buttons) to manually start or stop recording.
5.2. Screen Modes
The dash cam supports multiple display modes on its 3.16-inch IPS screen:
- Front View: Displays only the footage from the front camera.
- Interior View: Displays only the footage from the interior camera.
- Split Screen (Front + Interior): Displays both front and interior camera footage simultaneously on two split screens.

5.3. Automatic Loop Recording
The dash cam continuously records video in segments. When the TF card is full, the oldest unlocked video files will be automatically overwritten by new recordings. This ensures continuous recording without manual intervention. Important event videos (locked by G-Sensor) will not be overwritten.
5.4. Emergency Recording (G-Sensor)
The built-in G-Sensor automatically detects sudden shakes or collisions. When triggered, it will automatically lock the current video segment, preventing it from being overwritten by loop recording. This feature helps preserve critical footage in the event of an accident.

5.5. Night Vision
The dash cam is equipped with low-light night vision technology, allowing it to maintain clear image quality even in low-light conditions or at night. This enhances visibility and recording clarity during nighttime driving.

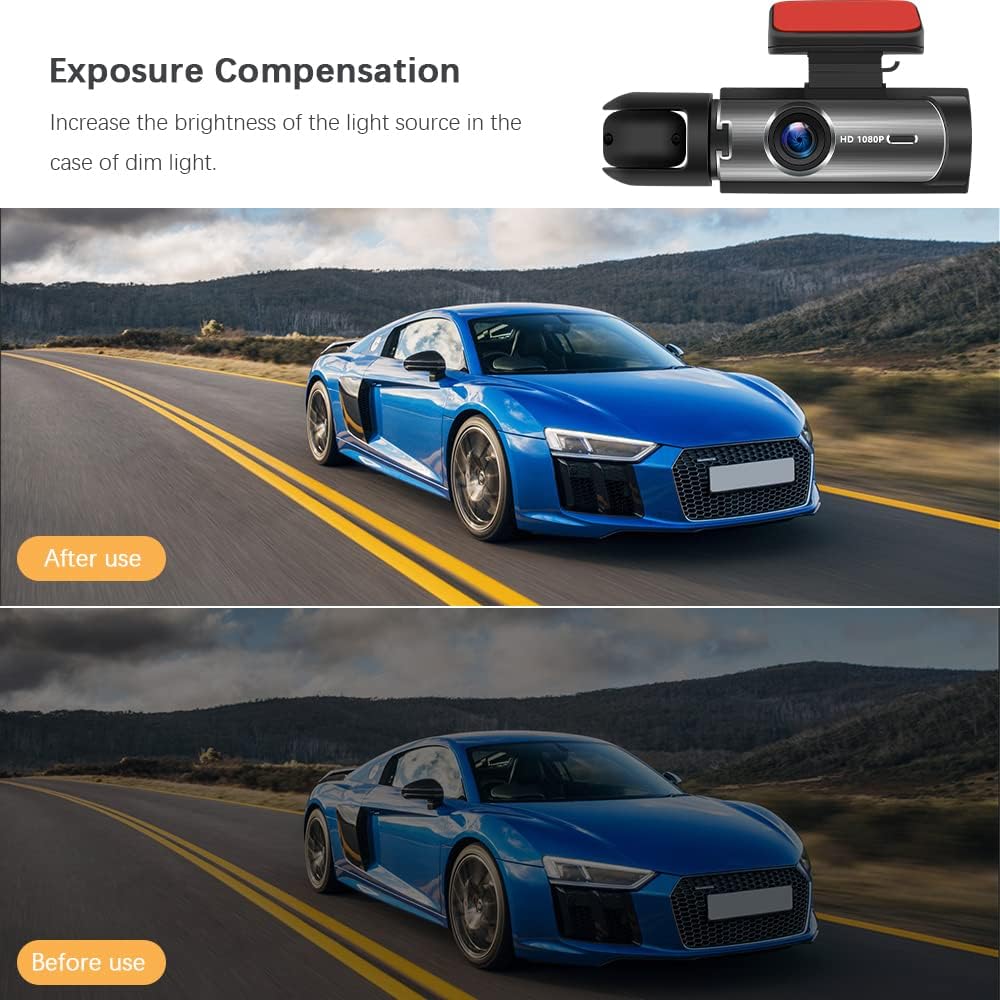
5.6. Exposure Compensation
This feature allows the dash cam to increase the brightness of the light source in dim light conditions, ensuring better visibility and recording quality in challenging lighting environments.
5.7. User Interface Navigation
The dash cam features an intuitive user interface accessible via the 3.16-inch IPS screen. Use the physical buttons (Switch, UP, DOWN, MODE, RESET) to navigate through menus and adjust settings such as resolution, loop recording duration, exposure, motion detection, date/time, language, and more.

5.8. Wide Angle Lens
The front camera is equipped with a professional-grade 150° wide-angle lens. This wide field of view effectively covers multiple lanes, reducing blind spots and capturing a broader perspective of the road.

6. Maintenance
- Cleaning: Use a soft, dry cloth to clean the dash cam lens and screen. Avoid using abrasive cleaners or solvents that may damage the surfaces.
- TF Card Management: Periodically format the TF card (at least once a month) to ensure optimal performance and prevent data corruption. Back up any important video files before formatting.
- Temperature: Avoid exposing the dash cam to extreme temperatures (hot or cold) for prolonged periods, as this can affect its performance and lifespan.
- Firmware Updates: Check the manufacturer's website periodically for any available firmware updates to ensure your dash cam has the latest features and bug fixes.
7. Troubleshooting
| Problem | Possible Solution |
|---|---|
| Dash cam does not power on. | Check the car charger connection and ensure the vehicle's cigarette lighter socket is functioning. The dash cam has a built-in battery, but it primarily operates when connected to power. |
| Recording stops unexpectedly. | Ensure the TF card is properly inserted and not full. Format the TF card regularly. Check if the G-Sensor sensitivity is too high, causing frequent locking of files. |
| Video footage is blurry or unclear. | Clean the camera lenses. Ensure the protective film (if any) has been removed from the lenses. Check the selected video resolution in the settings. |
| Dash cam freezes or becomes unresponsive. | Press the RESET button (usually a small pinhole) to restart the device. If the issue persists, try formatting the TF card. |
| Date and time are incorrect. | Adjust the date and time settings manually through the dash cam's menu. |
8. Warranty Information
The SIXTOP Dual Dash Cam comes with a standard manufacturer's warranty. Please refer to the warranty card included in your package or contact customer support for detailed information regarding warranty terms and conditions.
9. Customer Support
For any questions, technical assistance, or support inquiries regarding your SIXTOP Dual Dash Cam, please contact our customer support team:
- Email: SIXTOP123@163.com